Launchbox is a great tool for making your game library look its best. The downloadable artwork makes everything pop, but what do you do when there's no pre-made artwork for you to use?
To make your game library look as good as possible, sometimes you need to take matters into your own hands. What follows is our guide to making your own game artwork for Launchbox.
How to Create Game Art for Your Launchbox Library
The first thing you'll need to create your own Launchbox artwork is an image editor. If you already pay for expensive software like Photoshop or PaintShop Pro, then you can use that. If you don't own an image manipulator, check out our list of free online image editors and use one of those.
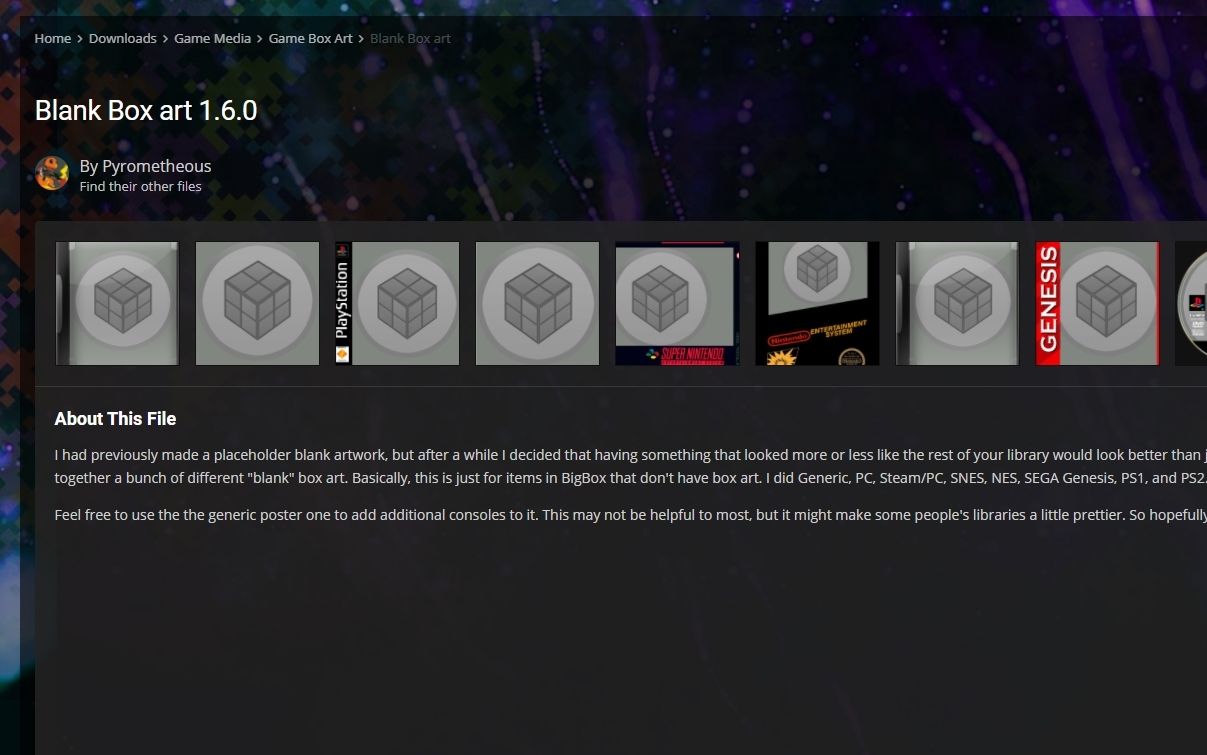
Next, you're going to need a template to work from. The best way to find a template is to visit the Launchbox forums. Many users have uploaded their own cover art for various games and ROM hacks, and you can even find blank templates to create your own work.
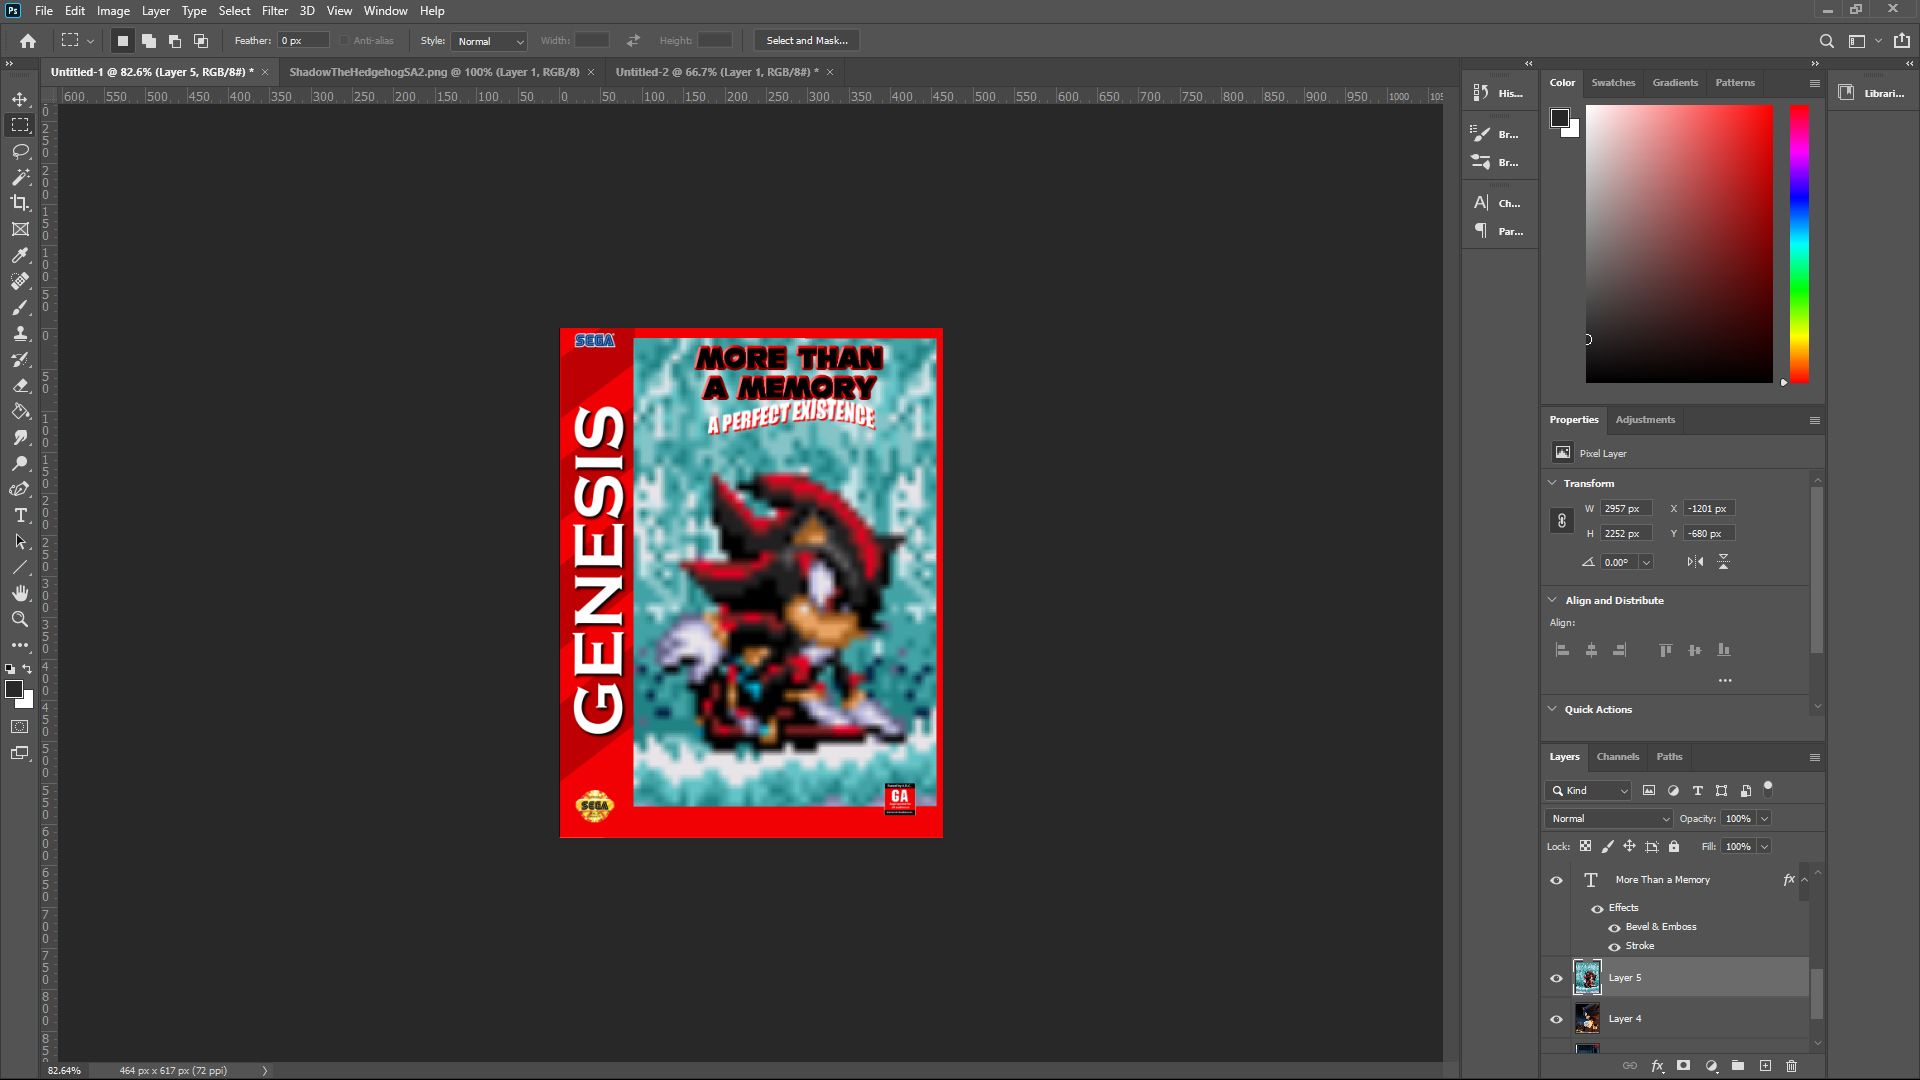
Once you have your template, open it in your image editor of choice. Put the image on the top layer of your editor, and make sure the area with unique artwork is transparent.
Now you need to collect assets. If you're creating art for an obscure game or ROM hack, then you may have some luck using in-game screenshots to construct your cover. You can also visit sites like Dafont to find the perfect title font for your piece as well.
Putting Your Launchbox Artwork Together
Once you've got everything you need, you can start to put your Launchbox cover art together. By having the template on the top layer, you don't have to worry about cutting your images to fit. Your template will cover any excess artwork.
It can be helpful to base your own cover on the cover of another game for the same system. Many fans create artwork for certain characters and games and won't mind you using their art for your collection, provided you ask permission beforehand.
Remember to include the title of your game prominently in the artwork. If you want finding the game in your library to be as easy as possible, having a prominent title will help you a lot.
Once you've put all of your assets together, export or save your finished product. We recommend saving your art as a jpg, as it is a good balance of quality and size and works automatically with Launchbox.
Adding Your Artwork to Launchbox
Now that you've finished constructing your masterpiece, it's time to get it into Launchbox. Open the software and find the game that you've created art for. Now, Right-click on the game and select edit.
On the left side of the edit game panel, click on images and then add image. Select your custom artwork and click Open, and then OK to finalize your art selection.
That's How to Create Game Art for Your Launchbox Library
Armed with this extra information, you should be able to make your Launchbox game library look as pretty as a picture. Even if your collection includes obscure games or fan creations, you don't have to settle for an ugly game library.


