
Ever since the explosion of video edits circulating TikTok, CapCut has been adding more and more features to the app, making it possible for TikTokers to achieve popular effects. One of its many useful features is the background removal tool, which you can use to make green screen videos.
This article contains a step-by-step guide on how to create a green screen video on CapCut using the background removal feature, as well as additional steps for preparing the green screen. And the best part: it's entirely free!
How to Create a Green Screen Video on CapCut
Before getting started, download the CapCut mobile app. CapCut is owned by ByteDance, TikTok's parent company. It has become one of the go-to editing apps for TikTok creators and mobile video editors.
Download: CapCut for iOS | Android (Free)
CapCut's Remove Background feature makes it easy to remove the background from any video that features a moving subject. From there, you can replace the translucent part with a green screen (or any colored screen). There are some additional steps to get the best results, so let's jump right in.
1. Obtain the Green Screen
In order to make a green screen video, you need to have a green screen (or in this case, an image of a green screen). Simply search for an image of a green screen (or create your own), and then download it to your device.
It doesn't necessarily have to be green. In this example, we've used a pink screen since the subject of the video is wearing clothes that are too close to green. Blue screens are usually the second option, but the subject is also wearing blue makeup. That's why we went with pink.


As long as the color of the image isn't the same or too similar to the colors of the subject, you're good to go. Otherwise, you'll end up with parts of the subject that are missing when you eventually use the video clip as an overlay and erase the colored screen.
Remember to check that the image isn't pixelated. Locate it in your camera roll and zoom in to make sure that it's one solid color. To avoid a pixelated image, you can create your own green screen in a photo editing app, such as PicsArt for Android and iOS. Simply choose a colored template, edit the color if necessary, and export it to your camera roll.
2. Prepare and Import the Green Screen
Before we even open the CapCut app, you need to crop the image of the colored screen—this is an essential step.
As long as the colored screen fits the moving subject, it doesn't necessarily need to be the same size as the video you plan on using. To do this, you can use your device's default photo editing app or a third-party editing app of your choice.
Now, we're going to set up the green screen in CapCut. To do that:
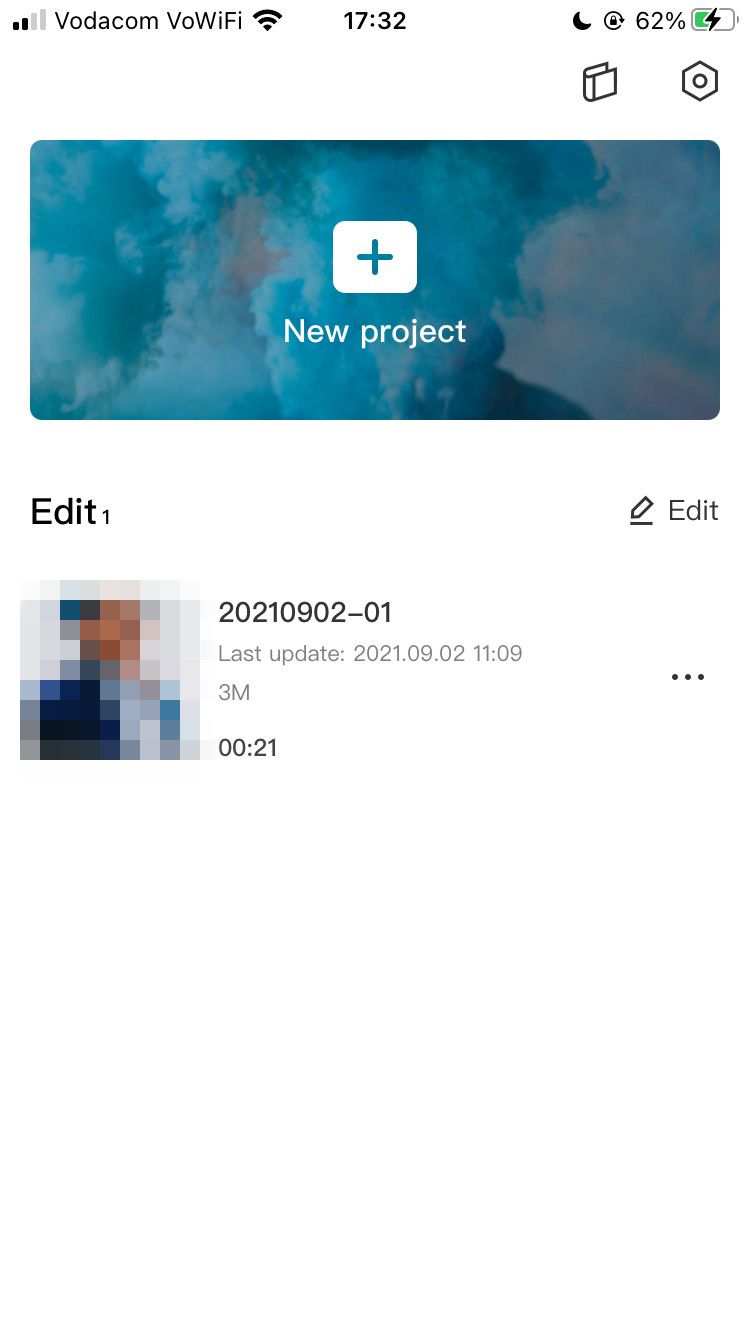
- Open CapCut, and select New project.
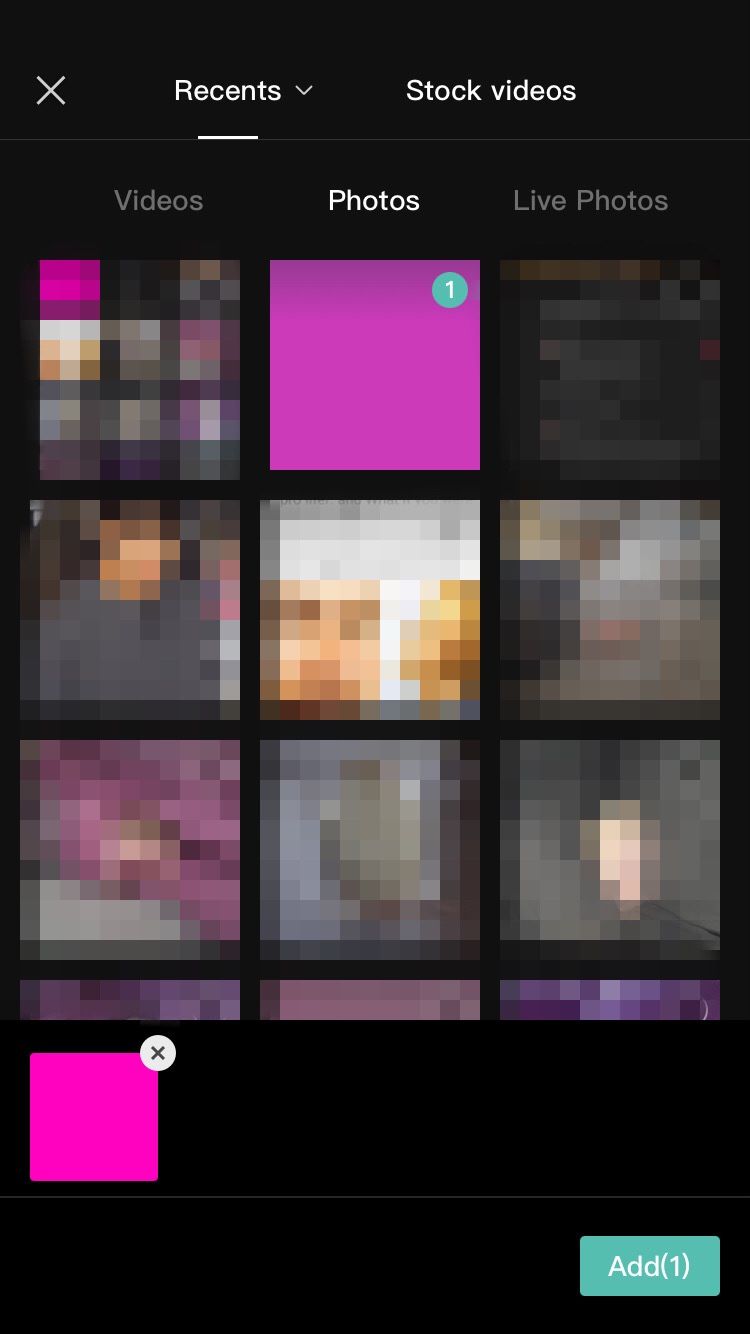
-
Select Photos, and locate the colored screen in your device's camera roll. Select it, and then tap Add.
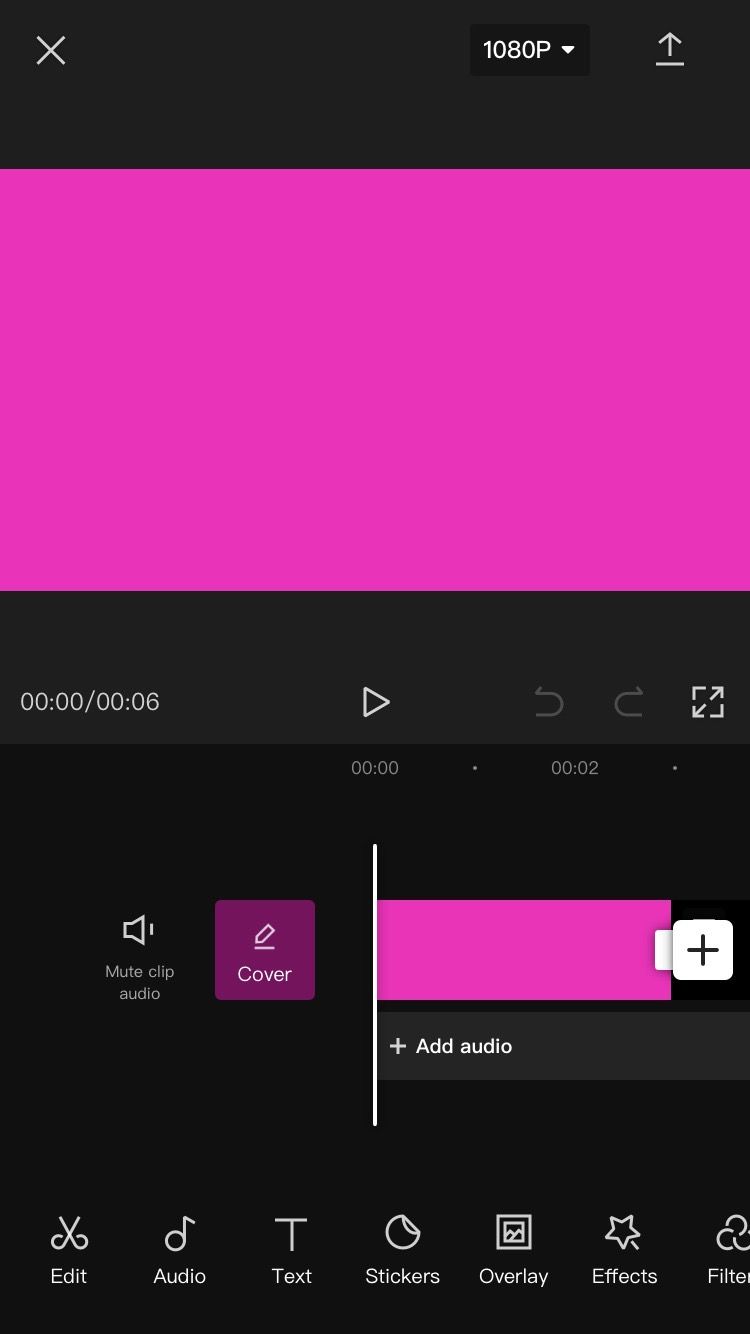


You'll be directed to the main editing window. Notice that the video will automatically match the size and format of the image you just imported. This is why it's important to crop it beforehand.
3. Import and Prepare the Video
It's time to add the video that you want to use against the green screen. We're also going to line up the length of the colored screen with the video, and determine the position of the subject. To do this:
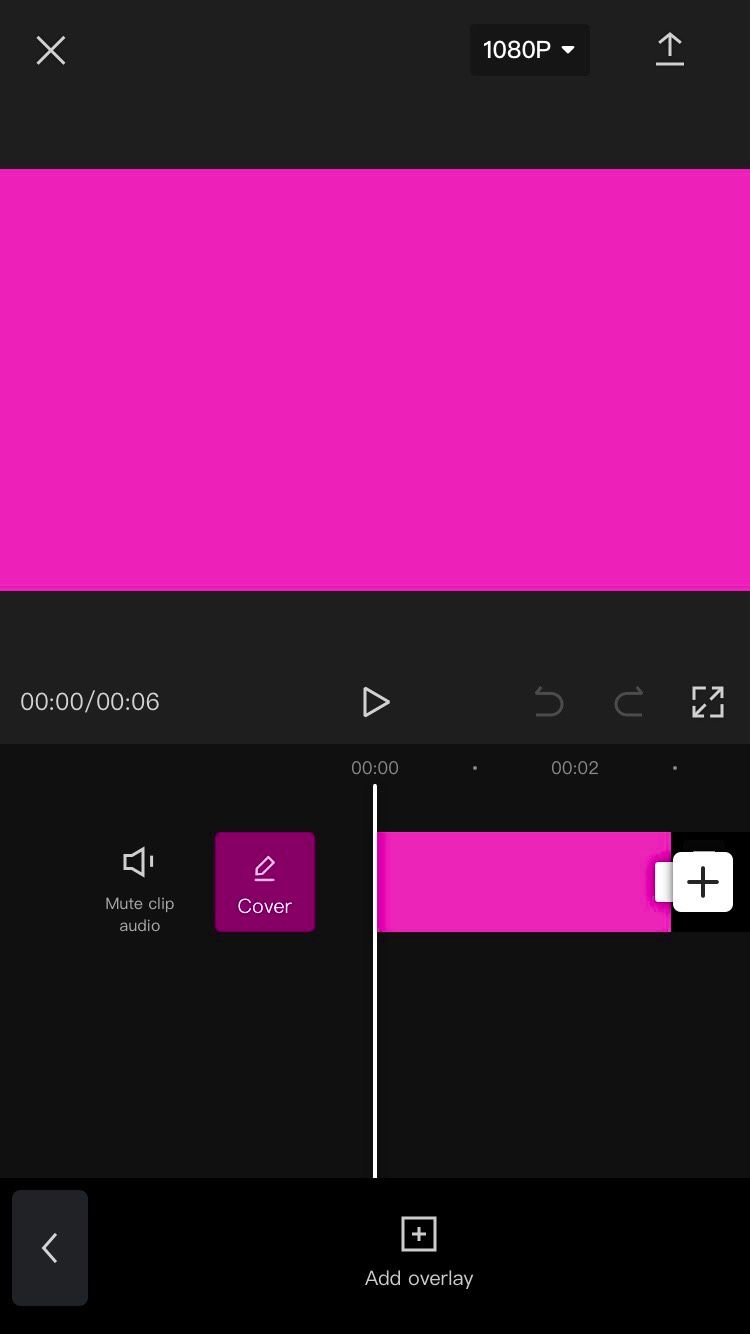
- Scroll through the settings in the menu at the bottom until you reach Overlay. From here, select Add overlay. You'll be directed to your camera roll.
-
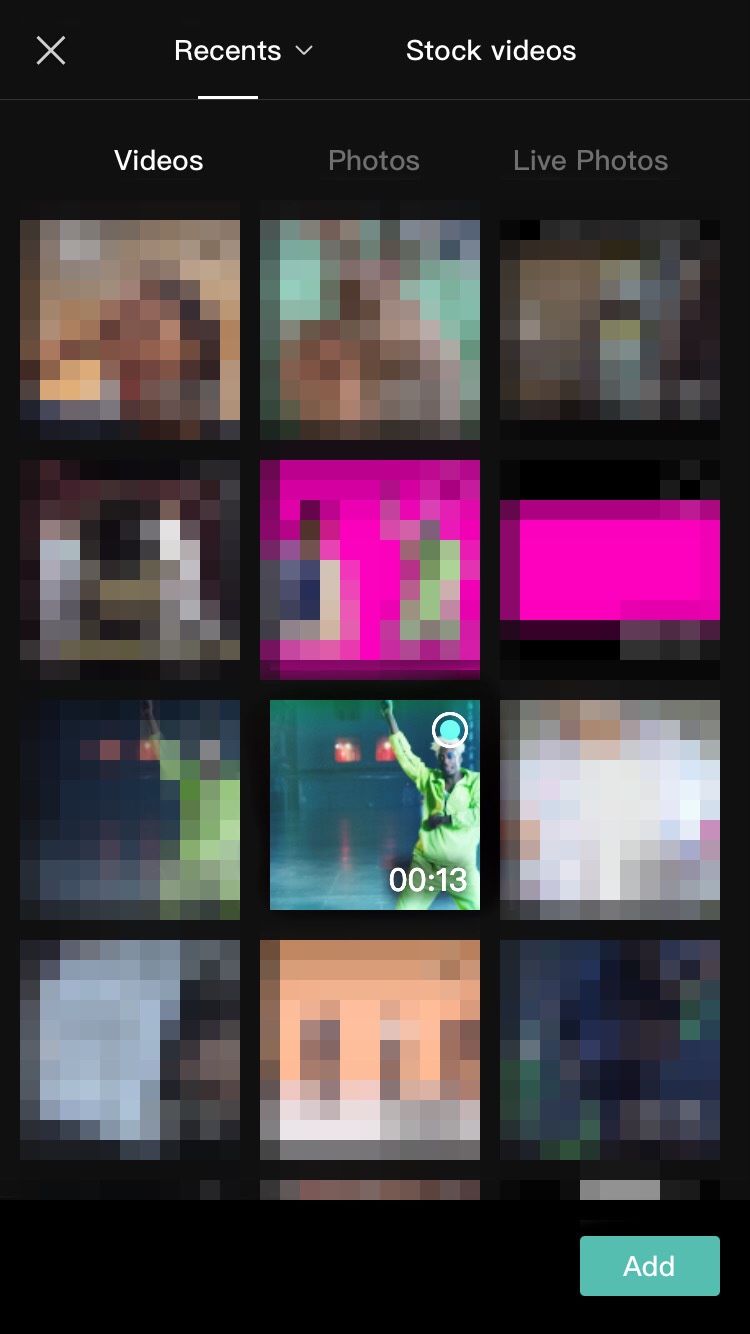
Choose Videos, and locate the video you want to import. Select it, and then tap Add. You'll be redirected to the main editing window.
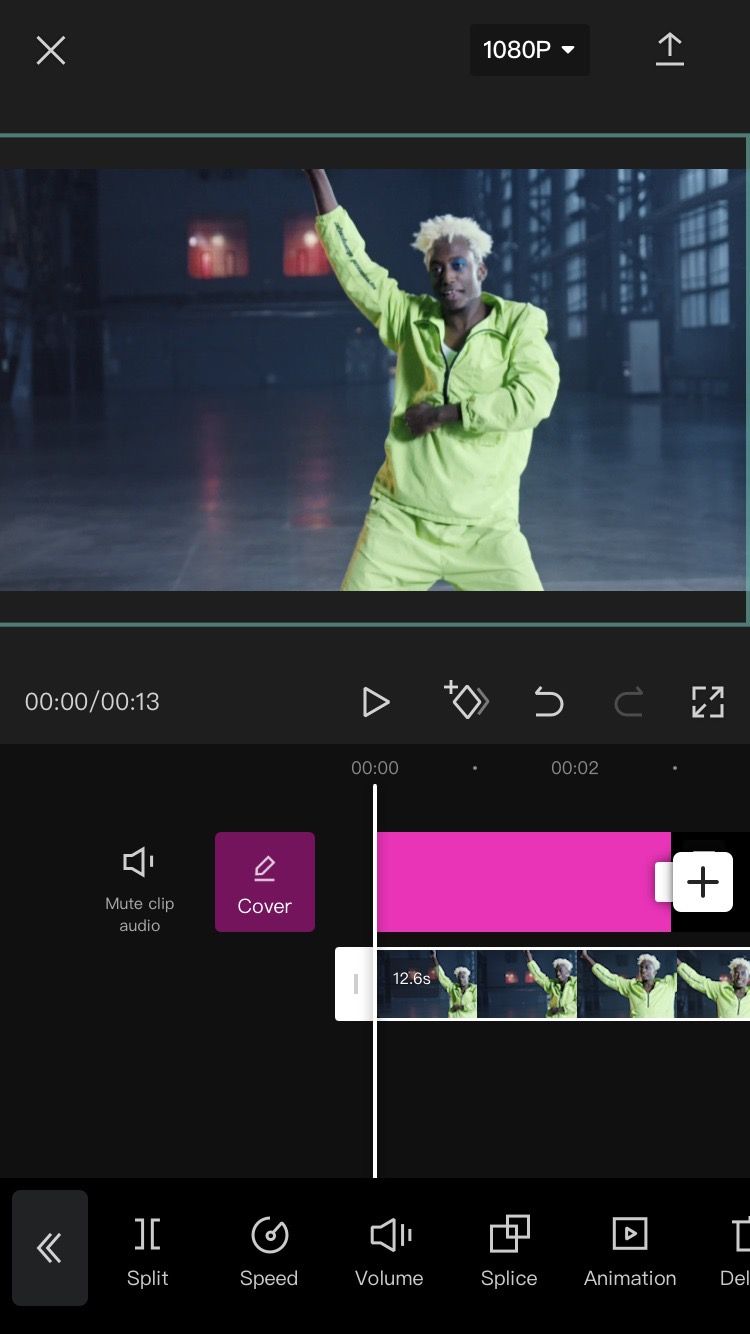
- Tap the video you just imported to select it. On the playback frame, pinch it with two fingers to zoom in and out, and drag it where you want to position the subject. Don't worry about lining up the frame of the video with the image; focus only on where you want the subject.
-
Tap the clip with the colored screen to select it, and locate its trim tool at the end (on the right). Hold and drag it until it reaches the same length as the video you just imported.


Everything should be properly lined up now in terms of placement and playback length.
4. Remove the Background
Finally, we can remove the background of the video to replace it with the colored screen. To do this:
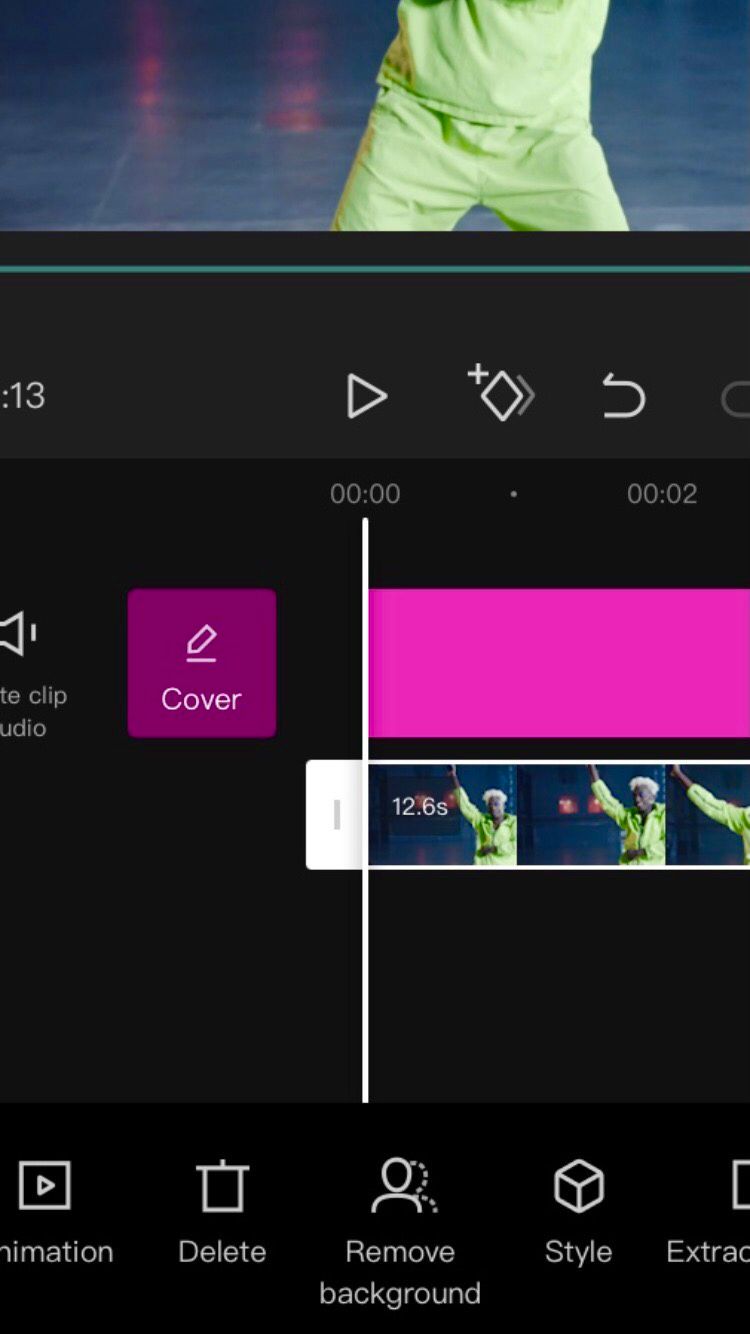
- Tap the video clip to select it. Scroll through the settings in the menu at the bottom, and then select Remove Background.
-
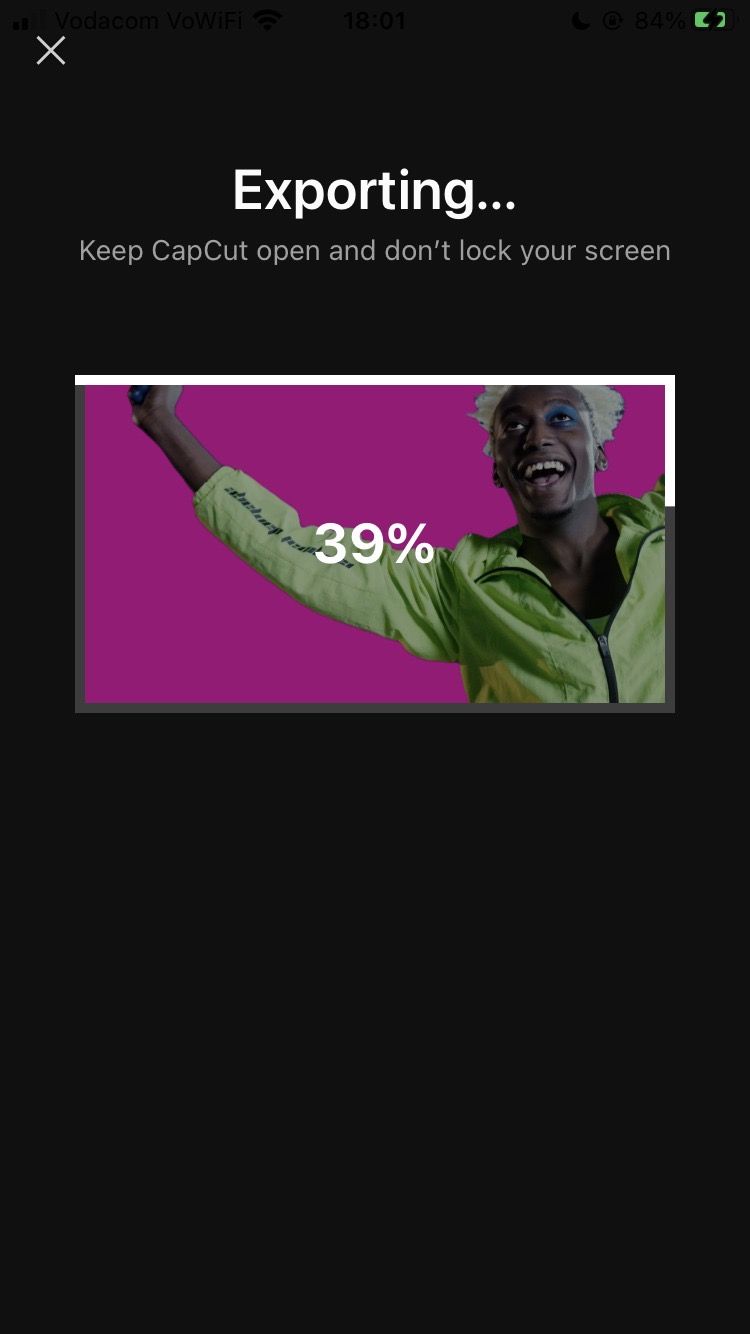
Wait for it to process. You'll see a "Remove background" notification right under the playback frame. Don't tap anything or close the app until the percentage is at 100.
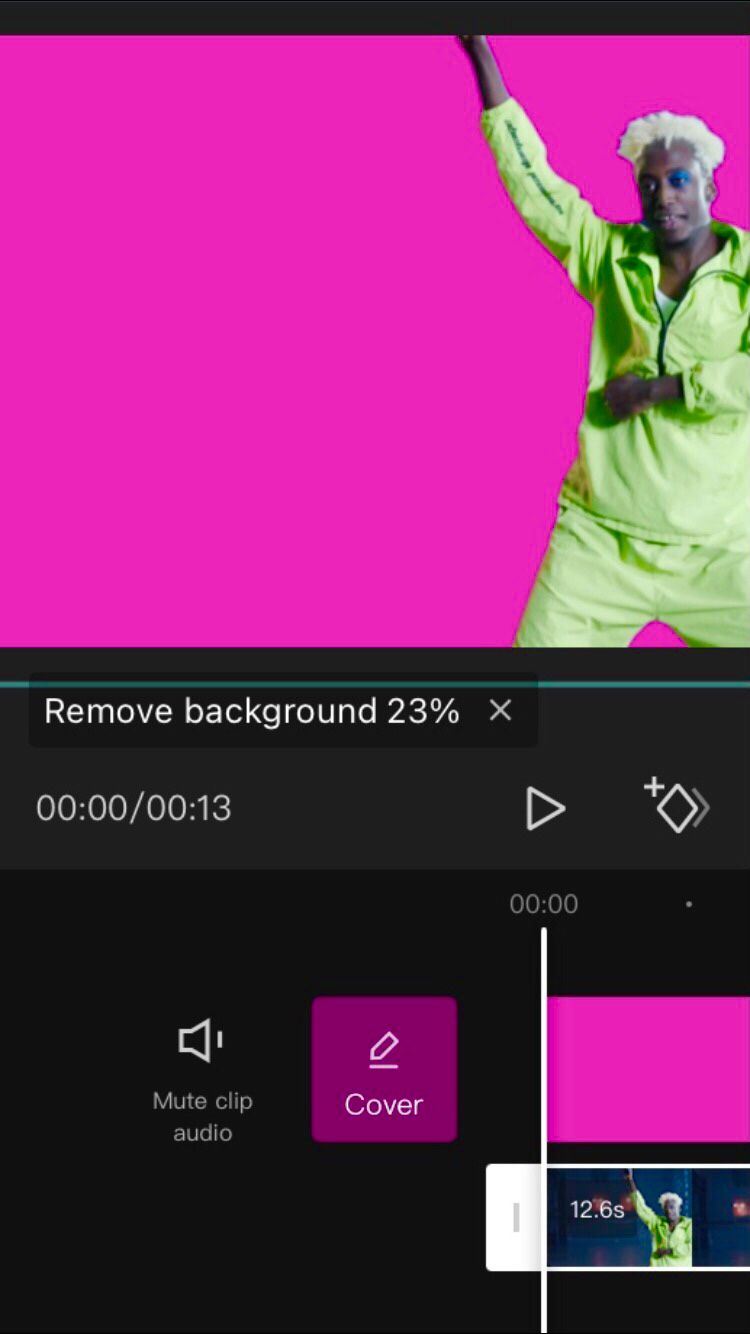
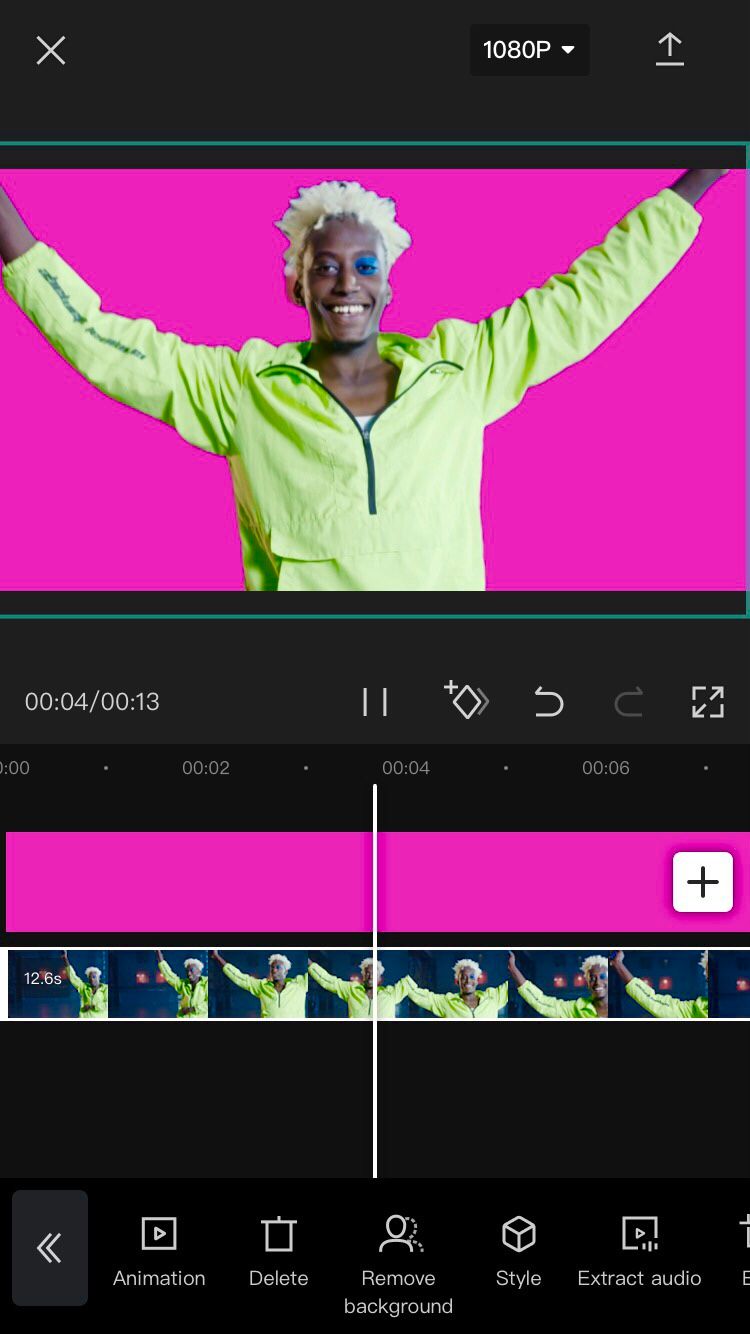


CapCut will automatically track the moving subject and determine the still parts of the video to remove. Technically, the erased parts of the video are now translucent. But since there is a colored screen in the back, it will show up as that color.
To wrap things up, play back the edit to ensure you're happy with the results, and then tap the arrow in the top right to export the project to your camera roll. It will combine the two clips (the video and the image of the colored screen) into one video, which is now ready to be imported to other video edits and used as an overlay.
Make the Perfect Green Screen Videos on CapCut
The Remove Background feature on CapCut is one of the easiest ways to get the green screen effect. Since you can't remove the background manually, this might mean that it's not 100 percent accurate every time. But for such a quick, easy-to-navigate, and free feature, it's definitely worth a try!