You have probably seen friends and family with frames on their Facebook profile picture showing their support for causes, events they plan to attend, favorite holidays, celebrations, and more. Perhaps you have even used frames on your profile picture too.
But did you know you can create your own frames in Facebook Frame Studio for your friends and followers to see?
Here's a guide on how to make and share your own Facebook frame...
Before You Get Started
Before you get started creating your very own frame, you should be aware of Facebook's requirements.
For your frame to be approved and uploaded, Facebook requires that your artwork be your own original work, have a transparent background, and be in a PNG file format that is less than 1MB in size.
You can create a frame using your personal account or the account of a Page you manage.
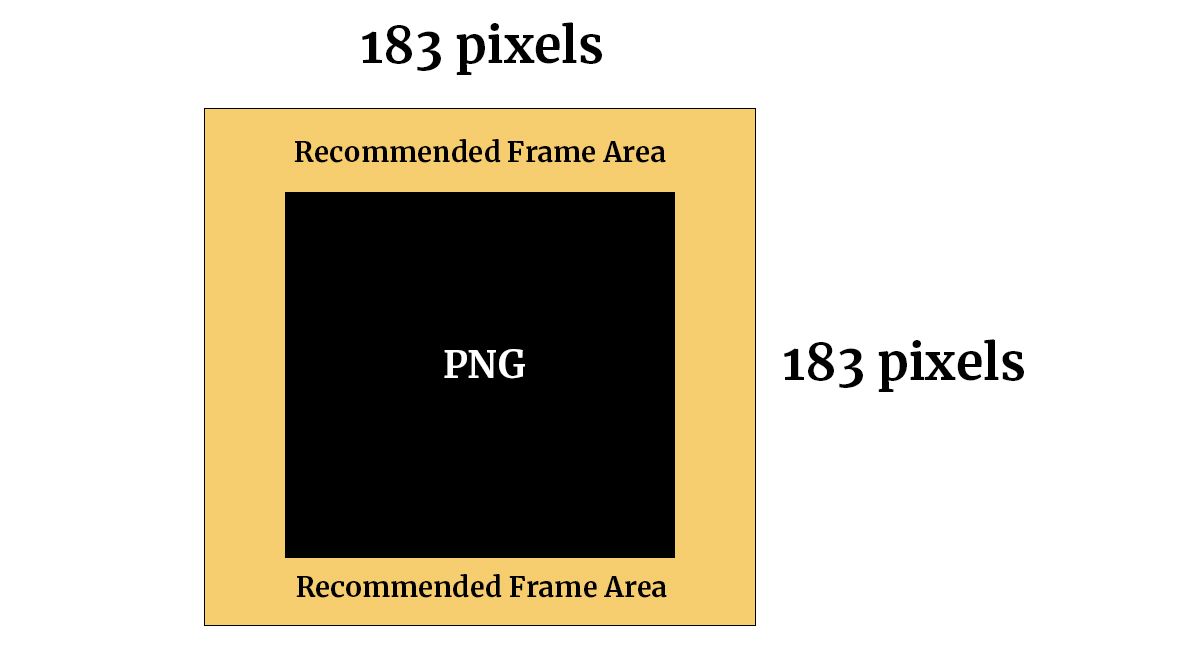
The recommended Facebook profile picture frame size is 183×183 pixels. So it's recommended that you keep your frame image and text to the top, bottom, or sides of the frame, allowing the user's photo to show. But you can always go against recommendations and put a mustache on all your friends and family if you are feeling creative.
To create your frame, you will need an image editor. Adobe offers industry-leading image editors, but if you are looking to keep the costs low both Microsoft and Apple have free built-in software with their latest operating systems.
There are also a number of free browser-based Adobe Illustrator alternatives you can use to get the job done.
1. Uploading and Configuring Your Frame
Once you have your frame created and saved as a PNG, ensuring that it meets the required guidelines set out by Facebook, you are ready to get started uploading and configuring your frame.
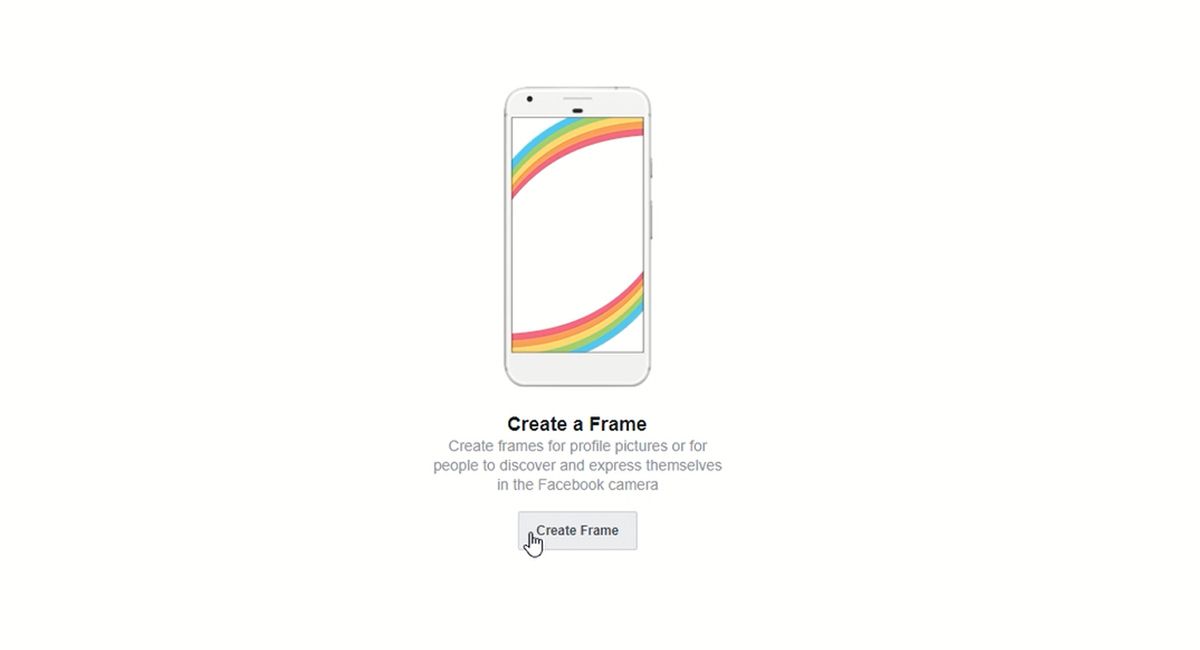
You will need to visit Facebook's Frame Studio, where you will need to select Create a Frame.
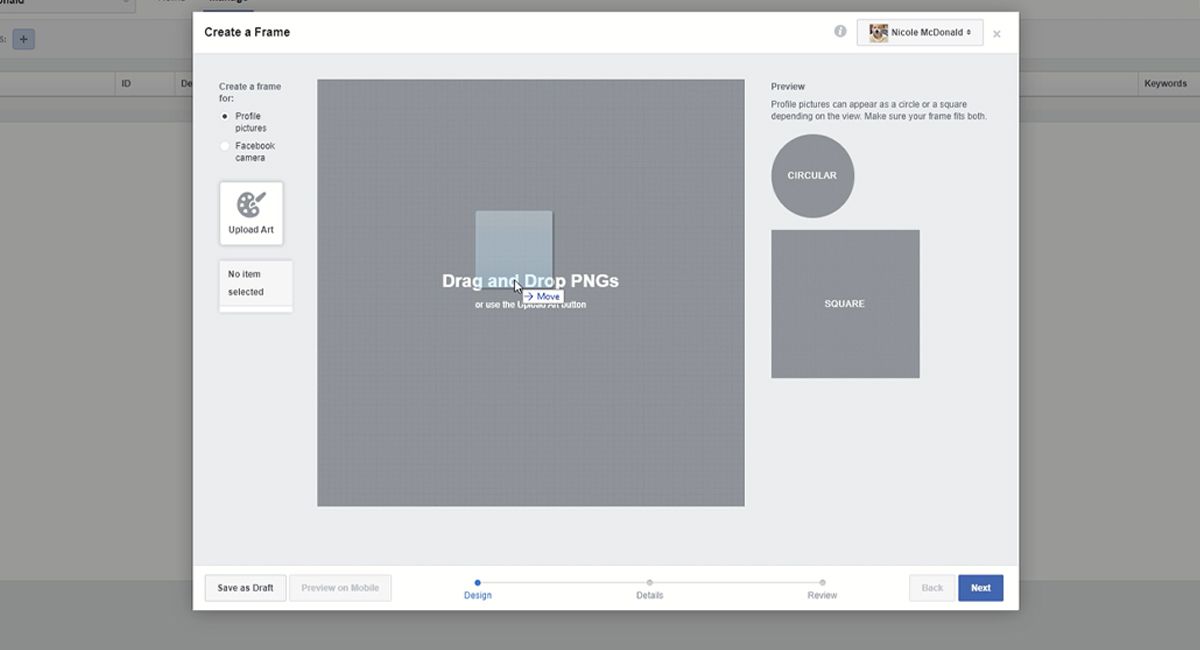
Next, locate your PNG frame image on your computer—and drag and drop it onto the Drag and Drop PNGs window.
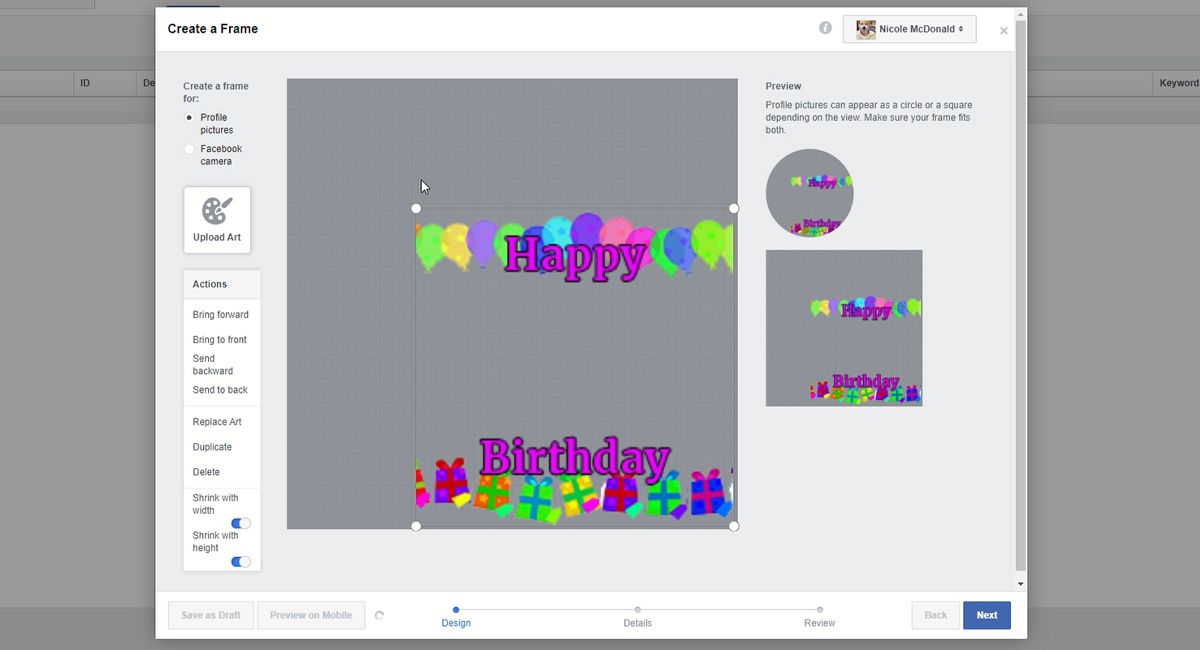
Resize your image in the editor to fill the space accordingly. Then, select the Profile pictures radio button under the "Create a frame for" section.
Select Next once you are happy with your image.
You then need to choose an owner for your frame in the top right of the window. The owner can be your personal account or a Page you manage.
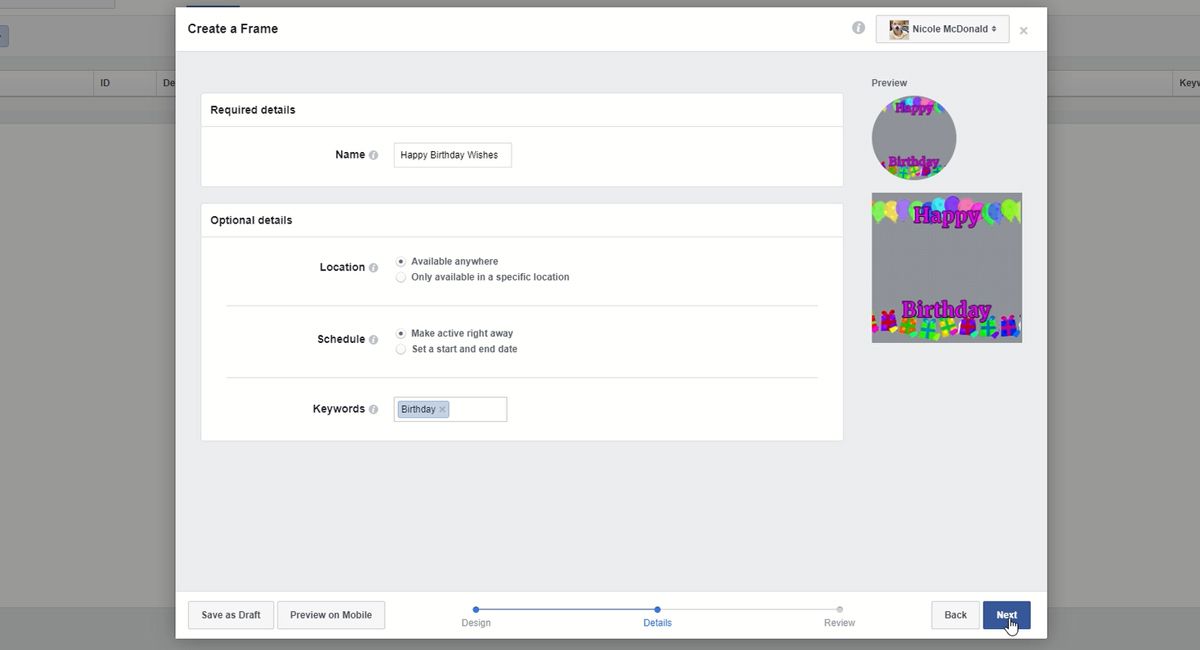
Add a name for your frame and also pick a scheduling option to set when your effect will be published
You can also add intuitive and easy-to-remember keywords. These keywords will be important for others searching for your frame on Facebook.
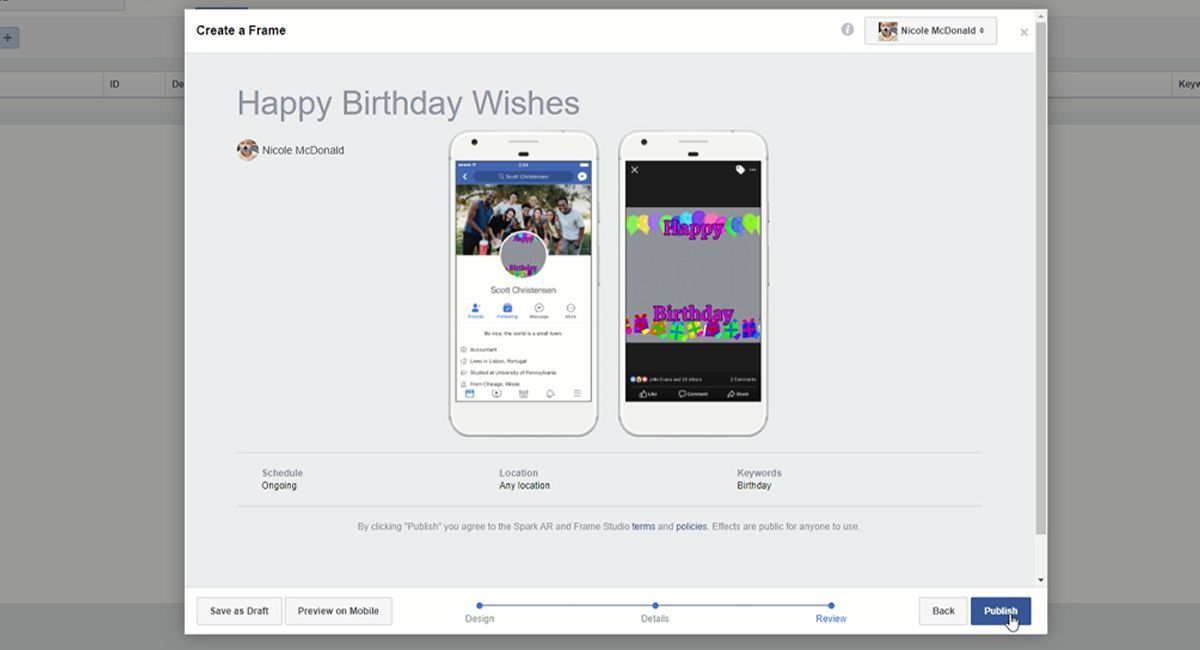
Once this is done, select Next. This is a great opportunity to review and ensure your frame graphics will fit properly on desktop and mobile.
Select Back if you wish to make further adjustments.
Click Save as Draft to save your frame as a draft or click Publish if you're ready to share your frame.
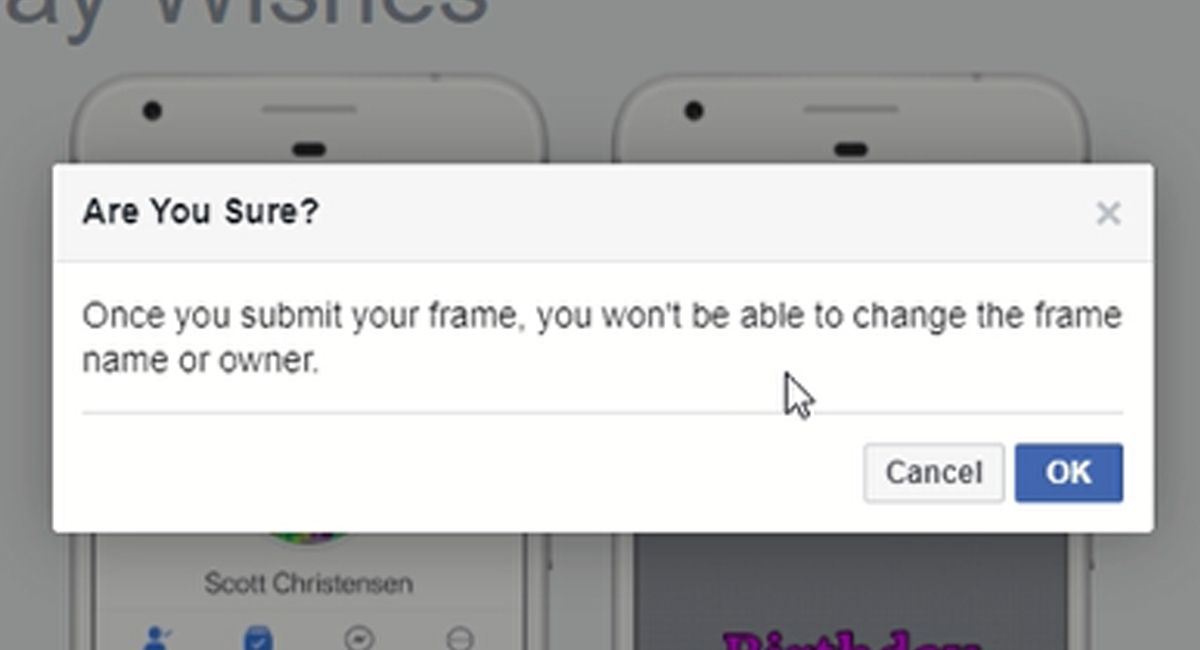
You will be prompted one more time before publishing. If you are happy with your settings click OK, otherwise select Cancel, and go back to make your corrections.
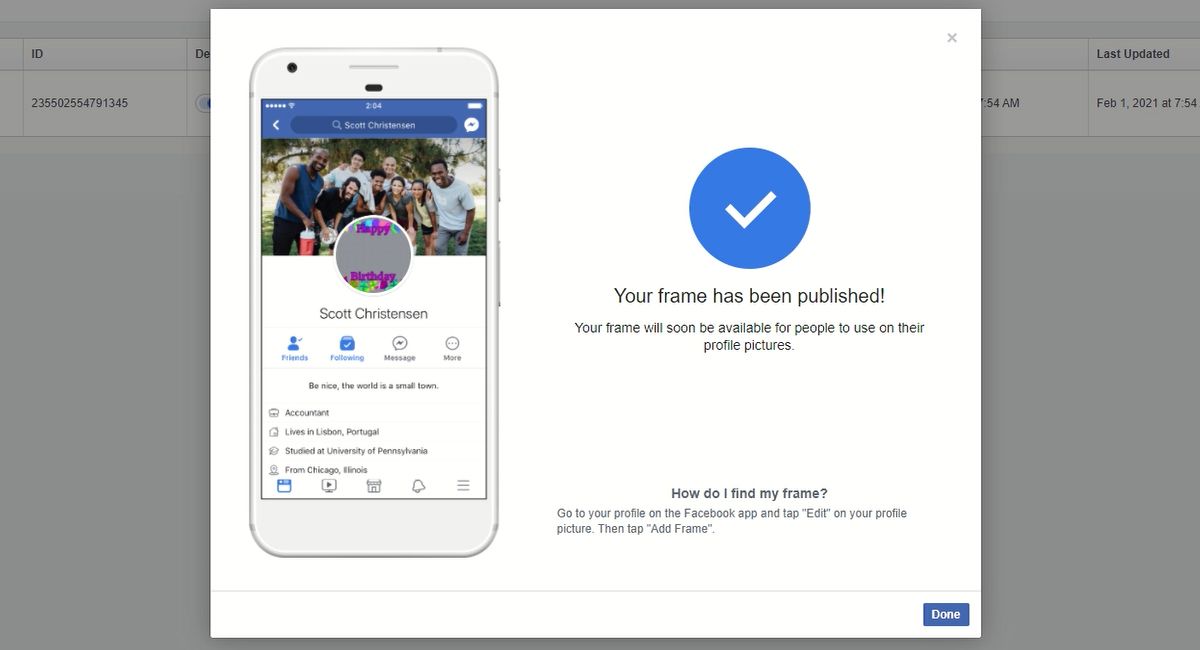
Facebook will then process your request to publish. You'll get a notification on Facebook when your frame has been approved or rejected.
If your frame was rejected it may be due to the image not meeting Facebook's Community Standards or format guidelines. Once you have reviewed the guidelines and adjusted your image accordingly, you can resubmit your frame.
2. Adding Your Frame to Your Profile Picture
Once you have an approved frame, it is extremely easy to add it to your profile picture using the following steps...
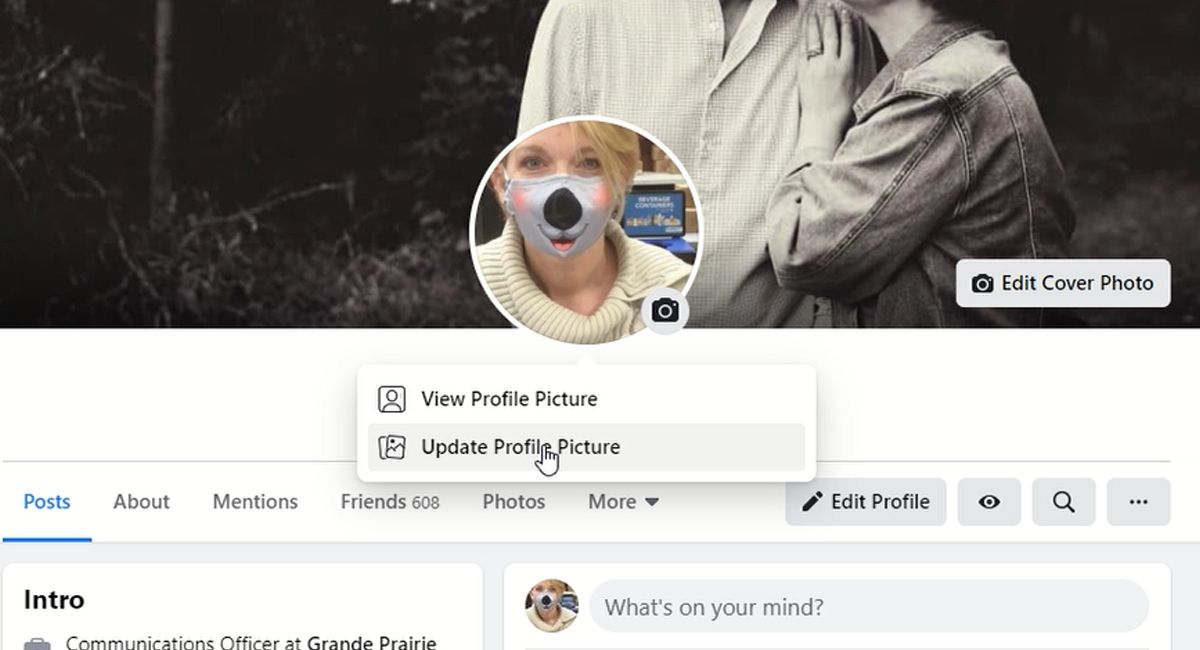
Firstly, you'll need to go to your Facebook profile and click on your profile picture. Then, select Update Profile Picture.
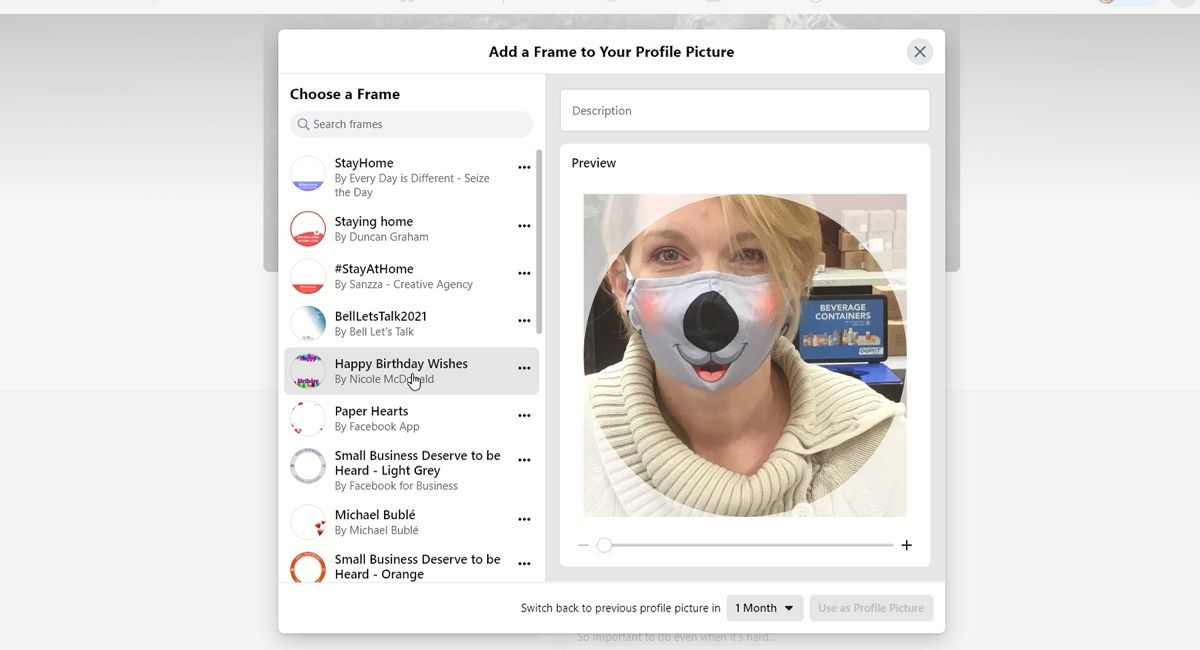
The option to Add Frame will pop up. Select this.
If you do not see your frame in the list you can search for it using the keywords you entered when creating your frame.
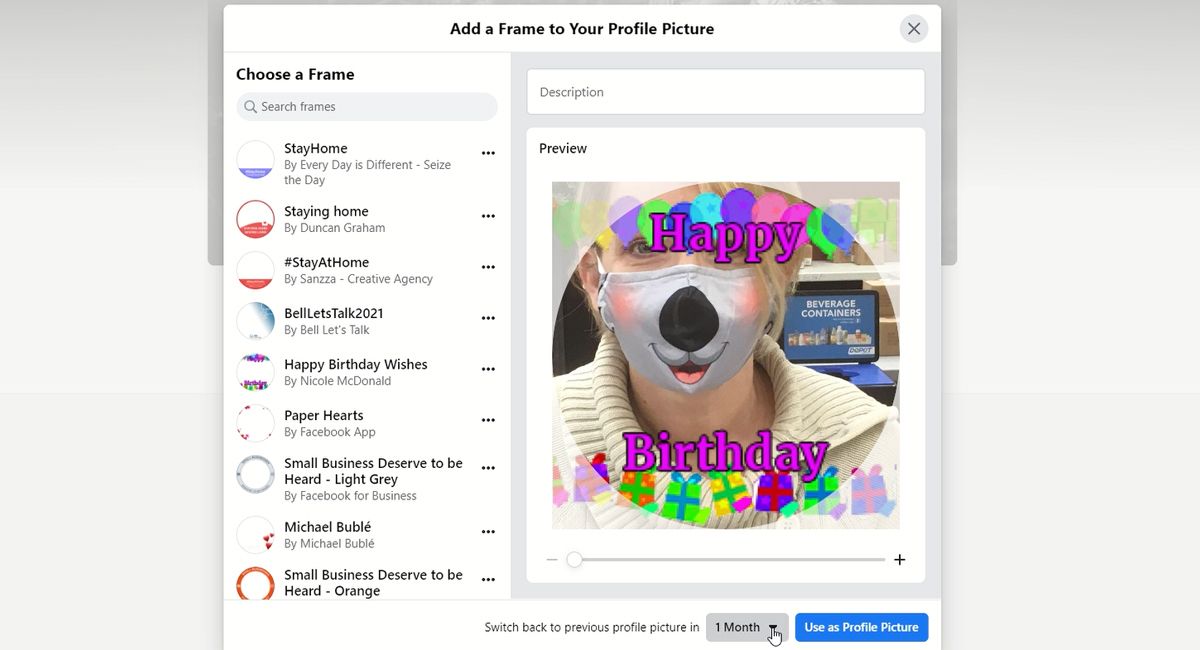
Once you have located your frame, select it to place it on your profile picture.
You can also set a schedule for the frame, so that it reverts to your previous profile picture after a certain period of time. Select a time period from dropdown list next to the text that says "Switch back to previous profile picture in".
Finally, select Use as Profile Picture.
3. Sharing Your Frame
Now that you have your frame all set up and in place on your profile picture, it’s time to share. You can always share your keywords with others so that they can search for your frame or you can send them directly to it.
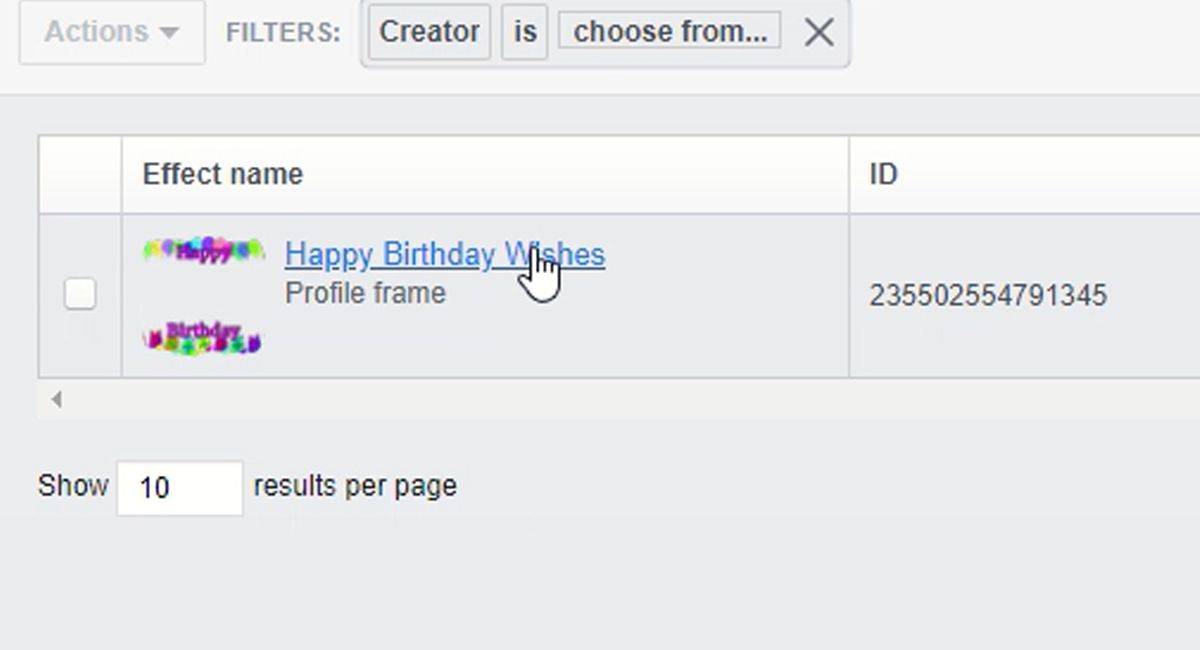
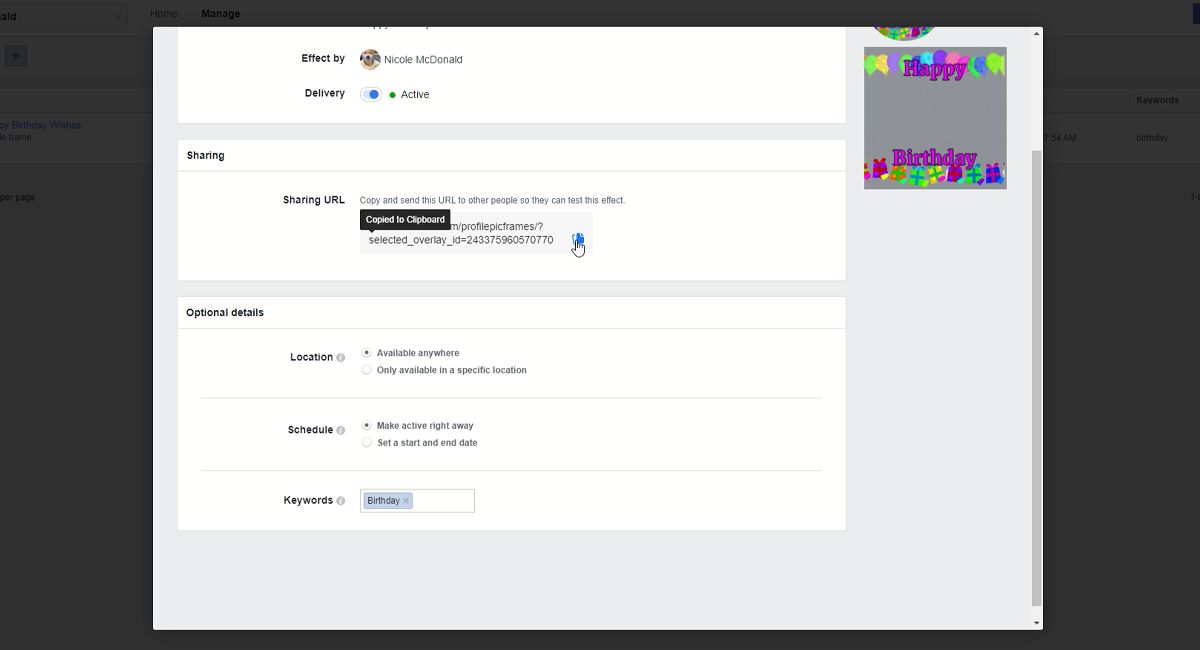
To share your frame directly with others, you will need to open the Frame Studio again. Then, open the frame you wish to share by clicking on the Effect name.
Under Sharing URL, select the Copy to Clipboard icon. You can then send this link your friends and family through any platform you wish.
4. Removing a Frame
Although you can set how long your profile picture displays a frame, it is always good to know how to remove should you forget to set the schedule or wish to remove it early.
To remove your Facebook frame, follow these steps:
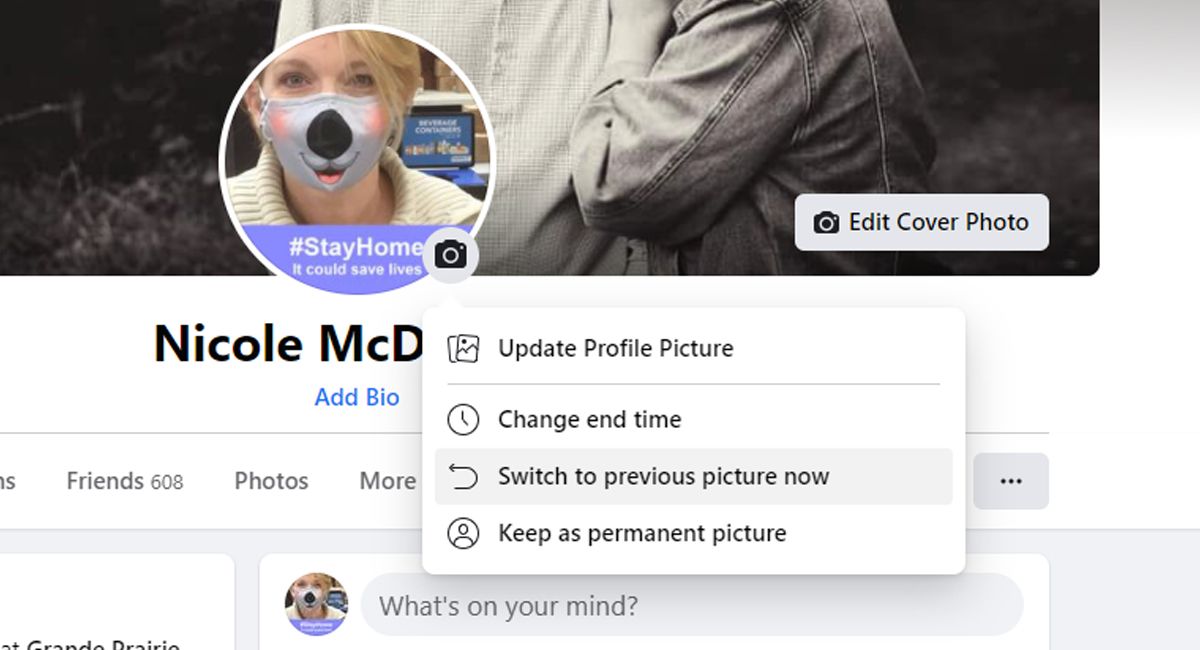
- Select the camera icon beside your profile photo.
- Select Switch to previous picture now.
- Click Confirm.
It’s Time to Celebrate With a Facebook Frame
As you have learned, making and sharing a Facebook frame can be fun and easy. It’s a great way to engage and connect people virtually to share a special occasion or day in a distinctive way.

