Subtitles were once famously shunned by audiences, but with the rise of technology, they’re becoming somewhat of a necessity. With dwindling attention spans and ears stuffed with AirPods, audiences have less and less time to actually listen to your video.
If you’re cutting your project in Adobe Premiere Pro, the Caption Tool offers an easy-to-use option to type up subtitles and export them.
This article will examine the different caption formats available, the process for adding them to your video, importing pre-existing or amended captions, and export options for your Premiere project.
Let’s jump in!
Getting Started With the Caption Tool
Of course, the first step in adding subtitles to any video is to have something to subtitle. If you don’t have anything on hand, you might want to try downloading some monologues or practice footage from the internet to work with.
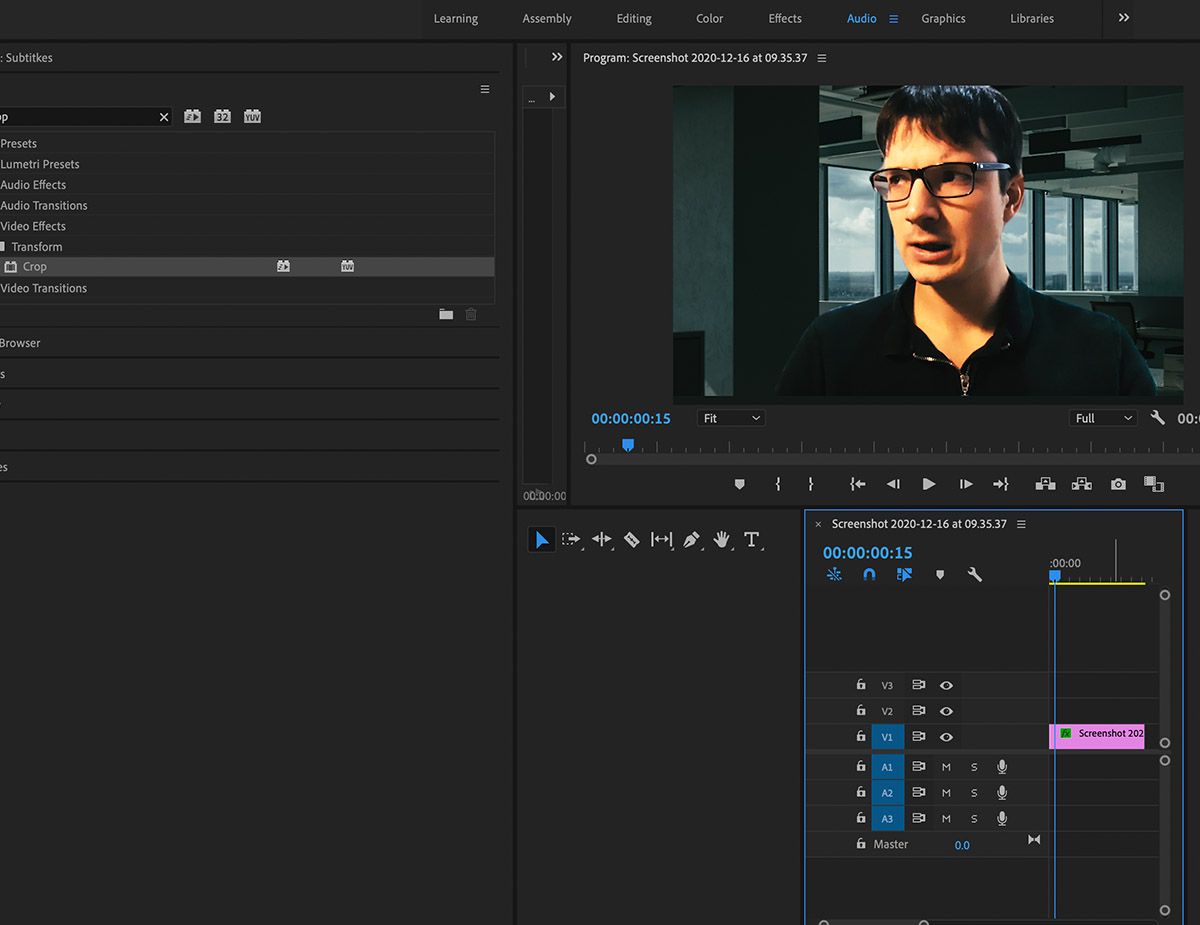
Once you've sourced your footage, brought it into Adobe Premiere Pro, and you've got an edit in the timeline, you can add a caption.
Creating the Caption File
Captions function much like footage, in that they can be placed into the layers of a timeline, and can be dragged and repositioned over other pieces of footage. Creating a caption places a reference for it in your Project Window.
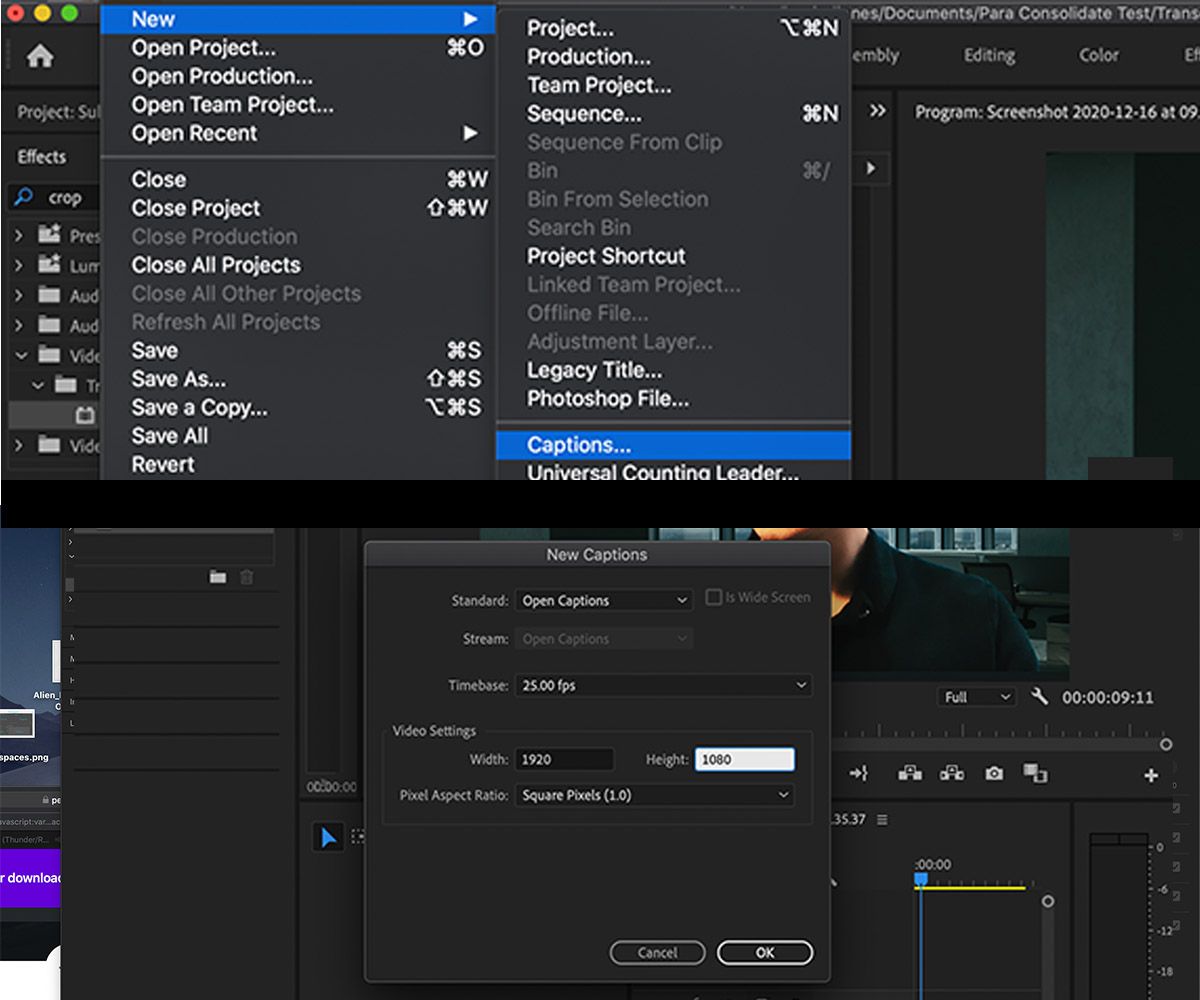
Hit File > New > Captions. This opens up a dialogue box, allowing you to customize the settings of your captions. There are special settings for television, such as CEA and Teletext, but for web video, the most functional is the Open Captions setting.
In the other boxes, you need to set the Width and Height to match those of your sequence, as well as the Timebase to match your sequence's Frame Rate.
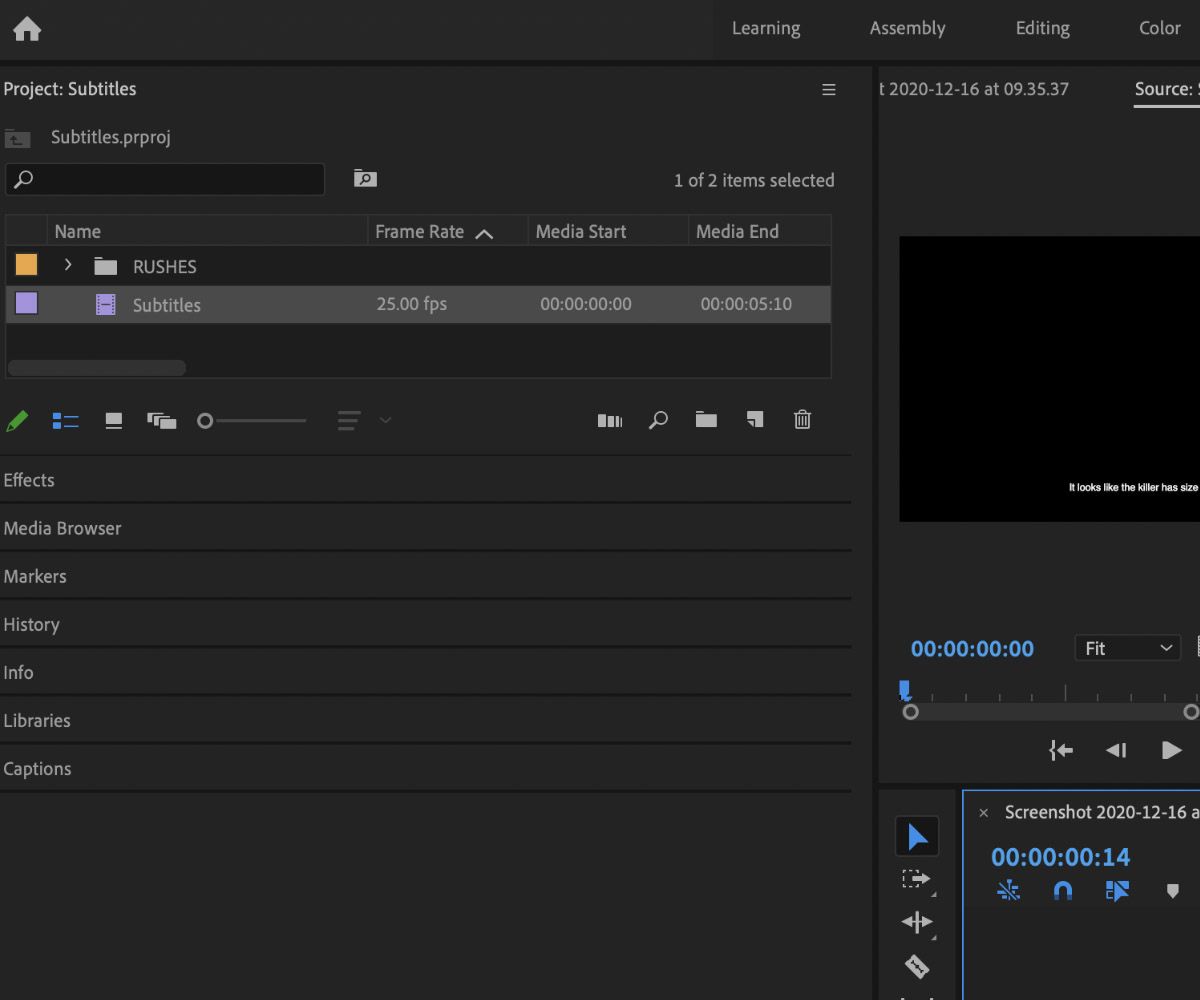
In the above example, the video has a resolution of 1920x1080, with a frame rate of 25 FPS, so the caption settings have been made to match. Once content with your settings, hit OK. In your Project Window, you'll see your caption file appear.
You can drag it into your timeline, though ensure it is above your footage. The captions file has been renamed to Subtitles.
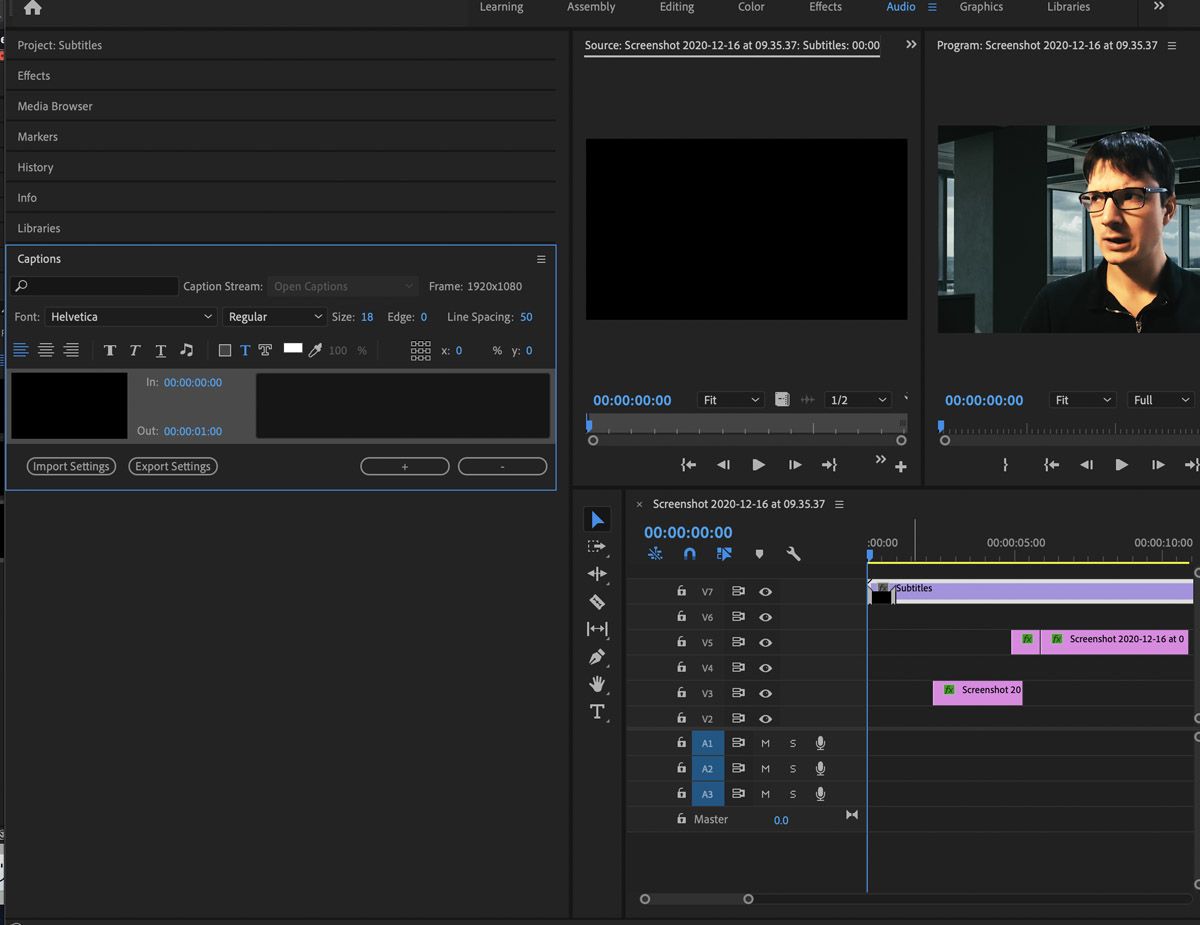
Double-clicking on the caption file once it is in your timeline brings up the Captions panel. Here, you can add captions in sync with your video. Let's examine this process.
The steps are fairly straightforward—the black box within the subtitle file in the timeline represents a line of speech you want to show onscreen. You can drag that box over the parts of your footage where you want the line to appear, setting the In and Out points.
The text for the line can be edited in the input box within the Captions panel. In this example, some text is going to be inputted.
Adjusting the Look of Your Captions
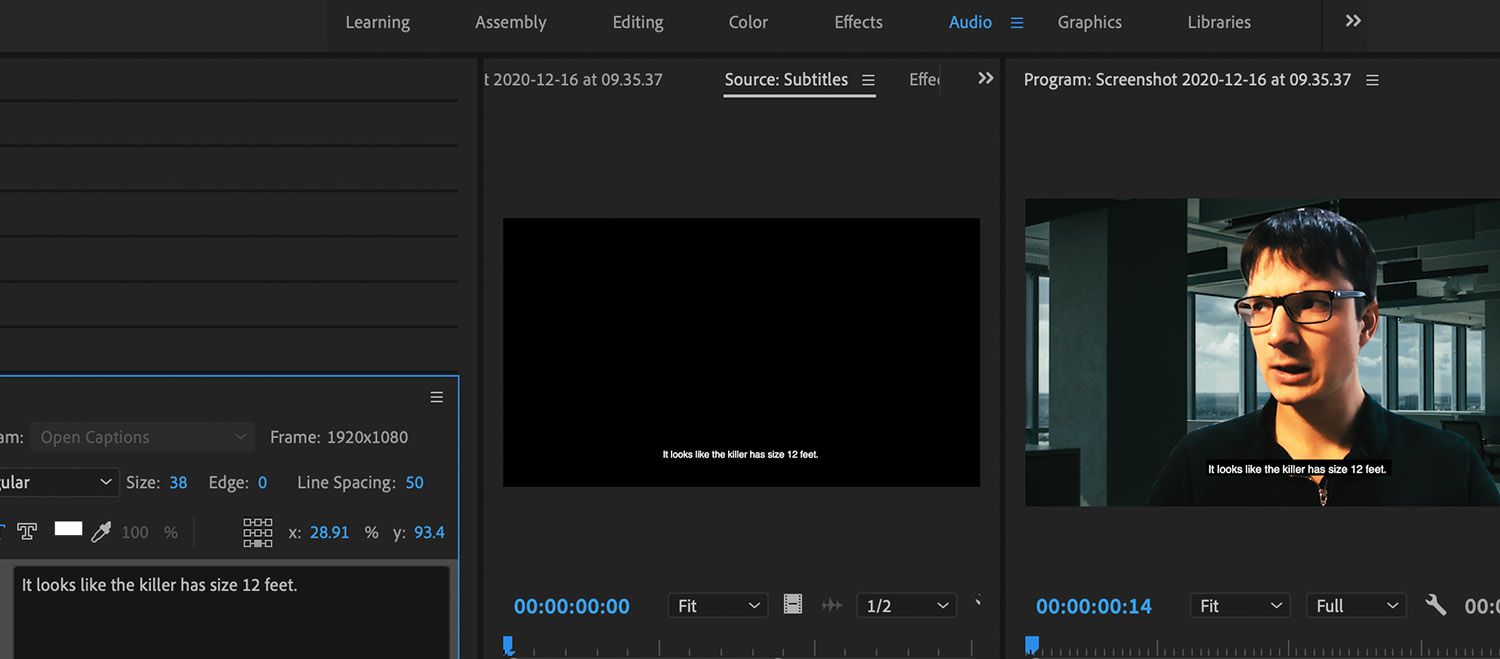
Some text has now been added to the caption, but it's quite small and difficult to read, which could be bothersome for users watching the video on a phone.
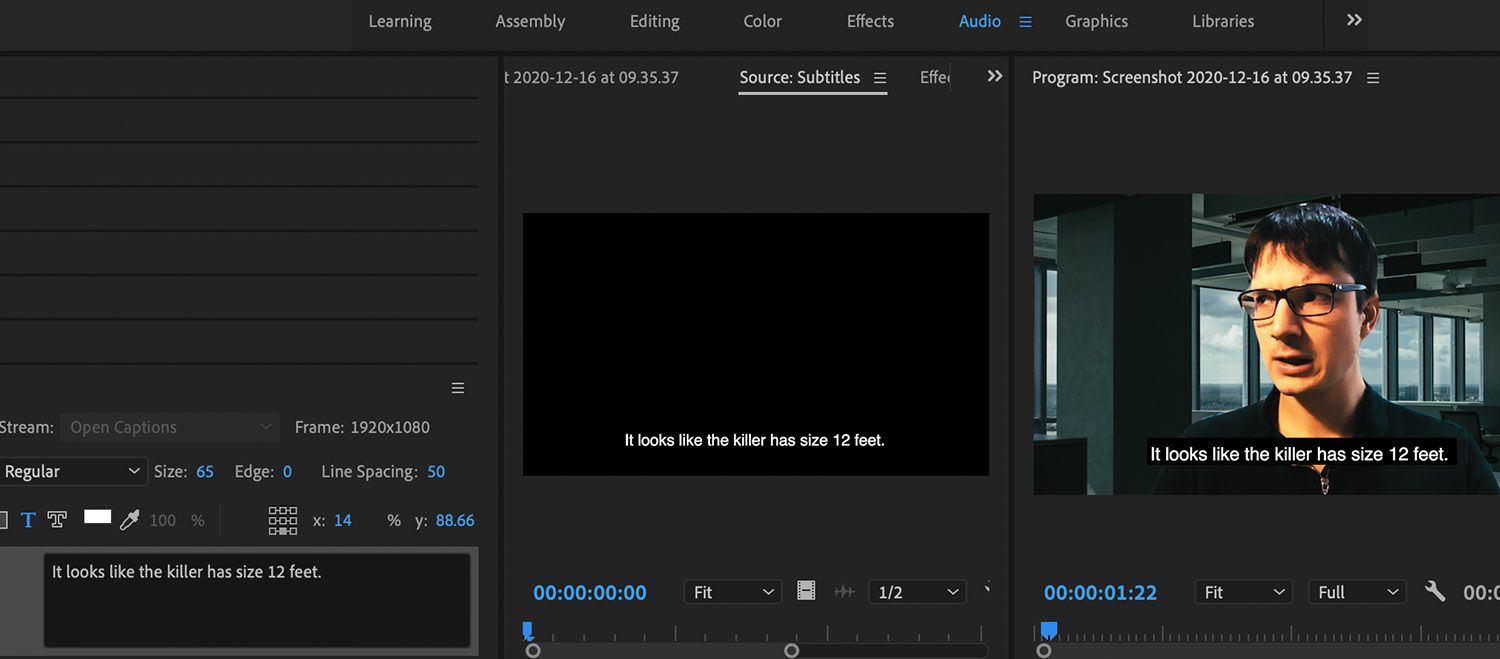
The font type and size can be adjusted via the parameters to the left in the Captions panel. Let's make the text a bit larger.
That's better—now the text is more legible.
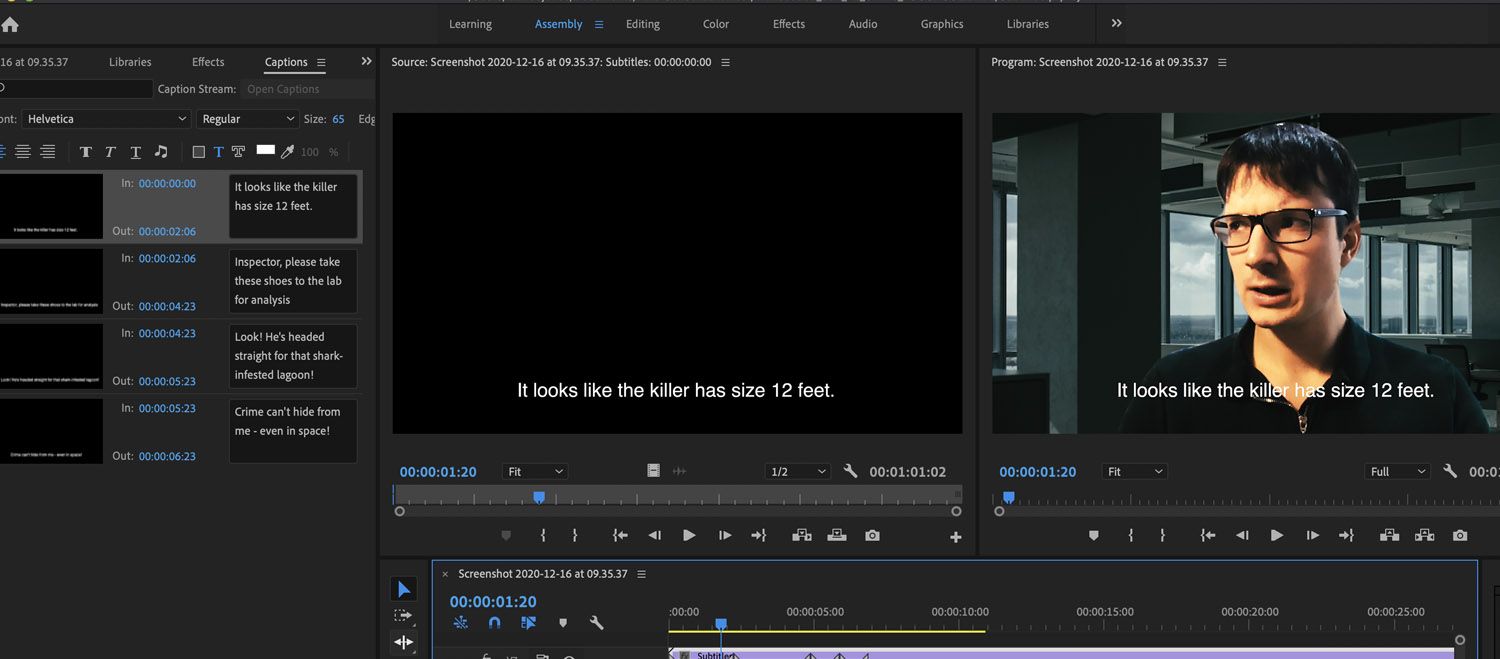
You can adjust other settings, including the font, opacity, as well as the color of the background and text using the Outline and Fill settings in the same window. Let's try a different style.
Here, the opacity of the background has been brought down to zero. This works well enough for this shot, but it is important to be mindful of not losing your subtitle in the image.
Adding Captions to Your Video
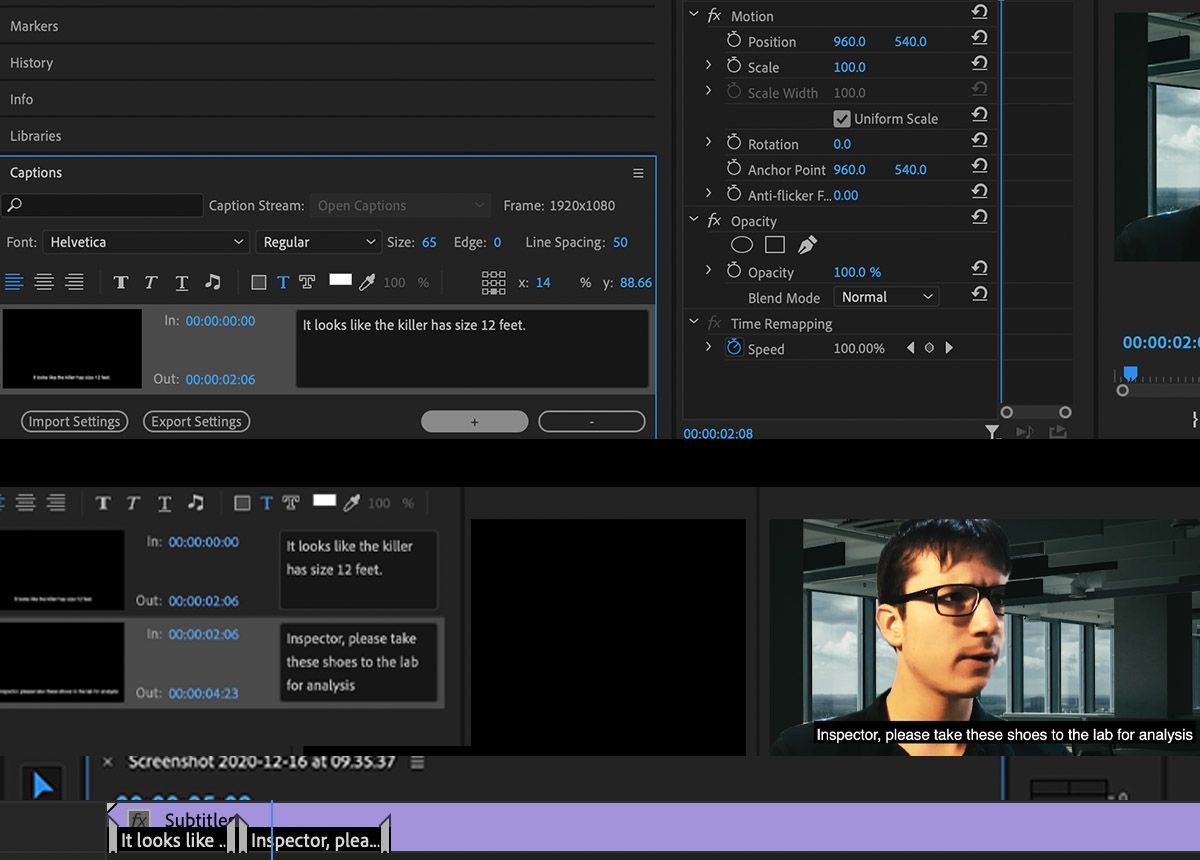
Of course, your video is likely to have multiple lines of dialogue, so you'll need to add multiple lines and adjust the timings to properly reflect what is being said.
To add a second line, simply click the plus button in the Captions panel, or right-click on your caption file in the timeline, and select Add Caption.
You can then adjust the In and Out points of the second caption to drag it over the footage.
Exporting and Importing Captions
One of the most powerful functions of the captions tool is the ability to export caption files for editing and display in web players. It can also import edited caption files back into Premiere.
This is especially handy if you want to send subtitles out for translation or proofreading.
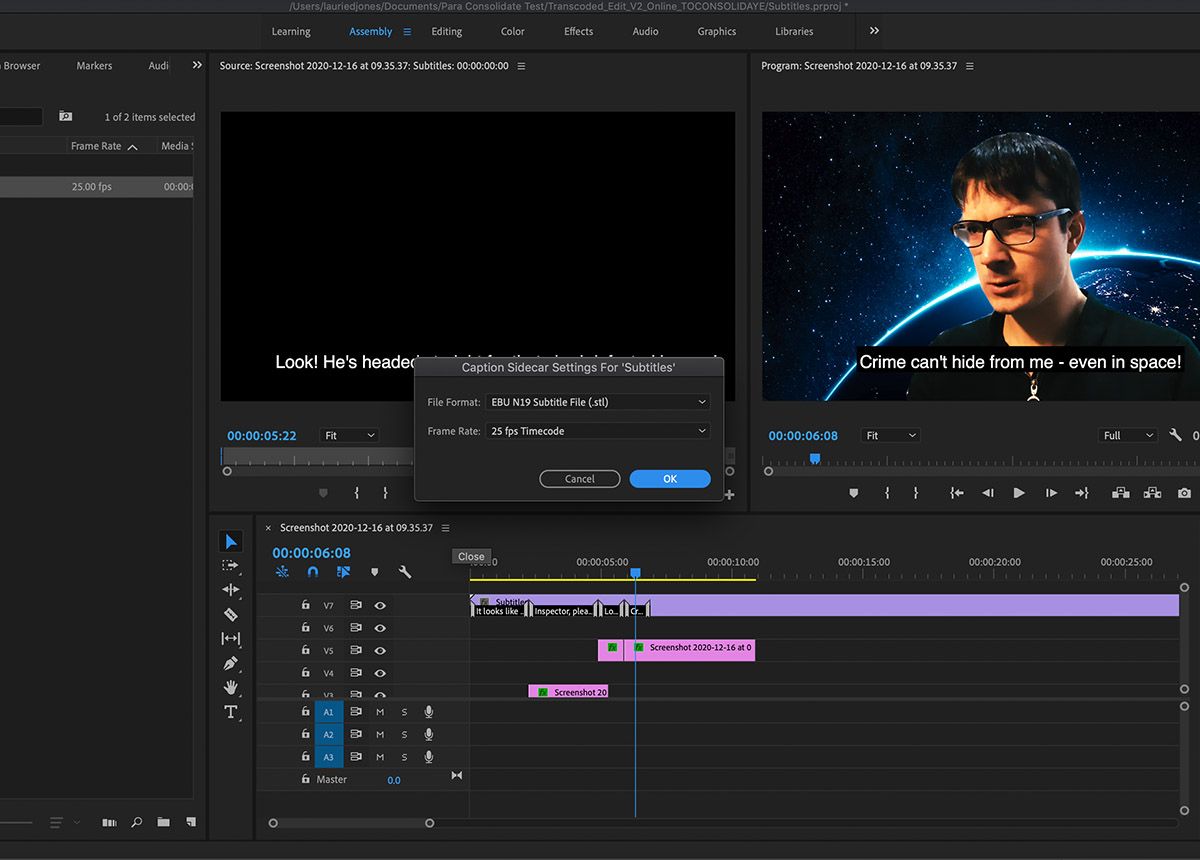
To do this, select your captions file in your Project Window and click File > Export Captions. This brings up the Caption Sidecar Settings Window.
You have a choice of two formats: STL or SRT. The SRT format is more commonly used in web video, but make sure you know which is supported by the platform your video is going on.
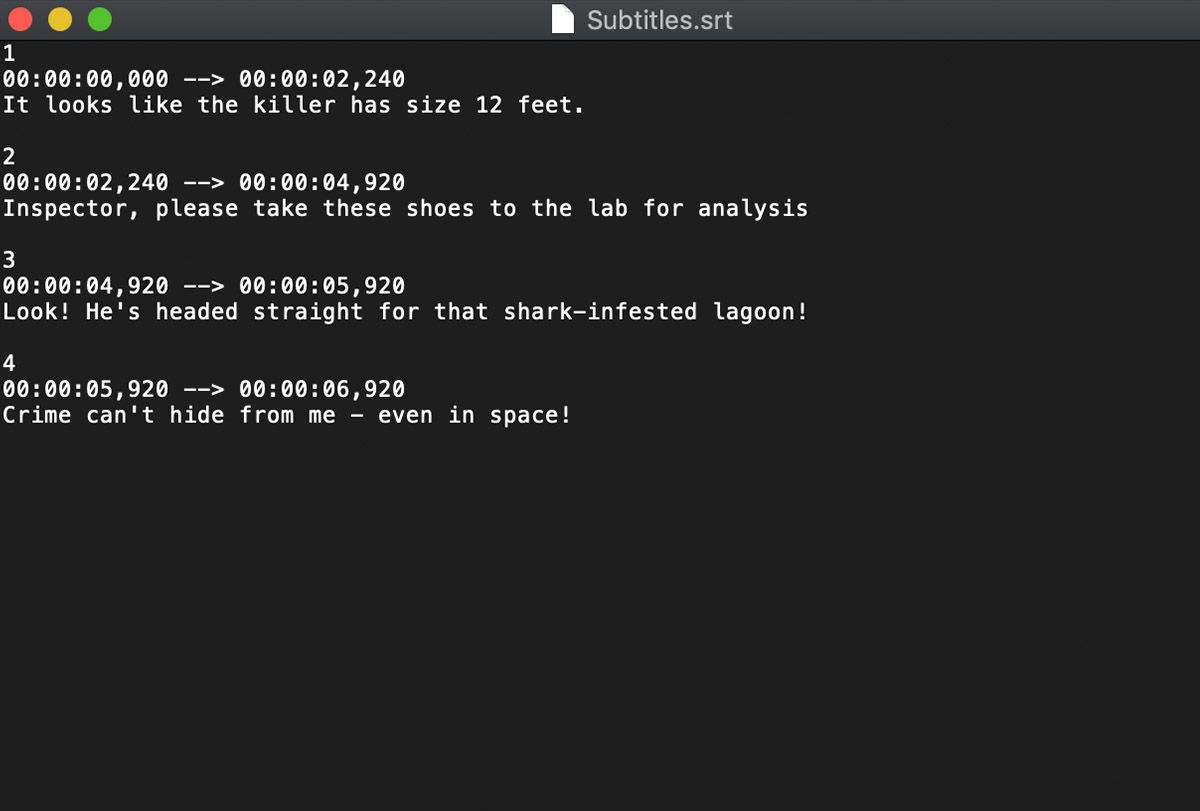
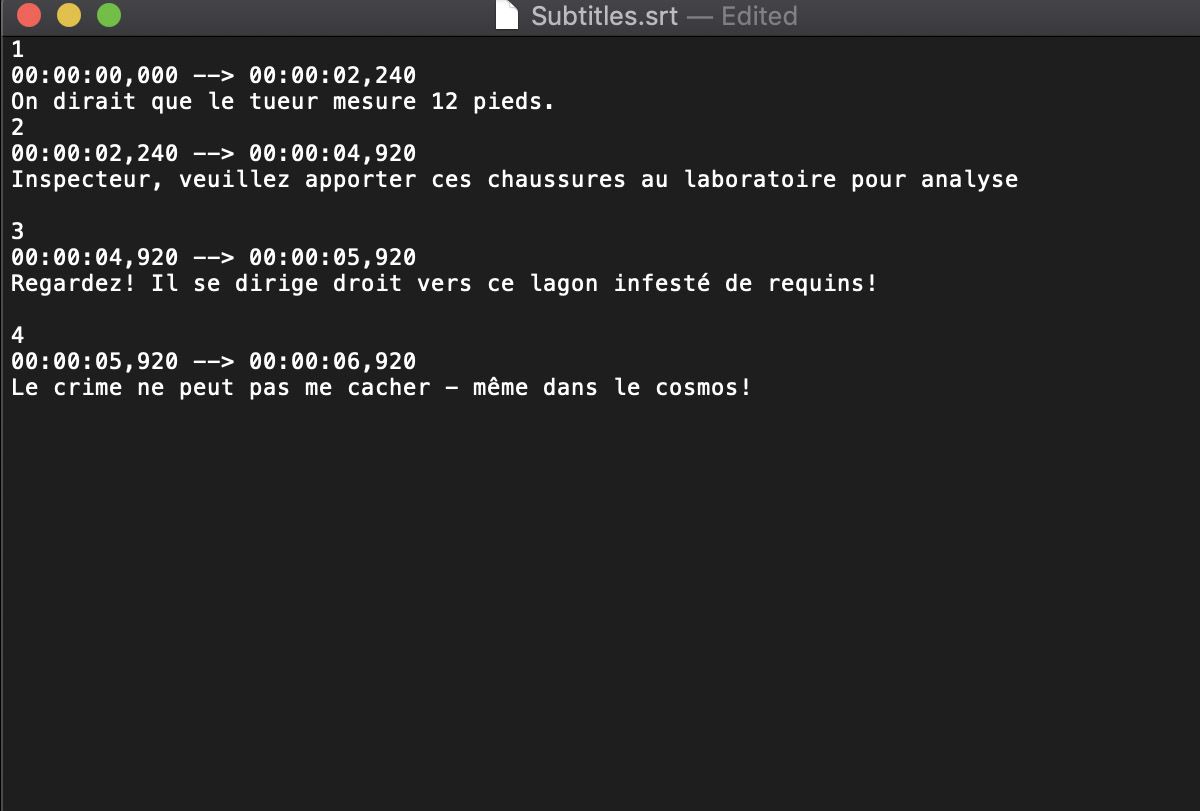
Opening your subtitle file in a text editor such as Notepad or TextEdit allows you to edit the text manually and make changes. This is particularly helpful if you want to send your file for translation.
As a rough example, let's translate these captions into French with Google Translate, swap out the English lines in TextEdit, and import the file back into Premiere.
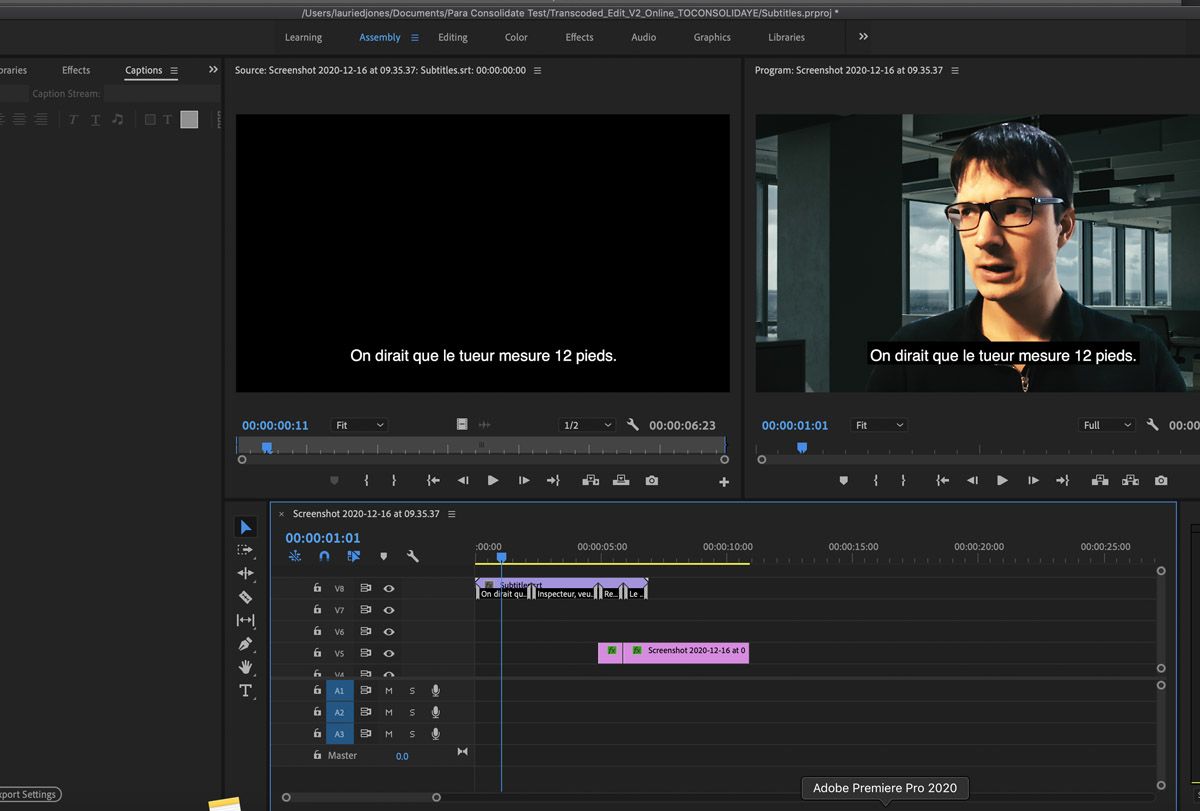
Now that these have been edited, importing the amended SRT file is easy. Simply use File > Import to bring in your amended SRT file.
It presents itself as a caption file in the Project Window. As before, just drag it into your timeline. If the timecodes are right, it should match up perfectly.
And voilà! Dodgy French translations aside, you can quickly bring in amended subtitles for quick translation and proofreading, which is particularly useful when working remotely.
Exporting Your Video With Captions
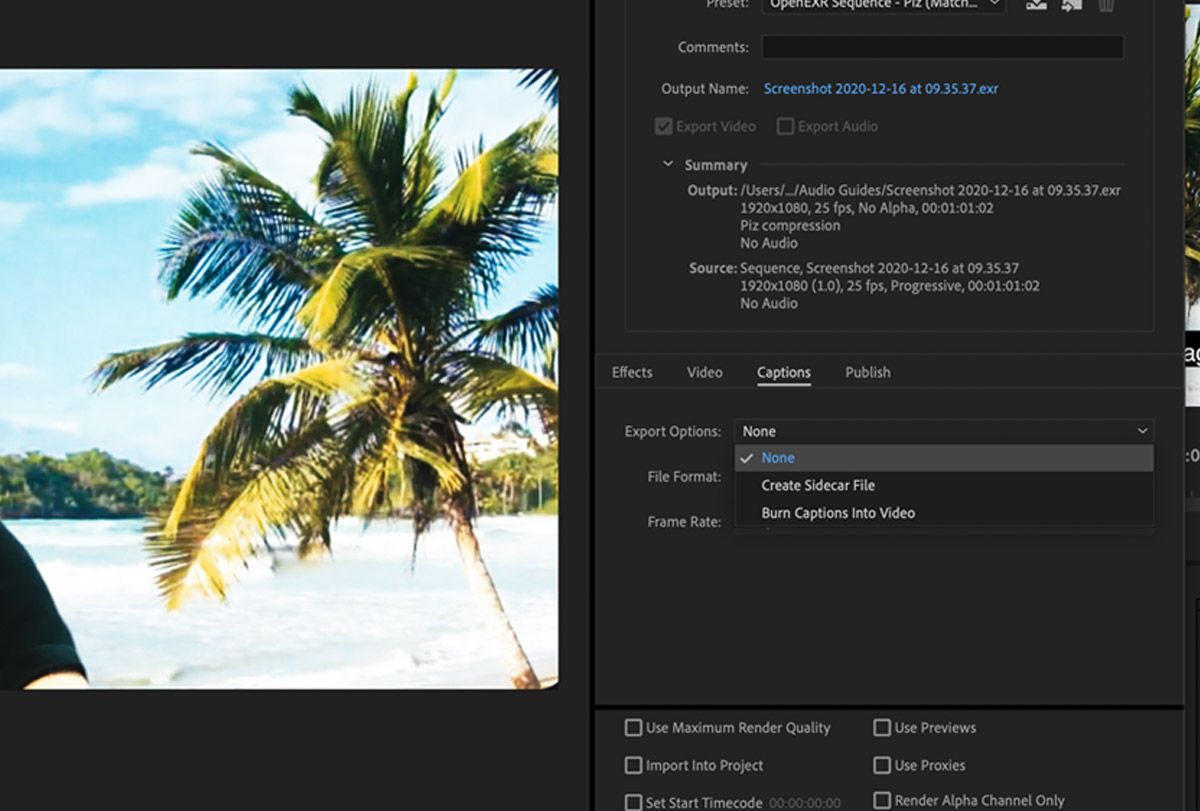
One final point to note is that if you want your subtitles or captions "burnt in" to your video, that is, on the image itself rather than overlaid by a web application, you need to enable this in your Export Settings.
These can be found in the Captions tab. You can also opt to export a subtitle file alongside your video.
Advancing Your Video Editing Skills
And there you have it—you can now make caption files to accompany your video, export them, edit them, and translate them. The Captions Tool is particularly versatile and easy to use. As you continue to make more videos, having a grasp on this feature can definitely come in handy.


