Most batteries don’t tell you how much juice they have left from the outside. A battery voltage tester is a simple tool that enables you to test the remaining potential energy inside your batteries, but how do you build a device like this? Join us as we build three different battery testers that work with single-use and rechargeable batteries.
How to Make a Battery Voltage Tester
The easiest way to measure a battery’s remaining juice is by reading its voltage, as this will drop as the battery loses charge. Different types of batteries will display different voltages depending on their charge level. For example, an AA battery ranges between 0.9 and 1.5 volts, with the lower end of the scale considered out of juice.
You can look up the specific voltages for the batteries you are working with online to gauge the charge level. Reading the voltage of your batteries is a good way to make sure that they are still healthy. You should always replace your batteries when they don't match the manufacturer's voltage specifications.
Battery Voltage Tester Parts
Each of the battery testers we're building here has its own part requirements, though some of the parts are shared. Thanks to the simplicity of the circuit you are building, you can afford to be creative with your battery tester design.
|
Basic Battery Tester |
Scrap Battery Tester |
LiPo Battery Tester |
|
2-Wire Voltmeter |
2-Wire Voltmeter |
2-Wire Voltmeter |
|
Wire |
Wire |
Wire |
|
Battery Contacts/Foil |
Scrap Device With Battery Tray |
Deans Connector (or equivalent) |
Choosing the Right Voltmeter
Different voltmeters are made to work with different voltages. The V200-2P-1.1 voltmeter we are using operates between 4 and 99 volts without an external power supply, making it ideal for lithium-based batteries, like 18650s, but unusable with AAs or AAAs. You should pick a voltmeter that falls within the voltage range you want to test.
DIY Battery Tester Circuit
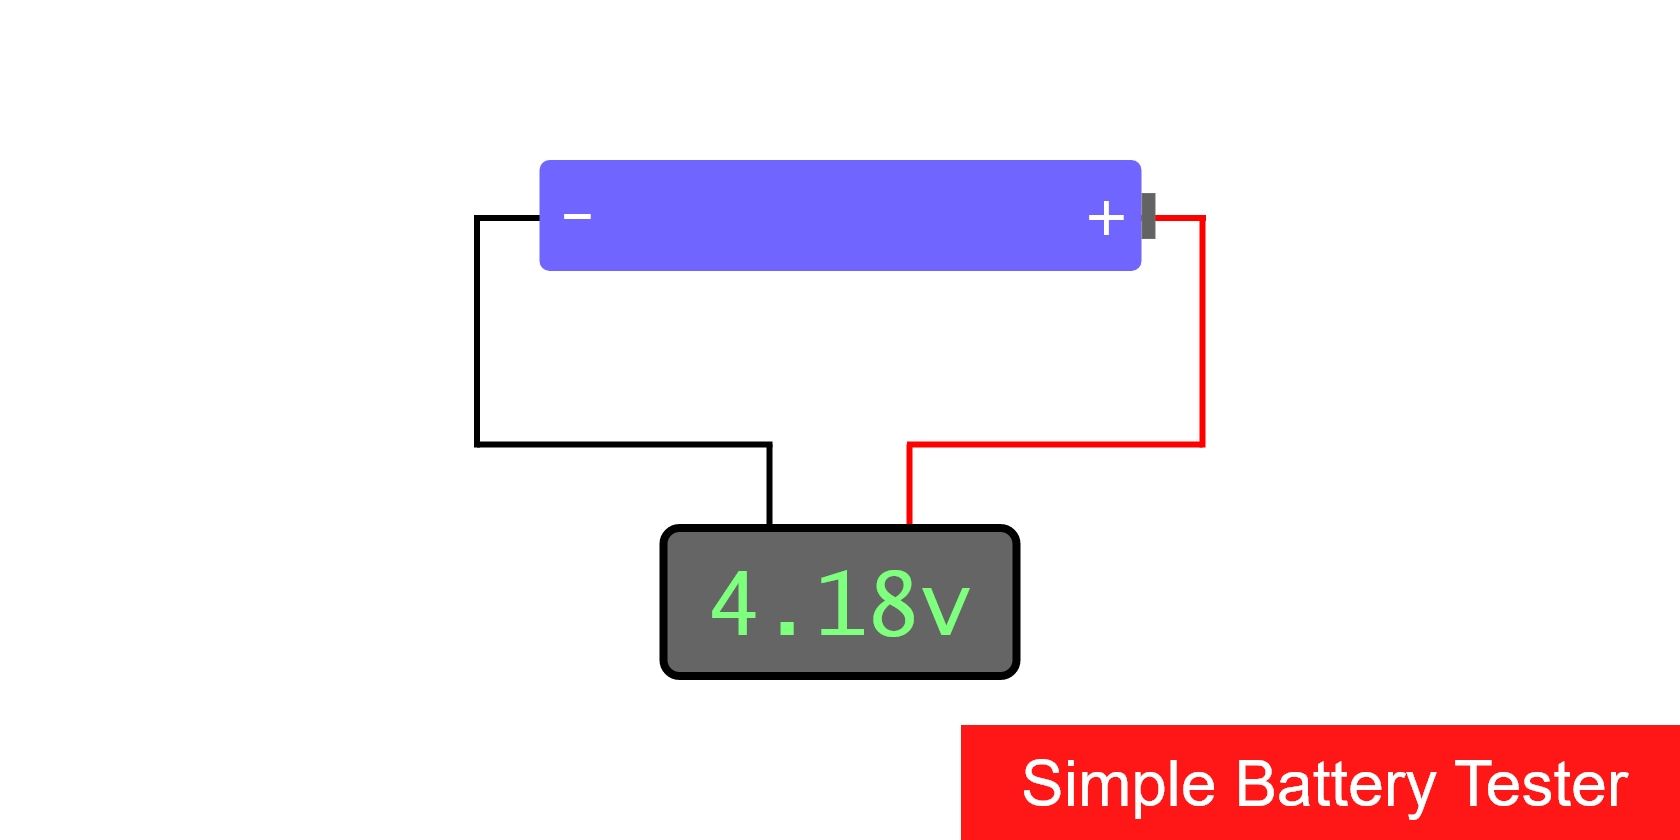
2-wire voltage meters are incredibly simple, making them ideal for whipping up a quick DIY battery tester. You just need to find a way to make the positive lead touch the positive battery contact and the negative lead touch the negative battery contact. It also pays to insulate the finished product to avoid shorts.
Method 1: A Basic Battery Tester
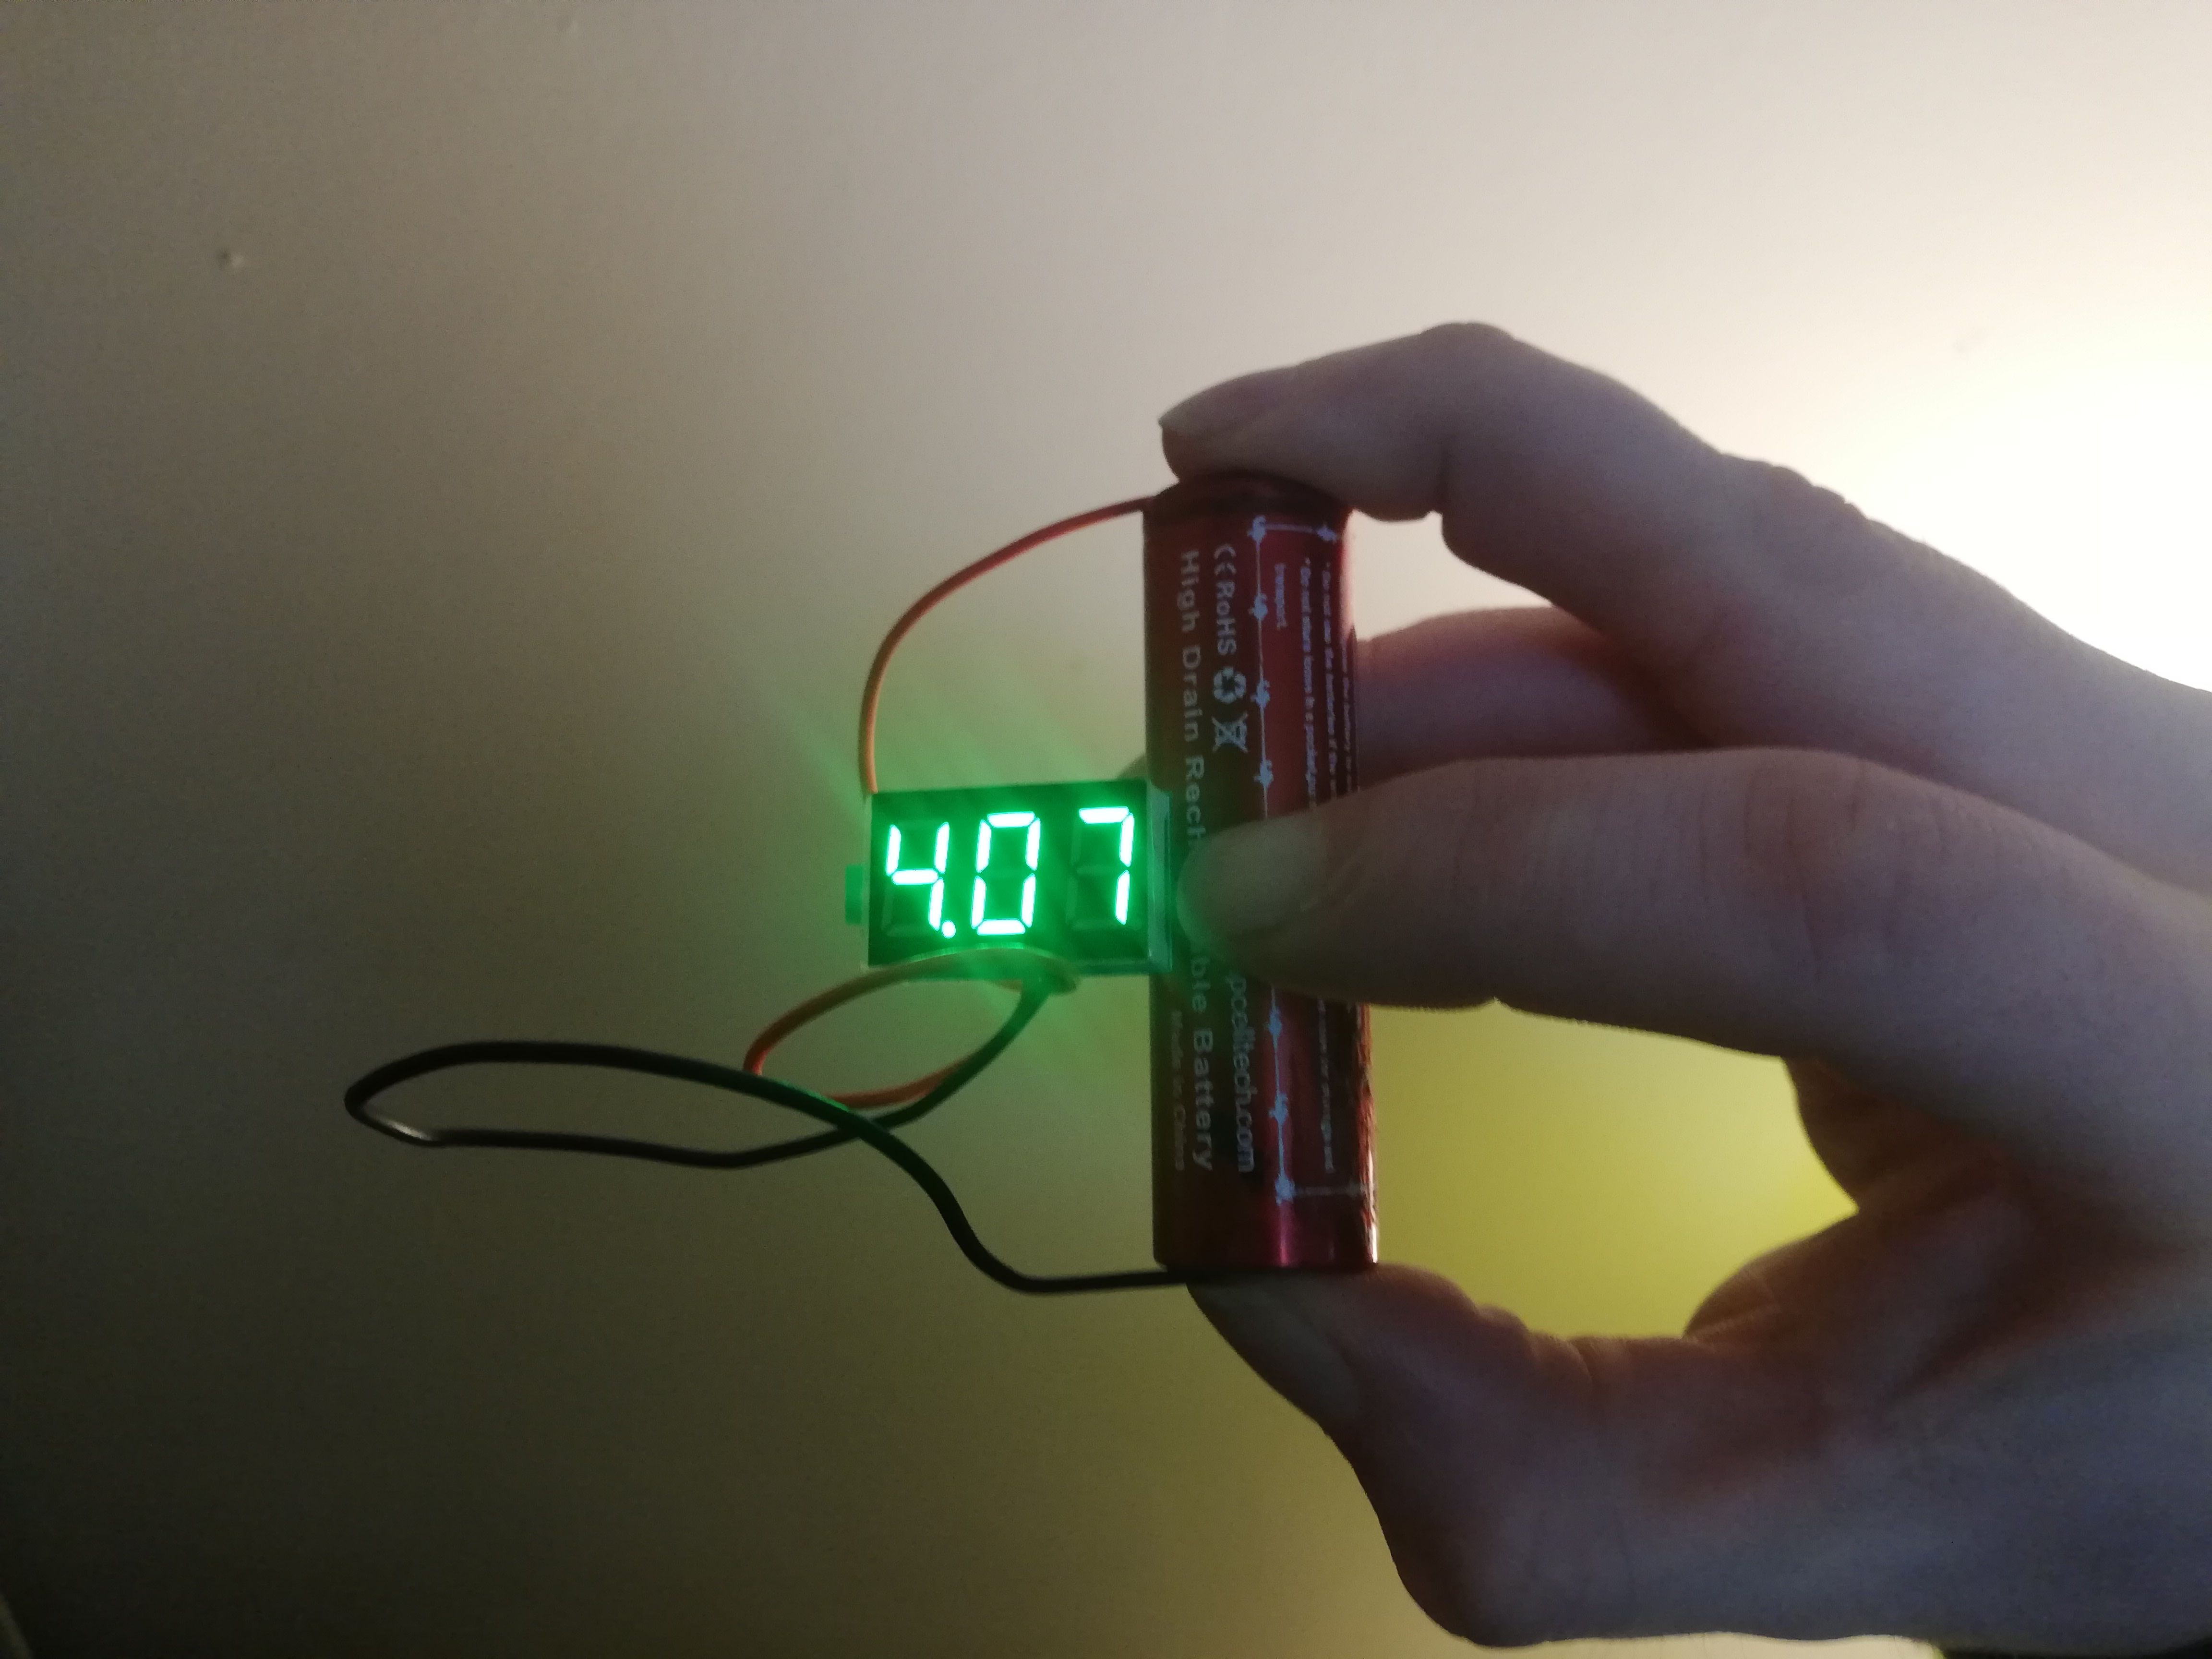
Given that 2-wire voltage meters are so simple, it makes sense to start with the most basic battery tester we can. A lot of voltmeters come with pre-attached wires. These wires can be used directly with a battery to test its voltage; you might just need to extend them a little first. You can use foil or wires to extend the existing wires or connections on your meter.
The battery you are testing provides power to the voltmeter, turning it on as soon as the wires make contact with the battery. You just need to make sure that you get the polarity correct to ensure an accurate reading.
Method 2: A Scrap Battery Tester
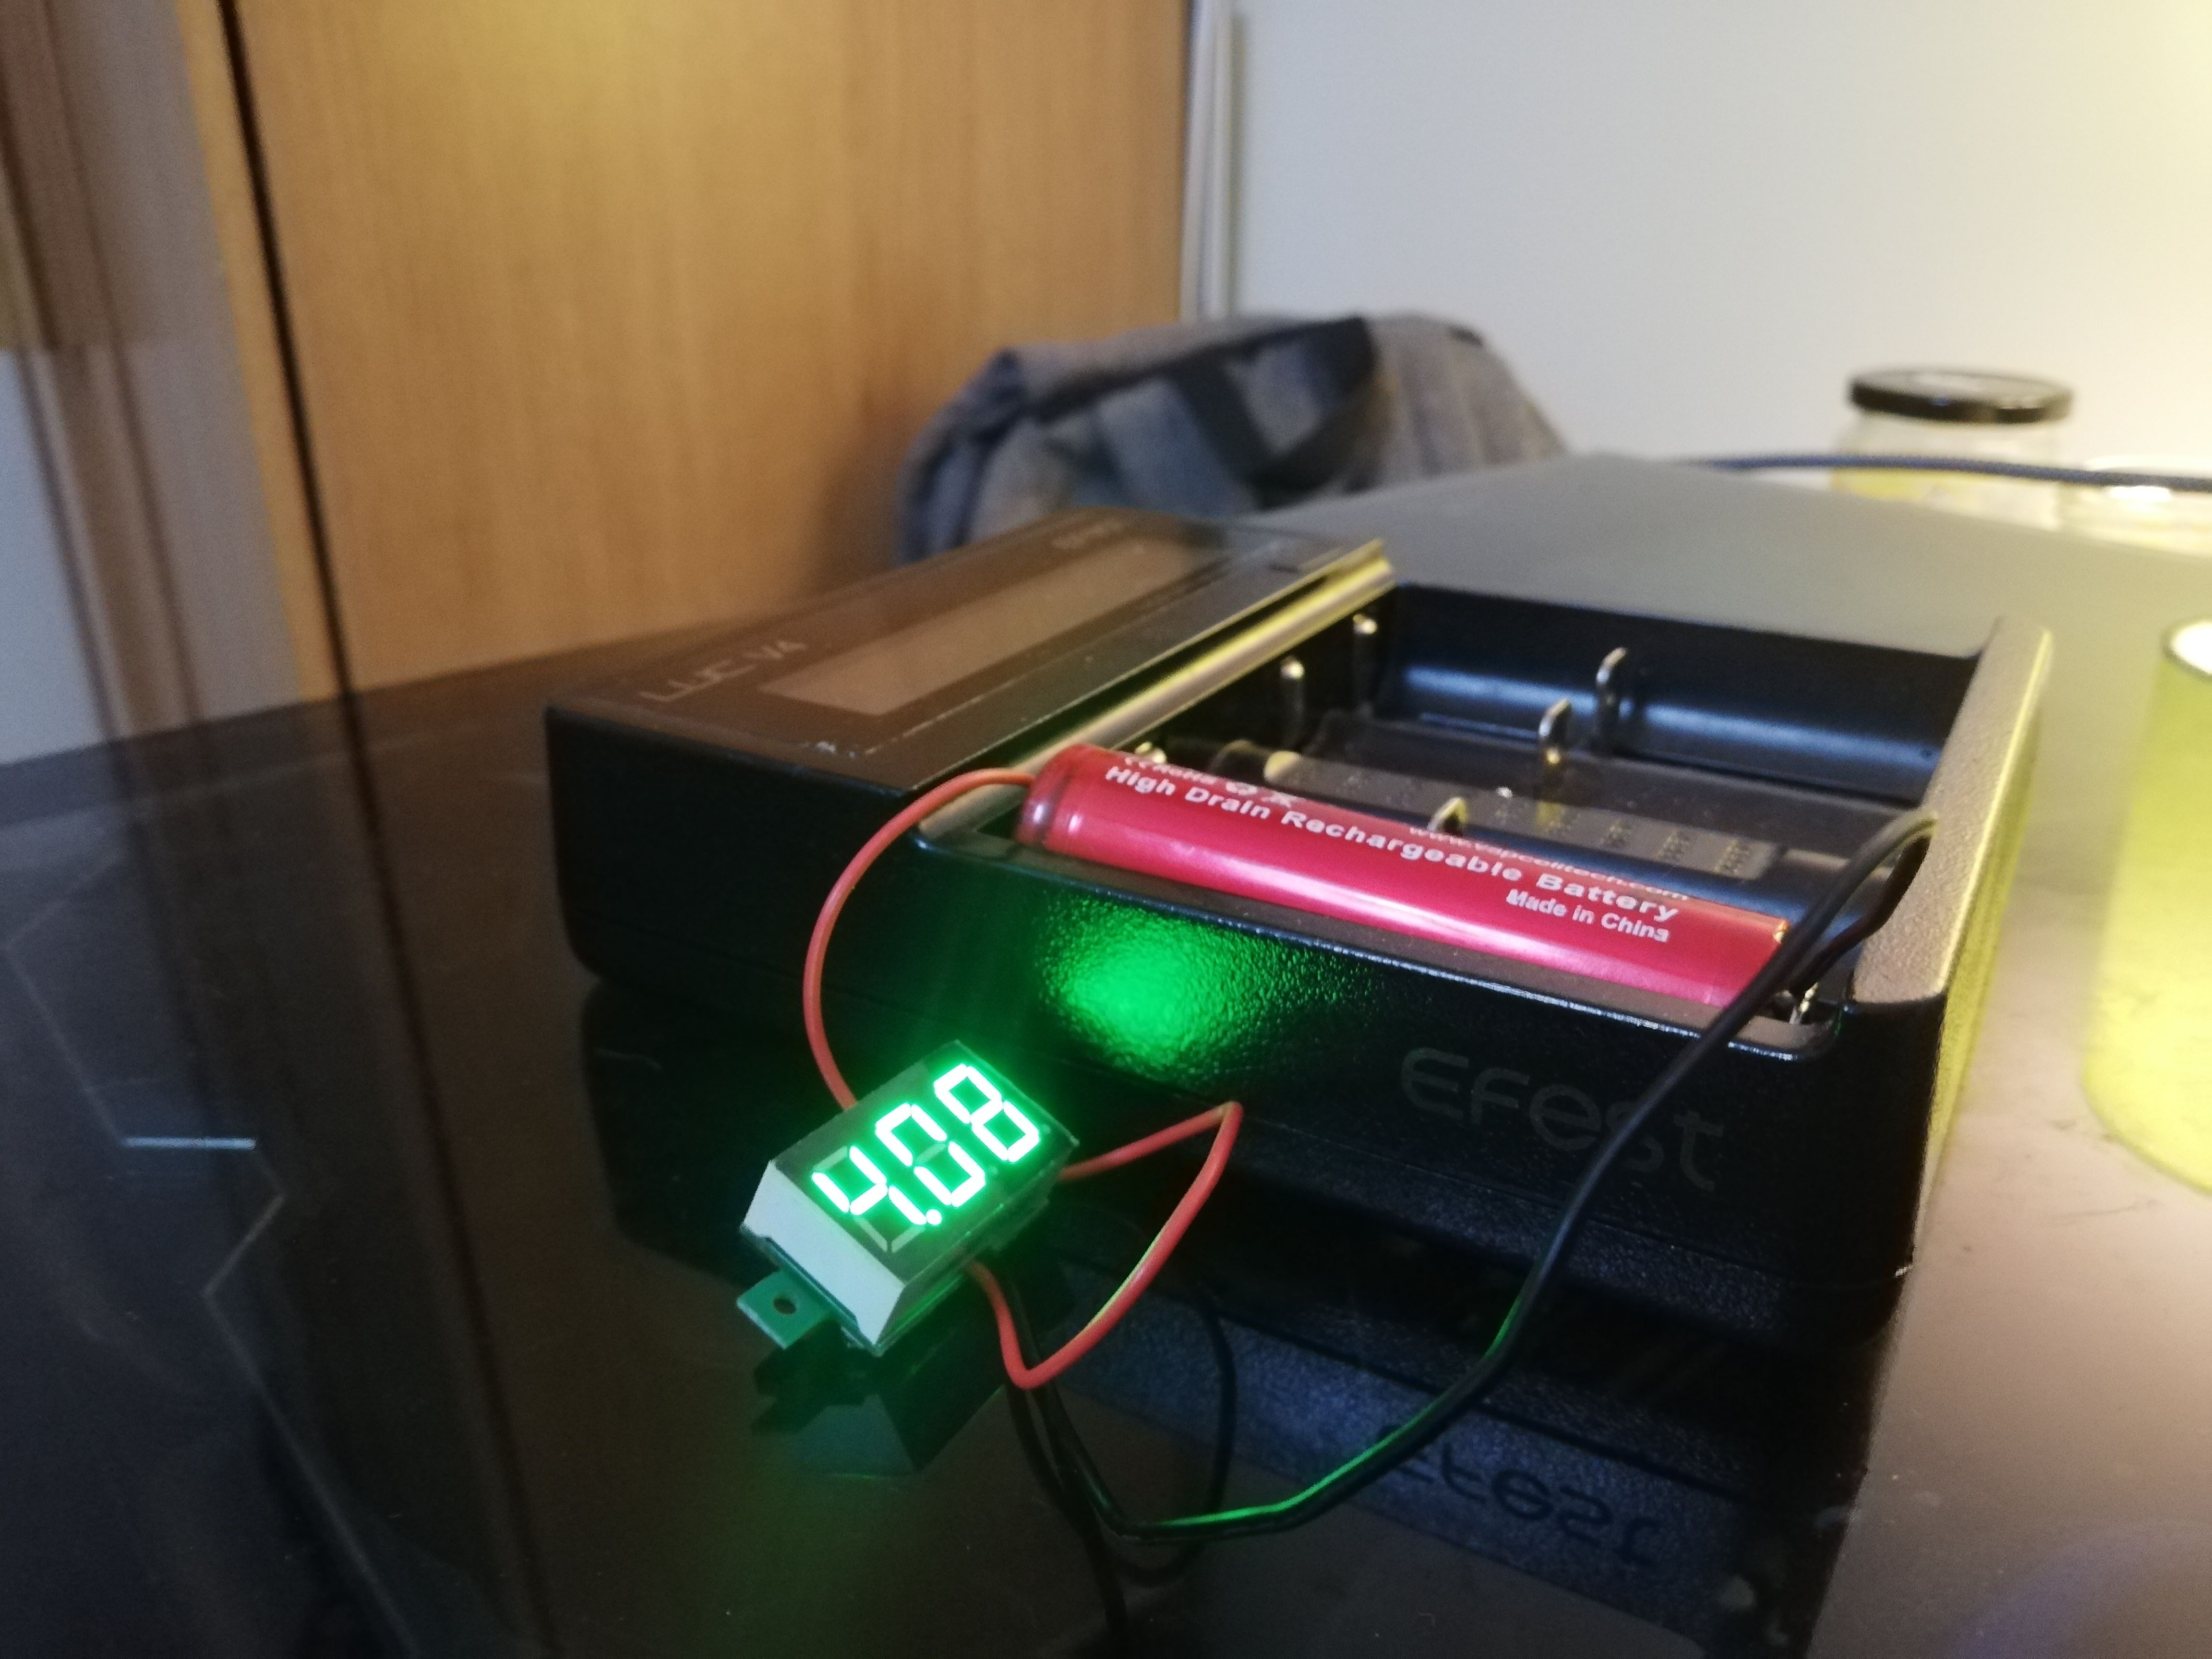
But what if you want something more robust for your battery tester? You can build this scrap battery tester with a wide variety of components, but it’s best to choose something that was made to hold your batteries. For example, we’ve used a lithium-ion 18650 charger as the basis for our design.
To make this work, you just need to connect the positive and negative voltmeter wires to the appropriate poles on your battery holder. It’s also worth taking apart the donor device you are using, to disconnect the battery holder from anything that might confuse the voltmeter. As you can see from our scrap battery tester shown above, the end result looks much better than our basic battery tester.
Method 3: A LiPo Battery Voltage Tester
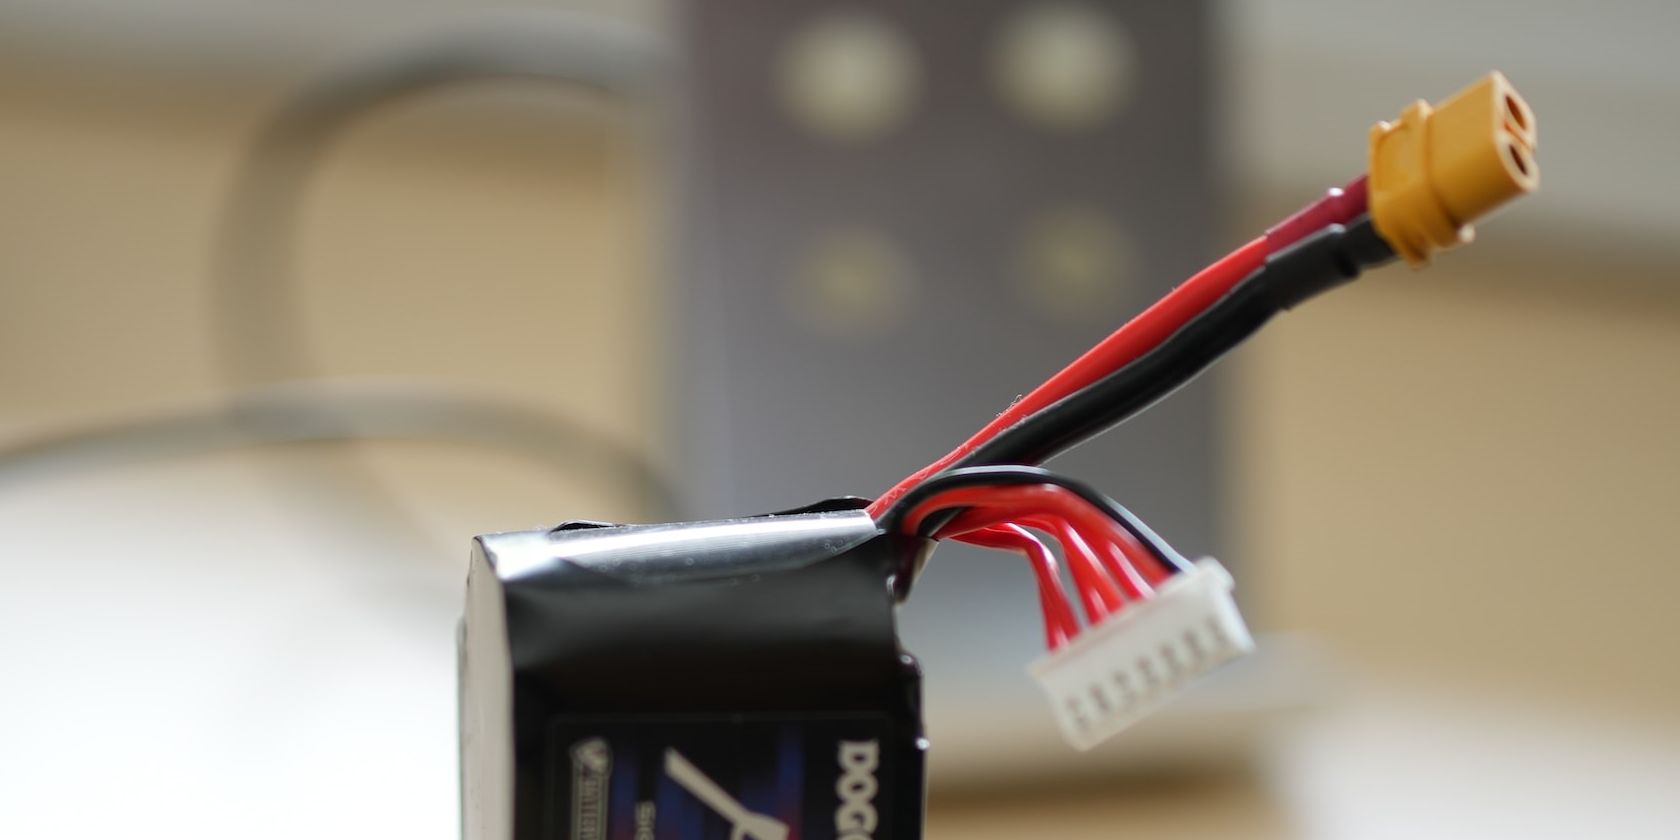
Finally, it’s time to make a LiPo battery voltage tester. This is more complicated than the other ideas on this list, as LiPo batteries often have more than one cell, and you can choose between reading individual cell voltages or the voltage of the whole battery.
For those looking to measure the voltage of the whole battery, this is simple: just add a battery connector to your voltmeter that matches the one already on your battery. We used a Deans T-plug connector for our battery tester.
Alternatively, you can use the balance/charging connector to test the voltage of individual cells. It’s important that you look up the wiring for your specific battery to avoid mistakes here. Connect the negative voltmeter lead to the negative connection on the test cell, followed by doing the same with the positive connections.
Finding a diagram of your balance connector will make it much easier to determine which wires connect to each cell. The more cells your battery has, the more wires your balance connector will have on it.
Building a DIY Battery Tester
Testing batteries is easy, safe, and fun when you have the right tools. It’s always extremely important to take battery safety seriously, though. Make sure your batteries are in a good state of repair before you attempt to use them with any of the battery testers covered here.


