
Guides in Apple Maps serve as virtual tour guides based on the location you have searched for. They recommend new places you can visit in the particular area, let you add them to your own Guide, and allow you to share them with your friends. You can even save your daily travel route and find out all the restaurants and shops that you will encounter on your way.
Let's take a look at the steps you need to take to create your own Guide in Apple Maps.
Creating a Guide in Apple Maps
Creating a new Guide in Apple Maps is way easier than you think. The feature is quite unique and a significant improvement in Apple Maps, helping the app edge closer to its ever-popular rival, Google Maps.
Here's how to create a new Guide:
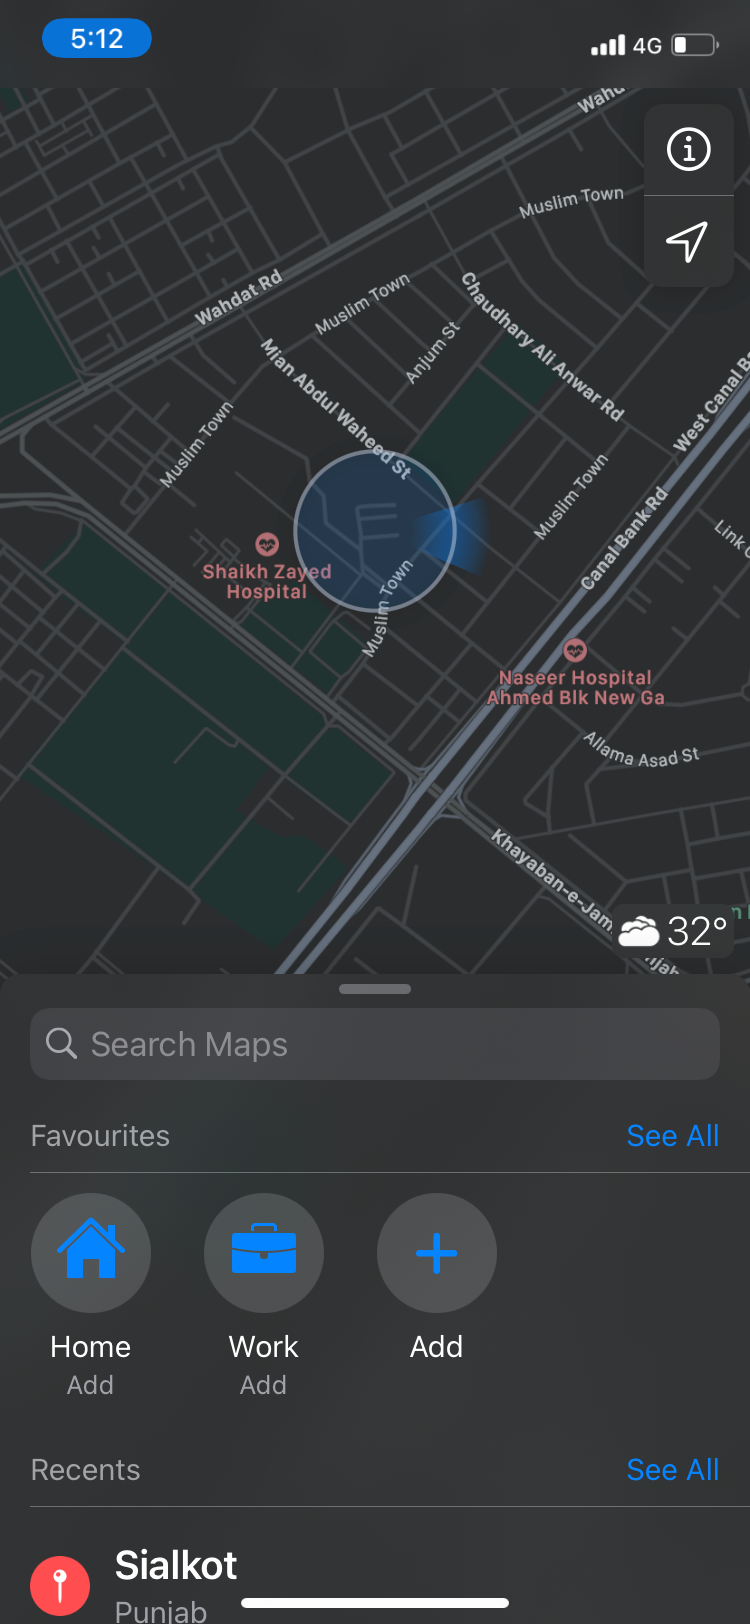
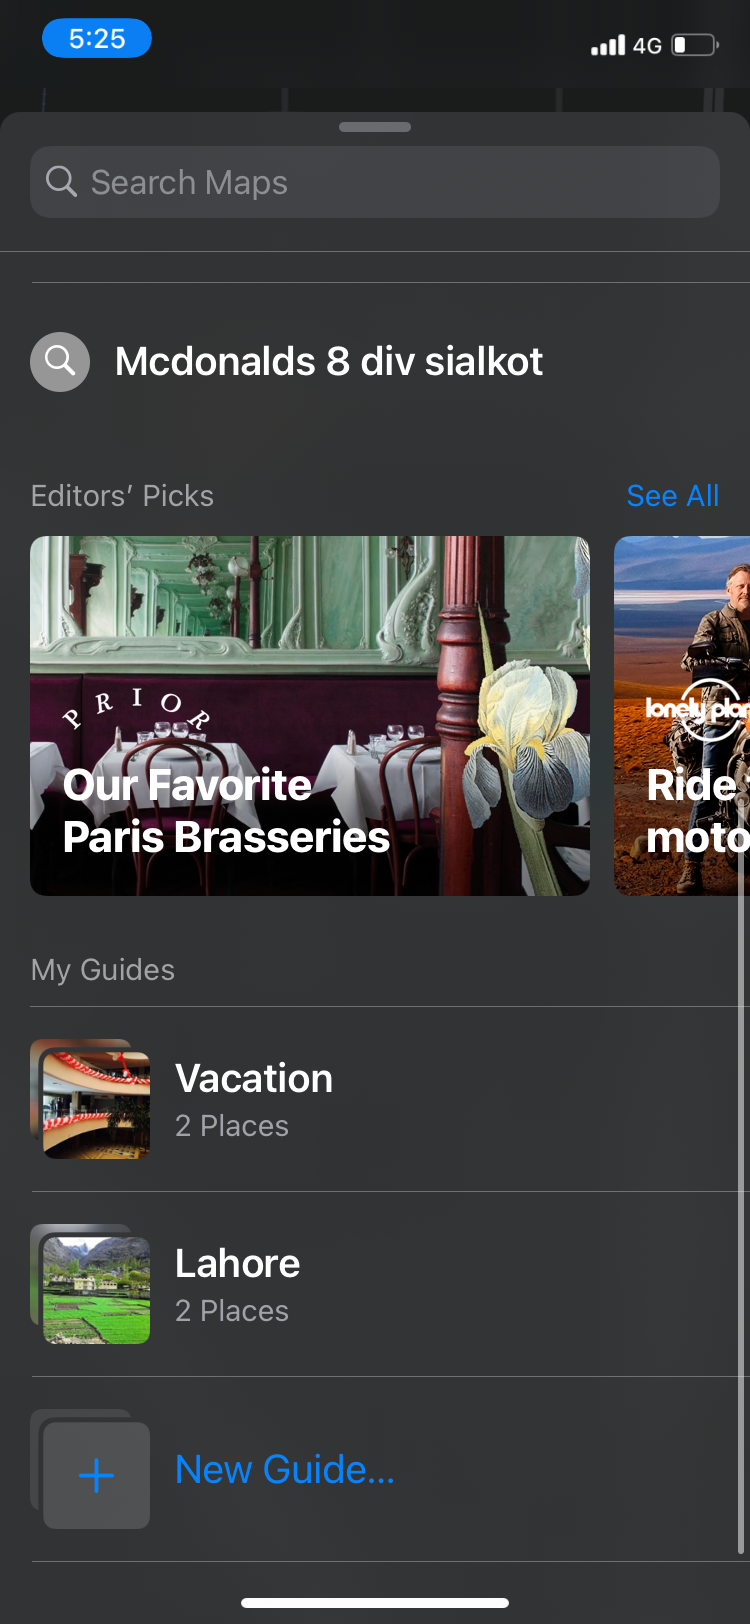
- After you open Apple Maps, swipe up to slide the panel up to fill your screen.
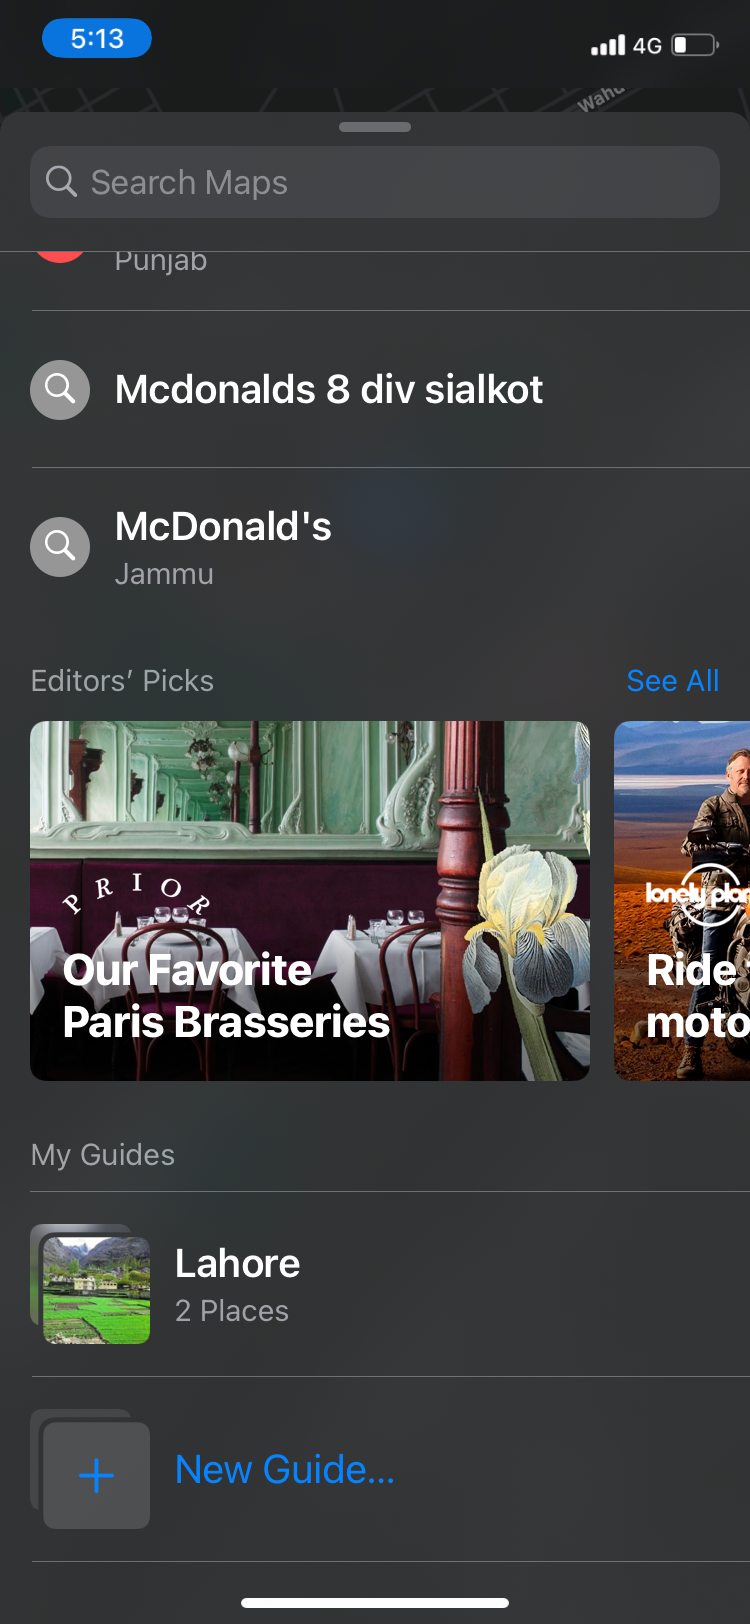
- Then scroll down and tap New Guide at the bottom of the panel.
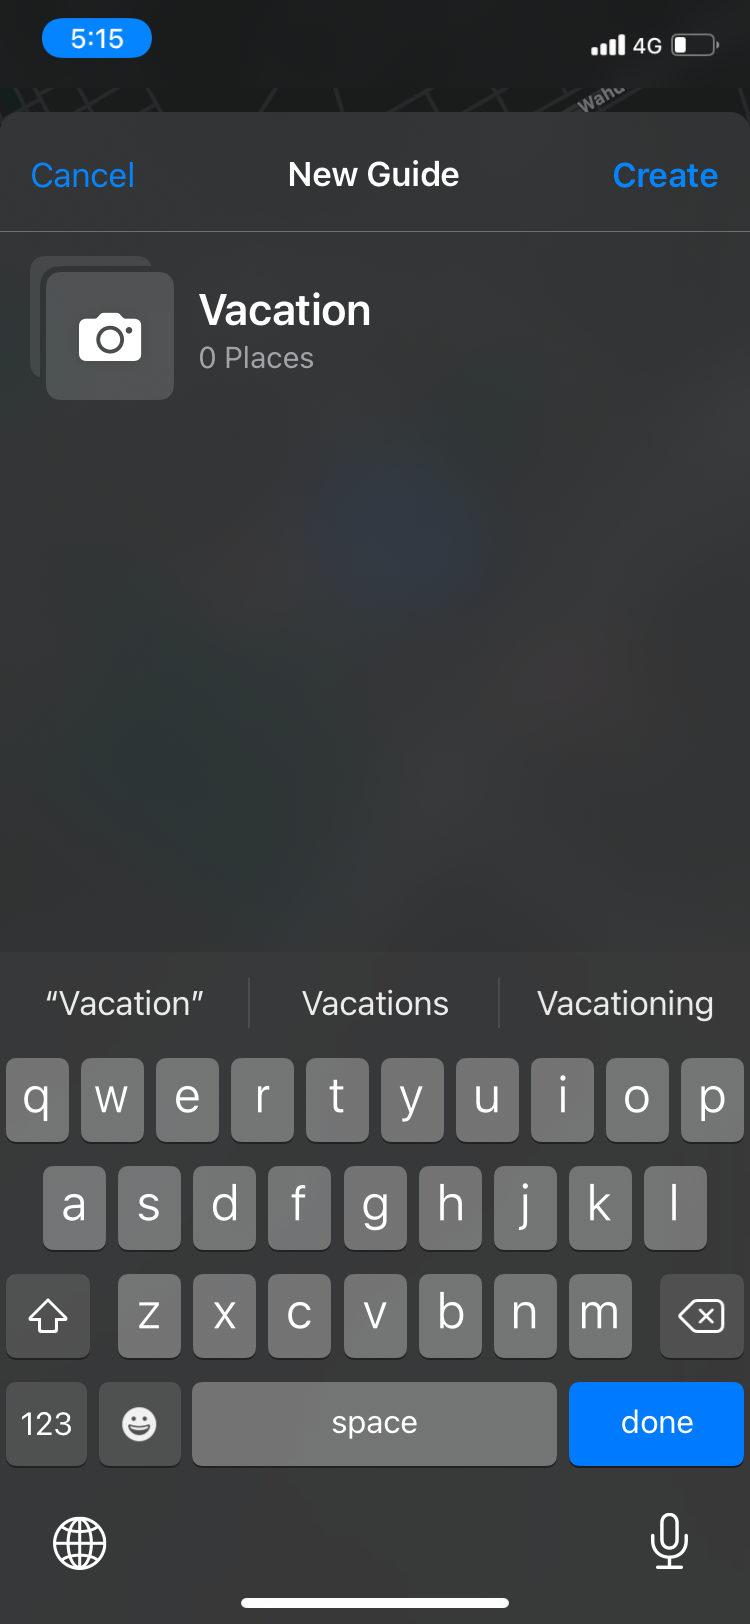
-
Type out the title of your Guide and tap Create.
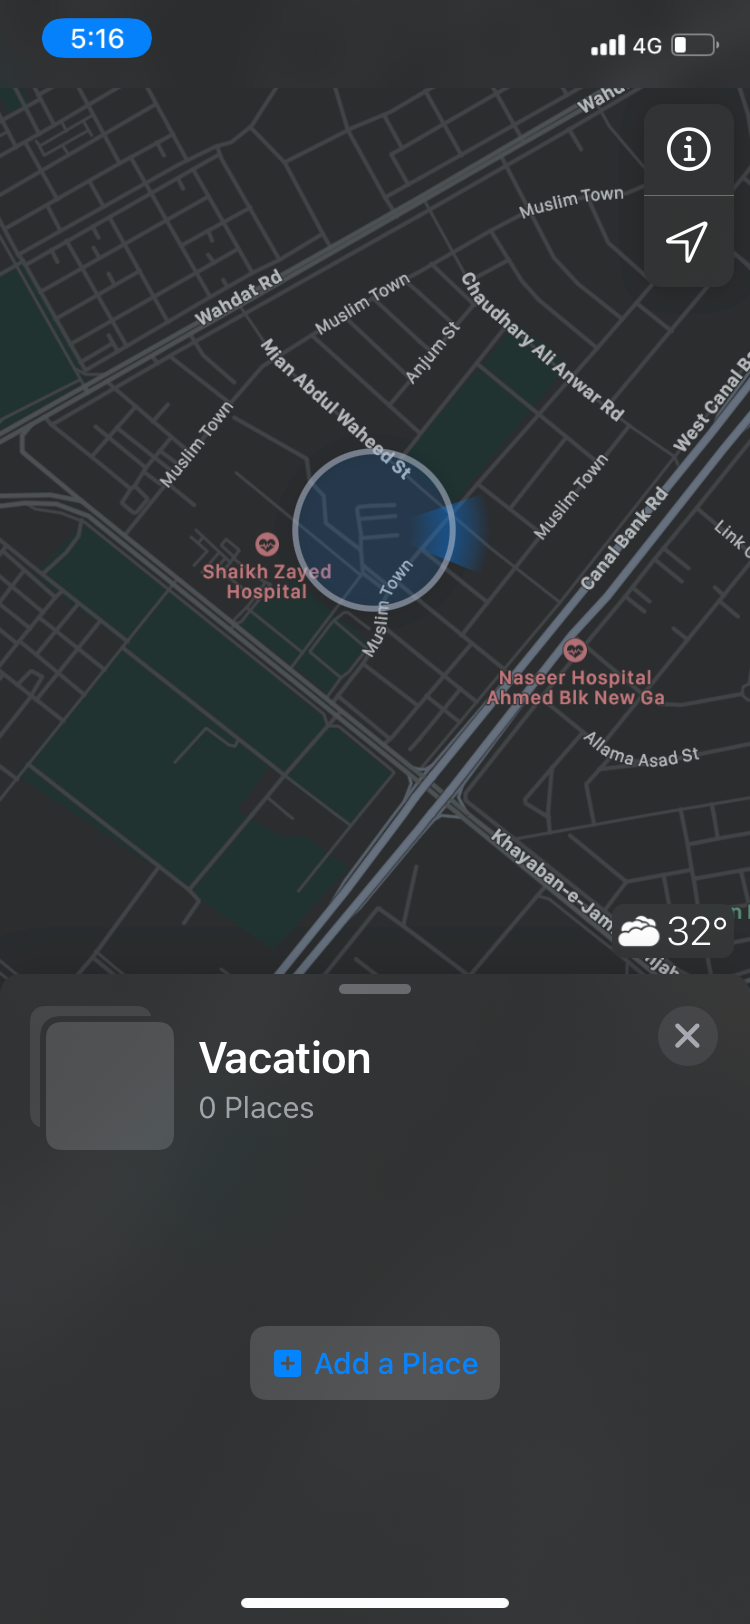
- Tap on your new Guide and select Add a Place.
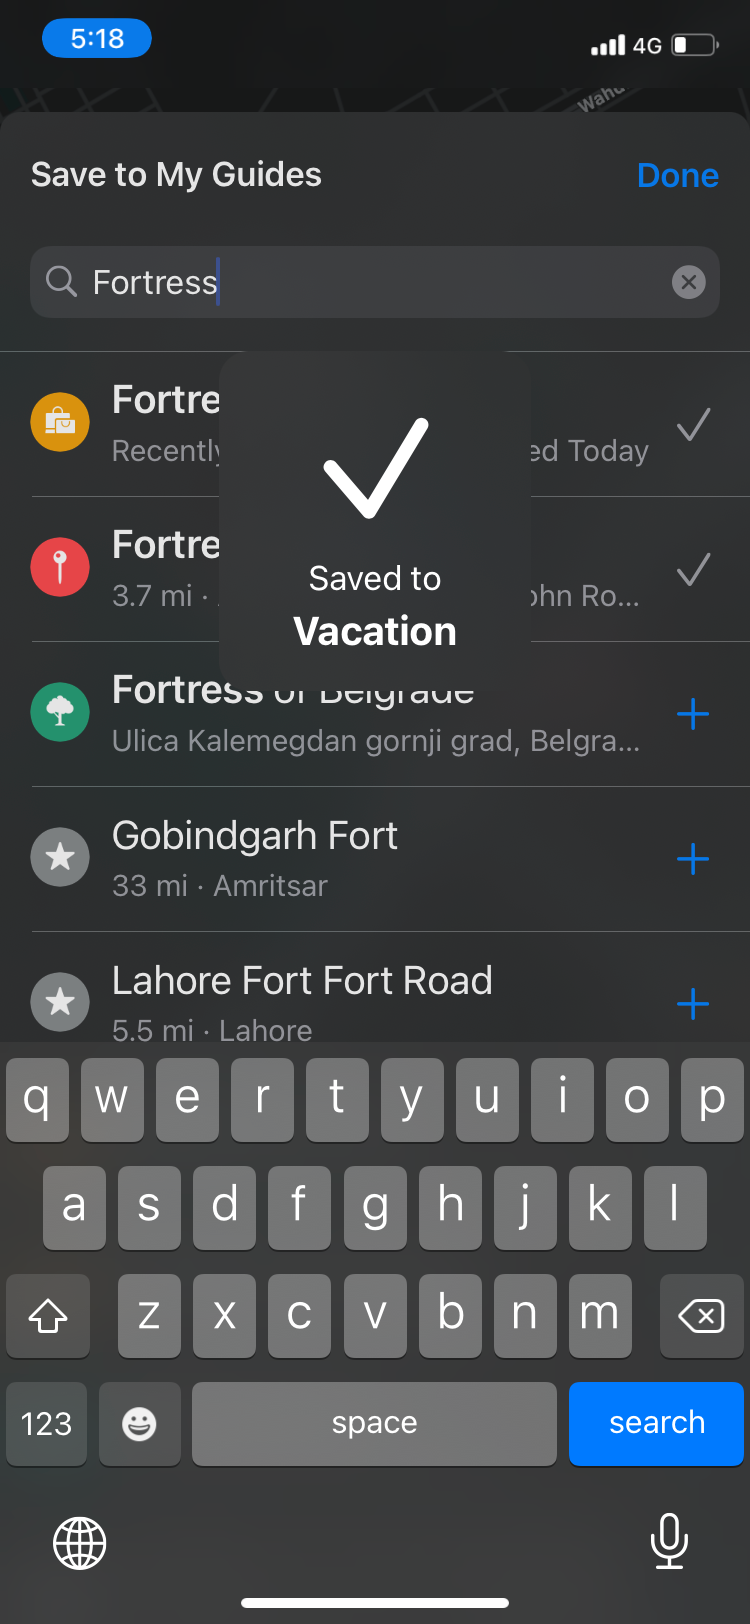
- Search for the location you want in the Search Maps bar.
- After finding the location you want from the list, tap on the plus button (+) next to it.
- Repeat the process until you've added all the locations you want.
-
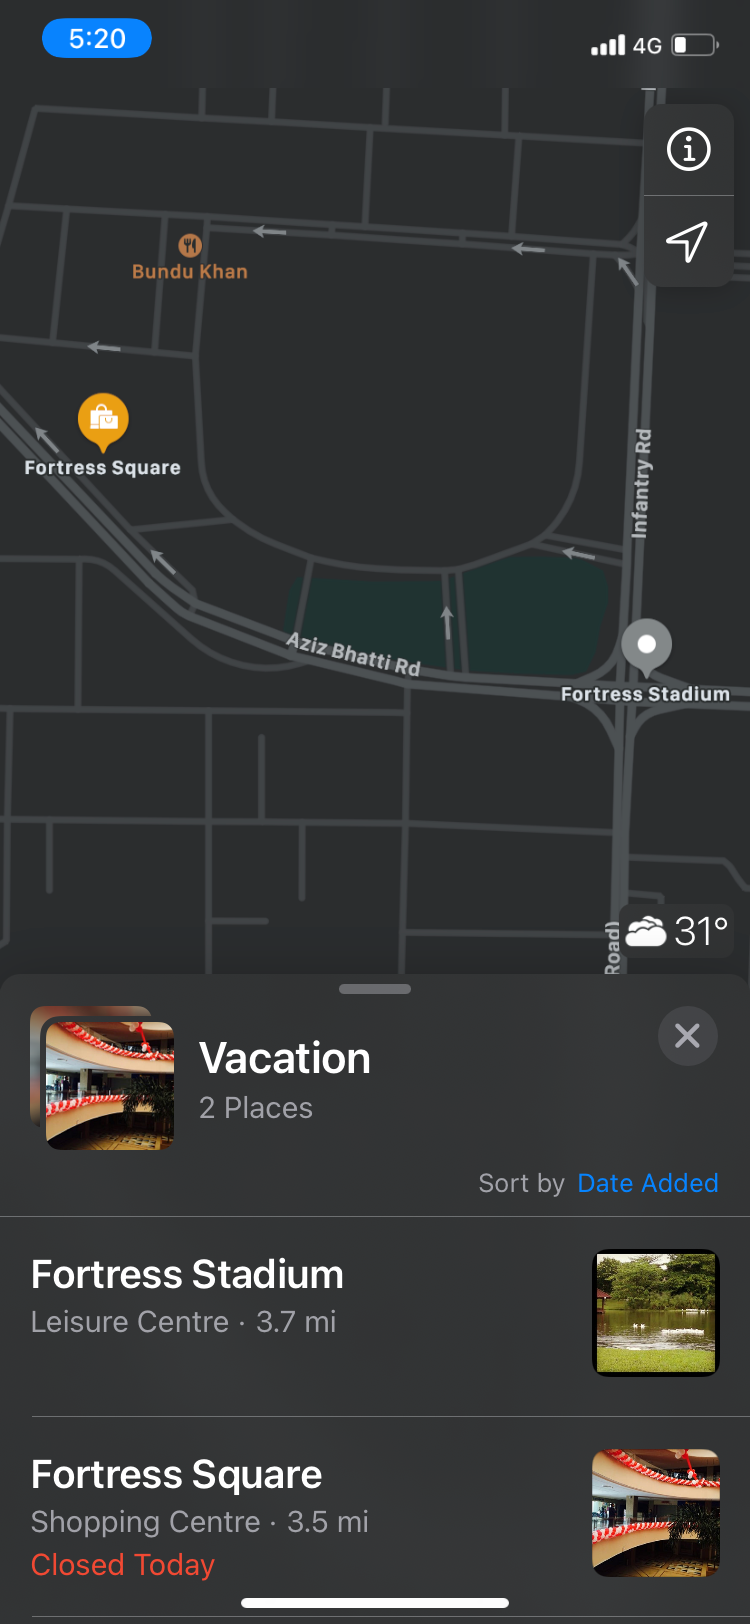
When you finish, press Done. Your map will now shift to a view of the sites that you've added.


Adding and Deleting Locations in Your Guide
If you want to add or remove destinations to your Guide after creating it, follow these steps to do so:
- Slide the panel up and scroll down. Select the Guide you want to edit.
- Swipe up to slide the panel up again.
-
To delete a destination, swipe left on the destination and press Delete.

-
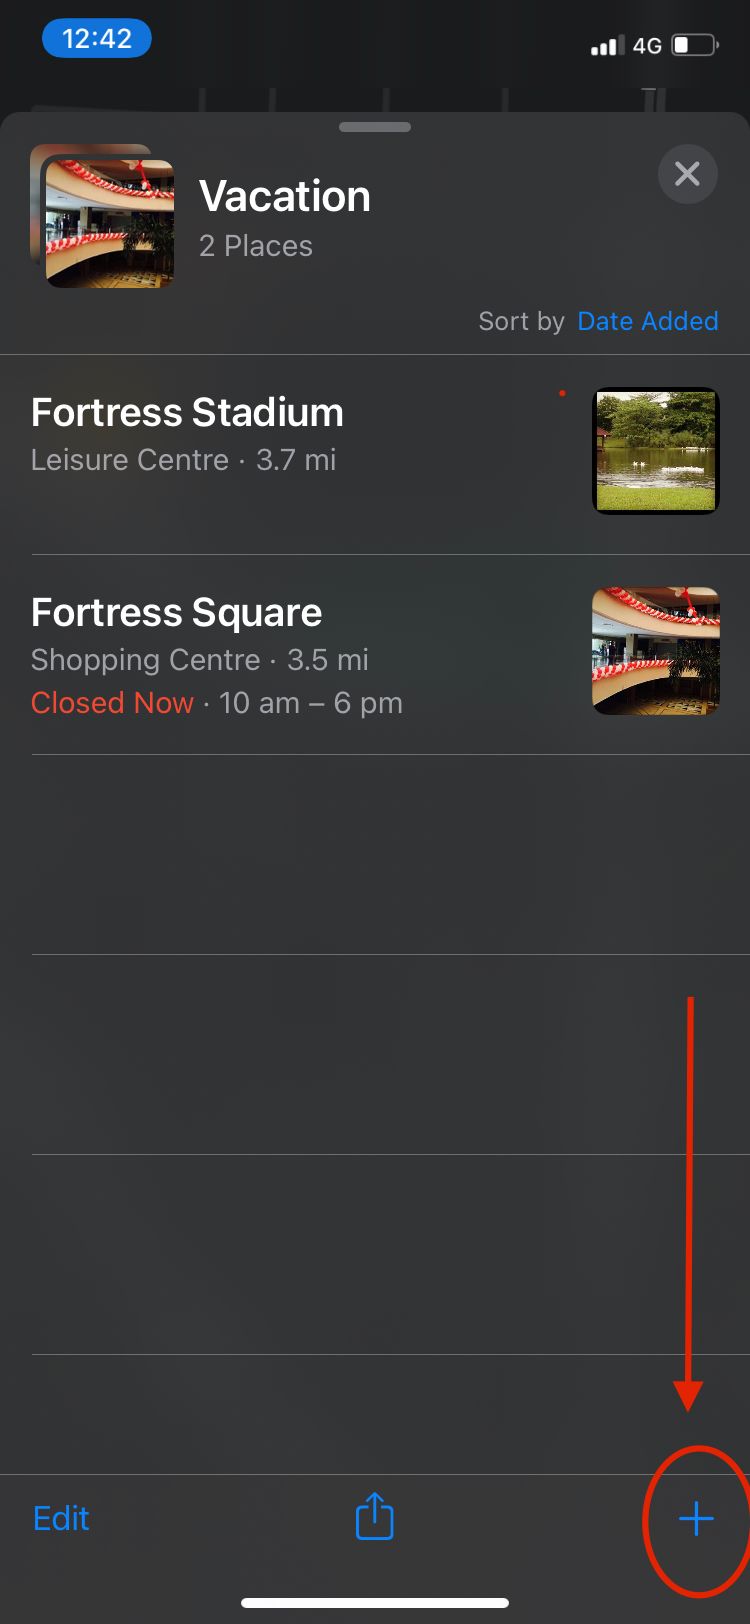
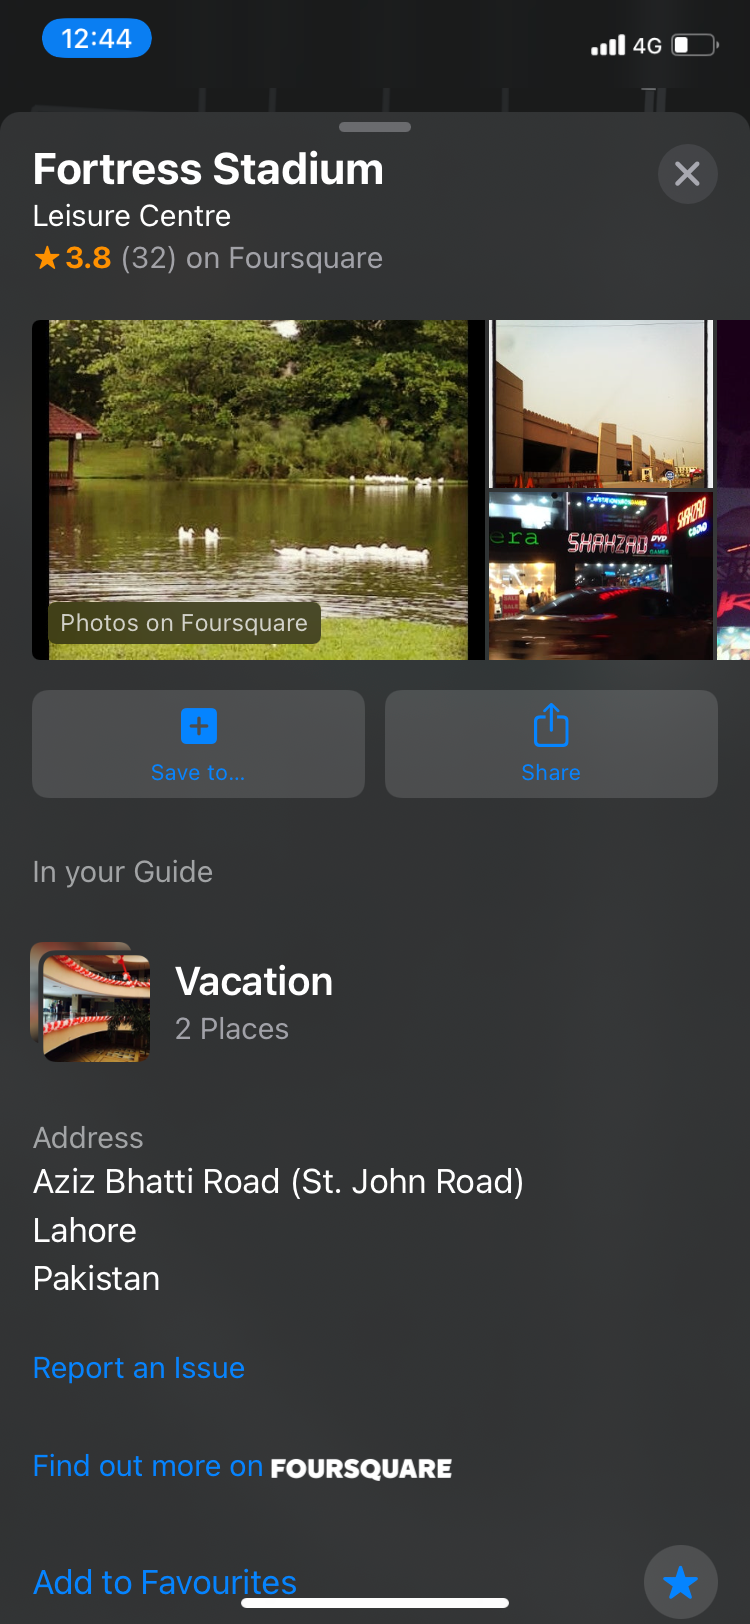
To add a destination, tap on the blue plus button (+) sign. Search for a destination and add it by selecting the plus button (+) again. You can tap on any of the locations you've added to see a detailed address and more photos, if they're available.


Editing Your Guide
You can also change the cover photo of your Guide and change its name whenever you want to. Here's how you can edit your Apple Maps Guide:
- Slide up and choose the Guide you want to edit.
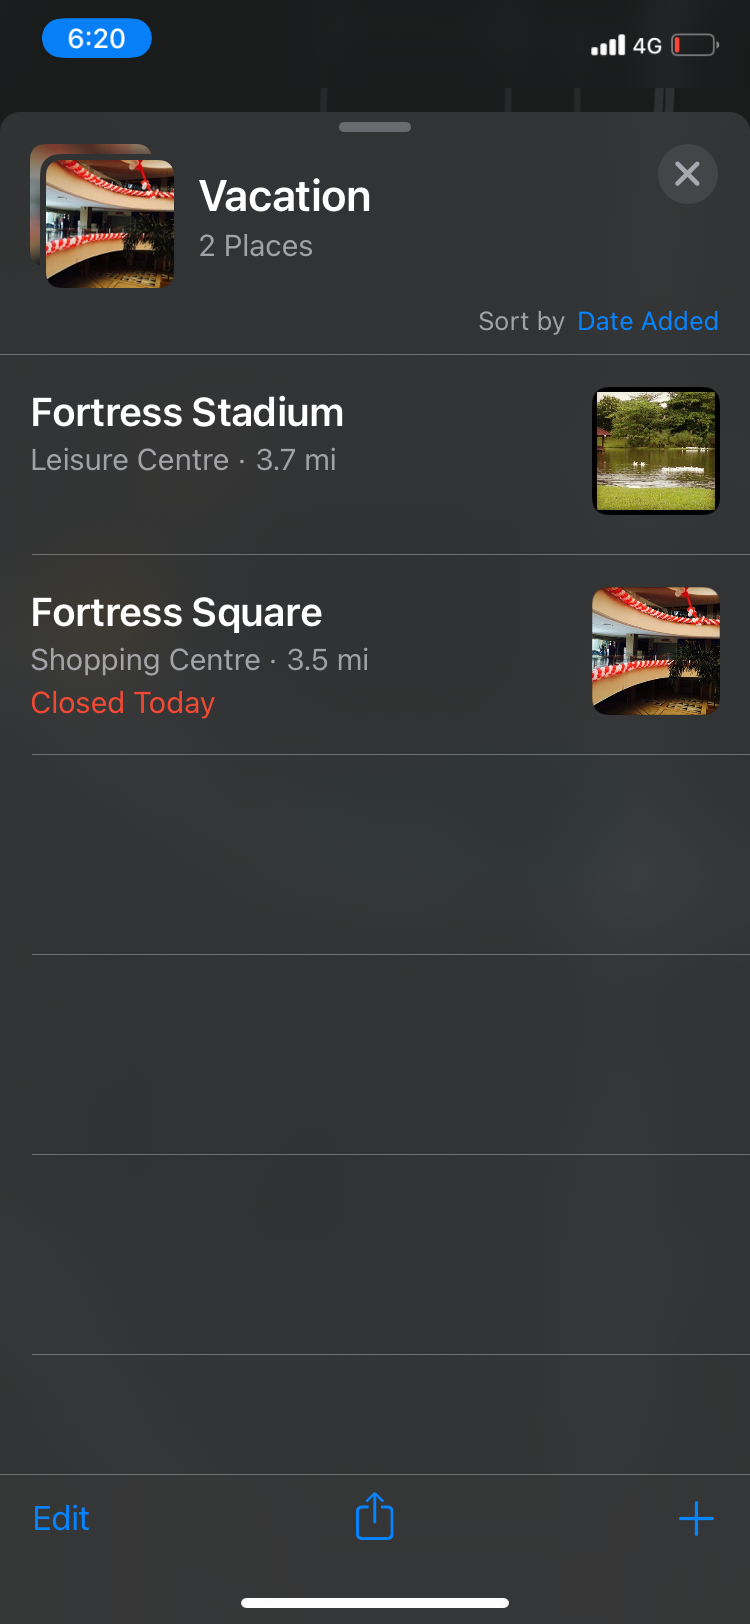
- Press the Edit button at the corner of the screen.
- Tap on the photo icon next to the title to choose a new photo for your Guide. You can upload any picture from your Camera Roll.
- Select the title above. Tap to edit the title to change the name of your Guide.
- You can also change the order of the destinations in your Guide. Tap Sort by Date Added and a new popup will appear at the bottom of your screen. Choose your desired option from Name, Distance and Date Added.


Sharing Your Guide
Say you made a slick Guide and want to share it with your friends. How would you send it to them? There's an easy feature you can use to do so. Follow these steps to find it:
- Slide up in the Maps app and choose the Guide you want to share.
- Press on the Share icon at the bottom of the screen (it looks like a box with an arrow coming out of it) and tap on Share Guide. Choose the contact you want to send it to.
- If you want to share a particular destination from your Guide, swipe left on the destination and press Share.


Your friends don't even need to have Apple devices to enjoy your Guide, as they can use Apple Maps online in a web browser.
Plan a Vacation With Apple Maps Guides
The Guides feature is a brilliant way to explore new locations and find out what's new around you. You can find hotels, restaurants, and places to shop. Not every city around the world has Guides in Apple Maps yet, but the feature is expanding to more regions as time passes.
Creating, editing, and sharing a Guide is a quick and easy process. All you need to do is find the feature in Apple Maps and tap to add new destinations. You can change the title and photo of your Guide whenever you want and send it to any of your friends with ease.