When you’re always in a virtual meeting, doing online presentations, or creating videos, you’d want to have a teleprompter handy. That way, you can focus on your content while keeping your eyes on your camera.
However, iPad teleprompter mounts are expensive, ranging from $100 and up. If you don’t want to spend that much money, why not create one of your own? So, here’s how you can make a DIY teleprompter for your computer.
What You Need to Make a DIY Teleprompter

To get started on your teleprompter project, you need a few items:
- An iPad
- A glass photo frame that’s at least as large as your iPad’s screen
- An elevated base for your finished teleprompter
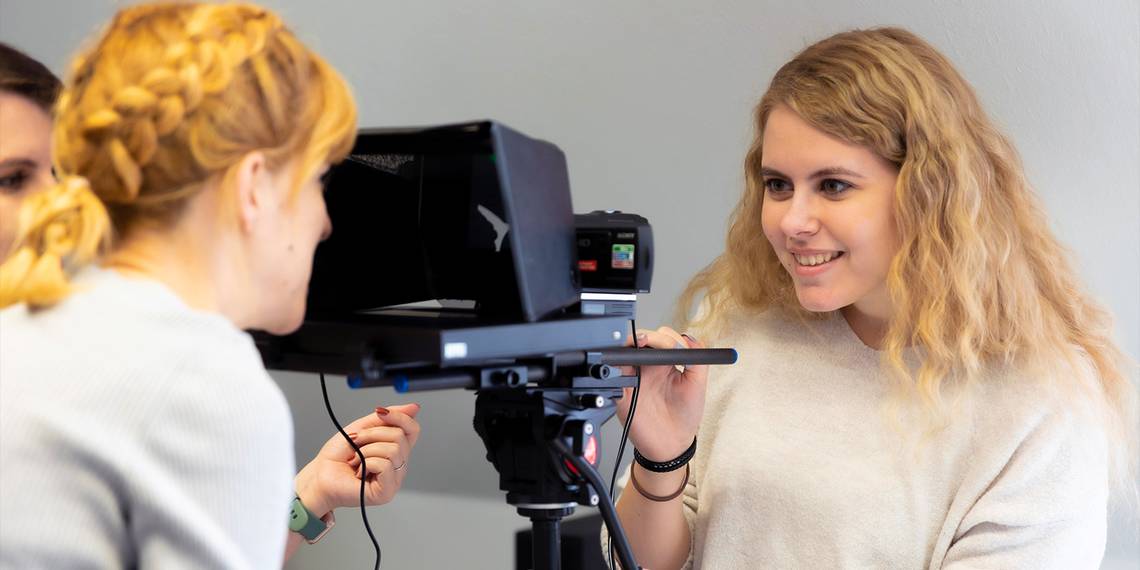
- A smartphone or camera mount
You also need the following tools and materials to help you create your teleprompter:

- Box cutter
- Scissors
- Ruler
- Pencil
- Protractor
- Hot glue gun with at least five pieces of glue sticks
- Five blackboards that are at least as big as your photo frame
- A black cloth large enough to cover your camera equipment (Optional)
Once you have the items ready, it’s time to start building.
Crafting the Teleprompter Box
The first step is to create the teleprompter base by cutting two boards as big as your frame. These will serve as the top and bottom parts that will support the frame. Once you’ve cut the boards to size, set them aside.

Next, you should create the sides of the teleprompter box. For this, you must find the central point of the boards. Then, draw a line across the center of the boards that will divide them crosswise into two equal sections.
You must then draw a 45-degree line as long as your frame is wide. The center of this line should land on your board’s central point. After you’ve drawn the 45-degree line, draw a line perpendicular to the board’s edge and will go through the endpoint of the 45-degree line. You must then repeat the perpendicular line drawing on the other edge.

After you’ve drawn the perpendicular lines, score the outside of your box so you can fold them neatly. Repeat the steps above for the other side. Once you’ve prepared the sides, use hot glue to secure the bottom flaps of both sides to the base of your board.
Before placing the top of your teleprompter box, you should install your frame inside the box. To do so, apply hot glue to the narrow side of the frame. Once done, carefully align the wide side of the frame to the edge of the base.

You should then align the other wide edge to the upper flaps of your sides, creating a 45-degree angle with the photo frame with reference to your teleprompter base. Once you’ve done so, stick the narrow side of the frame with the hot glue to the side panel of your teleprompter box.
You should then apply hot glue to the other narrow side to secure it to the other side panel of the box. Once done, install the upper part of the teleprompter box, securing it to the upper flaps of the sides using hot glue.
You should also apply hot glue across all sides of the frame to further secure its installation.
After finishing the sides, top, and bottom of the teleprompter box, it’s time to install its back. Measure out and cut a board as big as the rear of the teleprompter box. However, before installing the board, remember to cut a hole for your camera and make sure that it’s only as big as required to prevent extraneous light from leaking in.

Once you’ve made the cut, install the back of the teleprompter, securing the edges with hot glue. You can also install the black cloth on the top of the teleprompter rear (the one where the frame is facing towards the open end). This material will cover your camera equipment to stop any light from leaking in and interfering with your viewing experience.
Your teleprompter box is ready. It must have an open end where you will look through and a closed end where you’ll place the camera. The upper part of the photo frame should be near the open edge, and its lower part should be touching the corner of the closed end.
Setting Up Your iPad

Whether you’re using a Mac or a Windows PC, you can use your iPad as a teleprompter monitor. However, setting it up are two widely different procedures. You can easily set up your iPad as a secondary monitor via Sidecar if you have a Mac.
But Windows users need to download a couple of third-party apps to use the iPad as a secondary monitor. If you’re going to film near your computer and don’t mind using a wired connection, you can use Duet Display. It also has a wireless option, but it requires a monthly subscription.
However, if you don’t want to spend any money, you can use the spacedesk multi-monitor and virtual display app. It’s compatible with both iPad and Android, so you can use it to make your tablet a secondary Windows monitor.

Once you’ve set up your tablet as a second monitor, you must then invert the display output to see it the right way up on the teleprompter. You can use the paid Ultramon app to flip your display if you’re a Windows user. But if you’re a Mac user or don’t want to spend unnecessarily, you can use OBS Studio instead.
Ensure that you’re using Flip Vertical on your secondary screen to see your content right side up on your teleprompter.
Putting Up Your Teleprompter

When placing your tablet in your teleprompter box, ensure it’s securely placed on a flat surface. That way, it does not accidentally fall, thus breaking your frame, iPad, or both. One solution is to use a laptop tray placed securely on your desk.
You can then use a smartphone or camera mount placed on your desk to level your camera device with the rear hole of the teleprompter box. Alternatively, you can purchase a cheap smartphone holder and use hot glue to secure it at the rear of your teleprompter box.
Once done, you should see your screen reflected on the frame, with your camera looking directly at you. That way, you can look at your screen while still looking directly at your audience.
Enhance Your Online Presence Without Breaking the Bank
With virtual meetings becoming the norm these days, you must capture your audience’s attention by looking at them directly. But you don’t have to spend a lot of money on a teleprompter, especially if you’re just getting started. With this DIY PC teleprompter, you would no longer have that distracted, off-camera look as you read your script and notes on your monitor.