Do you ever wish the locks on your doors were smart locks, but don’t want to change the keys or the colors? Now you can. You can buy a piece of hardware designed to fit inside or outside your existing deadbolt hardware.
The new, smart internal or external piece will operate your old deadbolt hardware. We'll highlight the technology and show you how to install it.
The Advantages and Disadvantages of Converting to a Smart Lock
You may or may not already have smart locks. If you're unsure, you can determine if you already have smart devices in your home.
If you don't have smart locks, keeping your existing lock hardware in place has some advantages. You can keep your existing keys without having to re-key, or carry extra keys on your keychain.
And the look of your existing lock hardware won't change. You won't be able to tell it is a smart lock by looking at it, which is an advantage for people who prefer the legacy look of door hardware. This is also an advantage if you like the color.
Matching new door hardware color to the door hardware throughout your house can be difficult. But there's no need to worry if you just use a smart, internal locking mechanism.
Just to note, it can be difficult to retrofit new hardware into your existing lock, especially if you have older locks in a home. If your conversion hardware doesn't fit, you can always replace your entire old lock with a new smart lock.
Getting Started
Installation instructions may vary, but in this article we'll use the Level Bolt Smart Lock as an example. There are other products that will accomplish the same thing, such as the Kwikset Convert Smart Lock Conversion Kit.
As a first step, ensure your existing key and deadbolt work as expected. Doors can settle, and deadbolts can stop functioning when they no longer go into the doorframe hole.
If your existing deadbolt works, also ensure the new deadbolt piece (if there is one) will fit into the door frame hole for when you engage the lock. It may be too large in some cases.
Also make sure your conversion hardware will fit with your legacy hardware. Newer deadbolts in newer doors may be most likely to work with conversion hardware. Take lots of pictures along the way for reference in case you need to put the old lock back together.
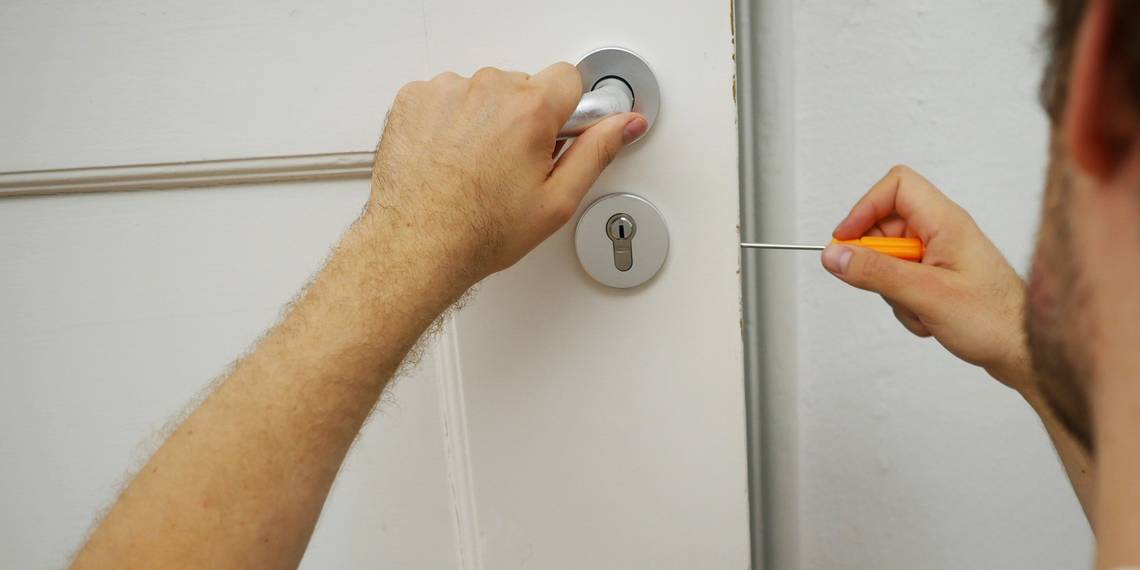
Installation Instructions
You'll likely need a Phillips screwdriver to perform these steps.

- Unscrew and remove the two long screws which hold the existing deadbolt in place. They’re found on the side that locks.
- Remove both sides of the outer lock housing from the door, leaving only the internal mechanism which attaches to the actual deadbolt.
- Remove the two screws which hold the deadbolt in place against the door side.
- Pull the deadbolt and the small internal component out of the door.
- Replace the removed deadbolt with the level bolt deadbolt, sliding it back into the door the same way you pulled out the old deadbolt.


- You should see the contact points at the end of the deadbolt inside the door.
- Slide the gearbox motor through the door hole, ensuring it snaps into place with the matching puzzle-piece deadbolt end.
- Tighten the motor into place with the small screw already on the motor. Be careful not to tighten it too far and strip it.
- Put the two new small screws back into the new deadbolt strike plate to secure the deadbolt, and tighten them with the screwdriver.
- Choose the right "tailpiece" from a few included options. This is a small cylindrical tube. It will form the transition piece between the original lock hardware and the Level Bolt gearbox. The original lock rod which operates the deadbolt should fit through this piece.


- Slide the original lock components back into both sides of the door the same way you removed them. Ensure everything fits back together flush against both door sides.
- Put the two long screws back through the deadbolt body and secure them with the screwdriver.
- Make sure the thumb turn level and/or the original key still operate the lock.
- Optional: replace the old door frame strike plate with the new one. This is the rectangular plate that the deadbolt slides through and into the door frame when locking. Secure the new screws.
Replacing the Battery
Your new smart lock hardware will need batteries. The Level Bolt houses the battery in the deadbolt.
To add a new battery:
- Extend the deadbolt while the door is open.
- Unscrew the deadbolt end in a counterclockwise motion.
- Slide in the new battery with the flat (negative) end toward the cap.
- Screw the deadbolt end back on in a clockwise motion.
- You should hear a small chime indicating everything is connected and functioning.
Setting Up the App
Download, install, and open the app for your smart lock hardware on your smartphone.
The Level Home app includes a version for iOS or Android.


- If your app requests Bluetooth access, allow it.
- If your app requests that you create an account, enter your information.
- Tap Add Lock when your app is ready to discover your new hardware.
- When the app discovers your lock, name the lock and tap Continue.
- Designate the lock location. For example, basement. Tap Continue.
- Your lock should connect, and you'll hear a confirmation chime from the lock.
- Tap Continue.
- If prompted to update your firmware, update it.
- When prompted, enter your home Wi-Fi connection information.
In the app home screen, you can tap and hold the lock location icon. Your lock will unlock or lock.
Out With the Old and in With the New
It's smart not to waste your old lock. Especially if it works well. Why not just enhance it with smart features? The Level Bolt Smart Lock is relatively easy to install and easy to operate. You can recycle your lock's functionality, look, and security.
You can be in with the new—and still in with the old and functional.