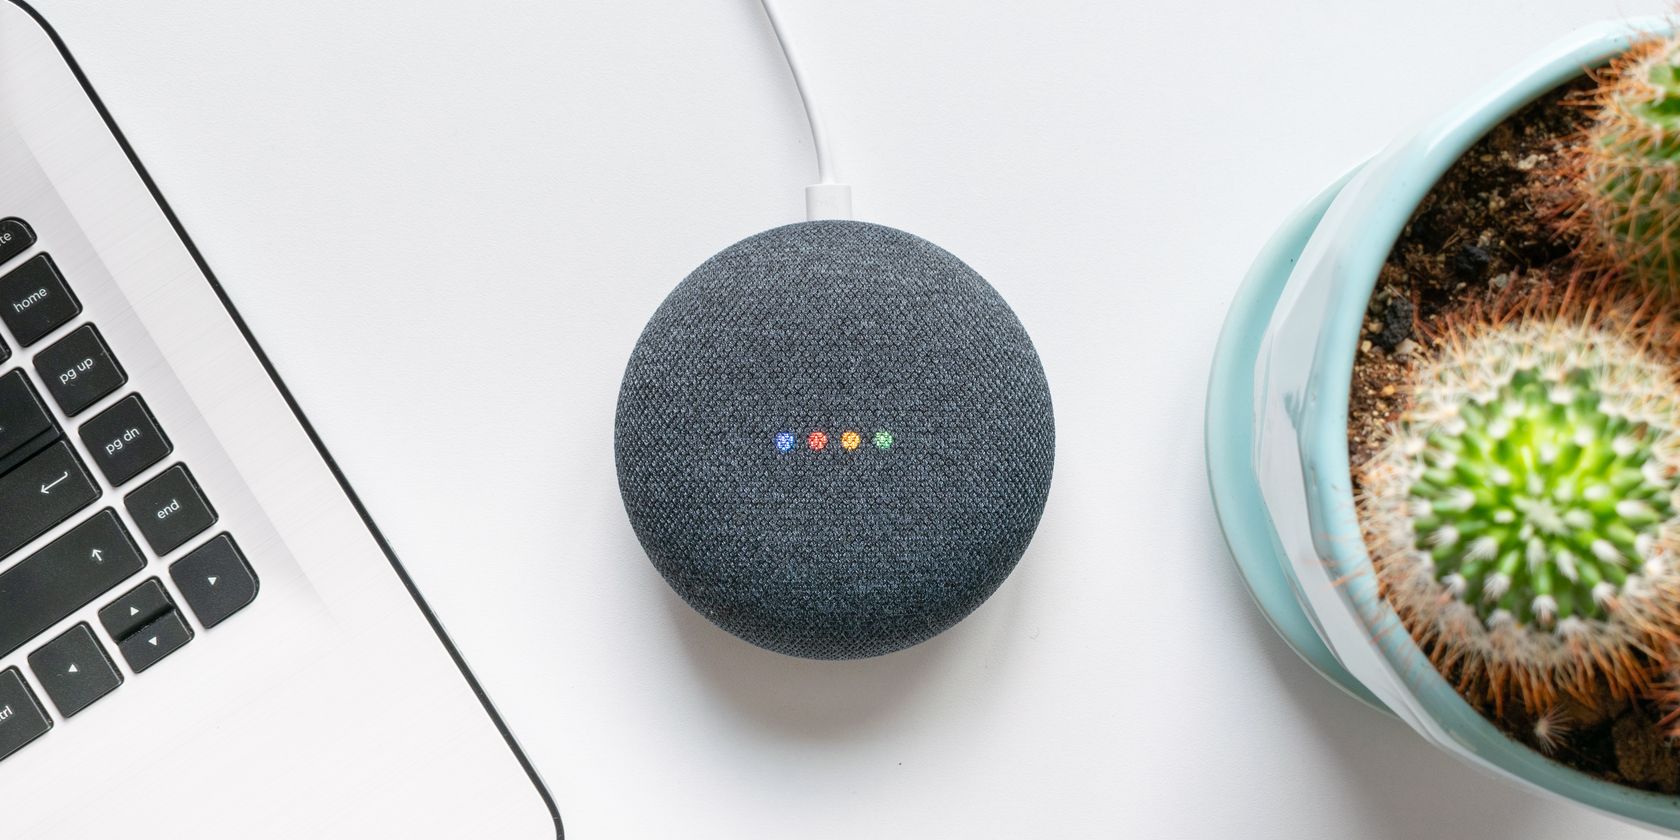
Google Home hubs are really useful, but only if they can get an internet connection. As such, if you're setting up a brand new hub, or you just got a new router, you'll want to know how to connect your Google Home to a Wi-Fi network.
Let's explore how to connect your Google Home to Wi-Fi.
How to Connect Your Google Home to Wi-Fi
If you just got the Google Home out of the box, or you've factory reset it, you can set it up from scratch very easily.
First, get the Google Home plugged in and running. Then download the Google Home app for Android or iOS on your smartphone.
The Google Home app acts as a remote control for your device. This goes double for Google Home speakers, which have no screen to interact with. So definitely be sure not to uninstall the app once you're done.
In fact, if you plan to add more smart devices into your home, you'll quickly learn that the app can save a lot of hassle. We covered some reasons how in our guide to why you should be using the Google Home app.
Once you have the app downloaded, double-check which Wi-Fi network your phone is on. When you set up your Google Home device, it'll connect itself to whatever Wi-Fi network your phone uses.
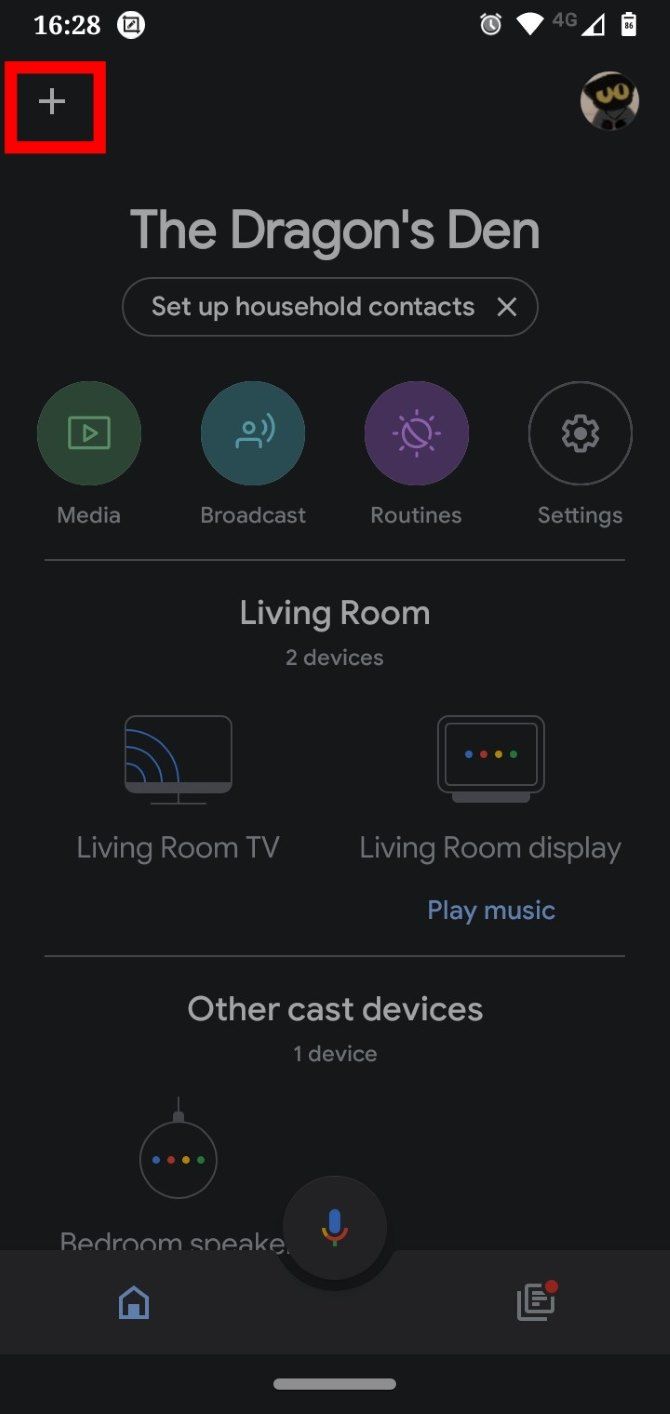
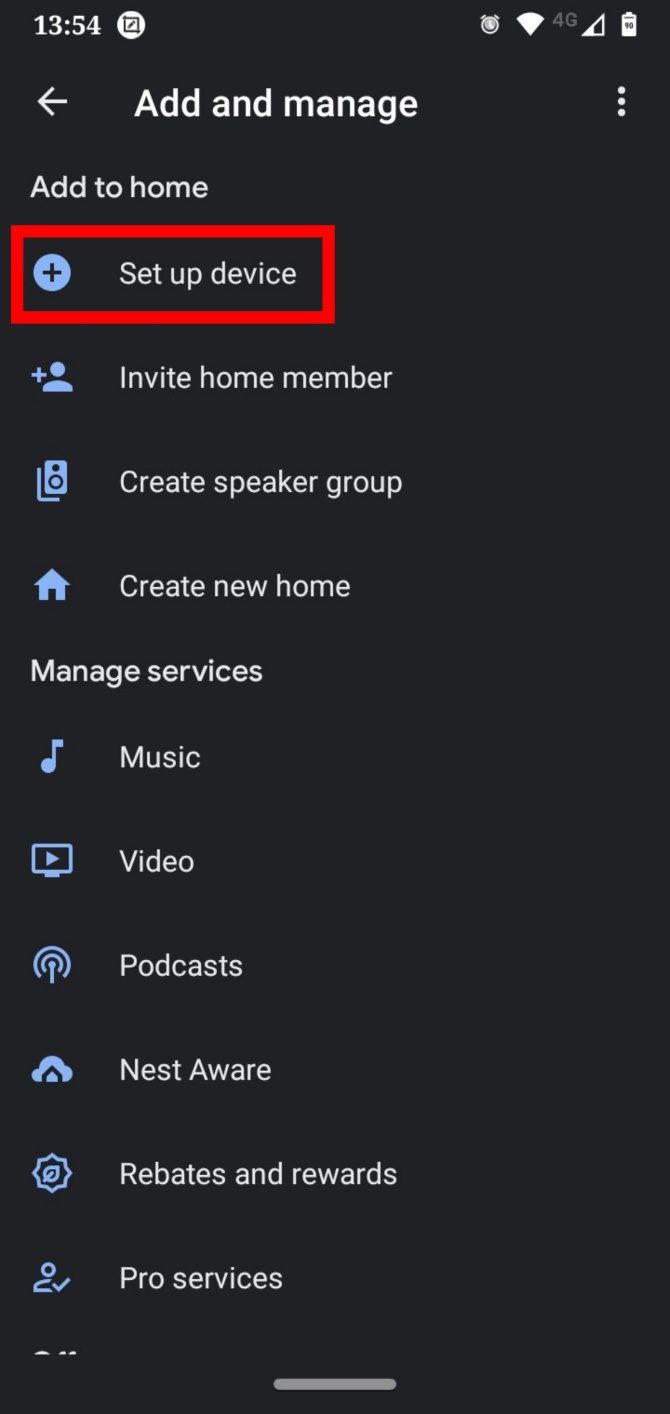
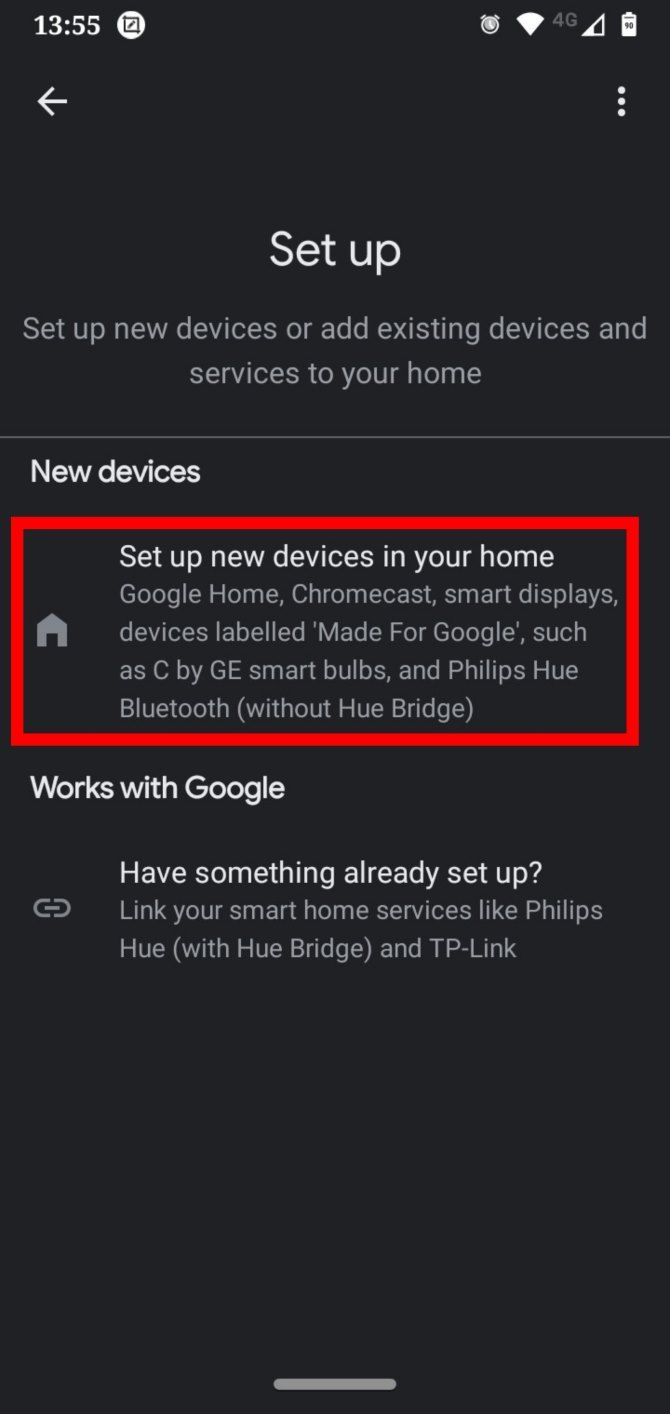
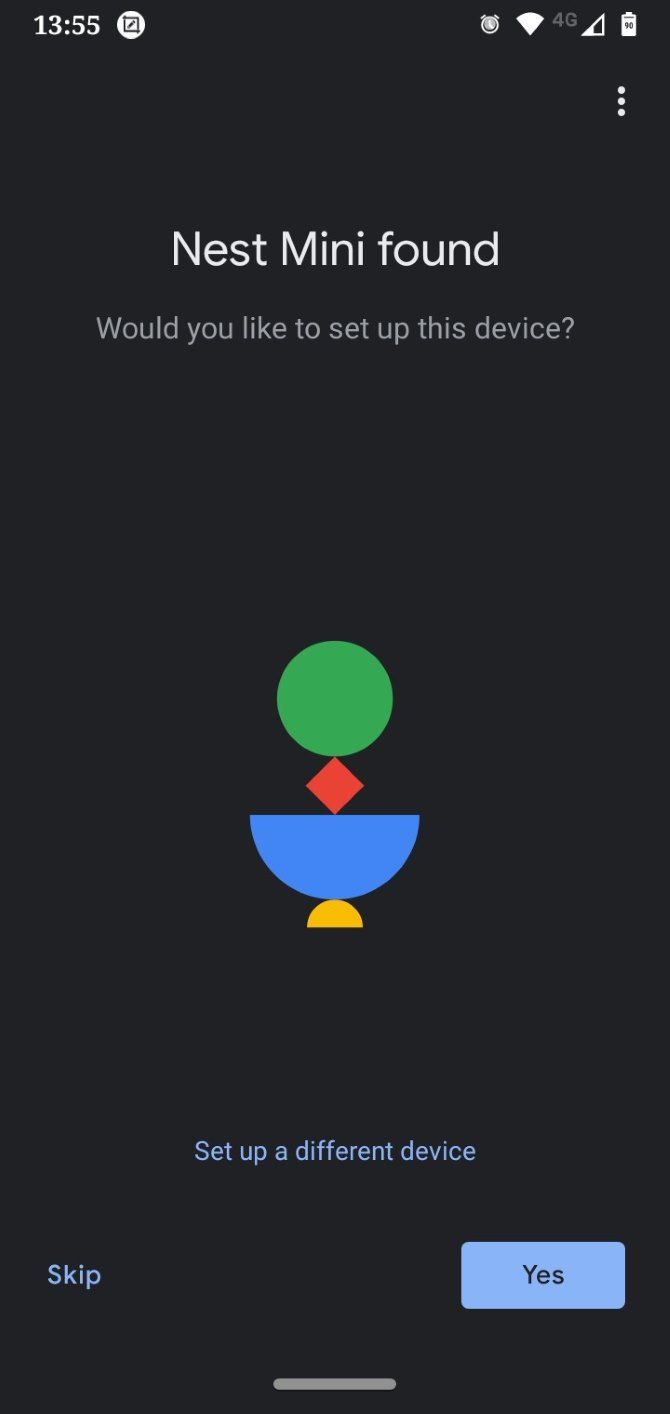
Once you've connected your phone to the right network, open the Google Home app. Tap the + icon at the top left corner of the screen and then select Set up device > Set up devices in your home.
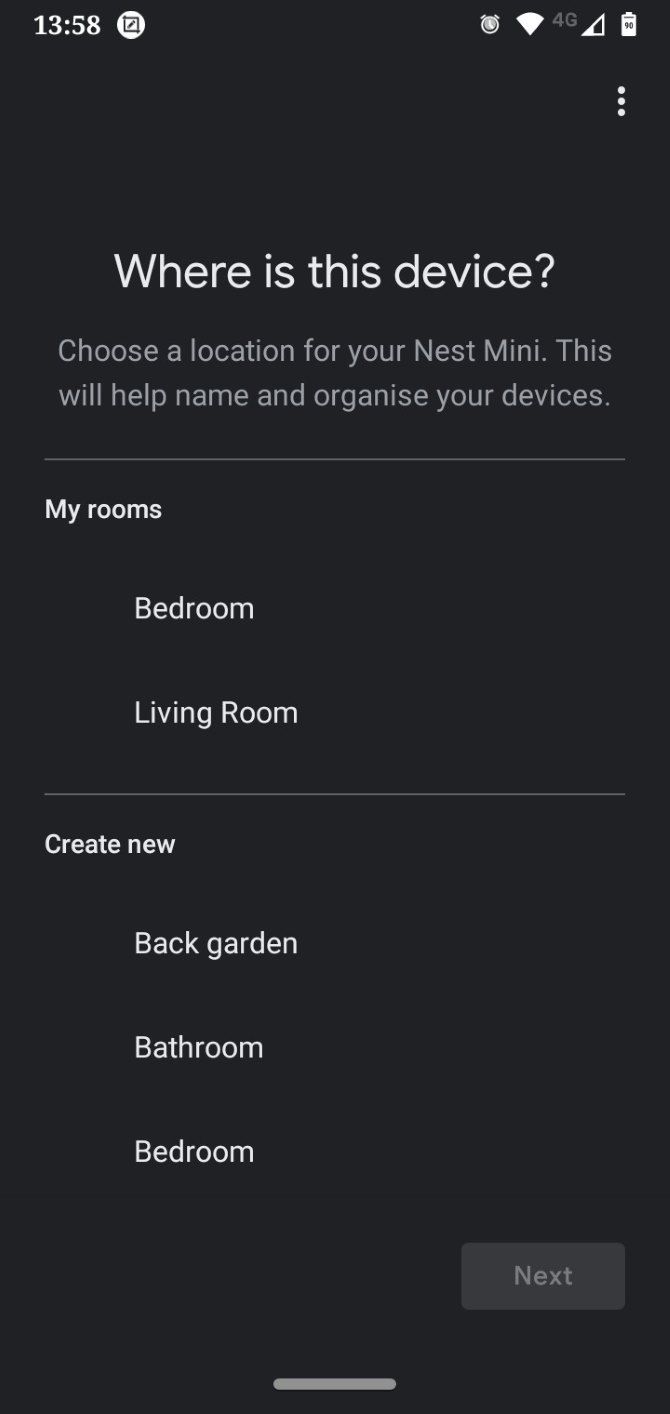
You'll then have to set up a home profile so that Google knows what you're using the device for. Once you're done, your phone will attempt to locate the Google Home device.
The app may ask you to confirm that the device you're connecting to is your own Google Home device. A Google Home device with a screen may give you a visual cue, while a speaker will make a small noise to confirm you're connected to the right one.
Once you've confirmed the right device, it should connect up to your Wi-Fi. Finally, you'll get a few options to set before you can freely use your Google Home device. You could even play a minigame with Google Home to test if it works properly.
How to Change the Wi-Fi Network on Google Home
If you get a new router or move to a new location that uses a different network, you will need to do some additional work to connect Google Home to a new Wi-Fi network.
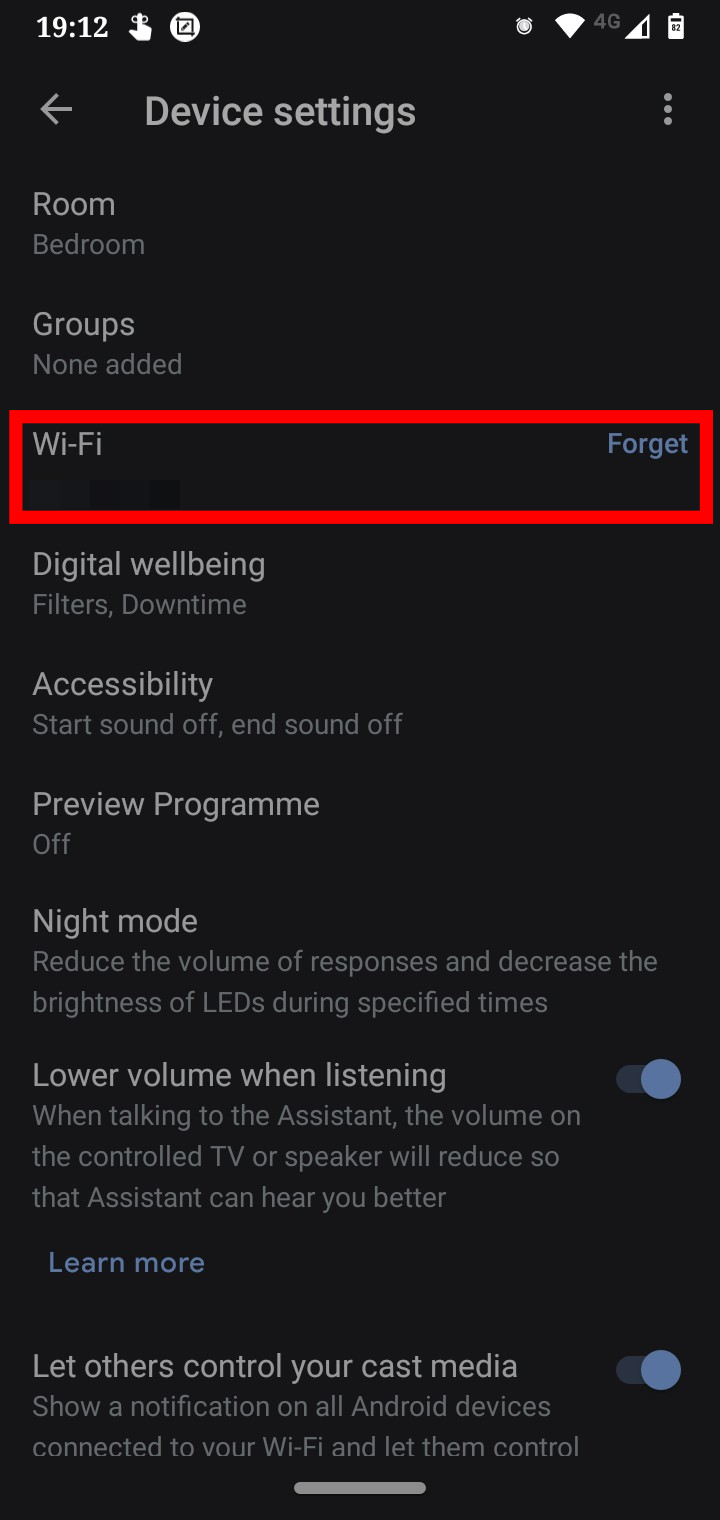
First, you have to tell Google to forget the network it was previously connected to. By doing that, you can then set it up again with the new network.
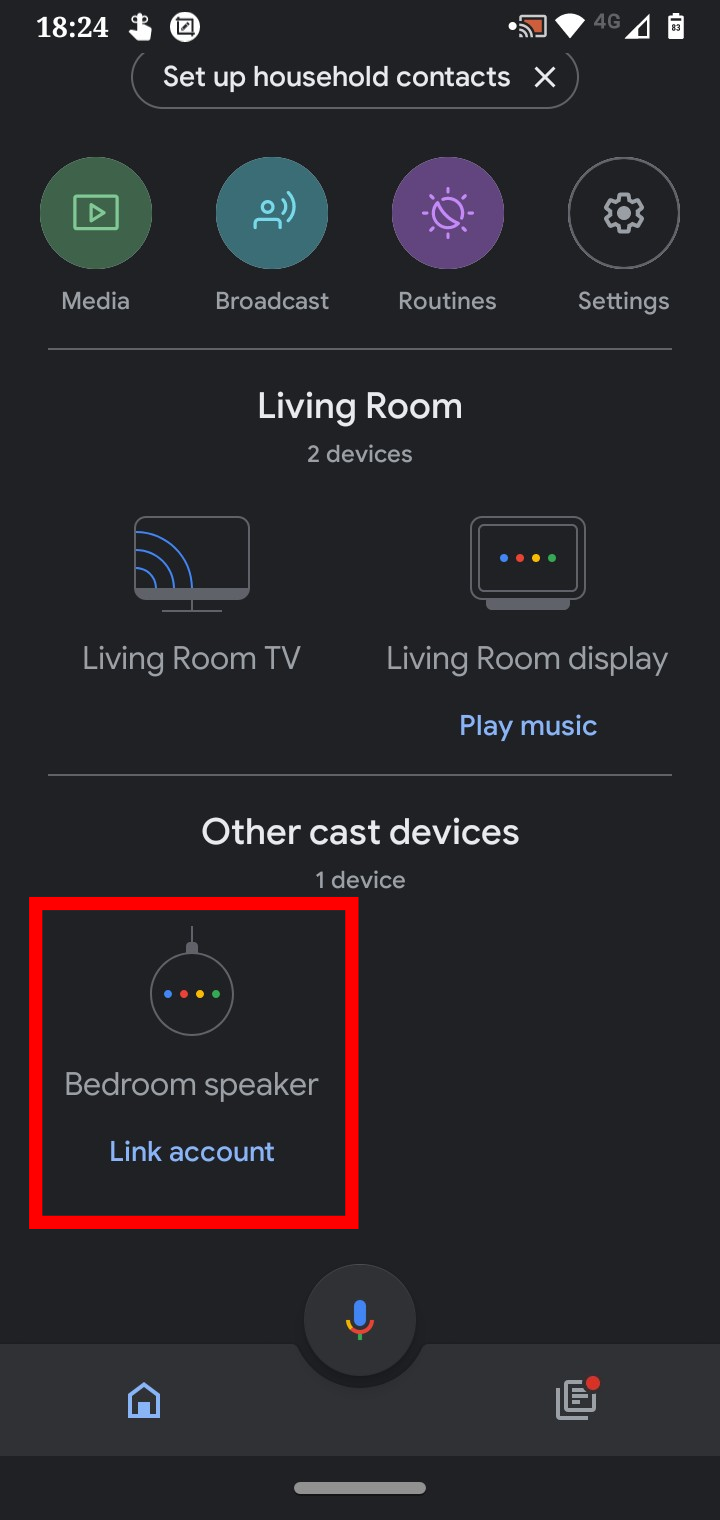
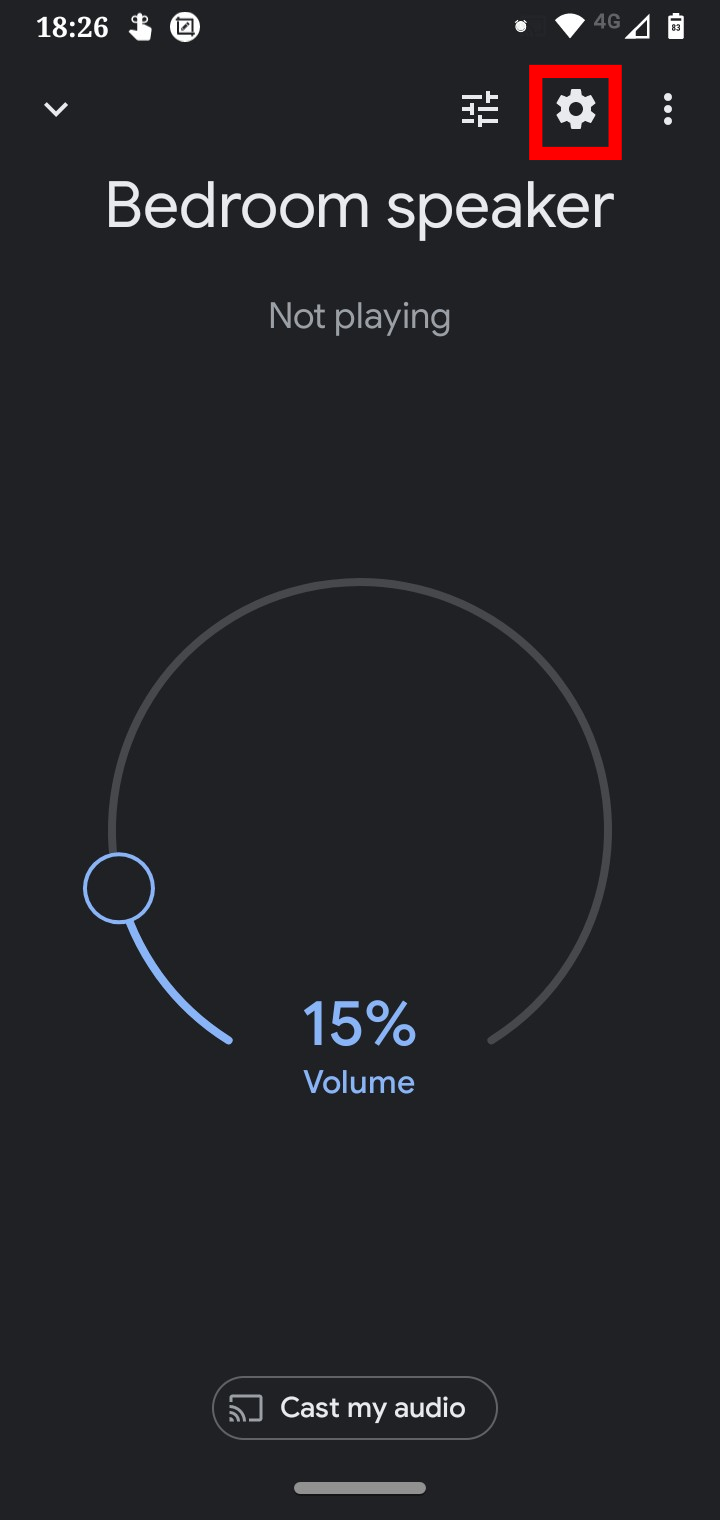
To do this, open the Google Home app. Then select the device you want to change. Tap the cog at the top right, then scroll down to Wi-Fi and tap Forget that's next to it. Now you can set it up once again as per the steps we covered previously.
How to Change a Google Home's Wi-Fi Network If You Delete the App
Because your phone acts as the remote control for the device, uninstalling the app or losing your phone will lock you out of using Google Home.
To solve this problem, you can factory reset your Google Home device and re-sync it with a smartphone.
For more information on how to do this, find your device on Google Nest Help and follow the instructions listed there. You cannot factory reset using your voice or the app, but you can use a combination of the device's physical buttons.
Setting Up Your Home With Google Home
It can be confusing to learn how to set up Wi-Fi with Google Home and change it to a network if needed. Fortunately, once you know the steps, you can easily disconnect and reconnect a Google Home device to Wi-Fi wherever you want it.
Now that your Google Home is up and running, why not learn some useful commands for it? After all, a smart hub is only as useful as the commands that you give it.
Image Credit: CoinUp/ Shutterstock.com

