Are you dissatisfied with your webcam or camera’s colors on stream? With free plugins and resources, you can fix that and turn even a cheap webcam into a stylish camera through color grading in OBS Studio.
Why Use Color Grading and LUTs?
Color grading and LUTs are tools that photographers, videographers, and other creatives use to touch up their projects, correcting imperfections or adding stylistic flair. Normally, this process is reserved for professionals in editing, but they are applicable even for more casual creators—here's why.
These tools can transform the visual style of an image, adding vibrancy and life. Color grading allows for fine-tuning of specific colors, while LUTs are effectively color-grading presets. However, the specifics of what LUTs are and how they're used are more complex. These can transform a photo or video from a neutral image to a stylized work of art, which you can use to add personality to your Twitch stream.
Inexpensive webcams may not accurately capture colors, requiring color correction to improve accuracy. The color correction options available in most webcam software as well as within OBS's default filters are generally insufficient to make such corrections. Thus, a more advanced color grading filter may be necessary for accurate correction of issues, like adjusting hues with excess saturation to create accurate skin colors.
When multiple cameras and lenses are used in a production environment, color grading tools can allow their looks to match in terms of white balance, exposure, and color. This is useful for streamers who use multiple camera angles in their broadcast.
Whether to improve and stylize an image, fix imperfections, or help multiple cameras match looks, color grading and using LUTs are vital steps to improve the visual quality of your photos, videos, and live streams.
The OBS Color Grading Plugin and Free LUT Resources
Normally, color correction and LUTs are used in post-production, but live streamers can implement these tools in OBS using plugins and other downloadable resources to utilize these effects while broadcasting.
The first plugin to note is StreamFX by Xaymar, which, among many other effects, includes an incredibly powerful color grading filter for video sources in OBS. You can adjust numerous aspects of red, green, and blue hues including lift, gamma, gain, and offset, as well as the distribution of color between shadows, midtones, and highlights. This allows for total control of an image’s color.
Scroll to the bottom of the StreamFX page and click on the Installation Guide to download, and follow the provided guide to install.
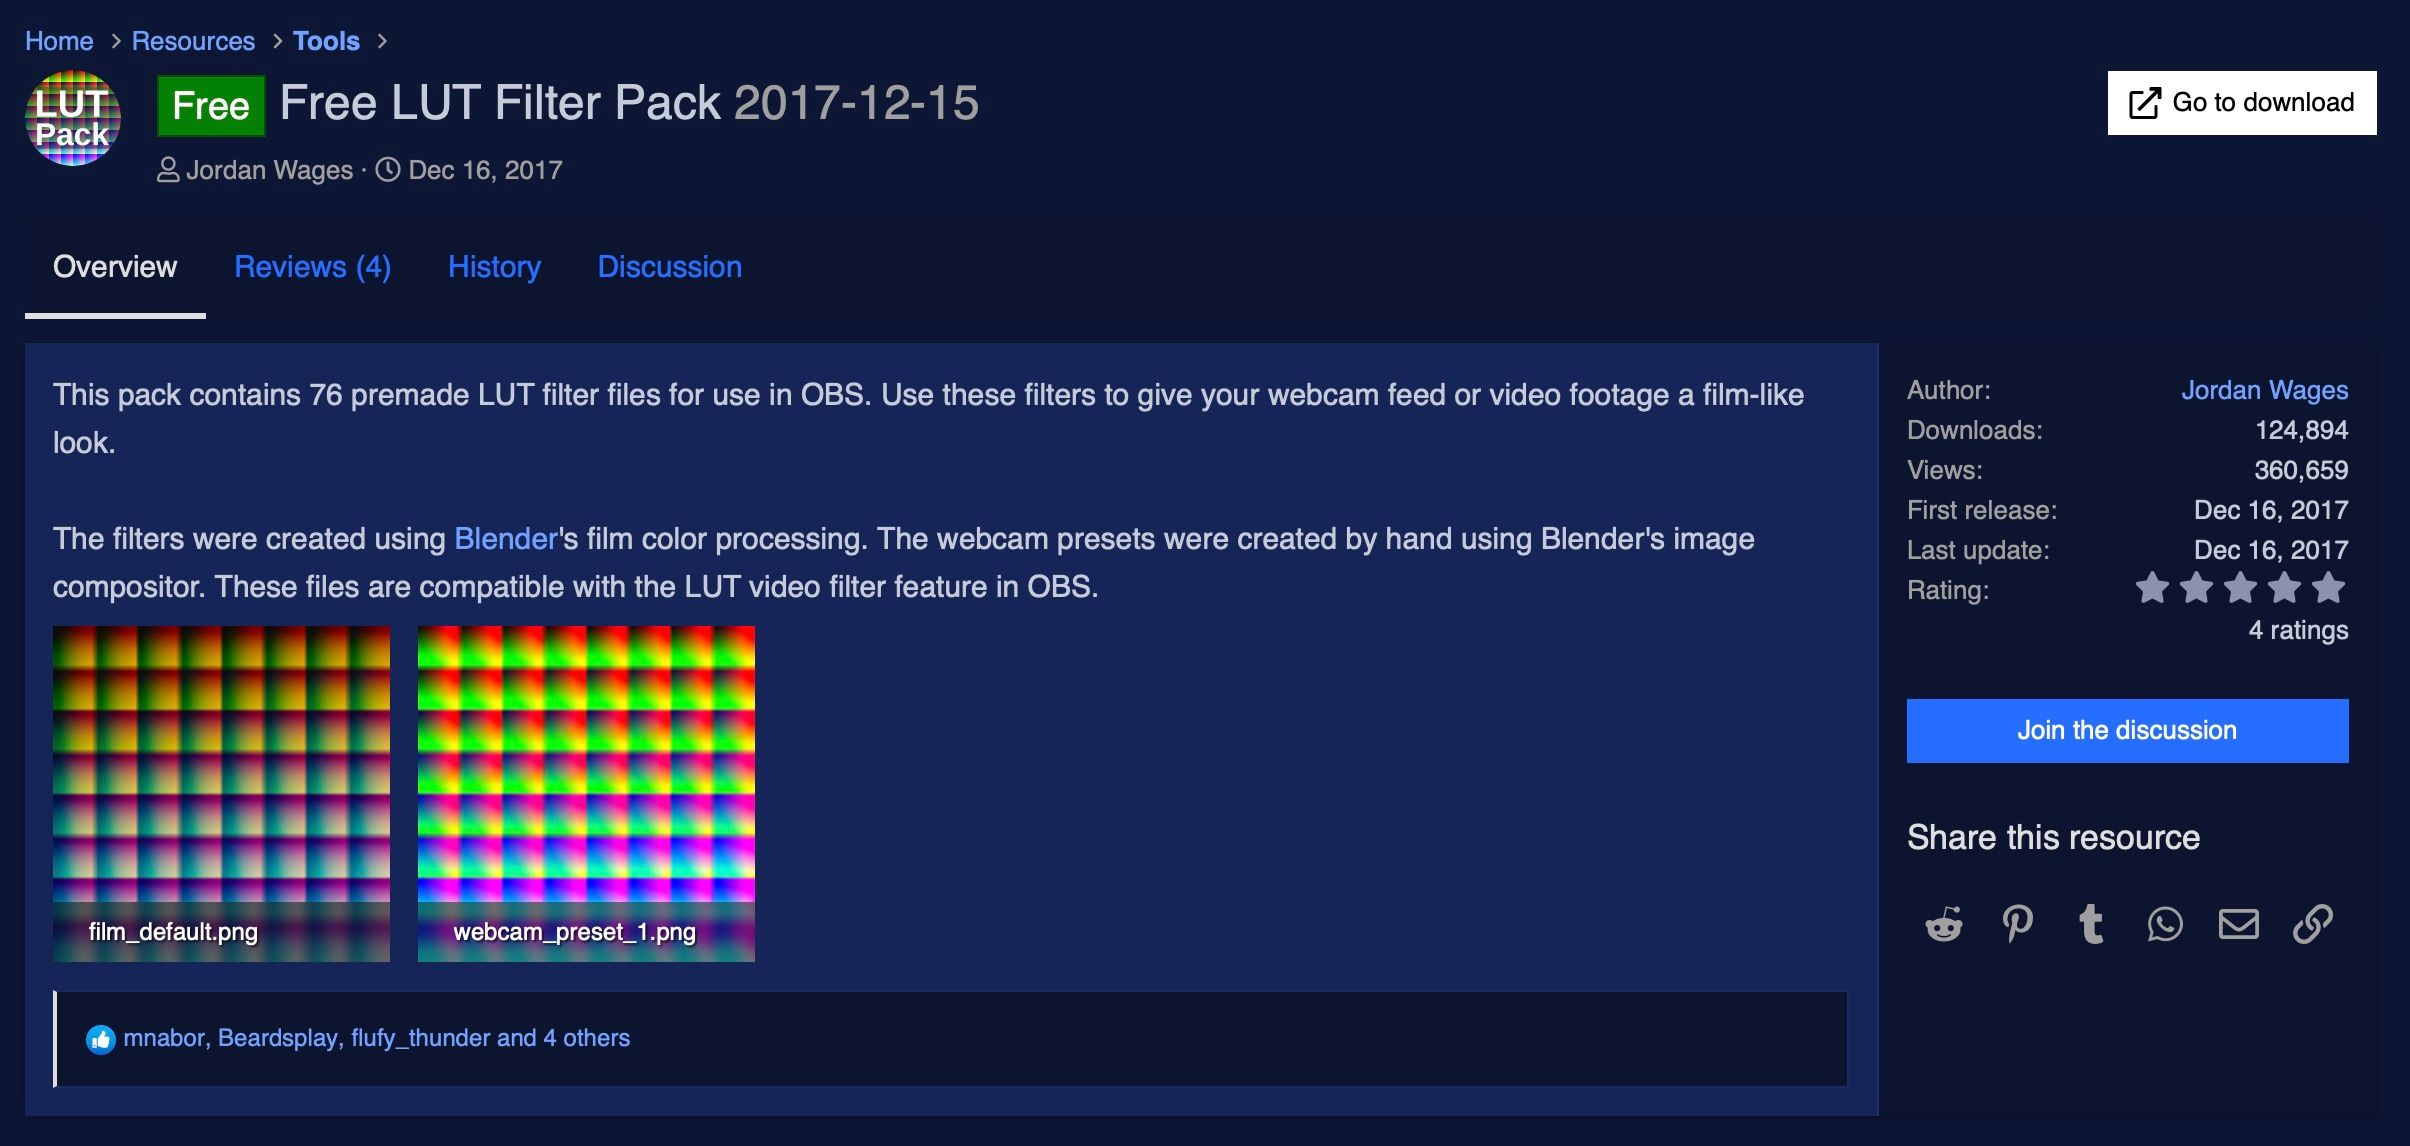
Next, current and recent versions of OBS Studio already allow using LUTs as filters on video sources. The included LUT options are quite limited, so you can download additional stylized LUTs such as this free pack of 76 made by Jordan Wages on the OBS forums. Using color grading and LUTs in conjunction, you can create a superb webcam image for live streaming.
Place these LUTs in a folder you can easily access for usage in OBS.
It's also important to note that these filters will use extra system resources compared to using no effects. The impact isn't huge, but it's important to optimize your stream settings in OBS as much as possible to prevent frame drops and other issues.
Make a Natural and Neutral Camera Image
Before applying any color grading or LUTs to your webcam or camera in OBS, ensure you’ve properly tuned your settings. Color correction differs from color grading as it neutralizes an image. You may not need as much correction with OBS filters if you can start with a more ideal image.
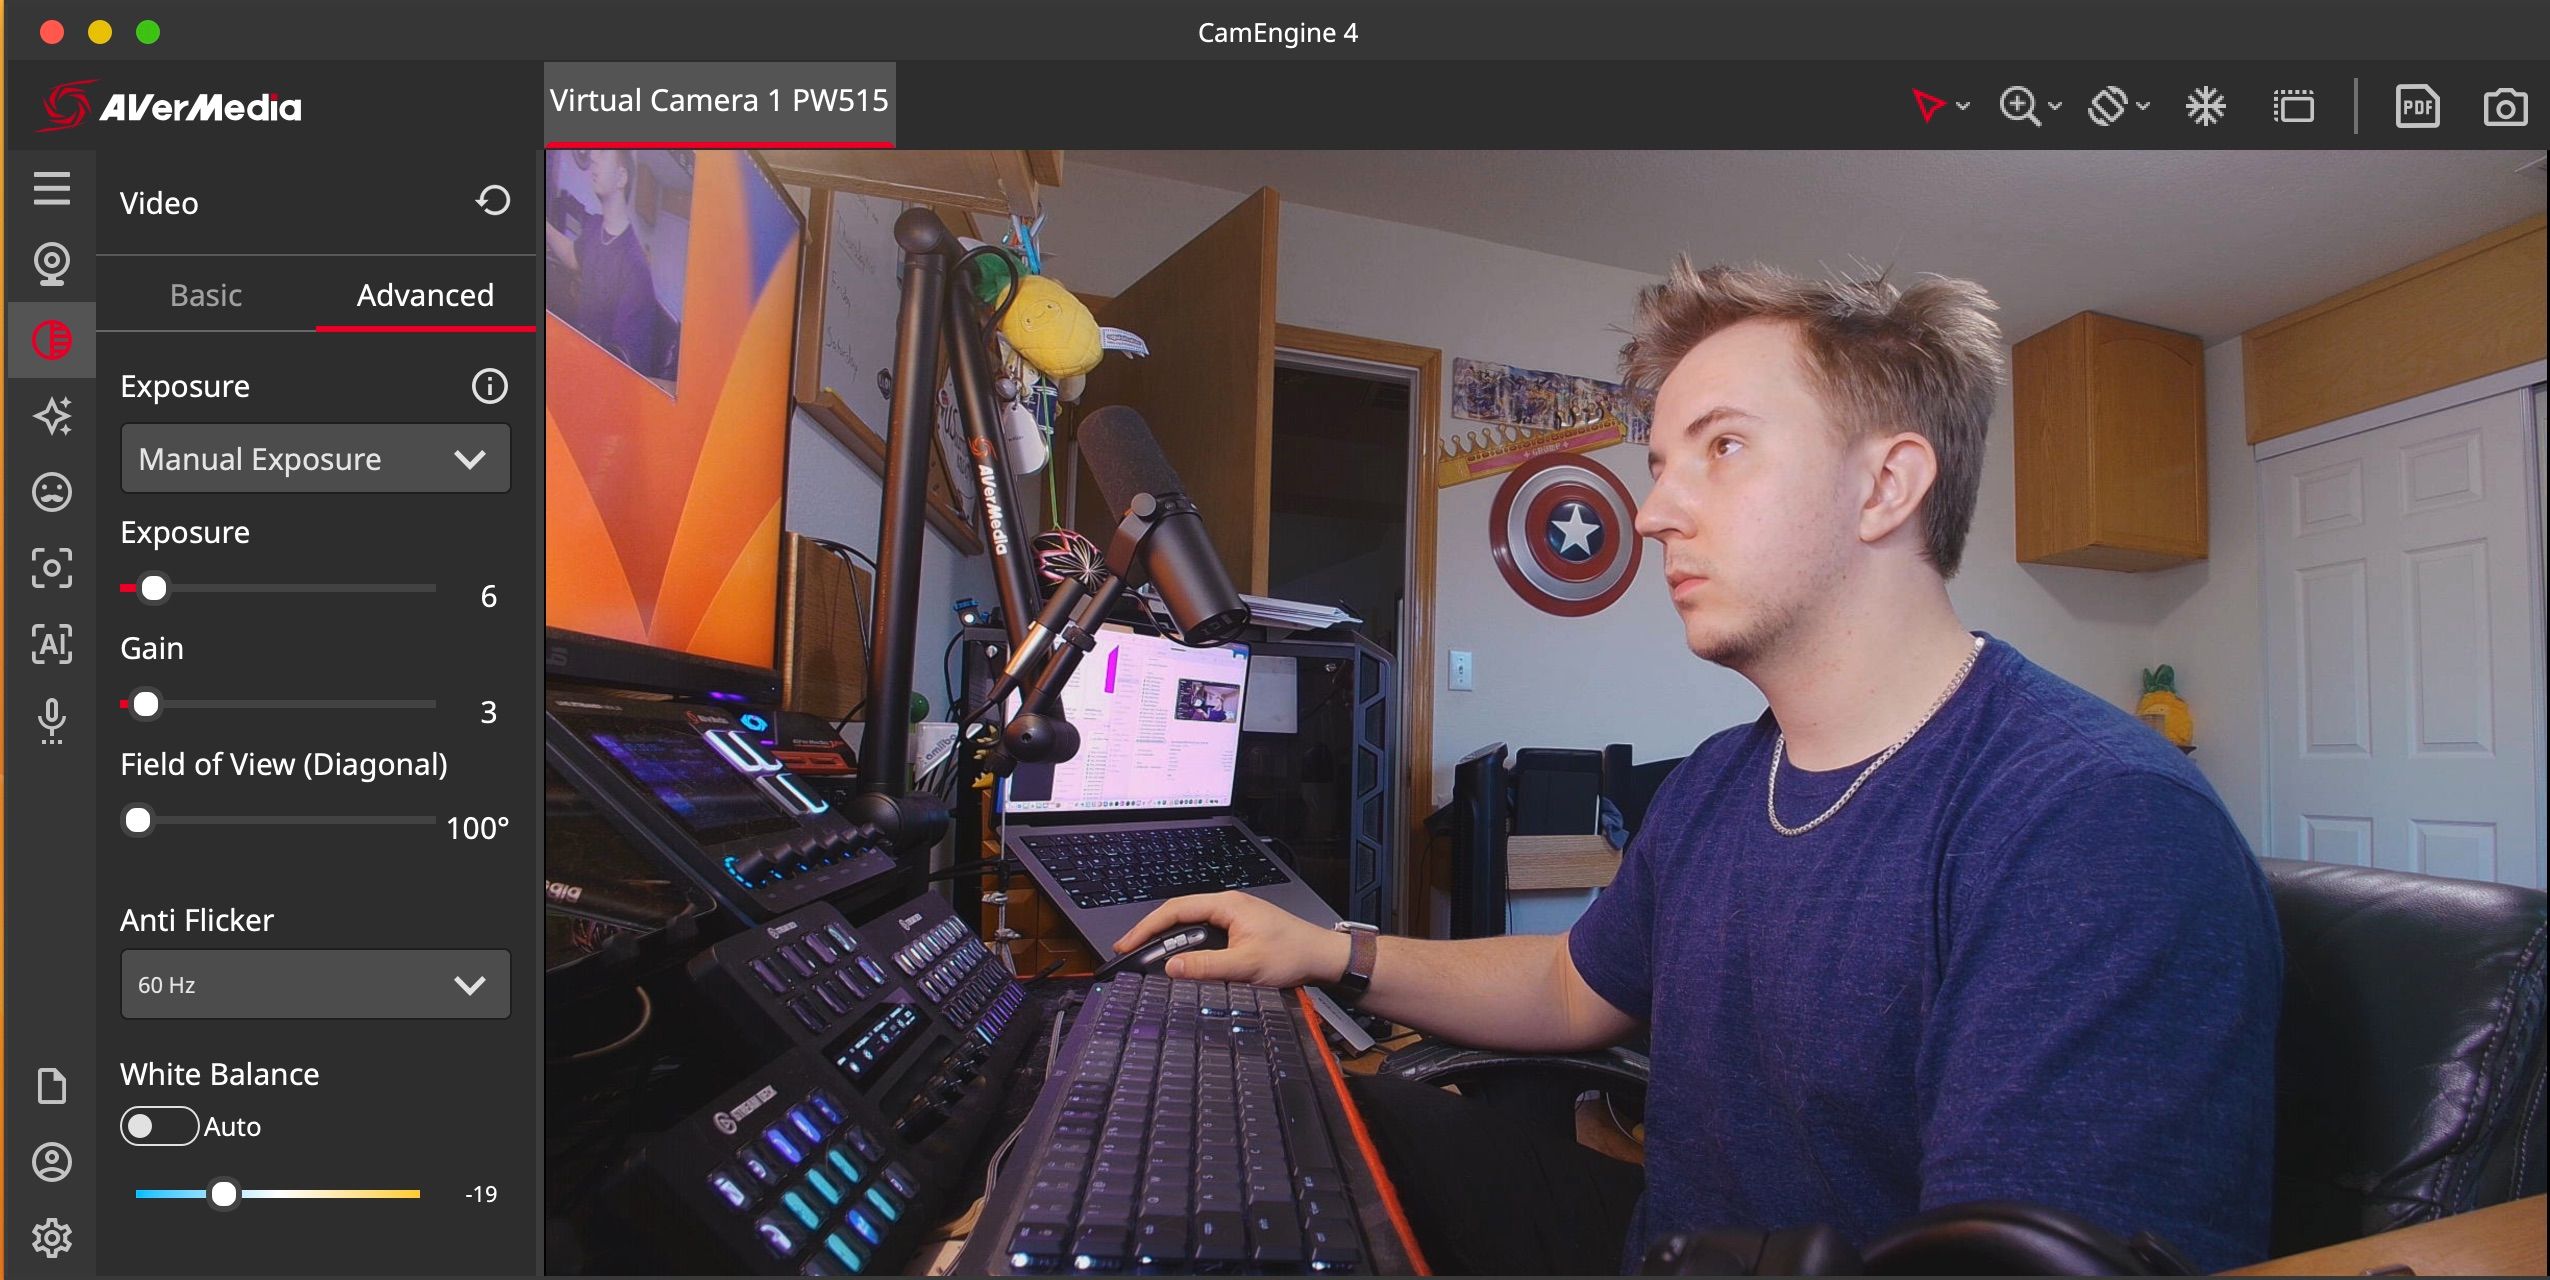
See if your webcam has any proprietary software, such as Elgato Camera Hub, AVerMedia CamEngine, or Razer Synapse, then use that to edit your webcam’s picture.
Adjust the settings to simply make as accurate of an image as you can, but be conservative with things like contrast and saturation, as you'll want a more neutral image for your color grading in OBS. Your goal is to create a both natural and neutral image.
Most importantly, ensure your exposure and white balance are set to manual so that any further adjustments you make appear consistently without worrying about surprise color changes. Otherwise, finish adjusting the webcam or camera settings to your liking.
How to Color Grade in OBS
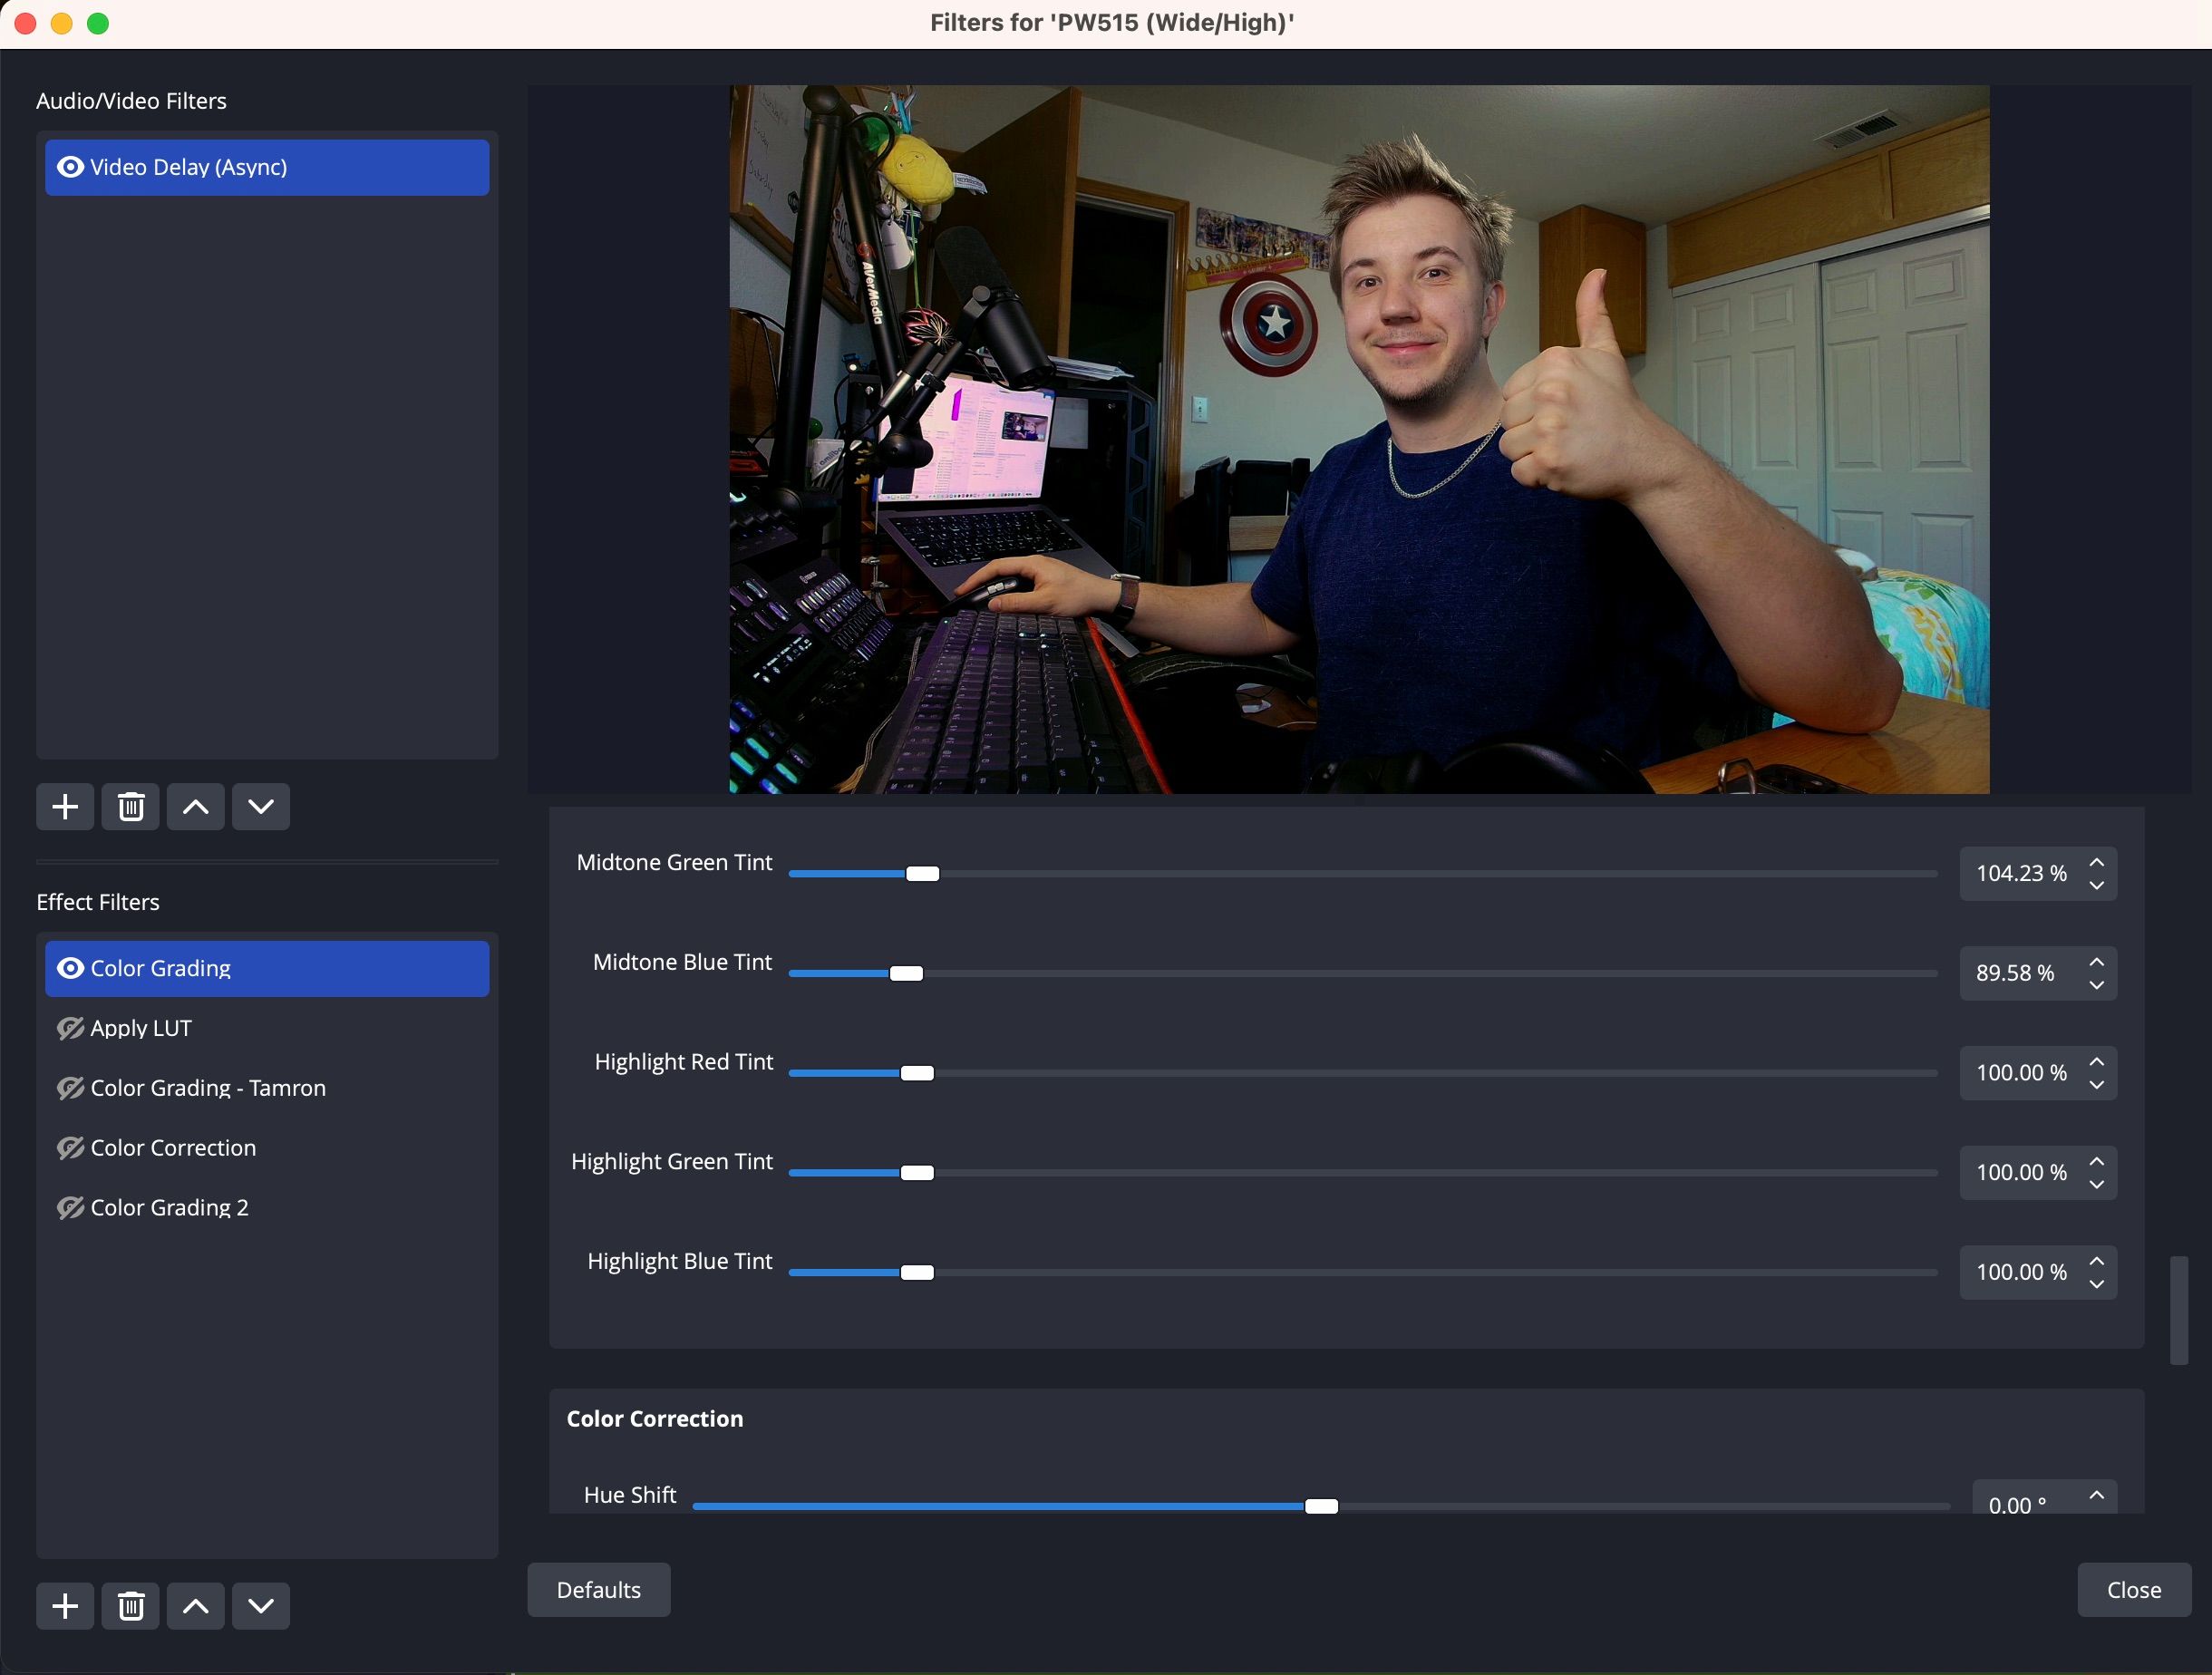
Next, add your webcam or camera to a scene in OBS as a video capture source. Right-click on it, select Filters, then click the plus sign under the Effect Filters tab, and select Color Grading.
Your first goal with this step is to make a more neutral image. For example, your webcam’s white balance settings may allow for changing temperature (orange to blue) but not tint (magenta to green), and your webcam’s image may be a bit more magenta than you’d like. To rectify this, experiment with decreasing the Gain sliders for red and blue or increasing the green.
Start small with your changes, and once you’ve made your image as neutral as you’d like, apply any smaller stylistic edits, but keep it minimal until you’ve applied a LUT. For example, if your skin looks blown out or less saturated than it should, experiment with slightly reducing blue while slightly raising red and green.
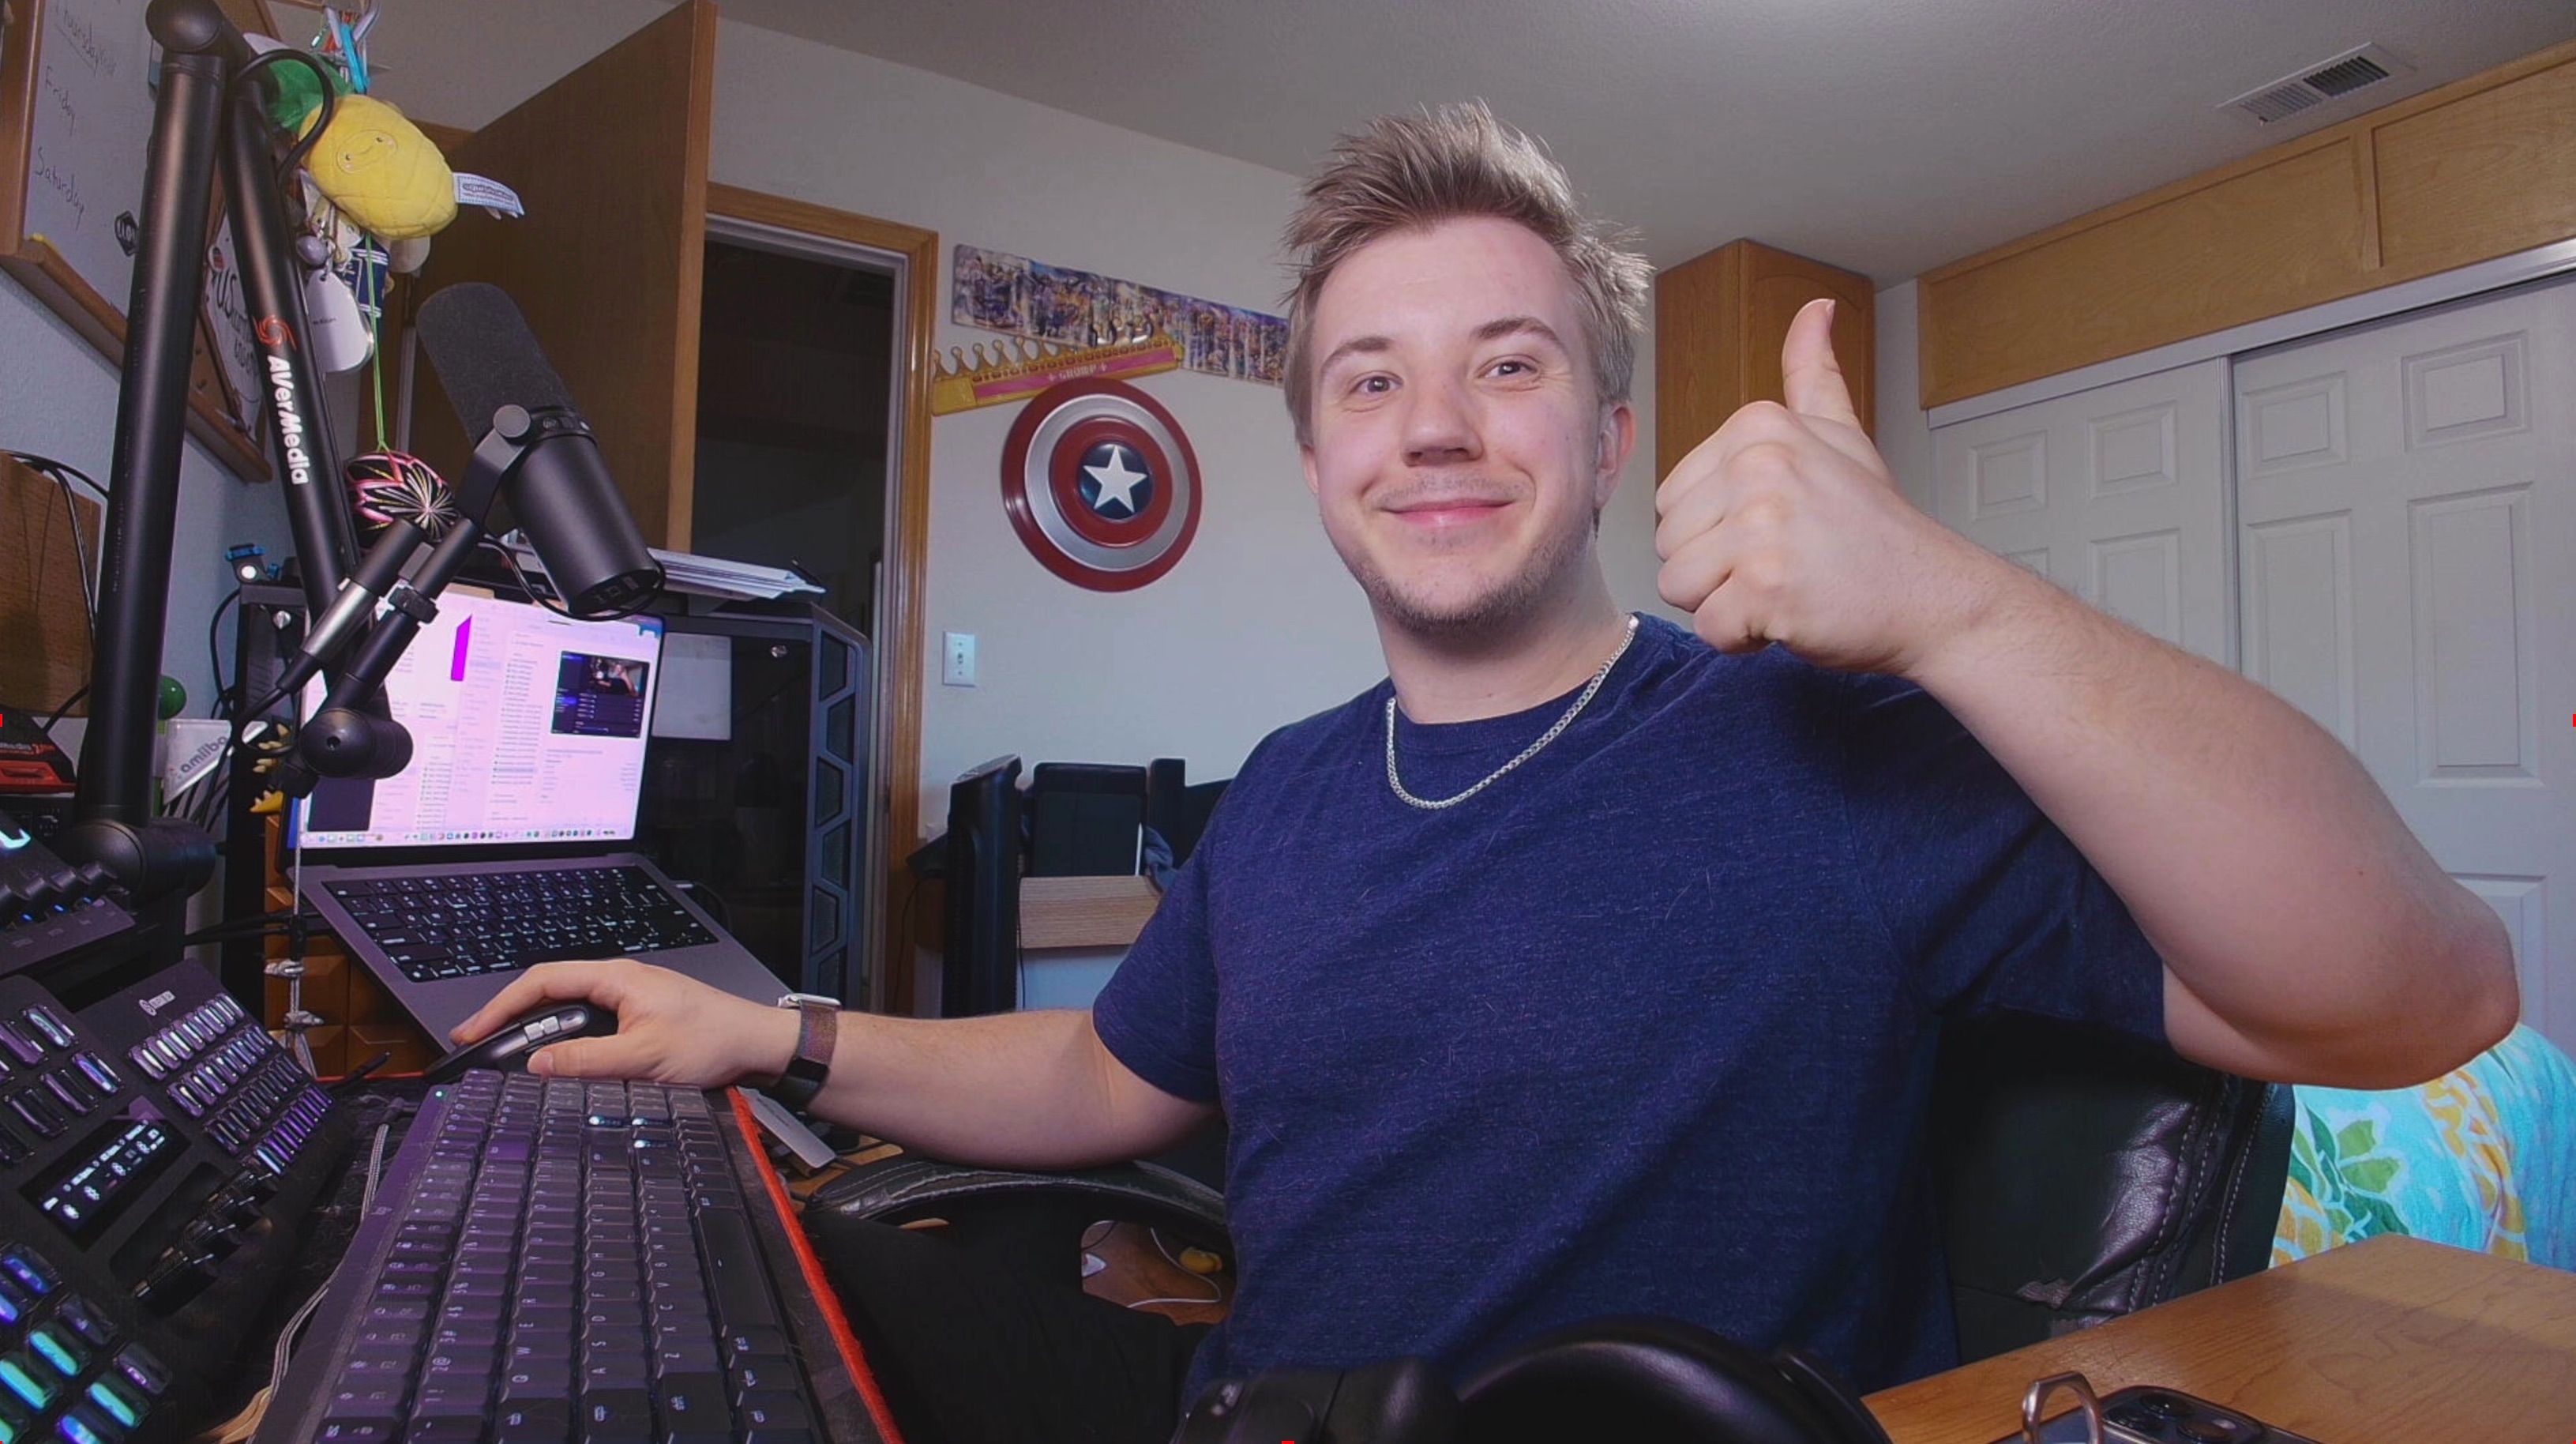
Here is before color grading:
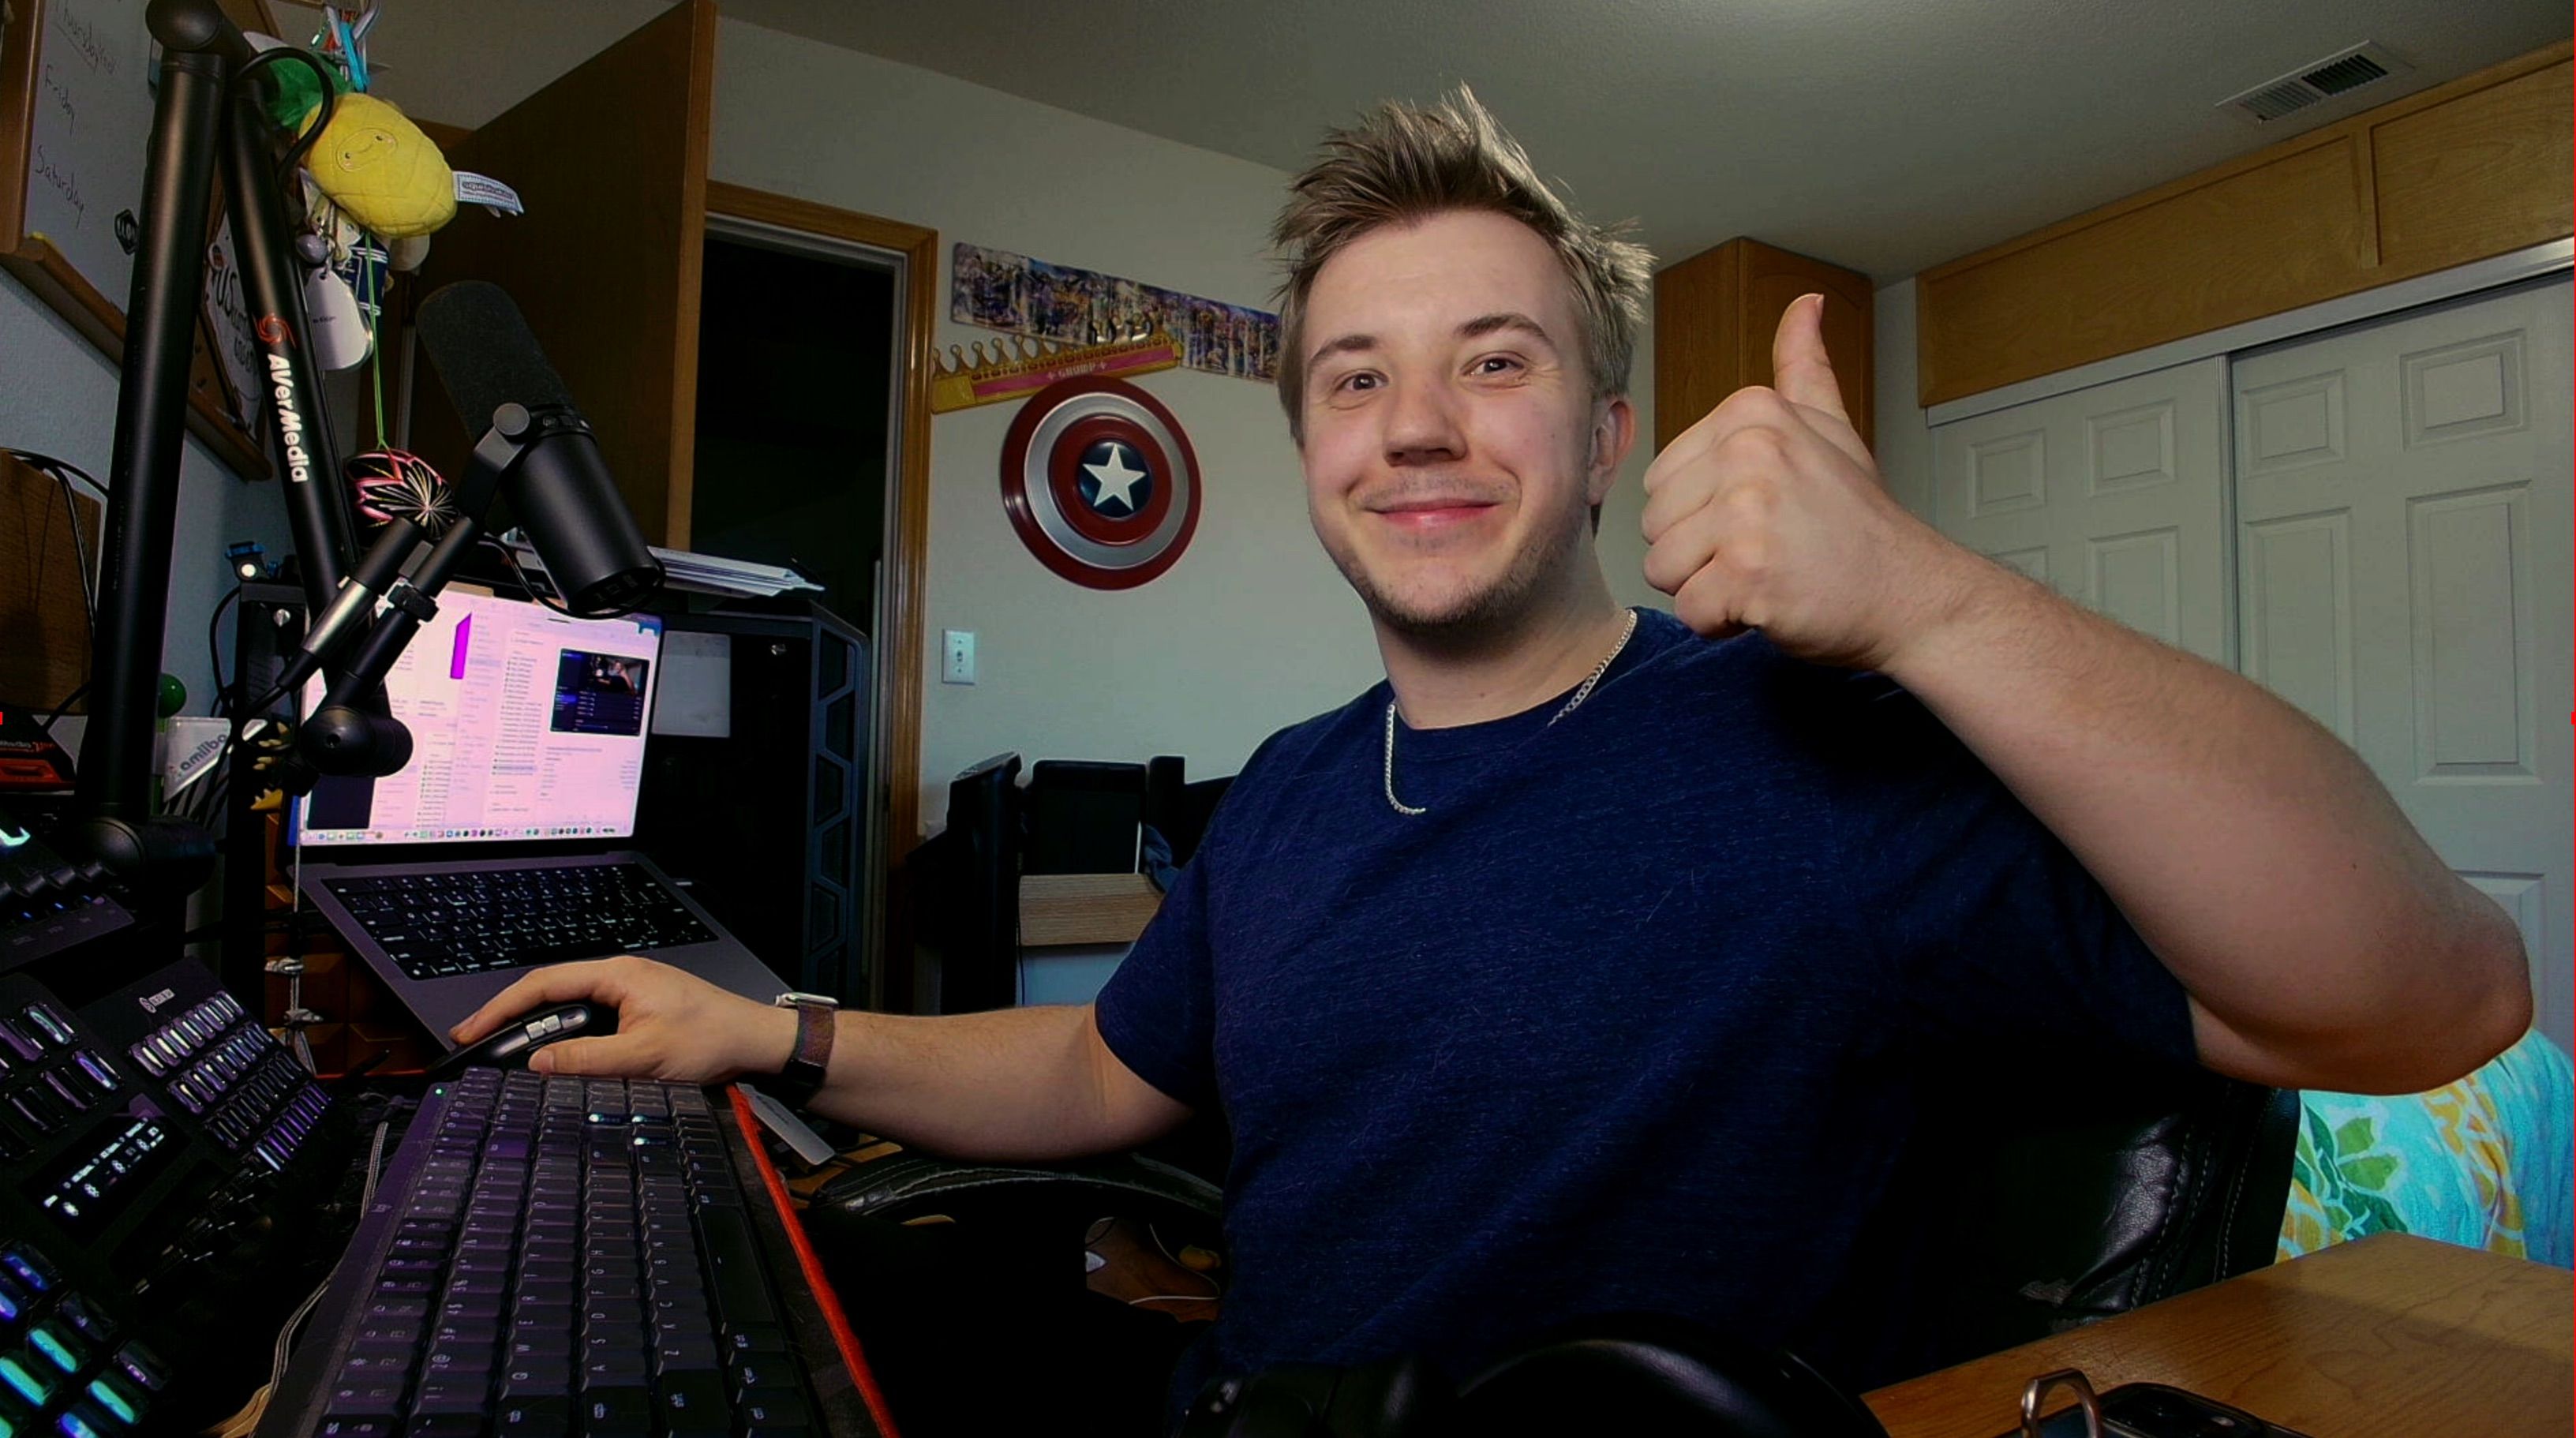
Here is the same webcam after color grading—note how the webcam's magenta tint was reduced:
Apply a LUT and Make the Final Corrections
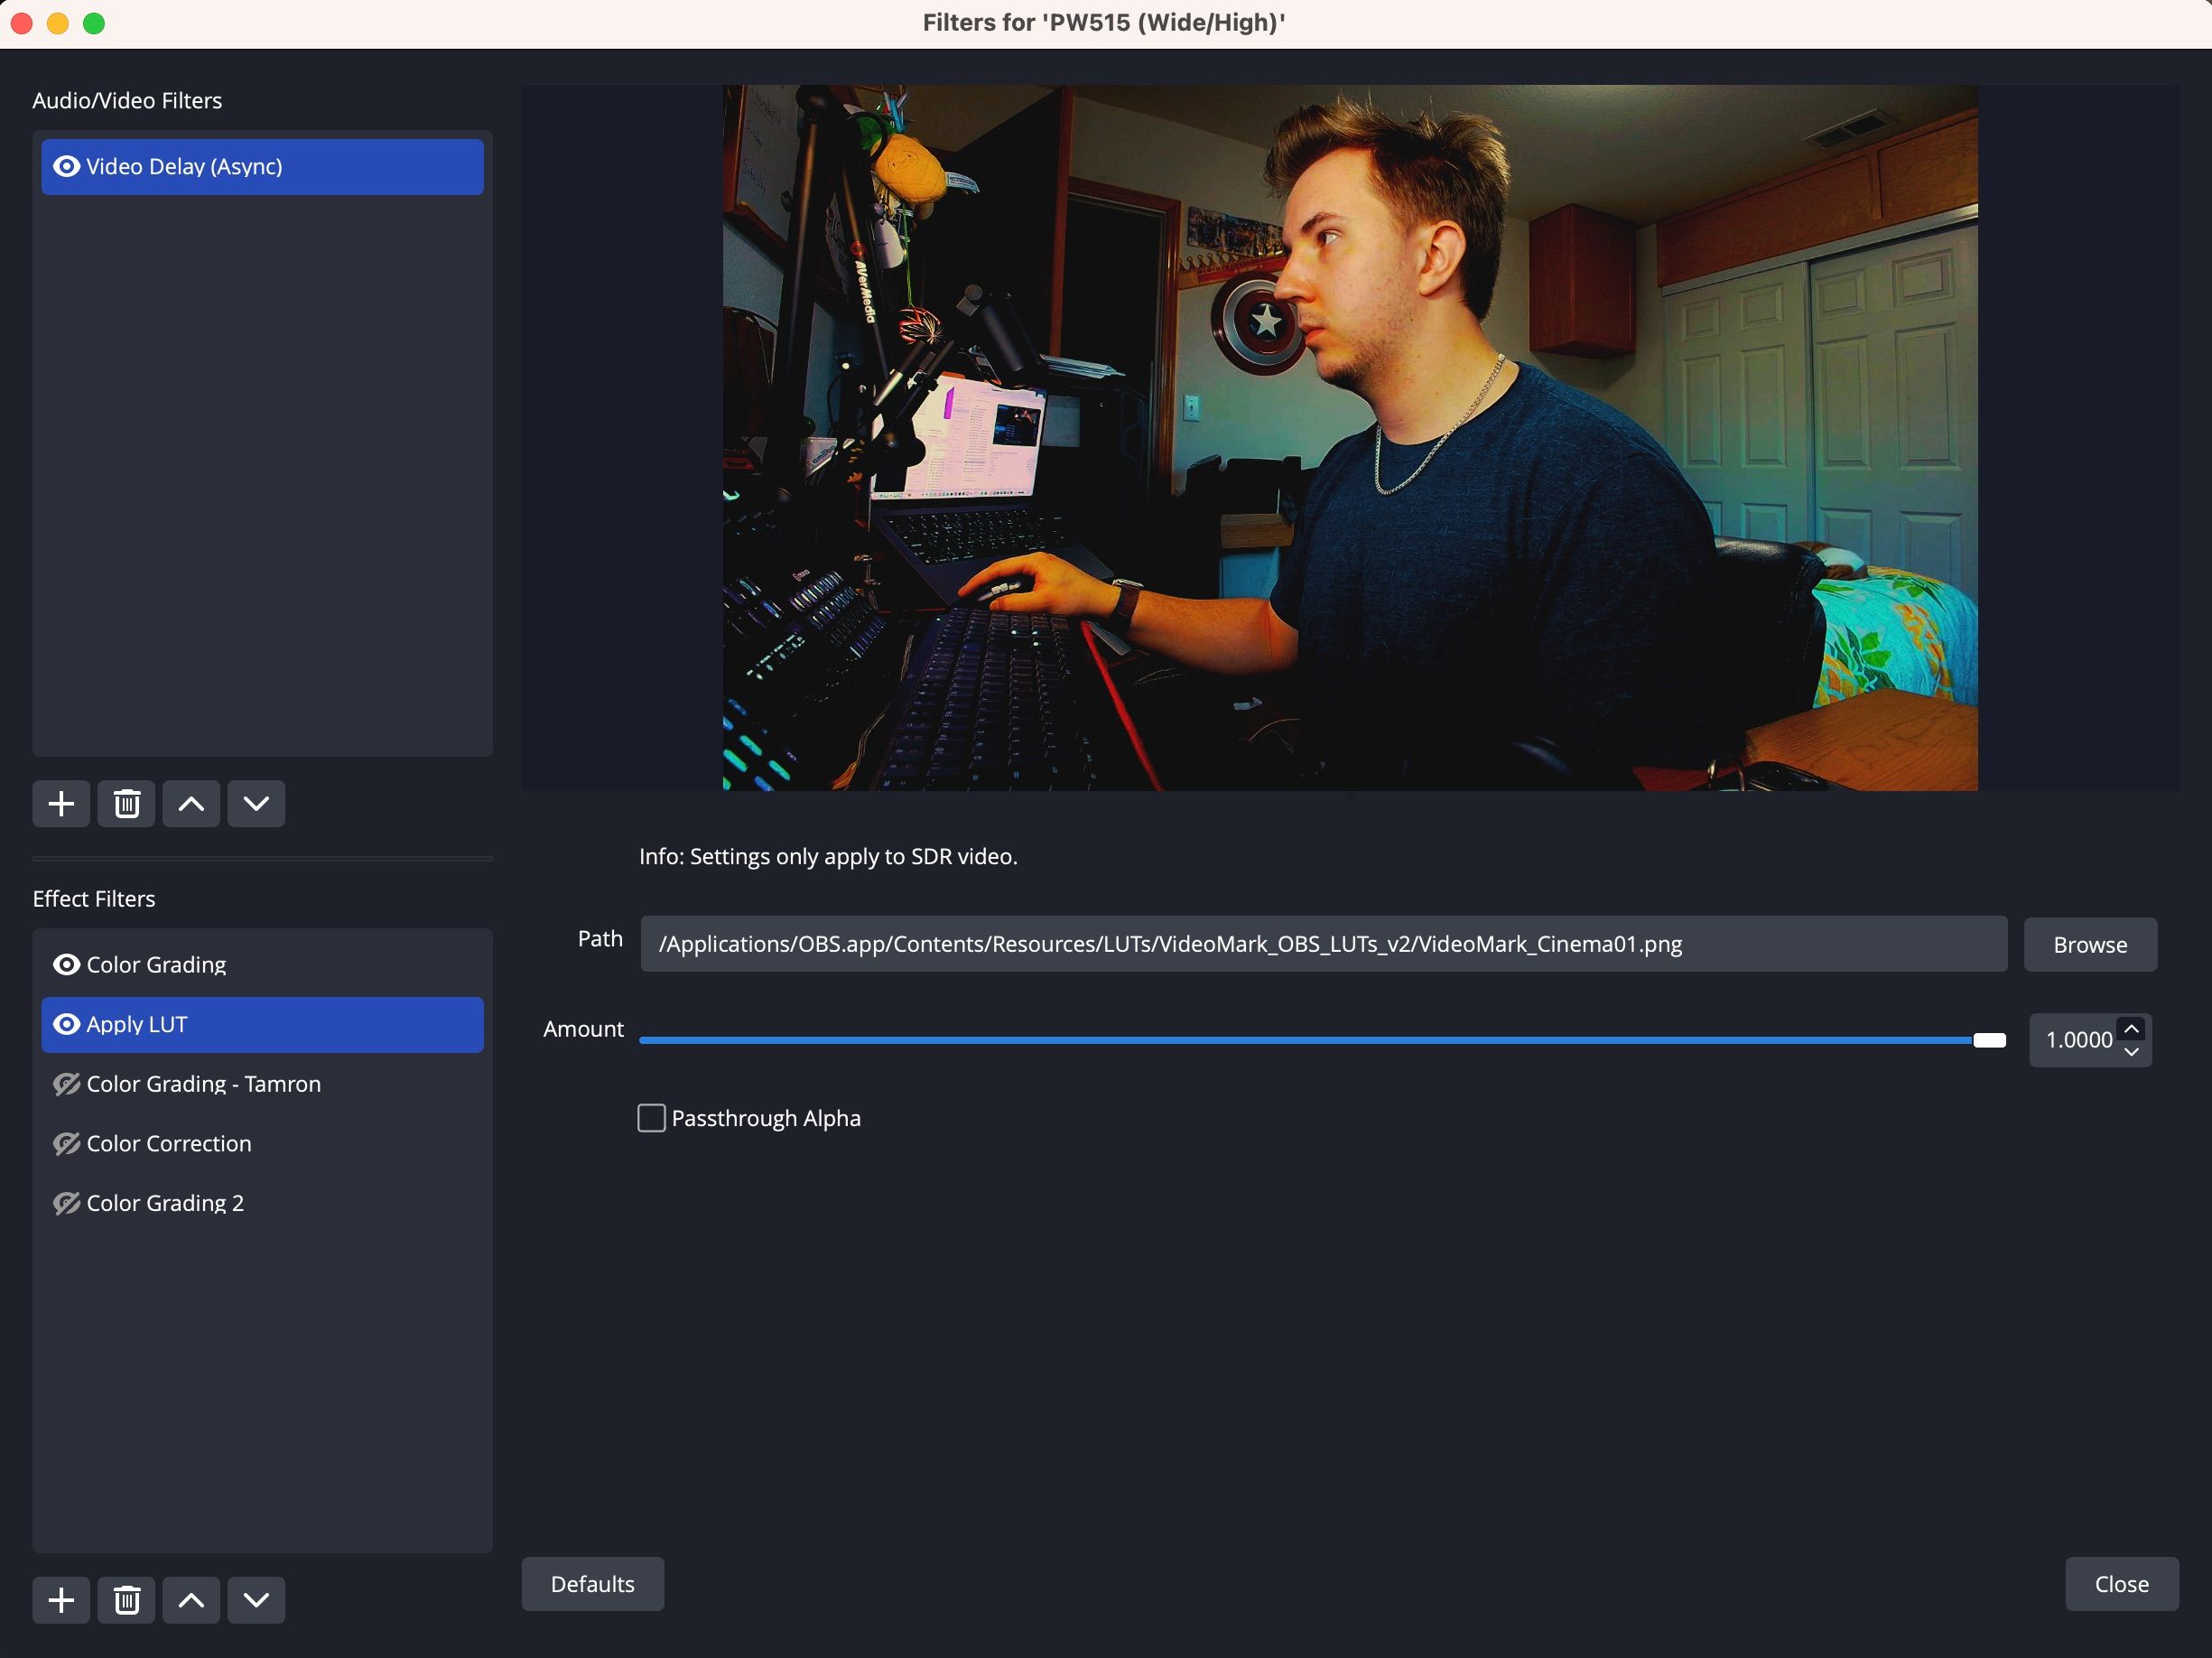
Once you’ve corrected your webcam image to your liking, apply a LUT. In the Filters window, once again click the plus icon and select Apply LUT. Next, select your LUT of choice by navigating to the folder to which you saved the LUT pack. In this example, we are using the VideoMark_Cinema01 preset.
At 100%, this looks overly stylized and should be reduced.
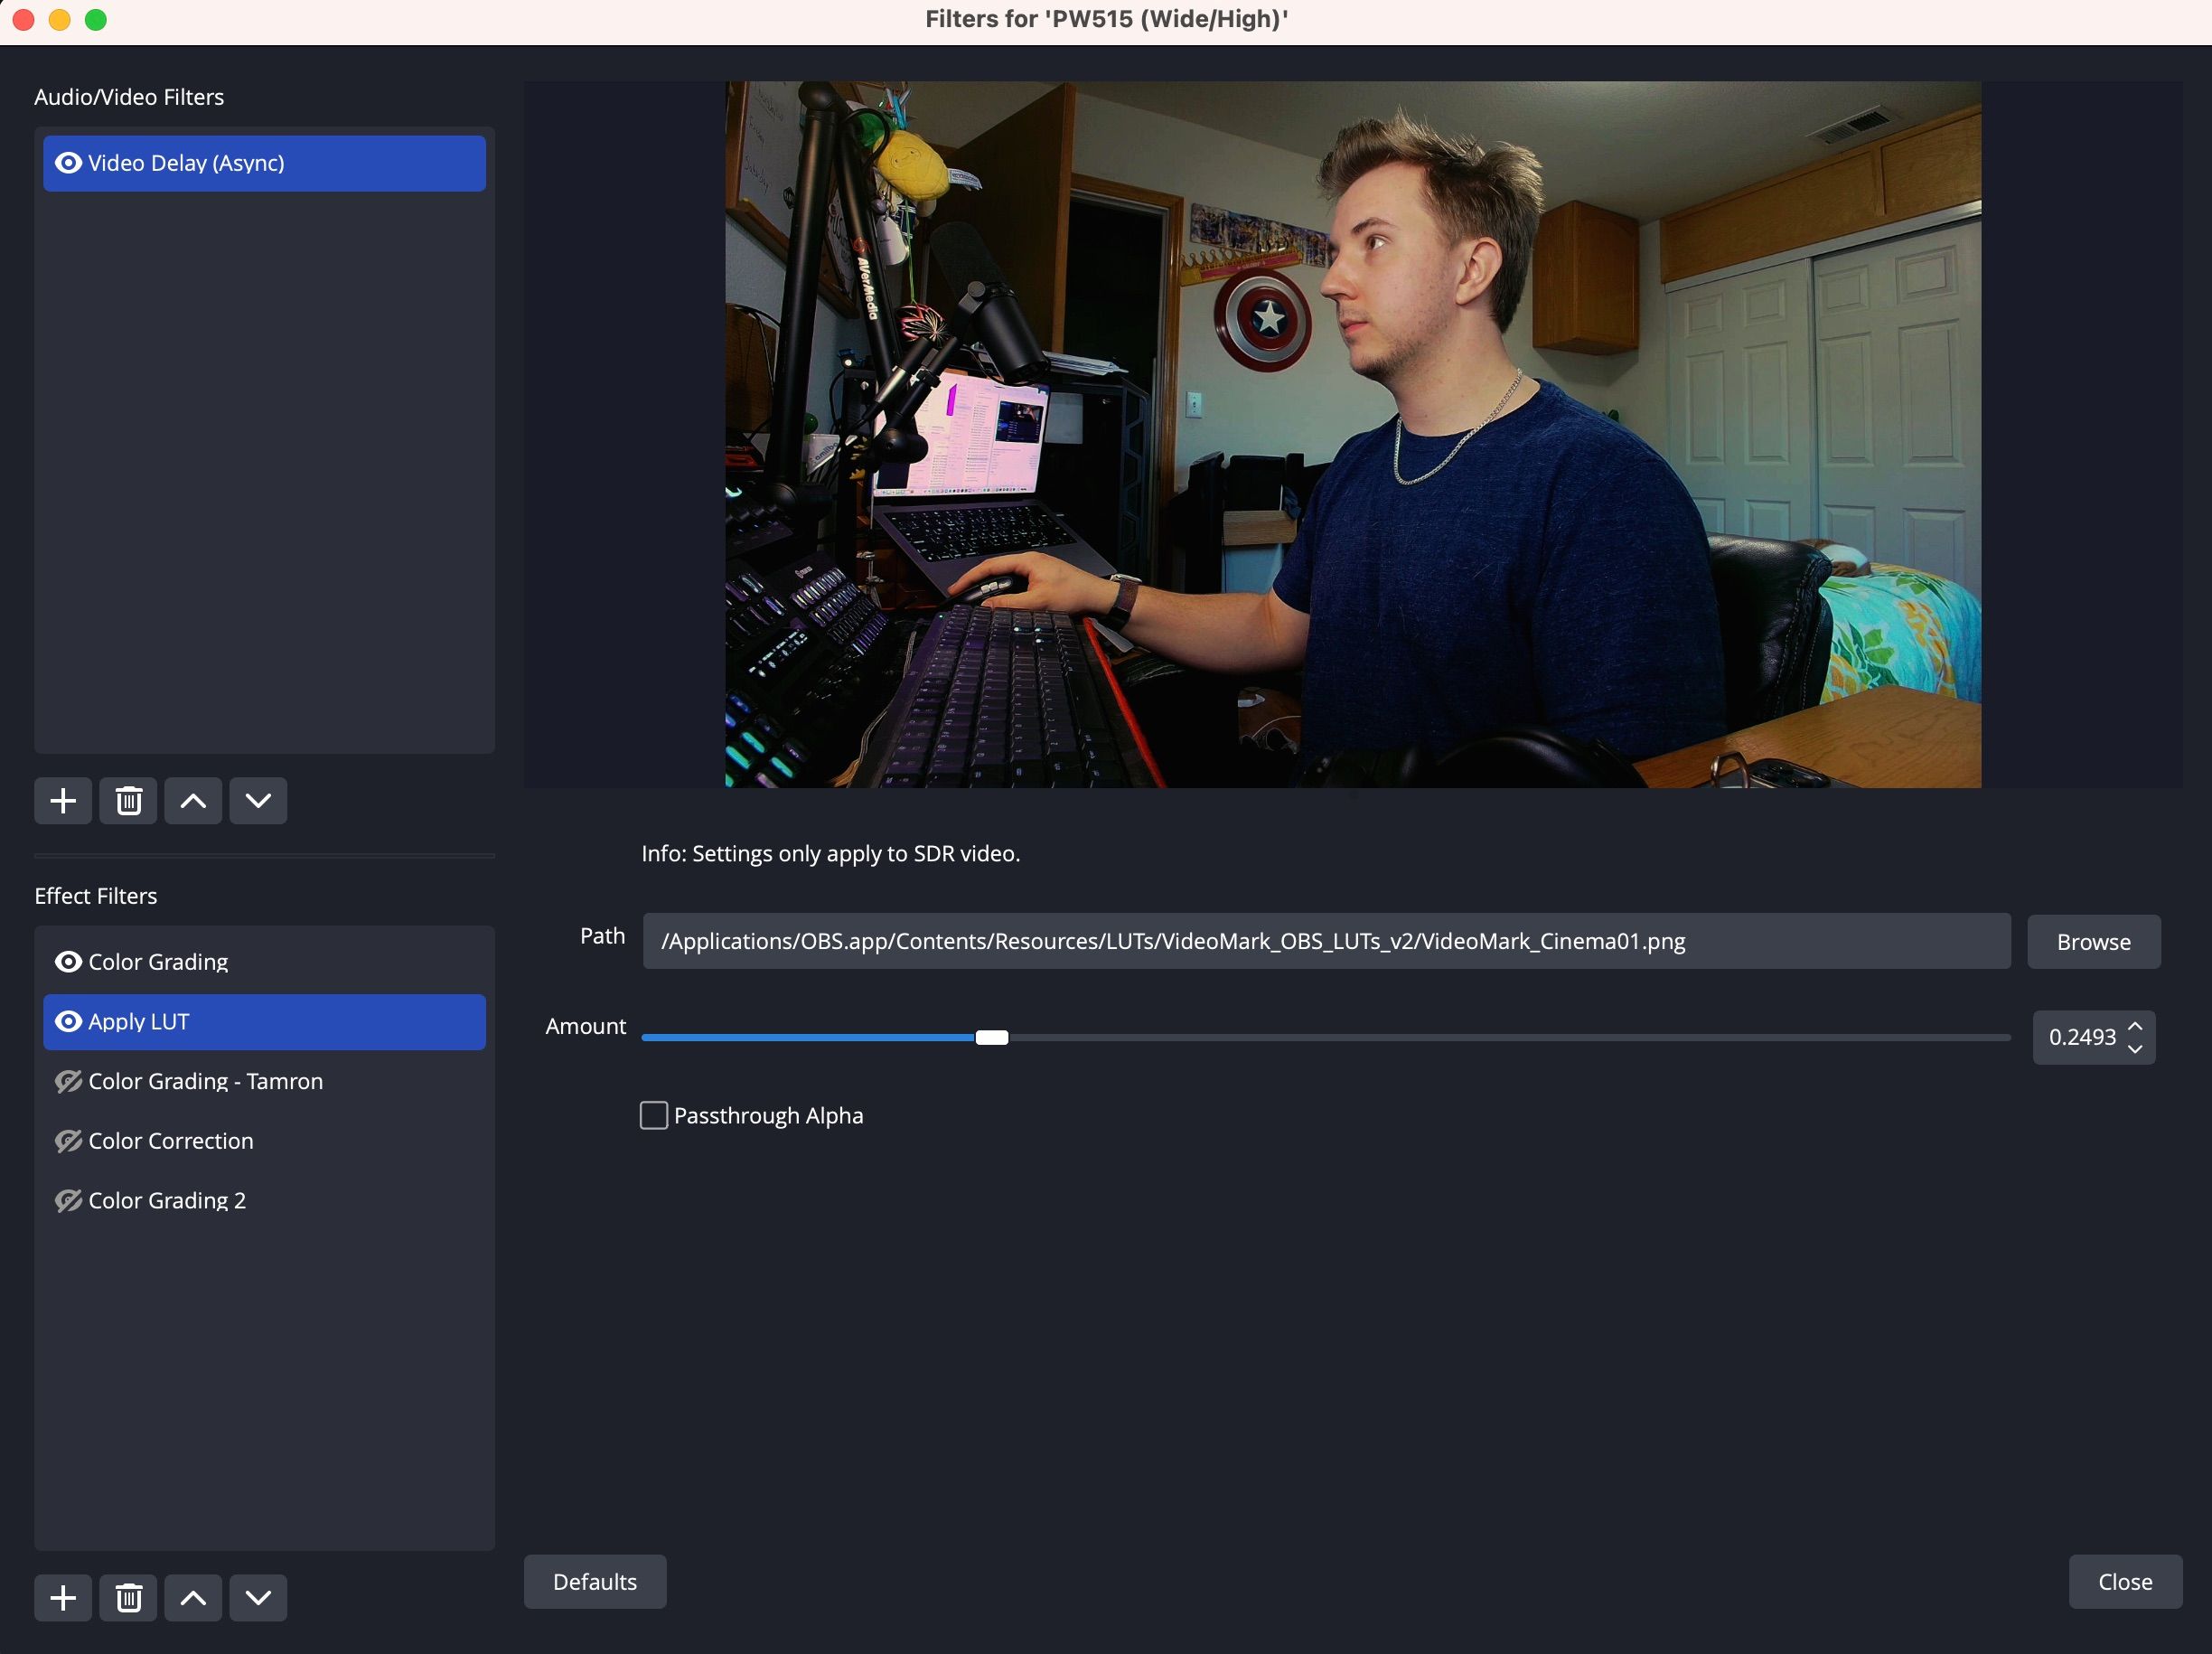
On a webcam or camera without the dynamic color range of a nicer camera, lower the intensity of your LUT. The 20-40% range will generally be sufficient to stylize to your liking.
Last, if you want to make any more fine-tune adjustments, go back into your Color Grading filter and make small adjustments. Maybe your skin color correction was ultimately unnecessary, or you’d like to adjust contrast, saturation, or lightness for a final bit of style in your image.
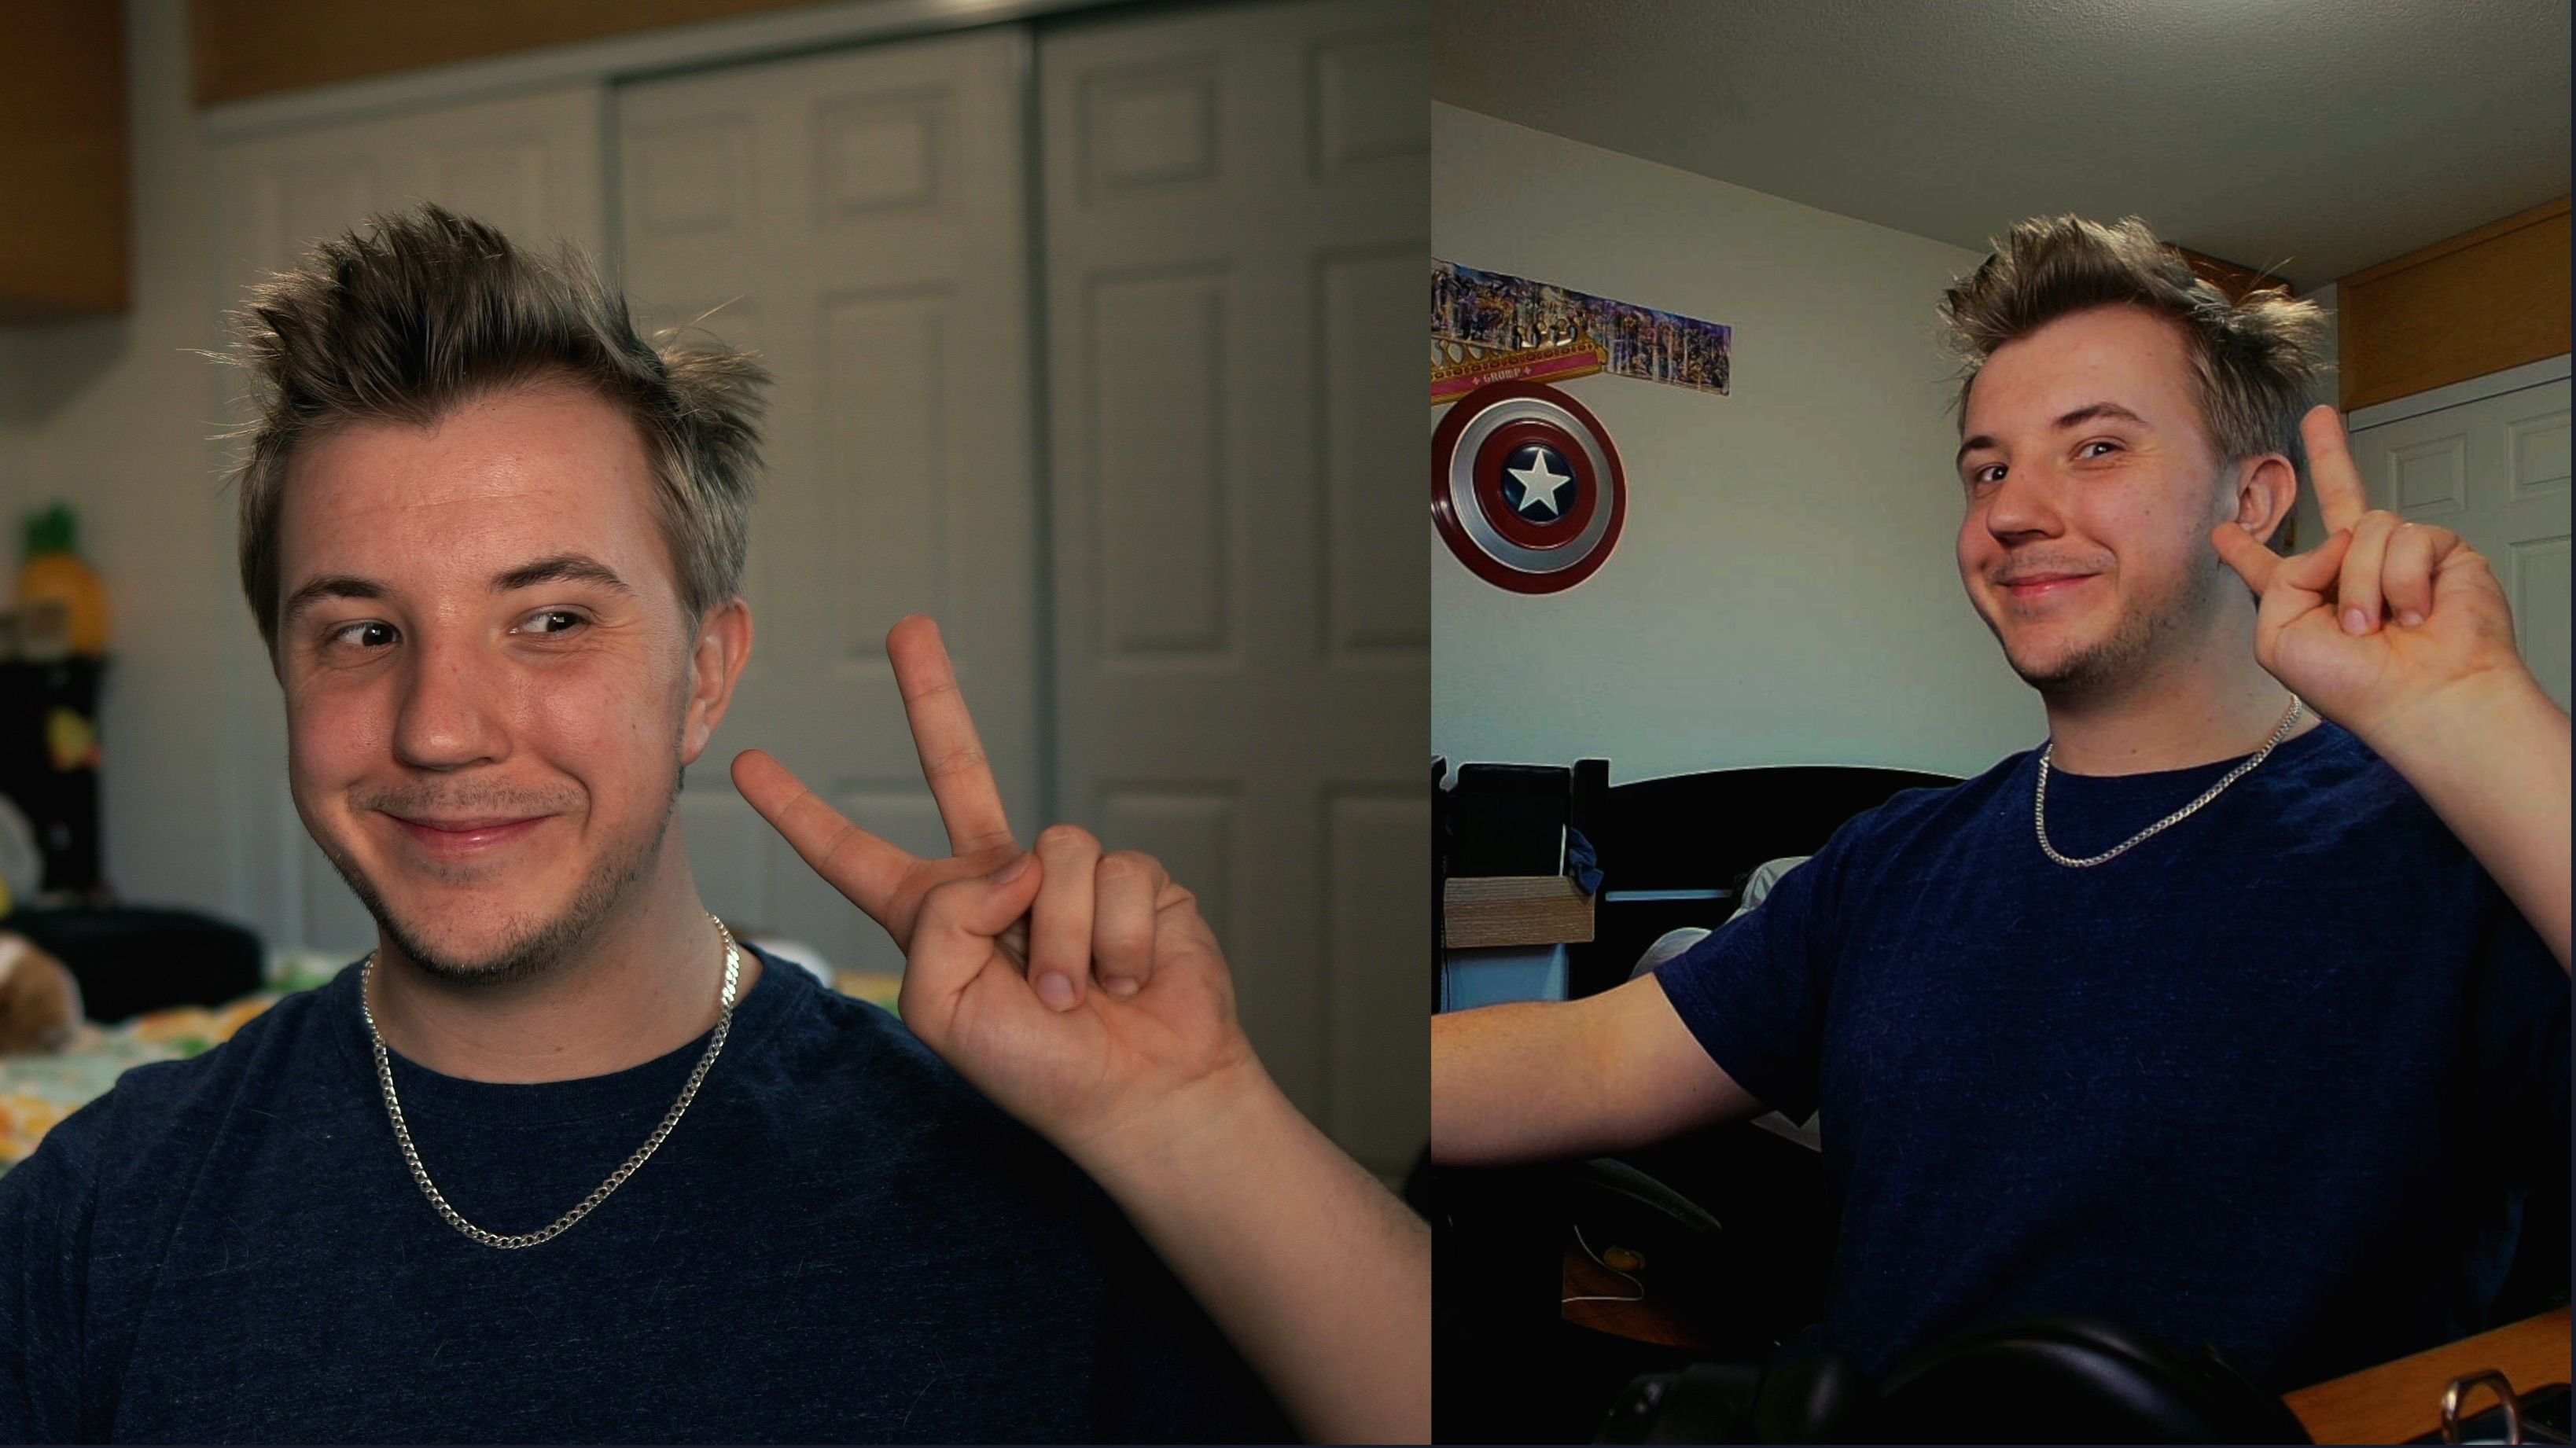
If you use multiple cameras or webcams, also consider using these tools to help match their colors better for smoother transitions between camera angles, such as the example below comparing the AVerMedia PW515 webcam to a color-graded Sony a6600 using the same LUT.
It isn't a perfect match, nor is the example correction perfect, but it's a significantly closer match than you'd have without using color grading and a solid improvement over not using any effects.
Streaming Is an Art Form
Whether improving your visual style or correcting visual imperfections, take some time to learn how to color your video. If you’re going to spend hundreds of hours live-streaming content, it’s worth taking an extra hour to learn how to do so more artistically.
Don't settle for the basics with your tools! Acquaint yourself with more OBS plugins to truly level up your streaming production.


