Notes is an Apple-developed note-taking app that allows you to create checklists, jot down thoughts, scan documents, and more. However, not many people know that you can also use Apple Notes to collaborate with other people. What’s more, iOS 15 introduced upgrades that allow for even more effortless and more seamless collaboration.
So, without further ado, here’s how to use Apple Notes to collaborate with other people.
Before You Start
To be sure that your device is ready for collaboration, here’s what you need to do:
- Upgrade your device to the latest software to be able to use the latest features.
- Set up iCloud on your device.
- Sign in to iCloud with your Apple ID.
Make sure that the people you share notes with also update their apps and devices. The people you share your notes with also need to be signed in with their Apple IDs to be able to view and edit your notes.
How to Share a Note
While you can simply send someone a copy of your note, Notes also allows you to collaborate within the same note. To do this, you either have to share your note or receive an invite from another person to collaborate on their note.
To invite someone to collaborate:
- Open the Notes app.
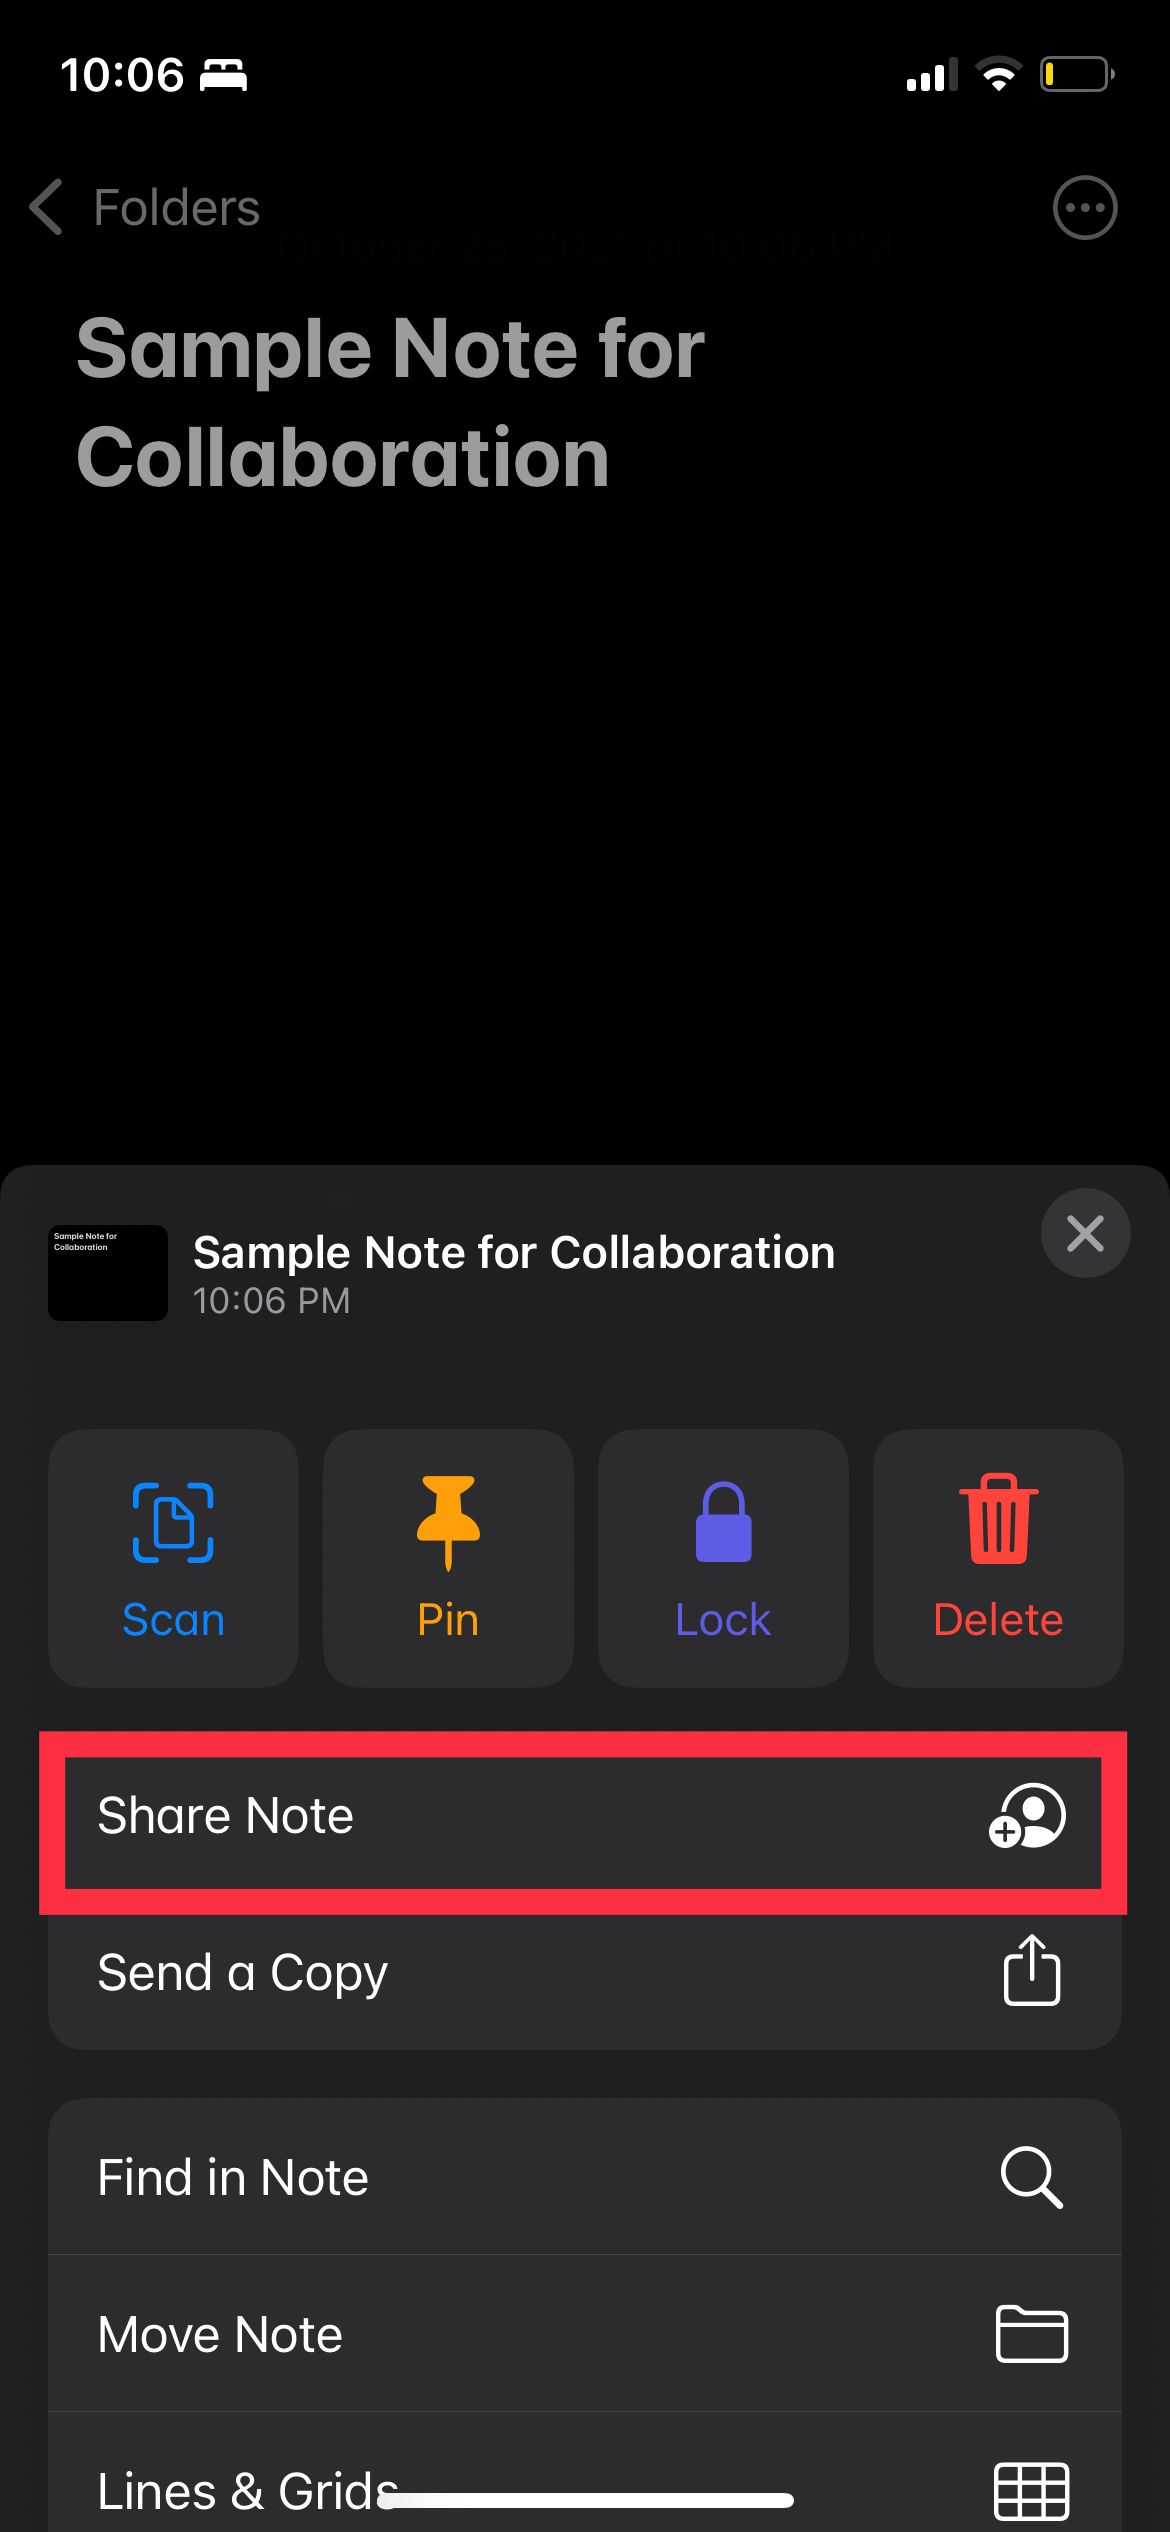
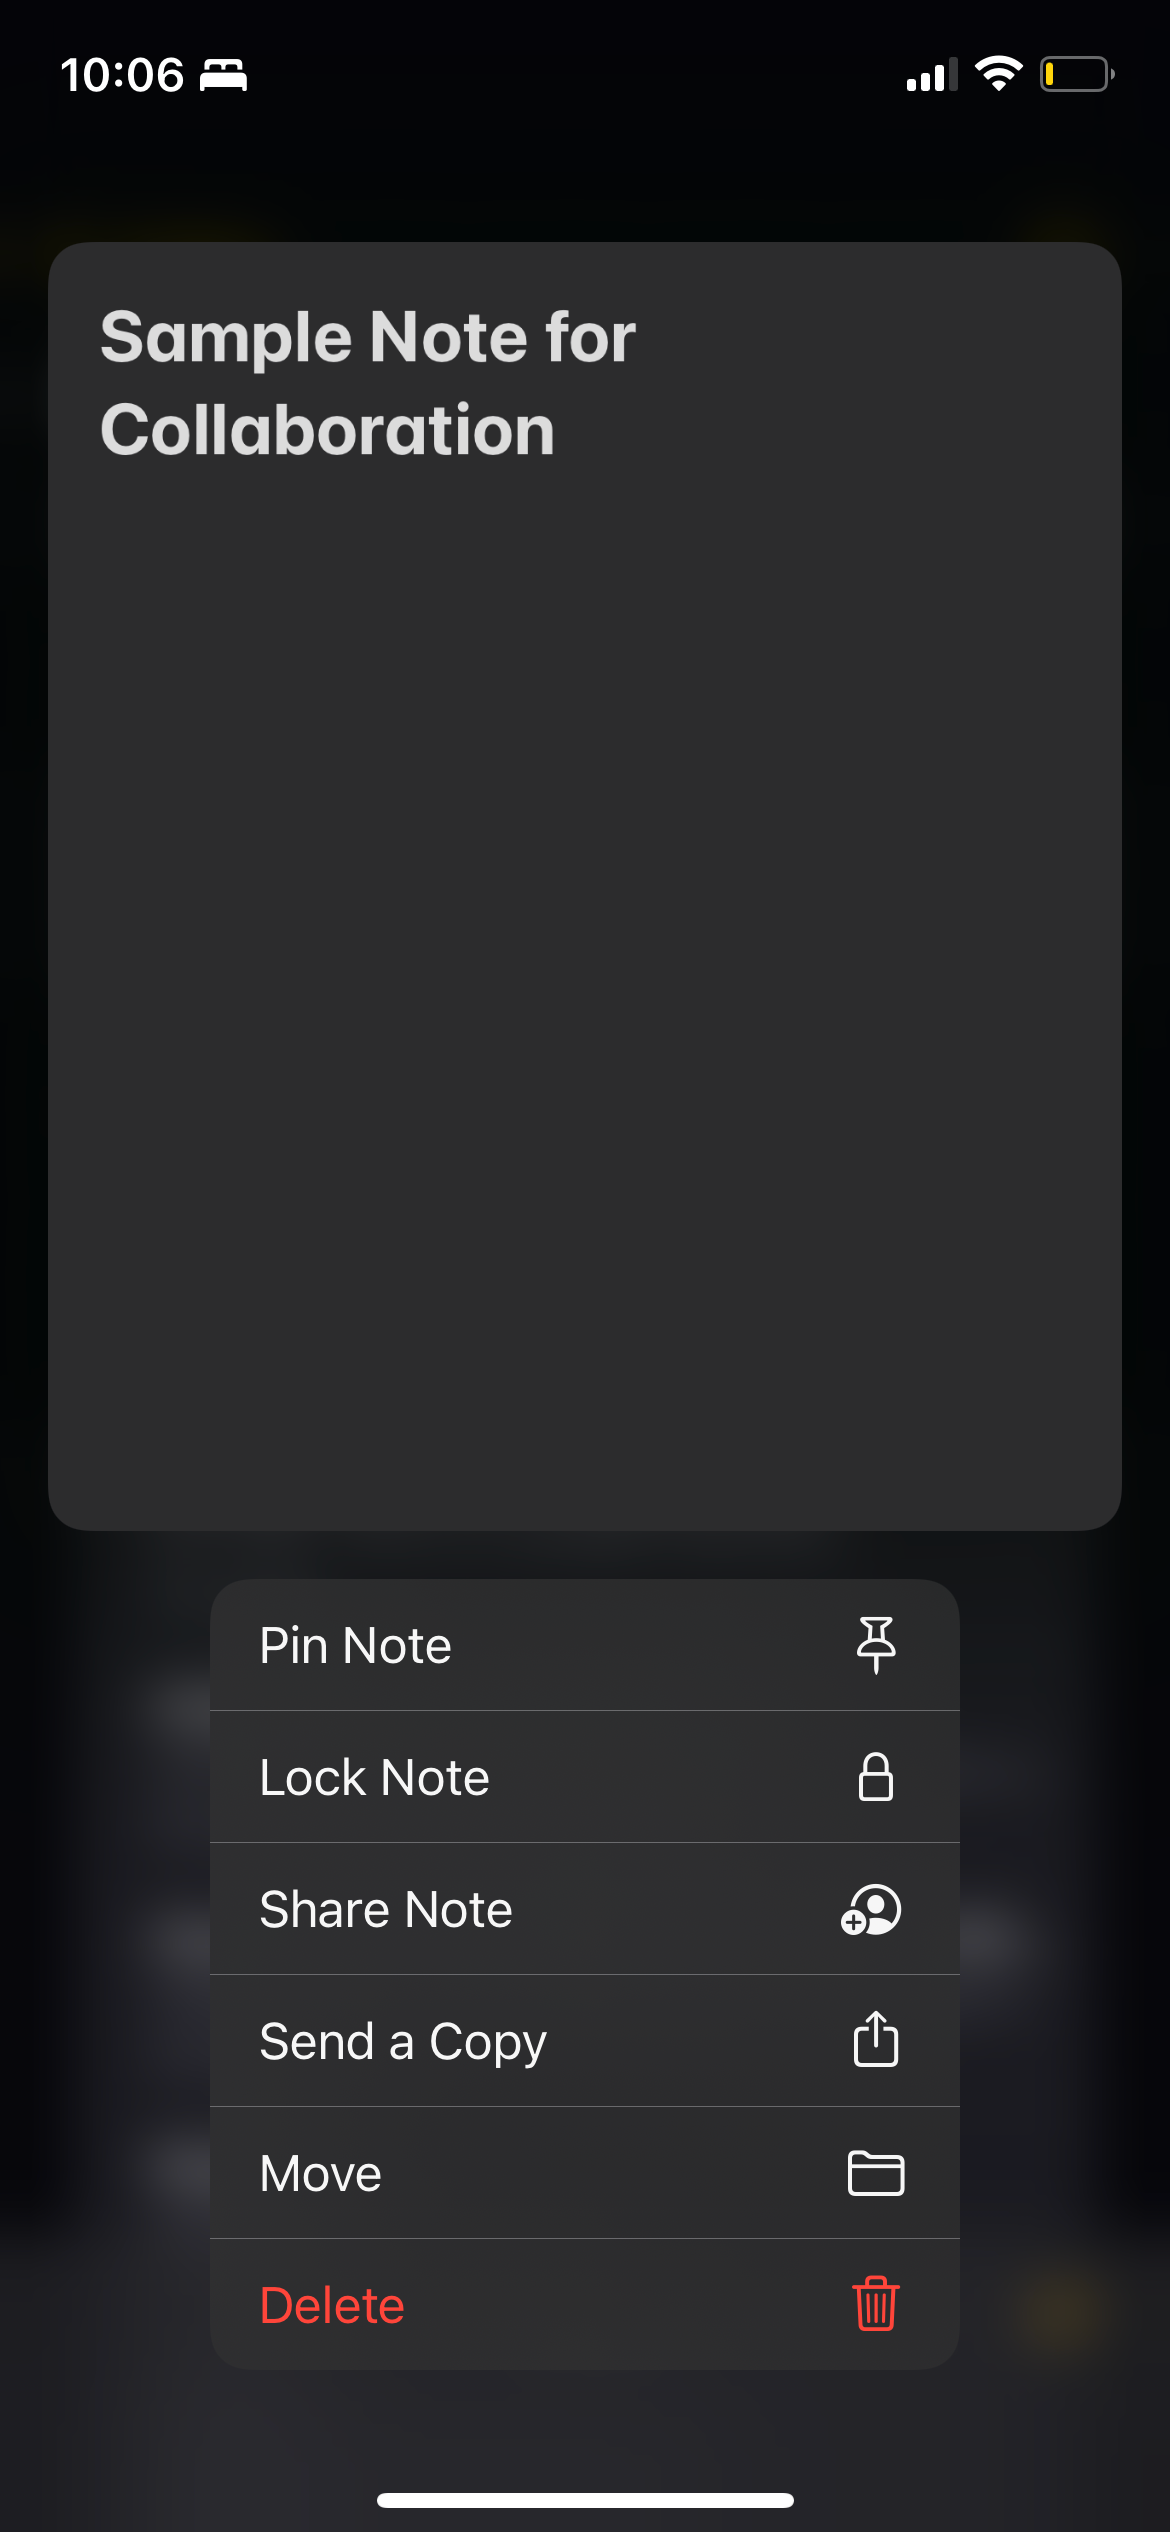
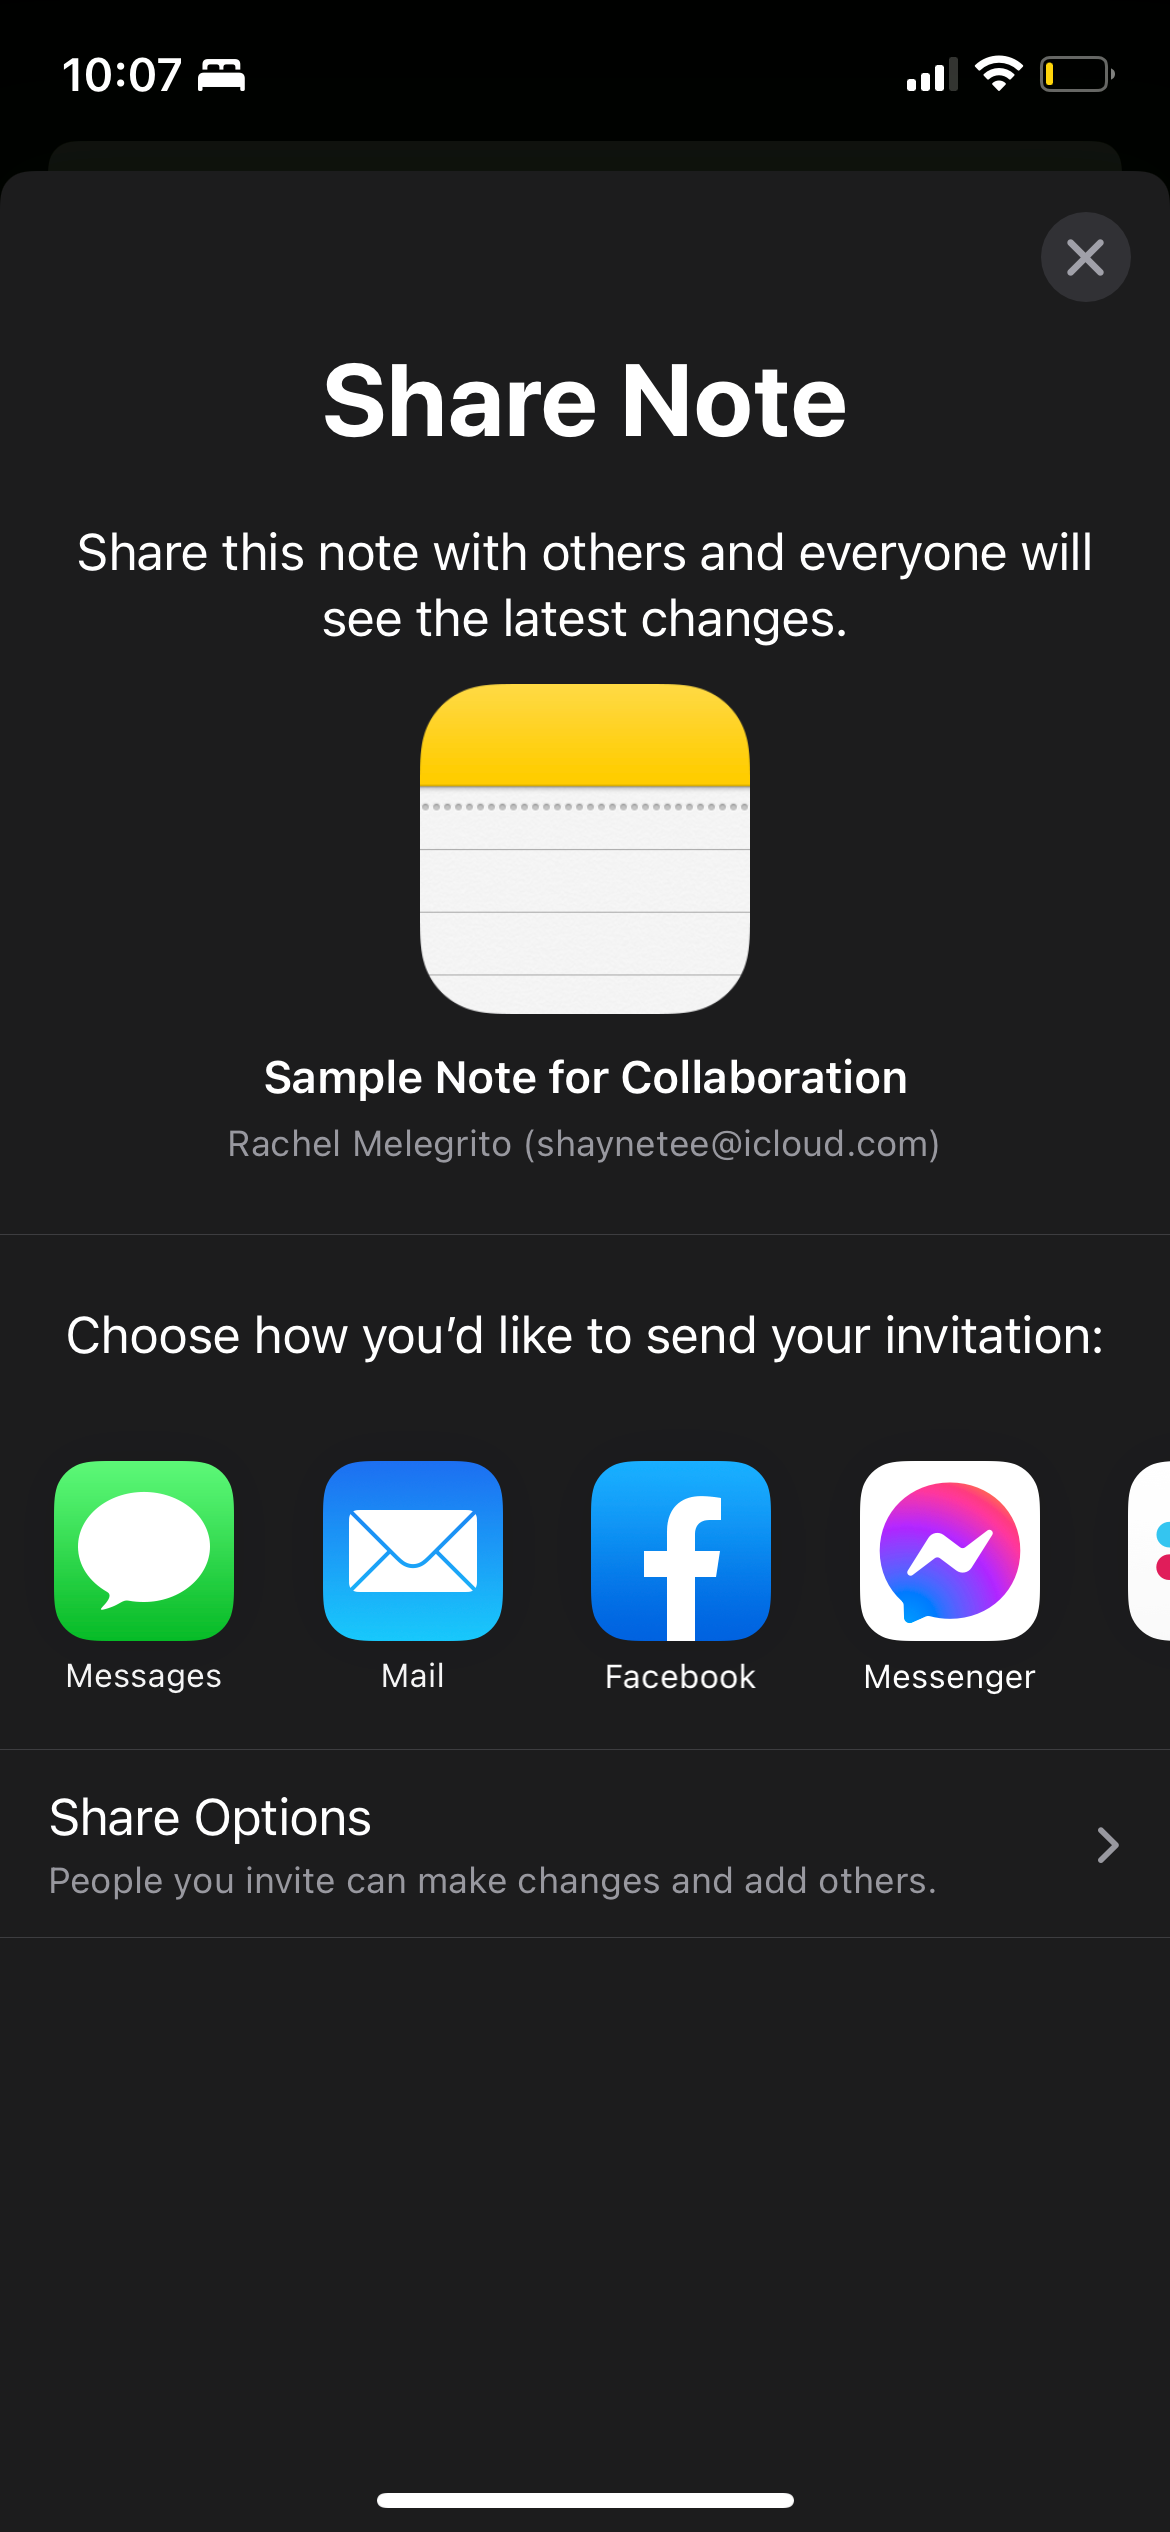
- Long-press the note you want to share, then tap Share Note. If you’re inside the note you want to share, simply tap the ellipsis (...) icon, then choose Share Note.
- Choose from the available methods for how you want to send your invitation. You can send it through Mail, Messages, or other messaging platforms on your device. You can also opt to copy the link and send it manually. Just tap Copy Link, then add the contact details of the people you want to share the note with.
- Tap Sharing Options. Choose Can make changes to allow the people you invite to edit the note or select View only to give them read-only access.

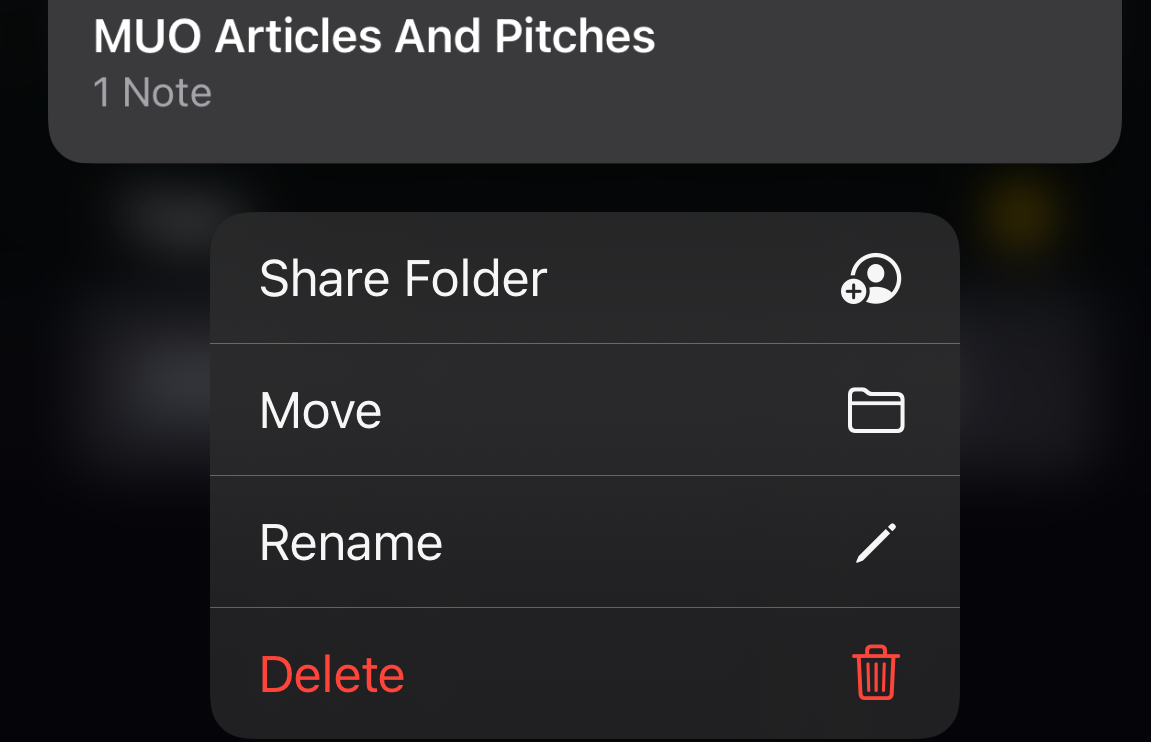
You can also share entire folders so that you can ask people to collaborate on several notes. To do this, just go to the Folders view, then long-press the folder you want to share. Tap Share Folder and select your preferred method of sending your invitation.
Note that you cannot collaborate on a locked note. Locked notes have a padlock icon on top of the note and beside the note heading on the list view. To remove the lock, long-press the note from the list view, then choose Remove Lock. You can also tap the ellipsis (…) icon inside the note, then tap Remove.
How to See Changes Other People Made to Your Notes
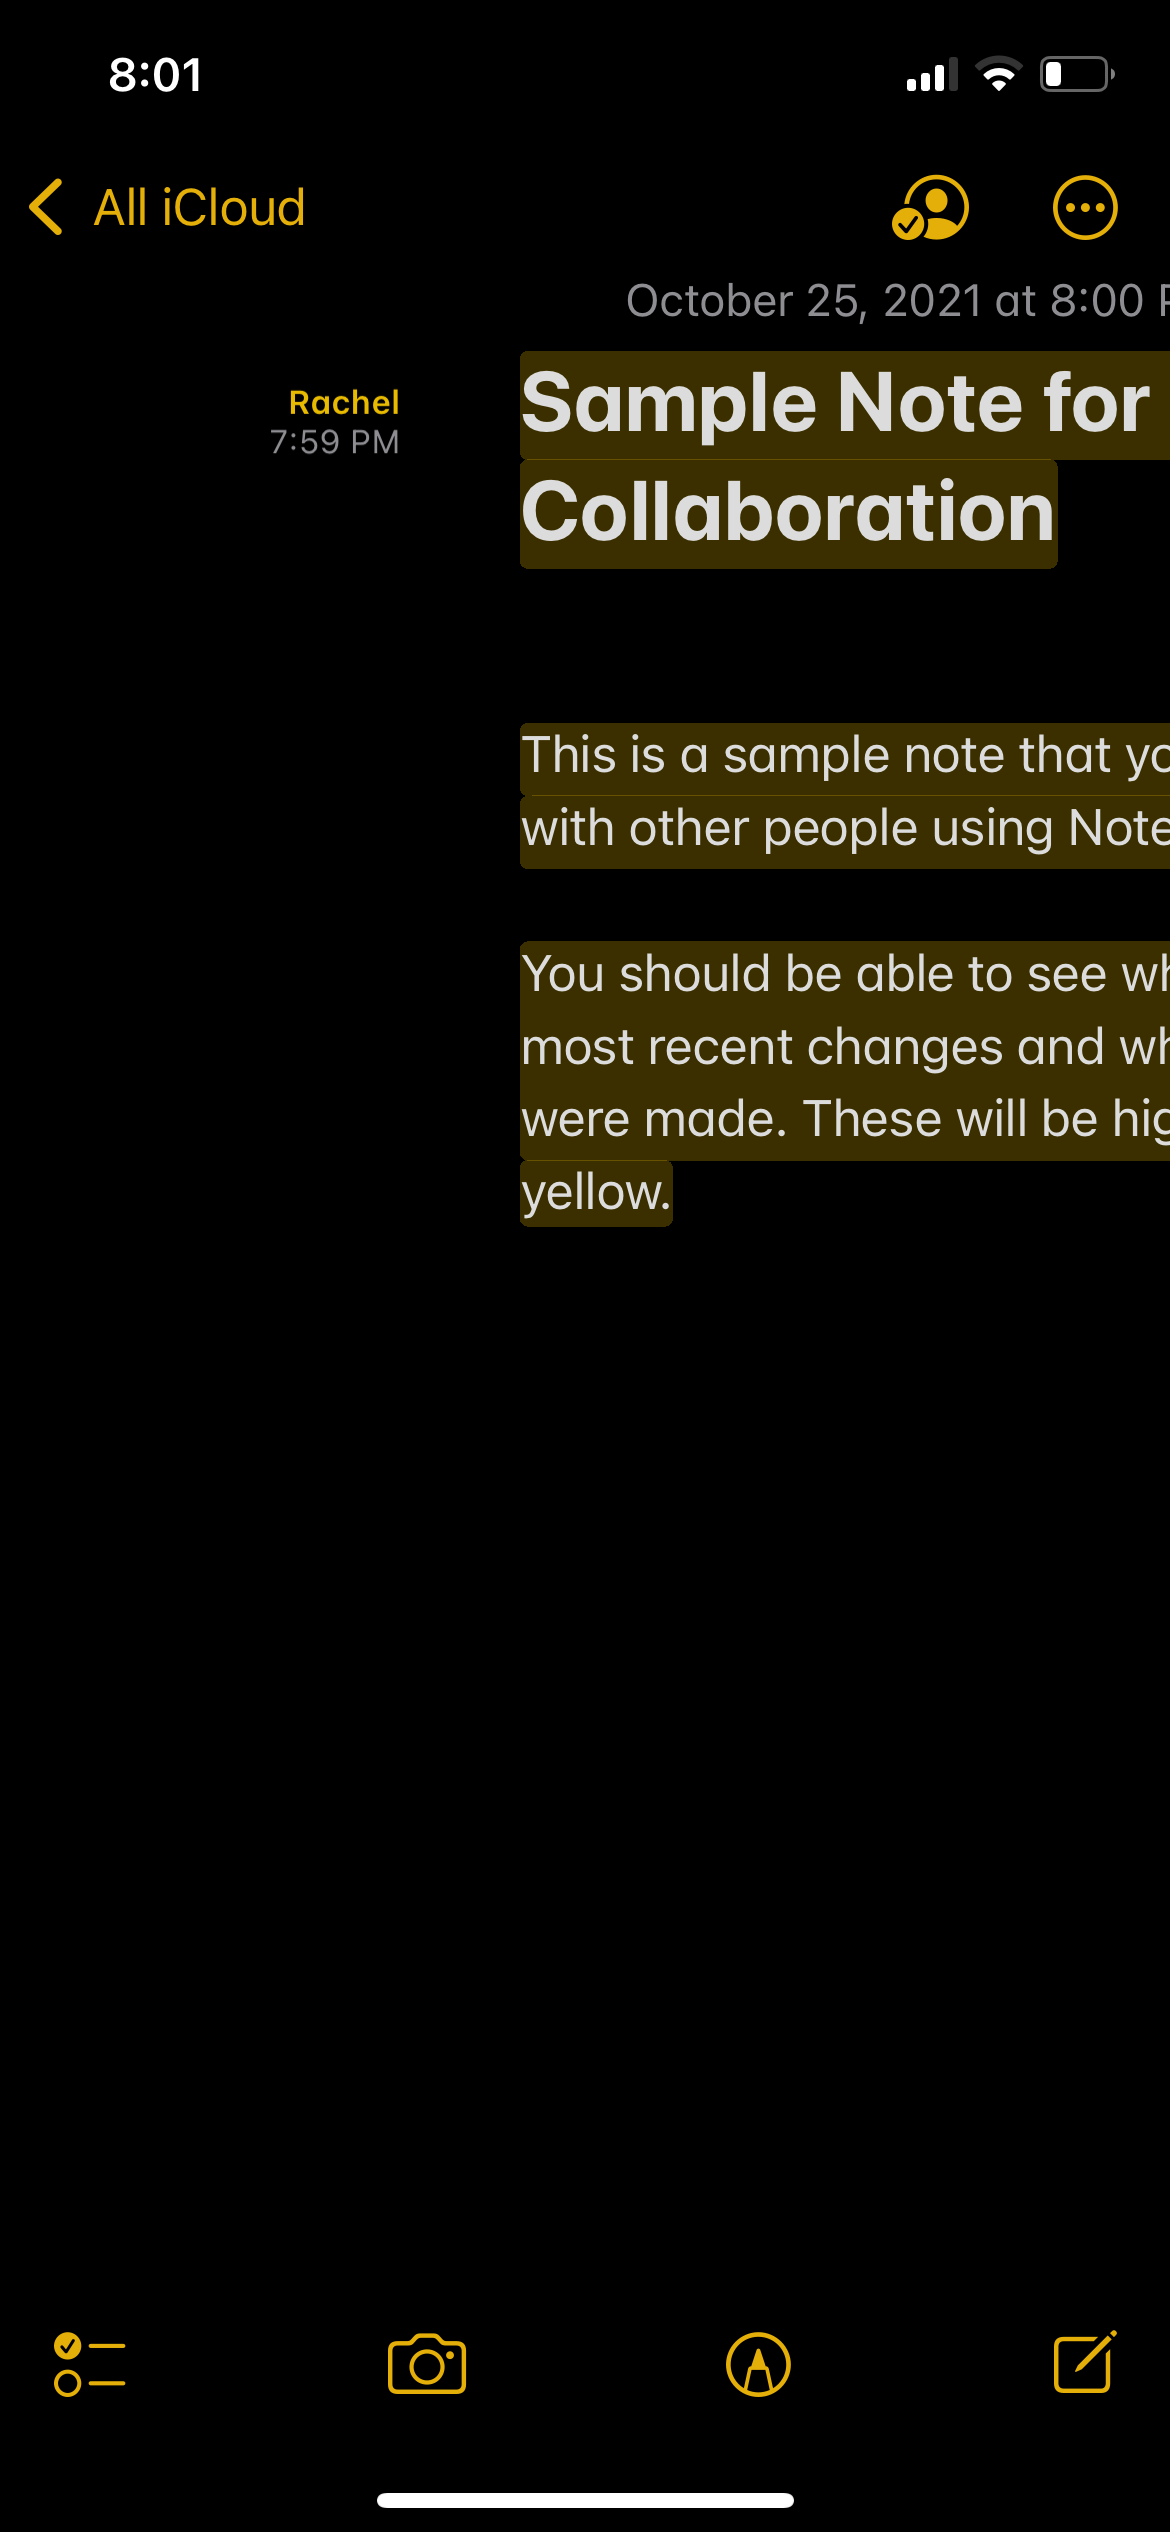
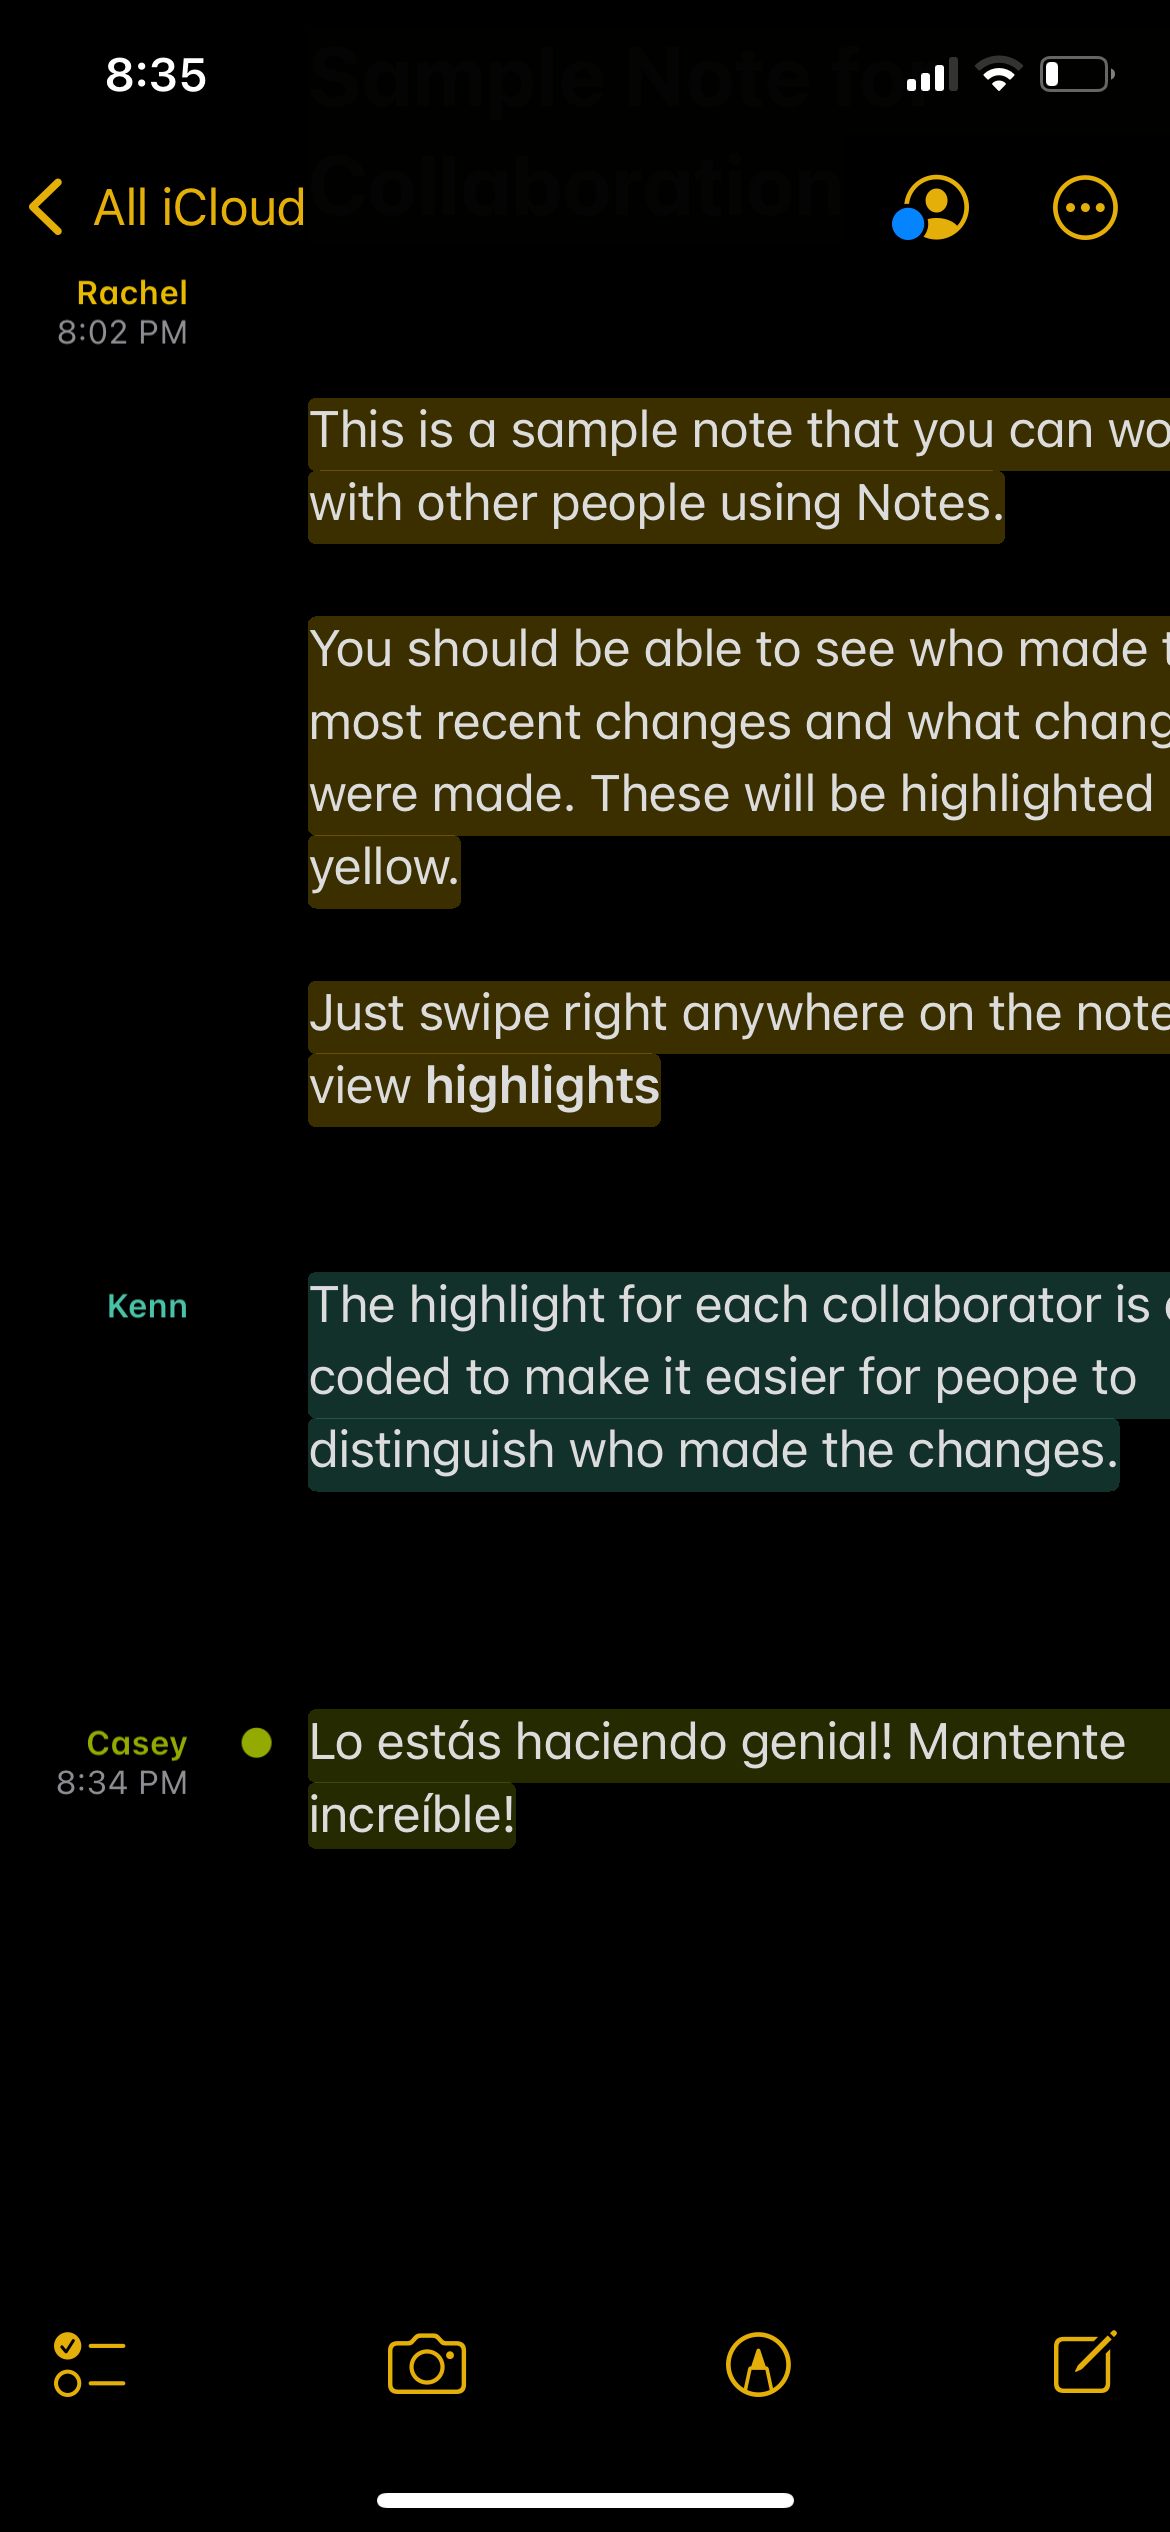
With Notes’ Highlights feature, you can see the changes made to a note, along with who modified it and the date and time the change was made. The highlighted text will be color-coded according to the collaborator who made the modification. Simply swipe to the right from anywhere on your note to see these highlights.
Get Updates With Activity View
Tracking each change in a note can be difficult, especially if many people made changes to a note while you were away from your screen. Activity View gives you a summary of the edits made since you last viewed a note, and it gives you a list of the activities of each collaborator.
To view this, tap the Shared icon at the top of the screen, then choose Show All Activity. Alternatively, tap the ellipsis (…) icon, then tap Show Note Activity.
Collaborate Better With Mentions
Collaboration is non-existent without direct and timely interaction. Apple’s solution to this is by adding Mentions to Notes, which works the same way as in other messaging platforms.
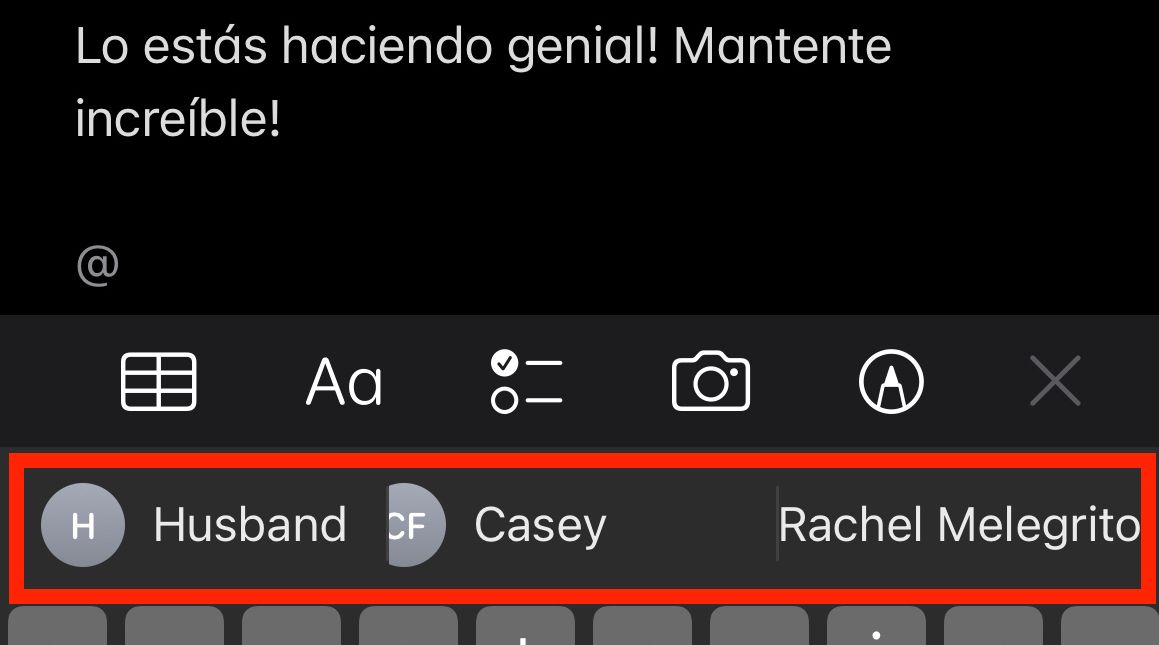
Simply type an @ then choose from the suggested names of collaborators that appear between the toolbar and the keyboard. You can also choose to type the name of a collaborator after the @ symbol.
Collaboration Made Easy
Truth be told, collaborating through a smartphone can be a hassle compared to if you’re doing it on a desktop or a laptop. However, with Notes’ user-friendly interface, collaboration is straightforward and hassle-free. Especially when you’ve got this quick and easy guide to follow!


