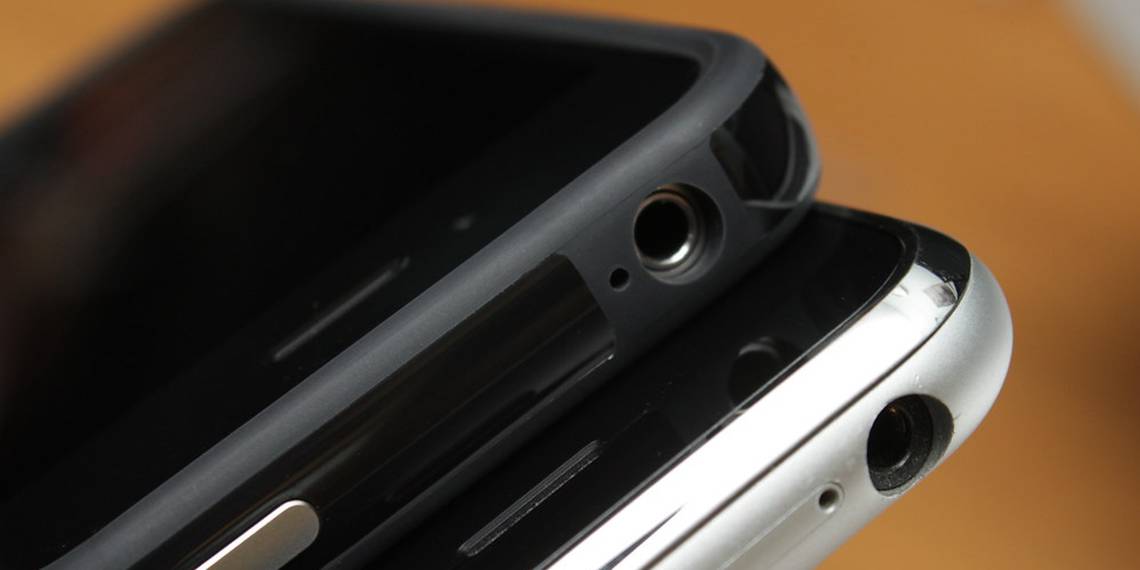
Phone parts can be finicky little things, especially when they need a thorough clean. A particularly difficult area to clean is your headphone jack, which can very easily become clogged with dirt and dust over time. So, what are the safest and most effective ways to clean your headphone jack to get your audio quality back to what it was?
1. An Air Duster

Air dusters are hugely useful for cleaning tech hardware, given their ability to push dirt and dust out of the smallest areas. In addition, air dusters are affordable and easy to find, and you can use an air duster to remove dirt from your audio jack. But what's the best way to go about this?
Firstly, do not put the duster nozzle inside your headphone jack. The air within the canister is pressurized enough that it can remove dirt from the jack externally. Placing the nozzle within the jack and releasing this pressurized air could damage your headphone jack permanently, so avoid doing this.
All you need to do here is point the nozzle directly towards the headphone jack, leaving a centimeter or so of space between the two. Then, simply push down on the canister's button and carefully remove the dirt from the jack. Any loose dust and dirt should come out pretty quickly, so try not to bring the phone too close to your eyes or nose. This should remove most, if not all, of the debris within your headphone jack.
2. Cotton Swabs

If you'd rather keep things DIY, you can use a simple cotton bud to clean your headphone jack. It's important to remember that a cotton swab isn't a specialized cleaning device, like an air duster, so it may be less effective at removing debris. But it should do a pretty good job at cleaning things up, so here's how to do this.
The cotton bud itself may be too wide for the jack, so you'll probably have to alter it a bit to make it fit. You can do this by pulling on or twisting the bud head very gently until it becomes narrower. It's worth ensuring that there are no loose bits of cotton hanging off the altered bud that may end up getting stuck in the jack.
If you want, you can use a small amount of rubbing alcohol on the bud to improve its cleaning abilities. However, do not substitute this alcohol with water or another liquid disinfectant, as this can very easily damage the headphone jack. From here, you can gently insert the bud into the jack and slowly twist it around to pick up dirt and dust. You may need more than one bud to remove as much debris as possible.
3. A Padded Paperclip

If you want to use this method, covering the paperclip with a layer of tape is very important. Not only are paperclips metal, which is not recommended for direct contact with the jack, but the edges of the clip can scratch the inside of the jack. So a few layers of standard adhesive tape should keep this from happening.
So, firstly, you'll want to mold the paper clip until one end sticks out on its own. Then, cover this end with tape. From here, you can treat the clip much like you would a cotton swab. Next, gently push the tapered end into the jack and either twist it or pull it back out to release the debris. If you don't have a paperclip to hand, you can also do this with a similar item, like a toothpick or bobby pin.
If you want to use disinfectant here, try covering the paperclip in some cotton wool and dampening the wool with rubbing alcohol. Again, avoid using water or any other liquid disinfectant here.
4. An Interdental Brush

Though the wires of interdental brushes are metal, their surrounding bristles make them solid options for cleaning your headphone jack. These brushes are cheap and can be bought at most beauty, grocery, or convenience stores. What's more, they're great for removing rust and oxidized corrosion from the jack's interior. So, what's the best way to use this nifty little tool?
You can use rubbing alcohol here by dampening (but not soaking) the brush and carefully inserting it into the headphone jack. From here, you can either repeatedly insert and remove the brush to remove debris or gently twist it around inside the headphone jack to collect more dust and dirt on the brush. You can then clean the brush off and re-insert it if required.
It's also important to make sure you use a brand new interdental brush for this, as any lingering substances on the brush may result in damage to your phone.
5. Gentle Taps

This isn't exactly the most recommended cleaning option, but it can successfully remove loose debris from your headphone jack without having to insert anything directly into it. However, this method must be done very carefully. Any kind of rough impact on your phone could result in damage, so you'll need to do it gently.
We recommend using your hand for this method, not a hard surface like a desk or wall. Hold your phone in one hand, and then gently tap it against your other hand. Do this a few times to see if any debris falls out of the jack. You can very slightly increase the strength of the taps, but be careful while doing this. If you find that no debris is falling out of the jack, then that probably means you'll need to try another of the cleaning methods listed above.
Remember, it's much safer to turn your phone off when attempting these cleaning methods, especially those that involve inserting any type of item into your phone's audio jack.
Clean Your Headphone Jack Carefully
While these methods are usually great at removing debris from your phone's audio jack, it's worth noting that they won't always get the job done. If your headphone jack has some particularly sturdy dirt inside or the interior has rusted to the point of malfunction, you'll need to get in touch with your phone's manufacturer or insurance provider. But don't worry, the majority of debris can be removed quickly and affordably with these little tricks, so give them a go before considering a repair or replacement.