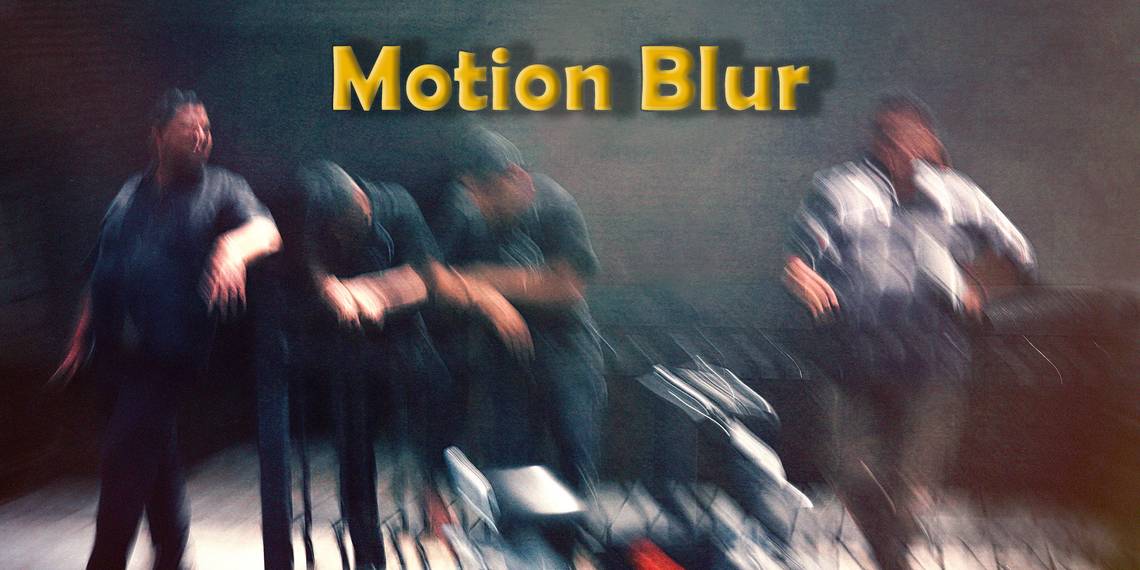
Adding motion blur to your photography can add a sense of emotion and movement, giving life to an image that would otherwise be still or even dull. In this article, we're going to talk about the different types of motion blur and how you can achieve it in your photography.
The Basics of Capturing Motion Blur With Your Camera

One of two things needs to happen in order to capture motion blur with your camera. Either your subject has to be moving or your camera needs to simulate movement, either by physically moving the camera or by way of setting a slow shutter speed. We'll talk more about this later.
In the above picture, a woman is standing, and we see a blurry train rushing by. For this photo, the photographer set a reasonably fast shutter speed to freeze the woman in place while the train's movement was sufficiently fast to cause motion blur.

We have roughly the same situation happening in the photo of the woman seated and still, and the crowd appears to be blurred. The main difference between the two images is the shutter speeds. To apply motion blur to the crowd, a shutter speed of half a second was used to capture the motion of people walking.
Both images required the photographer to determine the best shutter speed for the best motion blur effect. Now, let's talk about the specifics and techniques that you can employ to capture motion blur in your photos.
How to Capture Motion Blur by Panning

Panning, or tracking a moving subject with your camera, is probably one of the easiest ways to capture dramatic motion blur. The basic idea is to choose a slower shutter speed that sufficiently blurs the background while somewhat freezing the subject. The above image of the person riding the scooter is a perfect example of panning that applied motion blur to most of the image while leaving the subject comparably sharp.
To capture motion blur by panning, start with a shutter speed from 1/30 to 1/125 of a second. How fast the subject is moving will be the deciding factor. For a slower-moving vehicle, you may only need 1/30 of a second while a speedy vehicle may require even higher shutter speeds of 1/200 of a second or more. We talk about shutter speed mistakes to avoid.
Here are a few other considerations for capturing motion blur by panning:
- If your camera or lens has an image stabilization feature, make sure this is switched off.
- Use Shutter Priority Mode or Manual Mode on your camera. If you're taking a picture with your smartphone, it may be called Pro or Professional Mode. Essentially, you want to decide the precise shutter speed to use and let your camera take care of the rest (like aperture and ISO) to ensure proper exposure.
- Set your drive mode to continuous shooting. The more shots that you can take the better the chances are that you'll get a nicely blurred photo while panning your camera.
Like most techniques in photography, panning takes practice to get the results that you want. Don't be afraid to experiment with different shutter speeds and angles.
How to Capture Motion Blur Using Long Exposure and a Tripod

We've already discussed using slow shutter speeds to capture motion blur. But when we refer to long exposure photography, we're usually referring to slow shutter speeds of a second or more to completely blur subjects for creative effects.
A tripod is usually required to stabilize the camera because it's not possible to hold a camera perfectly still to keep your intended subject in focus and sharp. Here are the things to consider if you're in the market for a new tripod.
Photographers use long exposure photography to produce motion blur for numerous subjects. Indeed, you can use long exposure techniques for just about any kind of subject where one or more things are in motion and where the background is intended to be blurred out.
We'll take a look at two popular subjects, water and nighttime traffic. Both are beautiful subjects that are popular with photographers because of how dramatic the motion blur is when done correctly.
Motion Blur With Water

The photographer wanted to smooth out the water in the above image of the bridge. To accomplish this, he set his camera up on a tripod and set a long exposure of 30 seconds. The result is a beautiful blur on the water while everything else is sharp, including the man down on the rocks.
There are several factors to consider when shooting long exposure photography to capture motion blur:
- In most cases, you'll need a 6-Stop to 10-Stop Neutral Density filter to allow for long exposures without overexposing the image.
- Set the ISO to the lowest that your camera will allow. Values will vary by brand, usually starting anywhere from 50 to 100.
- The aperture will usually be stopped down to the smallest opening corresponding to the largest aperture number. This value usually ranges from f/16 to f/22 and higher, depending on the lens.
For the best results, consider shooting during the golden hour, either at sunrise or sunset. The quality of light is extremely important for complementing motion blur photography, and arguably, most photography. We talk about what and when golden hour is in more detail.
Motion Blur With Nighttime Traffic

You have seen these types of images, where the headlights of passing traffic are blurred and made to look like continuous lines along streets and highways. This is another fine example of long exposure photography that results in creative motion blur.
Because these photos are taken at night, it's worth noting that an ND filter won't be necessary. And while your shutter speed may still be slow, you probably won't be needing slow shutter speeds like 30 seconds or more. One or two seconds may be enough to capture traffic blazing down the highway.
Here are some considerations for capturing nighttime motion blur with long exposure:
- Set your camera to Manual Mode or Pro Mode if you're using a smartphone.
- Start with a shutter speed of one second and then adjust according to your subject's speed.
- The aperture may not necessarily be stopped down all the way. In fact, depending on how much light you have, you may need to open up the aperture to let in more light.
No matter what your subject is, a tripod is mandatory to capture motion blur in nighttime long exposure photography.
How to Use the Doppler Effect to Create Motion Blur

We've left one of the more interesting and probably least-mentioned motion blur effects in photography for last, the Doppler effect. You may already be familiar with the Doppler effect, if not by definition then by a common experience that many people have shared at some point in their lives; the sounds of passing police or emergency vehicle sirens.
Essentially, the Doppler effect means that the closer the source of the frequency, the smaller the sound waves and the more intense. The farther away the source, the longer the sound waves and the less intense.
The same principle applies to photons and their wavelengths in the world of photography. When it comes to motion blur, the closer the subject, the more intense the blur effect. The farther away the subject, the less blurry the effect.
The above image of the three girls is a perfect example of the Doppler effect. The shutter speed was set to 1/40 of a second, a relatively slow shutter speed. The photographer took the picture from a slowly moving vehicle when the girls were crossing the street. You'll notice that the first girl on the left is the most blurred as she is the closest to the photographer, while the third girl, who's farther away, is less blurry.
It's important to note here that there's also an additional factor that contributes to the blur effect: focus. The main focus is on the woman in the distant background, but the motion blur of the Doppler effect still provides a sufficient motion element.
It may take some practice to capture pleasing motion blur using the Doppler effect. Start off by photographing people and objects from a moving vehicle. Be sure to use a slower shutter speed and to note where your focus is to achieve good results.
Spice Up Your Photography With Motion Blur
There are several ways to create beautiful motion blur with your camera, and oftentimes you won't need much in the way of extra accessories to pull it off. After some practice, you'll find it easier to add motion blur to a photo, and these tips and methods should help.