Have you tried many desktop environments but nothing suits your taste? Or maybe you like some components of a desktop environment and don’t like the others. Perhaps it's time to consider building your own desktop environment...
How Can I Build a Desktop Environment?
You can build a desktop environment easily by assembling different components of existing desktop environments, and other independent programs. It’s better to know the general components of a desktop environment before building one, but it’s not necessary. Here we are going to show you how to build your own desktop environment step by step.
Step 1: Create the Session Bash Script
To make a minimal desktop environment, you at least need to put a window manager in it. In this guide, we are going to use kwin window manager. But you can use any window manager you wish.
To install kwin on Ubuntu and Ubuntu-based systems, type the following command in terminal:
sudo apt install kwin --no-install-recommends
Without the --no-install-recommends option, apt will install the whole kde desktop environment.
In addition to the window manager, we will add the plank dock to the desktop environment. To install it type:
sudo apt install plank
Now let’s create the session bash script. If you don’t already know, a bash script is a regular text file in which you enter a sequence of commands. When the file is executed, it initiates the contained commands line-by-line, saving you from typing each command in terminal yourself.
Our script will contain the programs that our desktop environment will have. We will put the script in /bin directory. So open terminal and navigate to /bin by typing the following command:
cd /bin
Then create the script by the following command (we will call it custom_de.sh):
sudo touch custom_de.sh
Open the file as root using your text editor, e.g. nano:
sudo nano custom_de.sh
You can replace nano with any text editor like gedit or xed.
Then put the following line at the top of the script.
#!/bin/bash
This line tells the terminal to execute this script using bash.
Next, type the commands of programs you want to put in the custom desktop starting with the window manager (in this case kwin).
        kwin &
plank

The ampersand (&) after a command makes it run in the background so the next command is executed without waiting for the previous command to exit. We need to do that because the programs composing the desktop environment need to run at the same time.
This script represents the desktop session, as long as this script is running the session will continue to run. When this script exits the session will exit, and you will be directed to the login screen as if you logged out.
That’s why it’s important not to put an ampersand (&) after the last command. If this happens and the last command is sent to the background, the script will exit, and the session will exit as soon as it starts.
After saving the script, give it executable permission by typing the following command:
sudo chmod +x custom_de.sh
Step 2: Create the Desktop File
To make our custom desktop visible while logging in we have to create a .desktop file in /usr/share/xsessions which will point to the script. To navigate to that directory, in the terminal type:
cd /usr/share/xsessions
Then create the file and open it by:
        sudo touch custom_de.desktop
sudo nano custom_de.desktop
Inside the file put the following lines:
        [Desktop Entry]
Name=Custom DE
Comment=My awesome desktop environment
Exec=/bin/custom_de.sh
Type=Application
For Exec=, input the location of the session script you previously created.

Step 3: Launch the Custom Desktop Environment
To launch your desktop environment:
- Log out
- Find the list of installed desktop environments
- Select the newly created desktop environment
- Log in again
To exit this session kill the last program in your session script using the pkill command:
pkill plank
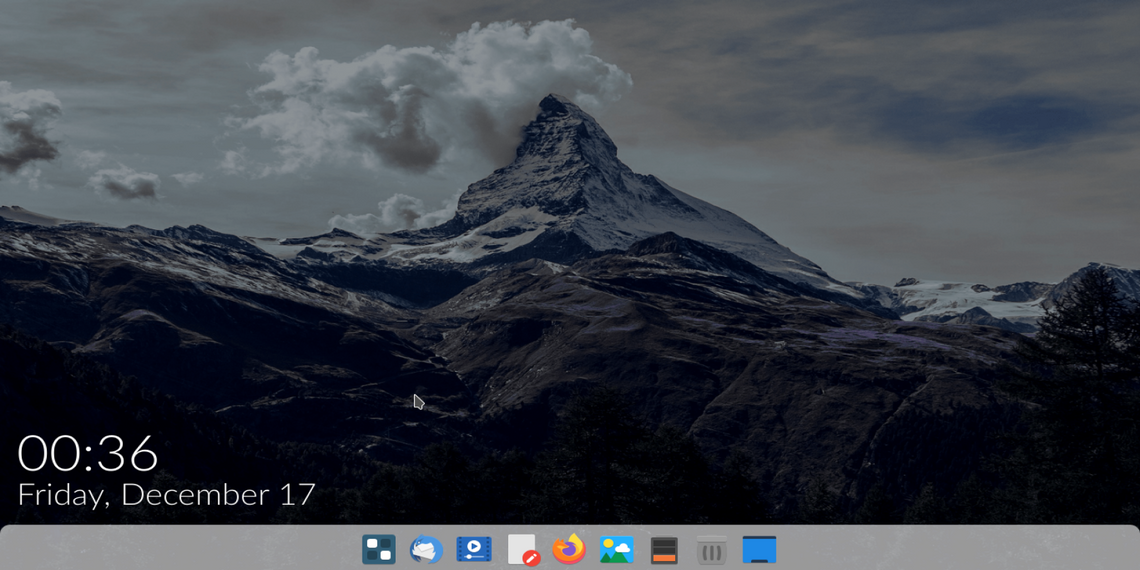
Make Your Desktop Environment More Complete
Congratulations! You’ve created your own desktop environment.
But it’s still missing some components. It's time to add a wallpaper and a panel.
There are many wallpaper setters out there. A good choice is Komorebi, which gives you the ability to set videos as wallpapers, and it also shows desktop icons.
To install komorebi download the deb package from the GitHub repository, install it, and run it.
For the panel, we will use lxqt-panel, to install it on Ubuntu:
sudo apt install lxqt-panel
Don’t forget to put the lxqt-panel command and komorebi in the session script followed by ampersand (&). Use the full path for the komorebi command (/System/Applications/komorebi).

You might also add Ulauncher, a useful application launcher. This will make the desktop experience more complete:
sudo add-apt-repository ppa:agornostal/ulauncher && sudo apt update && sudo apt install ulauncher
You can add as many programs as you wish, customize your desktop to suit your needs. Also consider adding a notification manager.
How to Set the GTK and Icon Themes
In other desktop environments, you can change the GTK and icon themes using a GUI utility like gnome-tweaks or else. In our case, we don’t have these utilities, but don’t worry as you can also change themes from command line by using gsettings command.
In order for gsettings to have an effect, dbus must be running.
Dbus is started using dbus-launch. Just add dbus-launch bash at the beginning of your script.

Next, exit the session and login again. To get the currently applied GTK theme:
gsettings get org.gnome.desktop.interface gtk-theme
To set the GTK theme to Canta theme for example, type:
gsettings set org.gnome.desktop.interface gtk-theme Canta
The theme that you are going to set must be located in /usr/share/themes directory. The theme name is its folder name.

The Ultimate Customization Experience
While building your own desktop environment is a refreshing experience, it may not result in a complete desktop experience at the first time. But by adding other programs you will create a better desktop environment. If you like building stuff, then you may like ArchLinux, as it will allow you to build your own Linux distro.