Did you take a picture on your iPhone only to find that it’s rotated the wrong way? If it’s only a picture or two, it’s not a big issue. But it becomes a headache when you have taken dozens of landscape-oriented pictures, but they all end up portrait-orientated instead.
Luckily, you don’t need to edit and rotate each image one by one. Instead, let’s look at how you can fix this by batch rotating multiple images on your iPhone using the built-in Shortcuts app.
The iPhone’s Shortcuts App
Rotating an image is a basic editing task you can do on nearly all iPhone photo editing apps. But you’ll likely face the limitation that you can only rotate one image at a time. Repeating this step for lots of photos is time-consuming.
A more efficient way is to use your iPhone’s Shortcuts app. The Shortcuts app helps to automate tasks on your device. For example, besides batch rotating pictures, you can also create a shortcut to bulk convert PNG images to JPEG on your iPhone, which is something no third-party app has offered for free so far.
Download: Shortcuts (Free)
Create a Shortcut to Bulk Rotate Images on Your iPhone
Setting up an iPhone shortcut involves adding shortcut actions into a particular sequence. To set up a shortcut to batch rotate your iPhone pictures, you’ll need to follow these steps.
Select the Images to Rotate
For the first shortcut action, you need to let your iPhone know where to get the pictures you want. Here’s how:
- Go to the Shortcuts app. In the My Shortcuts tab, tap the New Shortcut (+) button.
- Give your shortcut a relevant name, such as Rotate Images.
- Tap Add Action. In the Apps tab, select Photos.
- From the list of actions, choose Select Photos.
- The first action is now added to your shortcut. Tap the arrow next to Select Photos and toggle on Select Multiple.


Rotate All the Images
The second action you need to add is to rotate the images selected. Here’s how to add it:
- Swipe up the menu at the bottom. Tap the x icon to return to the main selection.
- In the Categories tab, select Media.
- Under Image Editing, tap Rotate Image/Video.
- The default rotation is 90 degrees, clockwise. You can tap on 90 and enter a custom number. 90 rotates your photo clockwise once, 180 rotates it twice, and 270 rotates it thrice.
- Tap Done.


Save the Rotated Images
The third action is to let your device know where it should store the rotated images. Here’s how to add it:
- Bring the menu up again. Tap the x icon to return to the main selection.
- In the Apps tab, select Photos.
- Select Save to Photo Album.
- The default album selected is Recents. If you want to change the image destination, you can tap on Recents and pick another photo album.
- Lastly, tap the Exit (x) button in the top right. Your iPhone’s Shortcuts app will automatically save your new Rotate Images shortcut.

How to Use Your Shortcut to Bulk Rotate Images on Your iPhone
Now, to batch rotate images on your iPhone, just head to the Shortcuts app and tap on your Rotate Images shortcut. The shortcut automatically brings up your photo album. You just need to select the images you want to rotate and tap Add.
Wait for a few seconds and a little checkmark will pop up once your iPhone has rotated all the images for you. Now go to your Recents album in the Photos app to obtain your rotated images. You can now delete the original photos with the wrong orientation.
How to Make Sure Your Camera Isn’t Rotated the Wrong Way
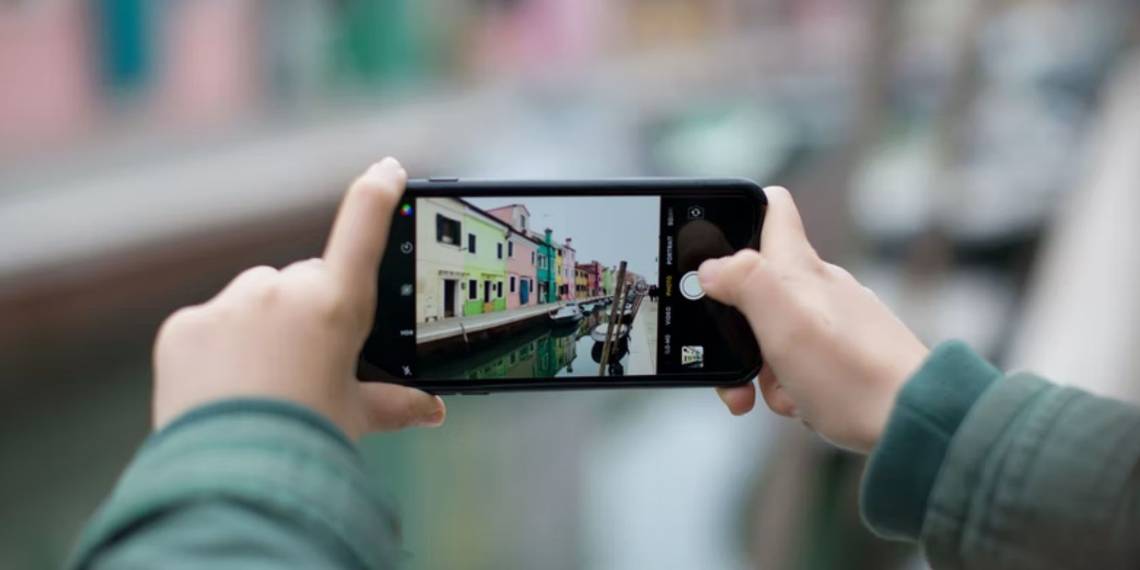
In the future, you can apply this easy tip to avoid taking pictures in the wrong orientation. When you turn your iPhone horizontally to take a landscape photo, check that the zoom indicator (0.5x or 1x) icon has also rotated to landscape orientation.

This indicator may sometimes rotate back to portrait due to how you’re holding your iPhone. But just take a quick glance at it right before snapping a picture so that you don’t have to spend time correcting them later.
Fix Your iPhone’s Pictures With the Bulk Rotate Images Shortcut
The multiple steps needed to create a shortcut may initially seem like a lot of work. But in the long term, you’ll save lots of time by letting your iPhone take care of small tasks like these. This way, you can focus on taking great pictures without worrying about their orientation, as you can easily correct that later.