Image editing can often be time taking and a nuisance. More so if you have an entire folder of images that need to be edited.
ImageMagick is a powerful command-line image editing tool that can easily edit a whole batch of images at once. Without further delay, let’s dive right into the process of batch editing images with ImageMagick on Windows 10.
How to Install ImageMagick in Windows 10
ImageMagick comes in two main versions. The Q8 version is suitable for 32-bit systems, while those using 64-bit Windows 10 should download the Q16 version.
Download: ImageMagick for Windows 10 (Free)
Once you have installed ImageMagick, you can verify the installation through the Windows Command Prompt. Launch Windows Command Prompt by searching for “cmd” in the Start menu search bar and selecting the Best Match.
Within the Command Prompt, type the following commands to make sure ImageMagick has installed correctly:
        magick logo: logo.gif

magick identify logo.gif

magick logo.gif win:
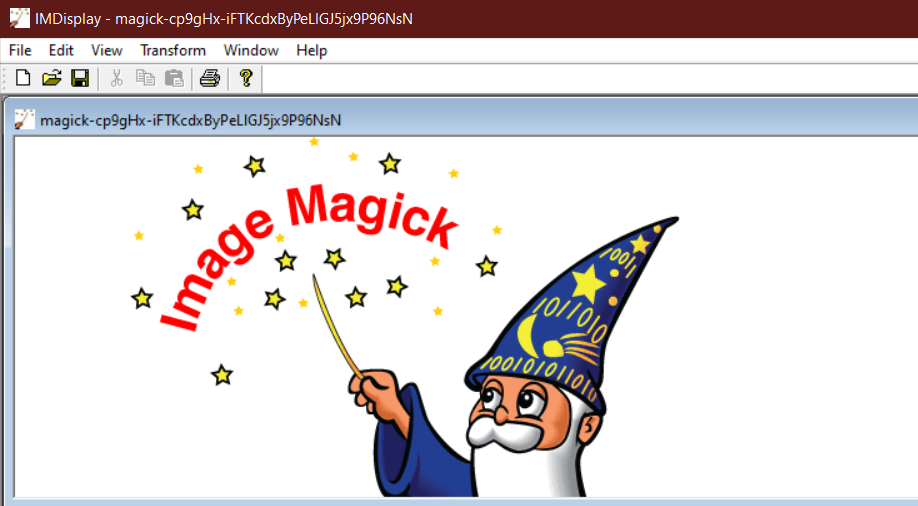
After executing the third command, a new ImageMagick window should open up and display the ImageMagick logo, as above.
If your installation was not successful, you most likely require the vcomp120.dll file. You can install this file by downloading and installing the Windows Visual C++ Redistribution Package.
Now that you have ImageMagick installed on your PC, you can go ahead and start editing your images.
How to Batch Edit Using ImageMagick Mogrify
The command-line processing required by ImageMagick might make you feel overwhelmed at first, but rest assured, we’ll walk you through the entire process.
In ImageMagick, you can use the magick mogrify command to blur, crop, resize, re-sample, or format all of your images at once. This is an inline image modification program, meaning you can do all of your editing in just a single command on the Command Prompt.
To begin editing images, you need to first direct the Command Prompt to the specific folder that contains your images. To do so, either use the cd command to locate your folder or, alternatively, head to the folder, press CTRL + SHIFT + Right Click and select Open command window here.
The mogrify command will overwrite the existing images, so make sure to back up your images in a separate folder.
Once you have done that, you can begin editing images. We will only be covering a few image editing features of ImageMagick in this guide, but you can find the entire list of available editing features here.
Resize
The mogrify resize command allows you to resize all of the images in a folder in a single go. You can either choose a factor to reduce the images by (25 percent, 10 percent, etc.) or explicitly specify the size.
magick mogrify -resize 30% *.png
This command will reduce the size of all PNG images by 30 percent.
magick mogrify -resize 520x360 *.jpg
This command will reduce all JPG files to a maximum size of 520x360.
Change Format
You can use the -format command to change the format of all images in a folder.
To do so, type the following in the command prompt:
magick mogrify -format jpg *.png
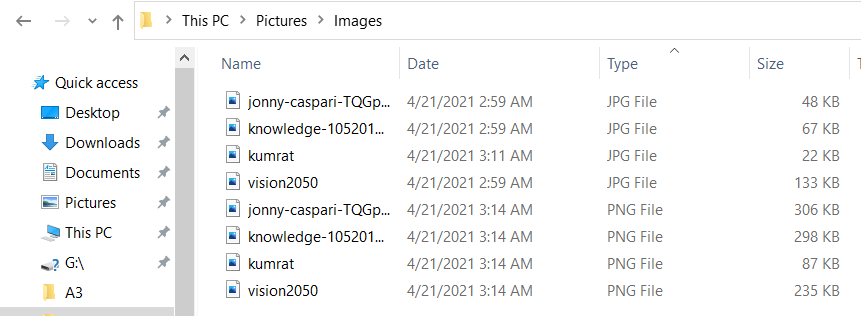
This command will convert all PNG files in your folder into JPG files with the same name. It will not overwrite your existing images but create a new file with the same name.
Flip
To flip all the images in a folder vertically, you can use the following command:
magick mogrify -flip *.jpg
The above command will flip all JPG images in the folder vertically with ease.
Rotate
With ImageMagick mogrify, you can easily rotate images all at once. The following command rotates all JPG images by 90 degrees:
magick mogrify -rotate 90 *.jpg
You can also choose only to rotate images if the width exceeds the height or vice-versa using the “<” and “>” operators.
magick mogrify -rotate “90>” *.jpg
This command will rotate the images by 90 only if the width exceeds the height.
Crop
Cropping is a very precise and powerful command within ImageMagick. The geometry arguments required by the crop command need to be appropriately used for a successful crop.
The general use of the crop command on a batch of images is as follows:
magick mogrify -crop 540x340 *.jpg
Adjust Brightness, Hue, and Saturation
You can also easily adjust the brightness, saturation, and hue of a batch of images using ImageMagick.
To adjust the brightness of an image, you need to provide the overall brightness percentage you want. 0 would reduce it to a pure black image, and 50 would make it half as bright. You can also choose to increase the brightness by entering a value above 100. In case you do not enter a value, ImageMagick will assume no change is required.
Similarly, you can also manipulate the saturation of an image quickly. If you want to produce a grayscale image, enter a 0 for the saturation argument. A large value (above 100) will create a highly colorful image.
The hue rotates the colors within an image by the given amount. Entering 0 or 200 causes the colors to rotate by 180 degrees; 50 results in a counter-clockwise rotation of 90 degrees, whereas using 300 causes a 360-degree rotation resulting in no change.
The general command to adjust the brightness, hue, and saturation of a batch of images using ImageMagick is as follows:
magick mogrify -modulate brightness,saturation,hue *.filetype
The command below adjusts all JPG files in the folder by increasing the color brightness by 20%, color saturation by 30%, and decreasing the hue by 10%.
magick mogrify -modulate 120,130,90 *.jpg
Easily Batch Edit Images Using ImageMagick
ImageMagick is a handy command-line image editing tool and can be used to batch edit pictures with ease. This guide gives a brief introduction to the different commands available in ImageMagick.
As a closing note, we would like to remind you once again to please backup your pictures in a separate folder before using the ImageMagick mogrify tool, as it will overwrite the existing images.


