
Making regular backups of your iPhone protects you from data loss in the event of a hardware failure, software corruption, or theft. Of course, iOS already does that for you by uploading photos, documents, messages, and so on daily to iCloud. But with the limits on cloud storage and possible connectivity issues at play, it's always best to have a local backup around.
If you use a Mac, you can conveniently create a complete copy of your iPhone's data in a matter of minutes. Here's what you need to do.
How to Back Up an iPhone to a Mac
Provided your Mac is updated to the latest version of the system software (macOS 10.15 Catalina or later), you can back up the data on your iPhone using the Finder app. If your Mac only has macOS 10.14 Mojave or earlier installed, you have to rely on iTunes instead.
Nevertheless, aside from some user interface changes, the backup procedure is similar on both Finder and iTunes.
You must also have your iPhone's USB to Lightning cable (including a USB-C adapter depending on the USB ports on your Mac) at hand to establish a connection between both devices.
When you're ready, follow these steps to back up your iPhone to your Mac:
- Open Finder or iTunes on your Mac.
- Connect your iPhone to your Mac via USB. If you've never done that before, you must unlock the iPhone and tap Trust to allow both devices to communicate with each other.
-
Select your iPhone from the Finder sidebar or the top-left of the iTunes window.
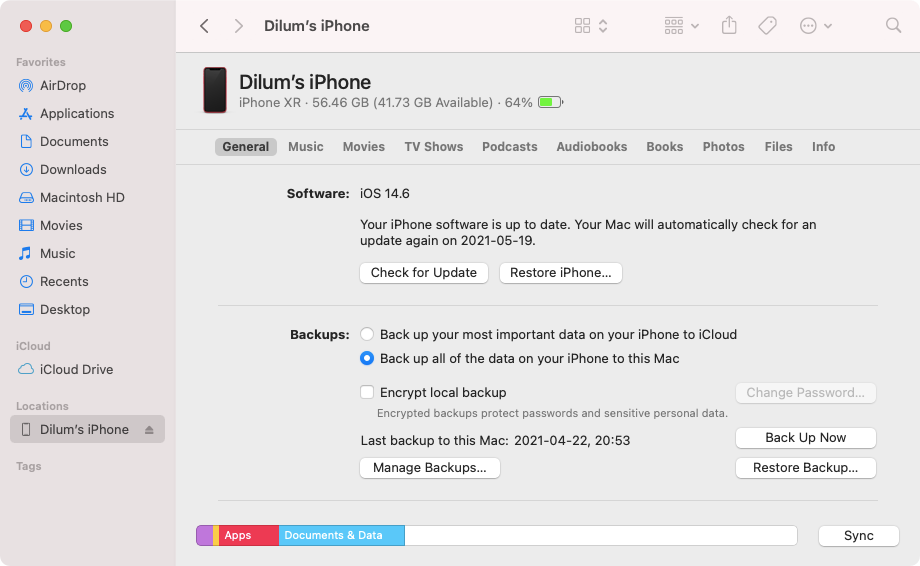
- Click the radio button next to Back up all of the data on your iPhone to this Mac.
- Click Back Up Now.
-
Select Encrypt Backups or Don't Encrypt. If you want to back up your saved passwords, Wi-Fi settings, health data, and call history, you need to choose the first option and add a password to encrypt the backup.

-
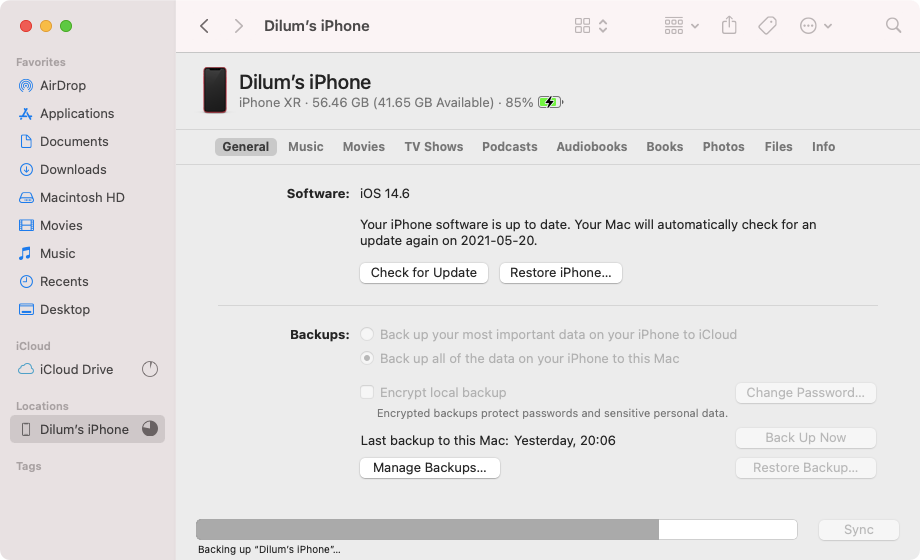
Wait for Finder or iTunes to finish backing up your iPhone to your Mac. You can monitor the progress using the indicator to the bottom of the Finder or iTunes window.


To avoid needing to connect your iPhone over USB for subsequent backups, scroll down and check the box next to Show this iPhone when on Wi-Fi. However, both devices must be connected to the same Wi-Fi network for that to work.
If you encounter any issues backing up your iPhone, update Finder or iTunes on the Mac and try again.
Manage iPhone Backups on Mac
Subsequent backups to the Mac should take considerably less time since Finder or iTunes only copies over recent changes on your iPhone. That also helps conserve storage. But if you want to save a snapshot of your iPhone at a particular point in time, you must archive the backup.
Later on, you may also want to delete backups that you don't have use for anymore, especially if you intend to back up additional iOS devices to your Mac
Here's where to go to archive or delete backups:
- Select your iPhone in Finder or iTunes.
- Click Manage Backups to reveal a list of all the iPhone, iPad, and iPod backups on your Mac.
-
Control-click a backup and select Archive to stop Finder or iTunes from overwriting it the next time you back up your iPhone. If you want to delete a backup, simply highlight it and click Delete Backup.
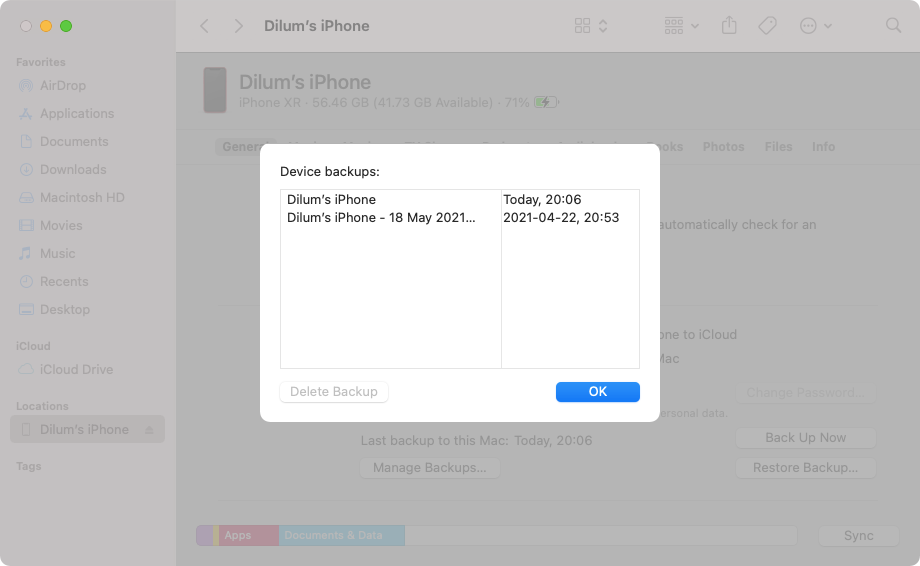

You can distinguish archived backups using the date tag next to them. Assuming your Mac has enough storage, you can archive as many backups as you want.
How to Restore Your iPhone Using a Local Backup
You can retrieve lost data on an iPhone whenever you want by restoring the backup on your Mac. If you have multiple archived backups, you can pick between them while initiating the restoration procedure.
Here's what you need to do:
- Connect the iPhone to your Mac and select it using Finder or iTunes.
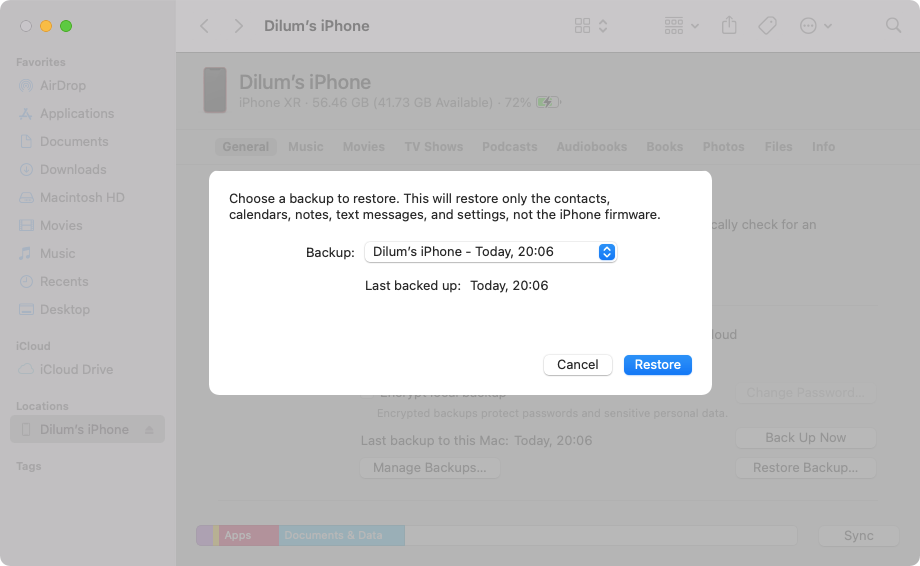
- Select Restore Backup.
-
Pick the backup that you want to restore and click Restore. If it's an encrypted backup, you must enter its password. Then wait until Finder or iTunes finishes restoring the data.

You can also restore data from a local backup after reverting an iPhone to factory settings or while setting up a new device from scratch. First, tap the Restore from Mac or PC option within the Apps & Data screen of the iPhone's Setup Assistant. Then, establish a wired connection to your Mac to copy the data over.
Local Backups Aren't Limited to the Mac
Local iPhone backups are not only faster to create but also make restoring data a breeze. But what if you have a PC and not a Mac? Don't worry. Install iTunes for Windows and you should be able to back up your stuff just as easily.