
If you hold up most official documents to the light, you'll notice a transparent text, image, or photo in the background, which is markedly distinct from the rest of the surrounding text.
That right there is a watermark. You can use watermarks to brand or protect documents. For instance, you can add a “CONFIDENTIAL” watermark to a document to prevent unauthorized access, (photo)copying, or distribution.
Watermarks have long been used on documents, but did you know that you can also add watermarks in Excel? In this article, you'll learn how to add and use watermarks in Excel.
How to Add a Watermark in Microsoft Excel
Excel lacks a dedicated watermark feature. However, it allows you to insert a text or picture watermark in your spreadsheet.
How to Add a Text Watermark in Excel
Here's how to add a text watermark to your Excel document.
- Open the Excel document where you want to insert a watermark.
- Go to the ribbon area, click on the Insert tab, click on Text, then click Header & Footer.
- Now, enter your watermark text where you have the blinking cursor in the header section.
-
By default, the font size is set to 11 pts, making your watermark text invisible to you.

- Return to the Home tab and increase the font size until it is clearly visible.
-
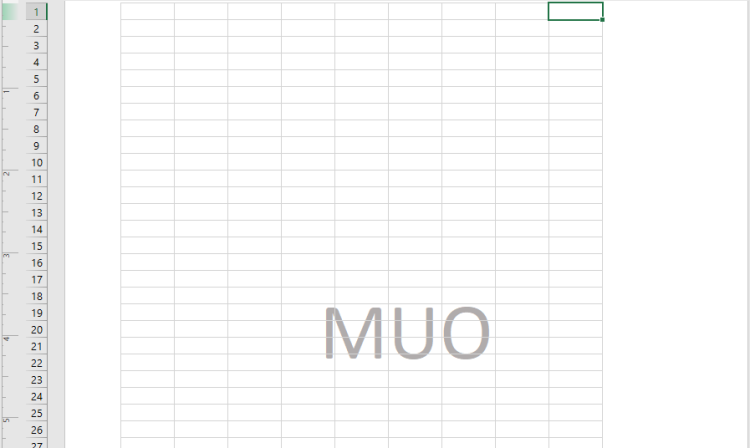
Your text watermark should now be visible within your document. However, you'll notice it is at the top of your spreadsheet.

-
To adjust its position, click on the header area, move the cursor to the beginning of the text, and press the Enter key repeatedly until the text sits exactly where you want it.

-
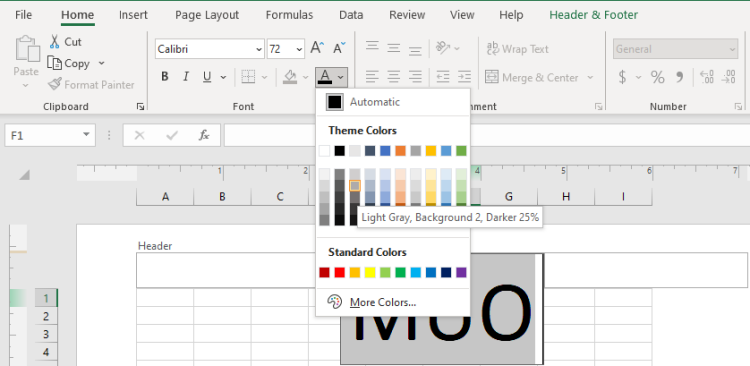
Depending on your watermark, it may be too loud and noisy, competing with the main content of the spreadsheet. To fix this, you can use a lighter color. To gray out your watermark, click on the header area, click Font Color, and select gray. You can use any color of your choice.
-
When done, click anywhere outside the header area.
-
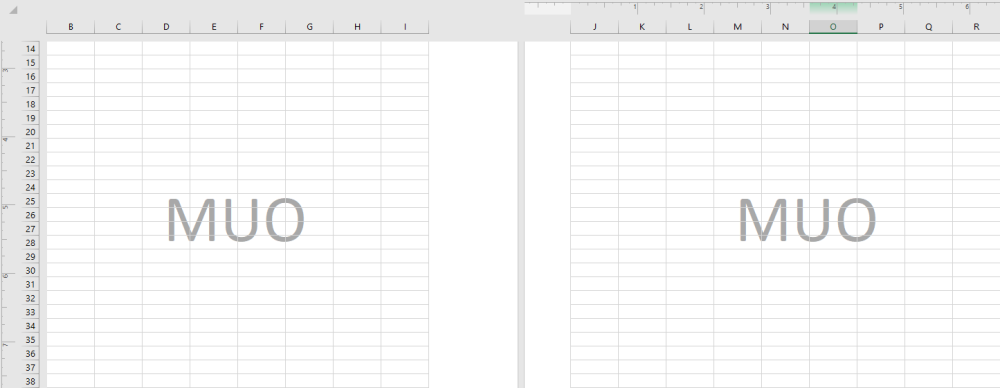
The changes to your text watermark will now be visible. Using this method, your watermark will be applied across all pages of your spreadsheet.
-
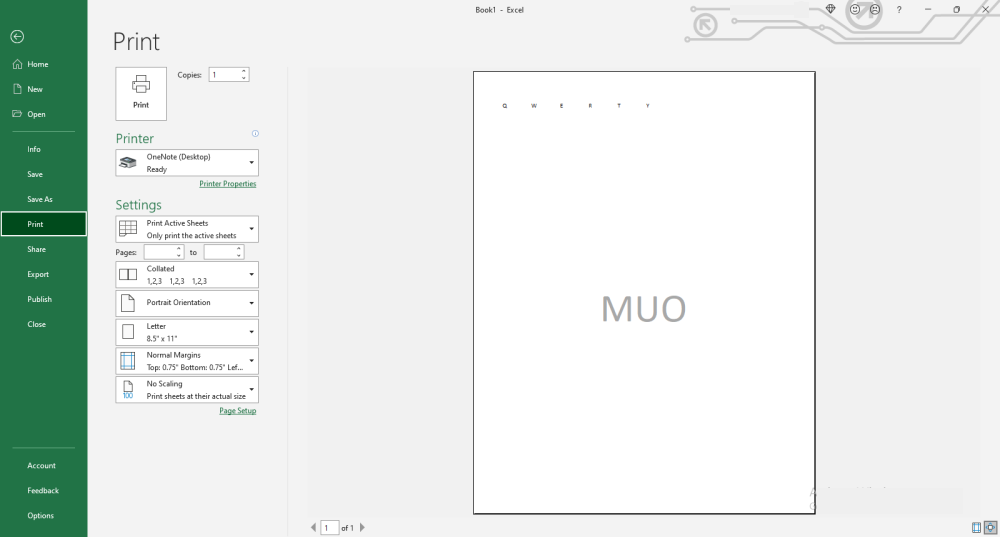
You can use the print preview (File > Print) to see how your watermark will appear on your document and make necessary adjustments before printing.


How to Add a Watermark in Excel Using Word Art
- Open Excel and click on the Insert tab.
-
Navigate to your right and click on Text.

- Click on WordArt and select a style.
-
Enter your watermark text into the Your text here box.

- Click on any cell outside the box and your watermark is set.
- To format your text watermark, click on it to open the Shape Format tool bar. There's a lot that you can do here.
- You can add a text box to your watermark, style its shape and its WordArt, add Alt text, rotate, and resize it via the Shape Format tool bar.
-
For even more custom formatting options, right-click on the watermark, scroll to the bottom of the menu options, and click on Format Shape.
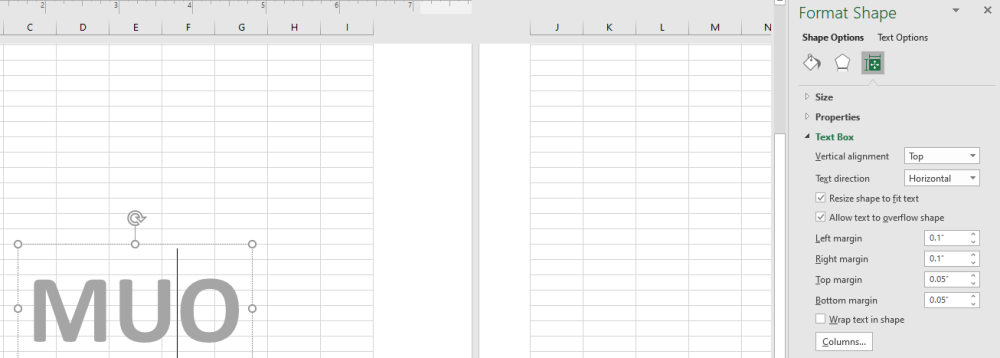
- Select between Shape Options and Text Options to view all your formatting options.
- Click X to close the Format Shape box when done.


You can reposition your text watermark anywhere on your spreadsheet simply by dragging and dropping it.
If you choose this method, you'll have to manually copy-paste your text watermark from page to page, which is highly inefficient when working with large spreadsheets.
How to Add a Picture Watermark in Excel
Excel also allows you to use a picture as your watermark. You can use your logo, mascot, or any other image as an Excel watermark. You can also customize your picture watermarks to your taste.
Here's how to add a picture watermark in Microsoft Excel.
- Launch Excel and open the document in which you want to insert a picture watermark.
-
Now, click on Insert, then Text, then Header & Footer. Depending on your setup, these buttons can be spread out across the ribbon area from left to right.
-
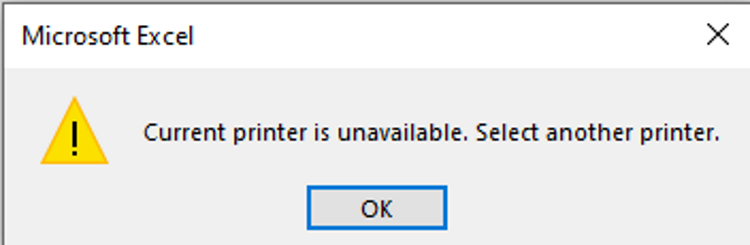
If this does not open the Header & Footer pane and instead brings up a Current printer is unavailable. Select another printer dialog box, click OK, select another printer from the options and click OK again.
-
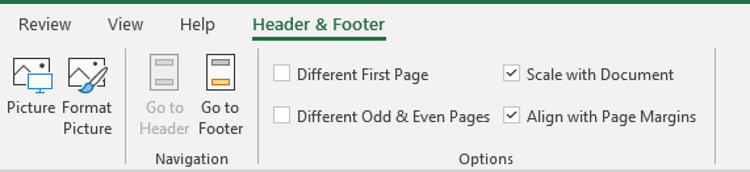
You should now see a new Header & Footer pane appear on the ribbon, next to the Help tab.

- Click on Picture directly beneath the Review tab, select your picture source and upload the picture.
- You can upload from your computer, search Bing, or use OneDrive.
-
Your picture will not immediately appear. Instead, you'll notice a &[Picture] entry inside the header cell. Click on any portion of the document outside this header area. The watermark image should now become visible.


Let's now see how you can customize your picture watermarks in Excel.
How to Format Your Picture Watermark in Excel
A watermark like the one above will obscure the content of your spreadsheet. Thankfully, Microsoft Excel also allows you to format your picture watermark. Here's how:
- Click on any part of the spreadsheet's header. You'll see a Header or &[Picture] entry when you do.
- Now, go up to the ribbon area and click on the Header & Footer tab.
-
The Format Picture option will now become active. Click on Format Picture just after Picture.
- There are several Excel watermark formatting options you can explore. You can change and reset the size of your watermark, as well as crop, recolor, brighten, darken, or contrast it. You can equally add a new Alt text.
- In this example, we'll gray out and resize the picture watermark.
- To gray out the watermark, go to Format Picture > Picture > Color > Washout > OK.
- To resize the watermark, go to Format Picture > Picture > Size. Use the up or down arrow to increase or decrease size.
- When you're done formatting your watermark, click OK.
-
Our watermark now appears smaller and washed out in the background.


This has made our document clutter-free, branded, and more professional.
This can help you to implement a uniform watermark design across all your business documents whether you're using Word, Excel, or PowerPoint.
How to Remove a Watermark in Excel
Excel allows you to remove your watermarks from your spreadsheet, whether they be text or image. Removing a watermark is fast and easy. Here's how.
- Click on the header area of your spreadsheet. This will make your watermark active.
- Press the Delete or Backspace key on your keyboard.
This will remove your watermark. You can go ahead and try something else until you find one that you like.
Go On and Watermark Your Spreadsheet
Adding a watermark to your document is a sure way to brand and protect it against unauthorized access. You can now add watermarks in Excel, whether as text or image.
When deciding on the right watermark for your Excel spreadsheet, you'll find that there are several options and styles to choose from. So yes, go ahead and watermark it just like your Microsoft Word documents.