With iOS 8 and later, you can add third-party keyboards to your iPhone and iPad. This opens up the possibility to use excellent iOS keyboard alternatives, like SwiftKey, GBoard, Grammarly, and more. This tutorial will show you how to install, enable and use a third-party iOS keyboard.
We’ll also touch on the related privacy concerns and the steps to remove a keyboard if you wish to go back to the default option.
How to Add a Third-Party Keyboard on an iPhone and iPad
After you download a third-party keyboard app of your choice from the App Store and open it, it should guide you through the setup process. But if you can’t follow that, or get stuck, the following steps should be able to help.
Here’s how to add a third-party iOS or iPadOS keyboard:
- Open iPhone or iPad Settings.
- Tap General > Keyboard > Keyboards.
- Tap Add New Keyboard.
- Scroll down, and from under Third-Party Keyboards, choose the new keyboard you want to add.
- Tap the keyboard name and enable Allow Full Access. Most third-party keyboards apps need full access to function properly.


You have successfully added the third-party keyboard app to your iPhone or iPad. The next section shows you how to use it.
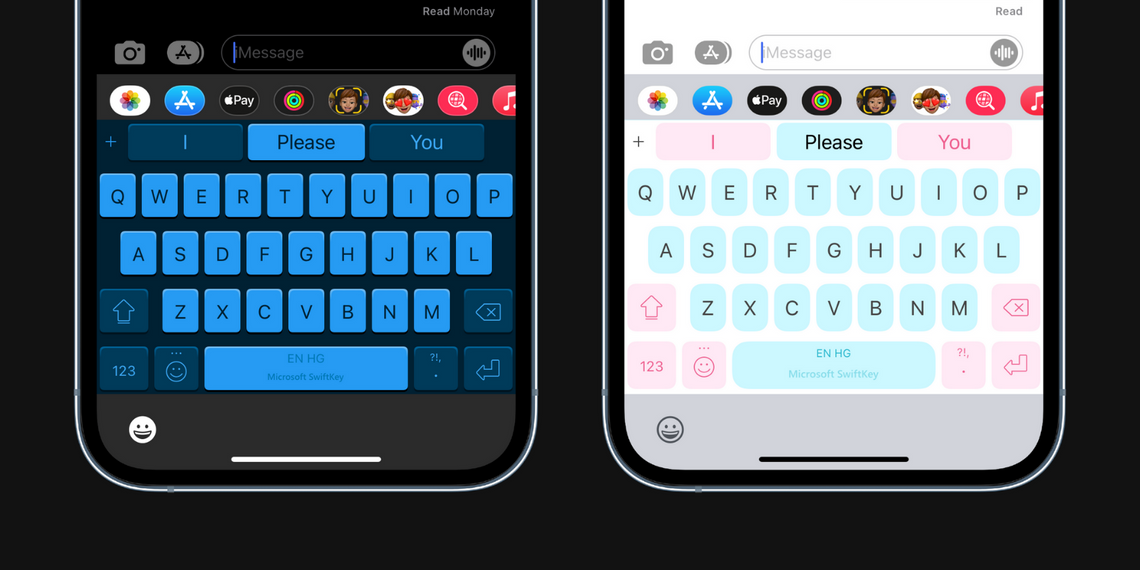
How to Use a Third-Party Keyboard on Your iPhone
After you add a new keyboard to your iPhone, here’s how to enable and use it:
- Go to Messages, Notes, Safari, or any app where you can type something.
- Press and hold the globe icon and choose your keyboard. Please note that the globe icon may appear as an emoji if only the standard keyboard and the emoji keyboard are added to your list of iPhone keyboards.
- If you simply tap the globe icon, you can quickly flick through your various keyboards.


How to Change the Order of Your iPhone or iPad Keyboards
If you’re multilingual, you might want to use more than one keyboard on your iPhone or iPad. For example, depending on the conversation, you may want to switch between the third-party English keyboard and the built-in Spanish keyboard by tapping the globe icon.
If you have a list of multiple keyboards, arranging them as per your choice can make you more productive. Here’s how to re-arrange your iPhone or iPad keyboards:
- Go to Settings > General > Keyboard > Keyboards.
- Tap Edit.
- Tap and hold on the three horizontal lines and drag up or down to change the order.
- Finally, tap Done.


Privacy Concerns About Third-Party iPhone Keyboards
While entering sensitive information like passwords, your iPhone or iPad will refuse to use the third-party keyboard and only show the Apple keyboard, even if you have removed it from your list of added keyboards. Similarly, when you use the keyboard on the iPhone Lock Screen, like while replying to a notification, it’ll always use the Apple keyboard rather than a third-party keyboard.
However, once you unlock the iPhone manually by its passcode or Touch ID, or your iPhone with Face ID unlocks automatically when you lift the device, you can use the third-party keyboard on the Lock Screen.
Most third-party keyboards need you to allow full access. Once you do that, the keyboard app can use your device’s internet (cellular or Wi-Fi) connection. This means it can technically send what you type to the developers. Apps like SwiftKey need full access to offer personalized predictions, save your predictions, create your typing map to adjust the virtual key positions, complete your sentences meaningfully, and more.
But the possibility of a sketchy iOS keyboard app recording what you type and transmitting it to the developer’s servers can’t be ruled out. As mentioned, when you type passwords, Apple’s keyboard will automatically kick in. But besides passwords, there are several sensitive things we type daily, like your email, home address, and secrets about yourself.
So, before you fall for using any flashy keyboard app, make sure you research it. Use the Developer Website option below the app’s description in the App Store to visit their site and look at their privacy policy. Don’t install an app if you’re unsure about it. And in case you already did, the steps to remove a third-party keyboard app are easy.
How to Remove a Third-Party Keyboard From an iPhone or iPad
Once you fall in love with a third-party keyboard, you might get annoyed if the standard iOS keyboard pops up when you start typing something. To fix this, you’ll have to remove the Apple keyboard from the list of added keyboards.
Alternatively, if you no longer wish to use a particular third-party keyboard on your iPhone, the steps to remove it are easy.
Here’s how to proceed in either scenario:
- Open Settings and tap General.
- Tap Keyboard > Keyboards.
- Swipe left on the added keyboard and tap Delete. You can also tap Edit > red minus button > Delete to remove this keyboard.


Another thing you can do is delete the app from your iPhone or iPad that you’re using the keyboard from. For this, press the app on the Home Screen or App Library and tap Remove App > Delete App > Delete.
Third-Party Keyboards on iPhone and iPad
This is how you can use third-party iOS and iPadOS keyboards downloaded from the App Store. They can be fun and surprisingly productive to use. For example, SwiftKey offers a handy clipboard that sits inside your keyboard. You can add sentences and paragraphs to it and use them anywhere. The ability to use any image as your keyboard background is a great personalization feature.
While your iPhone has the ability to use third-party keyboard apps system-wide and get all these exciting additions, the same isn’t possible on the Apple Watch.