
If you’re a frequent user of Pages, Keynote, and Numbers, you might want to keep your documents secure and away from the prying eyes of others. Securing your documents makes sure that no one can access your data without your permission, and all your files are safe.A good way to do this is to encrypt your iWork documents with a password. Apple makes it easy to do this, to ensure that all your files are safe, and we’ll show you how to do it below.
Why Should You Password Protect Your iWork Documents?
Apple’s iWork productivity suite consists of Pages, Keynote, and Numbers. The apps are very popular with many Mac, iPhone, and iPad users since they’re free and excellent.
Normally the iWork documents you create or edit are available to access by anyone with access to your Mac. If other people use it, there’s a chance that someone could make changes to your documents without your knowledge. This is why it’s a good idea to password-protect any important documents or files you have to ensure that no one changes them without your knowledge.
Encrypting your documents can also be very useful when sharing them with others. If you are sharing a file within a big organizational network, you can set a password that you can share with certain people so that only they can open the file.
How to Password Protect Pages, Keynote, and Numbers Documents
Password protecting your files is easy through each app’s own menus. The process is pretty much the same for Pages, Keynote, or Numbers as they all use a similar interface.
- Open up the Pages, Keynote, or Numbers document that you want to encrypt.
-
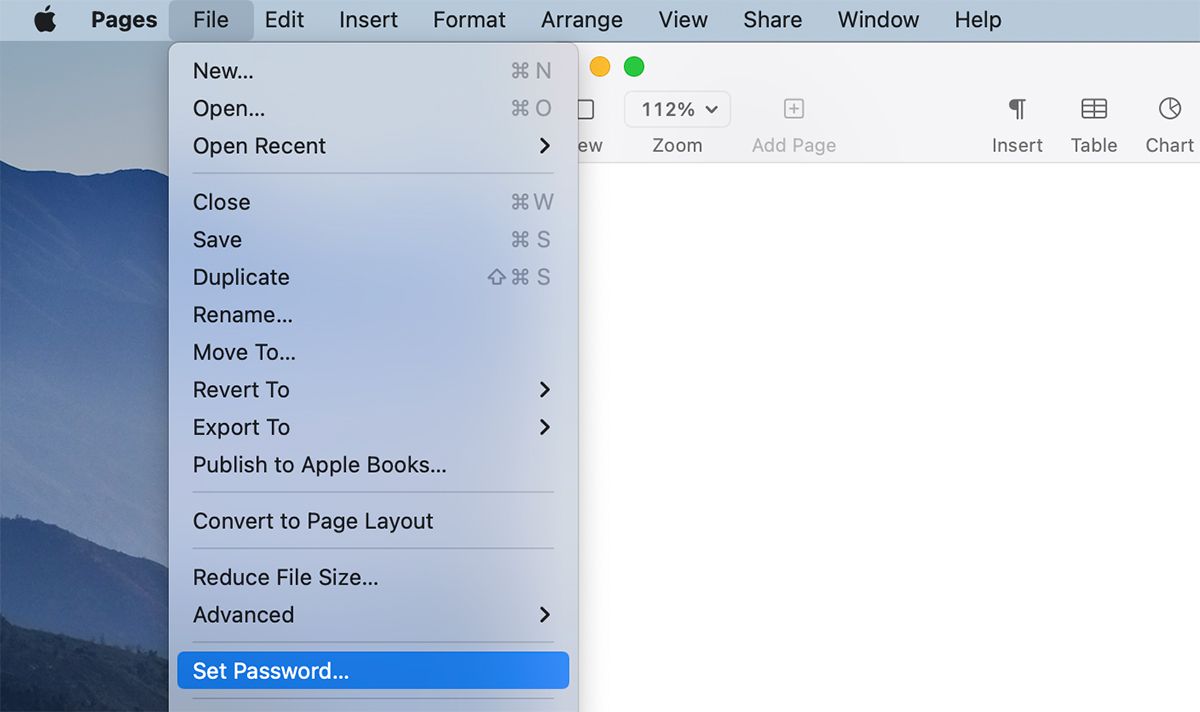
Once the document opens, click on File from the menu bar and select Set Password.
- This will open a window within the Pages app allowing you to create a new password. Make sure to enter a password that you’ll be able to remember easily.
-
Create a password hint if you want, to help you remember your password in case you forget.
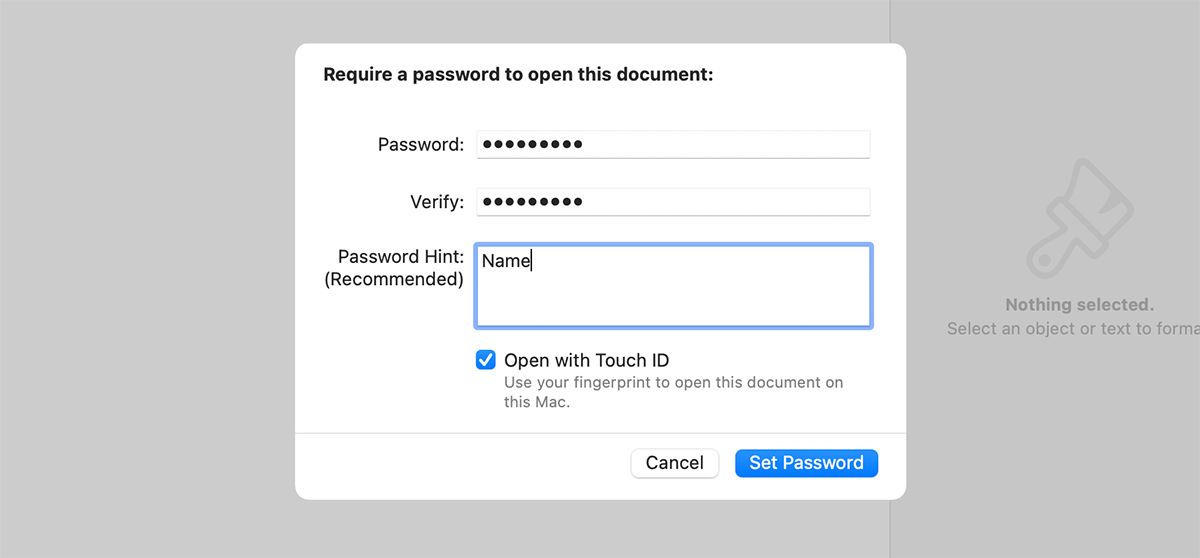
- You can also choose to save the password with Keychain your Mac. If your Mac has Touch ID, you’ll see the option to Open with Touch ID, which can open the document with your fingerprint instead of you entering the password. On the other hand, you can choose to save the password to Keychain (on non-Touch ID Macs), which keeps it safe in your Keychain if you ever need to recover it.


That’s it! You should now see a lock icon on your document when you view it using Finder or an iWork app. You’ll need to enter the password (or use Touch ID) to open up the document and view its contents.

How to Recover a Forgotten Password for Pages, Numbers, or Keynote
If you chose to save the password to either Keychain Access or Touch ID, macOS will automatically save the password to your Mac’s Keychain. So, if you forget the password or shift the document to a computer without Touch ID, you can recover the password from Keychain Access.
- Open Applications > Utilities > Keychain Access on your Mac.
-
Search for the document’s name using the search bar, which should be labeled as an iWork Document Password.
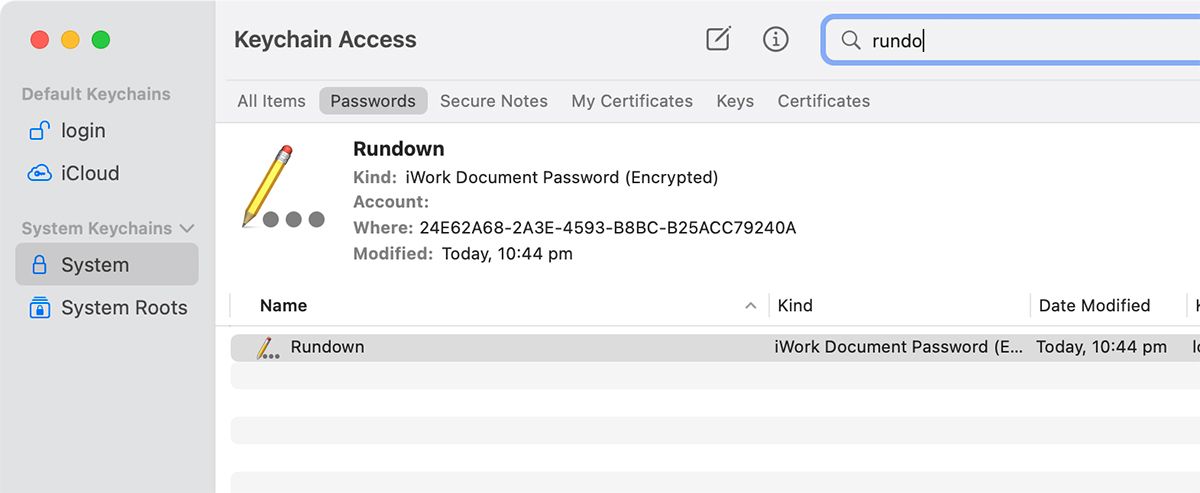
- Double-click the entry, and check the Show Password box.
- Enter your account password for authentication. This should reveal the document’s password in the Show Password field.

Once you recover the password, you can use it to access the document. You may want to remove the password at this point or change it to something else if you want.
Password Protect Other Files in macOS
Password protecting files is always a good idea, to ensure that there is no unauthorized access to your files. macOS allows users to password-protect a number of different files and folders, which should help you keep your data more secure.
Another good step would be to create a separate macOS account with a different password, allowing you to keep all your secure files completely separate from a shared account.