
Can’t find the font that you want to use for your document in Microsoft Word? Don’t worry, you can add and use external fonts easily. You just have to find the font, install it, and then use it in your document.
The steps below show you how to add new fonts to Word.
Know This Before Adding New Fonts to Microsoft Word
If you will share your document that uses a new font with someone, the recipient will need to have your font installed on their computer. In the absence of the required font, the text in your shared Word document will look weird.
Therefore, when you share the document, share your newly downloaded font as well.
1. Download and Install a Font on Your Computer
If you don’t already know, Word uses the fonts that are installed on your computer. It doesn’t have fonts of its own and it relies on your system to provide it with fonts. This means, if you download and add a new font to your computer, you can use that with Word.
If the font is already available, you can install it and it’s ready to use. If you don’t have the font with you yet, you will need to download it first.
The following shows how to download and install a font on a Windows computer:
- Close Microsoft Word if it’s running on your computer.
- Head over to the website that offers the font you need and download the font to your computer. If you don’t know any sites, check out our listicle of some of the best free font sites.
- If your font is in a ZIP archive, extract the archive to your desktop.
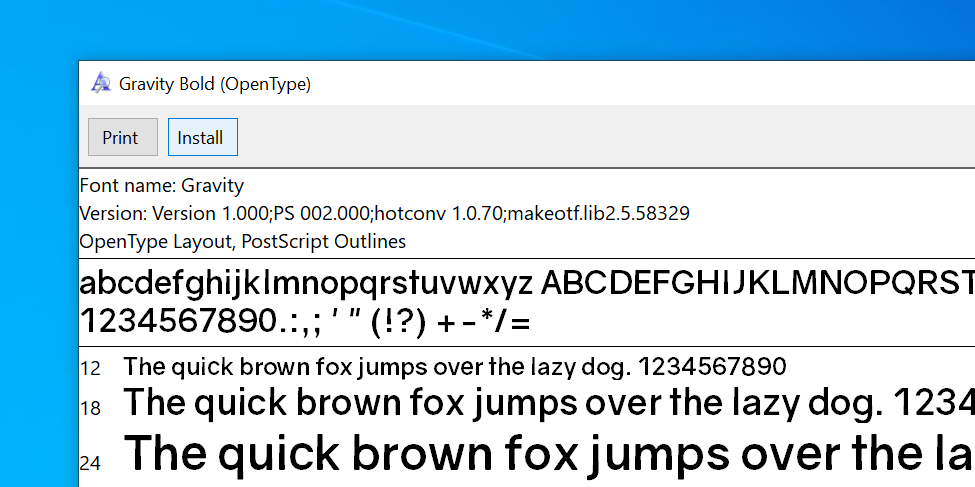
- Double-click on the extracted font file and it will open in Font Viewer.
-
Click the button that says Install at the top to install your font. The button will be greyed out when the font is installed. You will need to do the above for each font that you want to use in Microsoft Word.

2. Add and Use the Downloaded Font in Microsoft Word
Once you’ve installed the font on your computer, you can start using the font in your Word documents. Your font should already be loaded in this word processor; the following is how you use it:
- Open your document in Microsoft Word.
- Click the Home tab at the top if you aren’t already there.
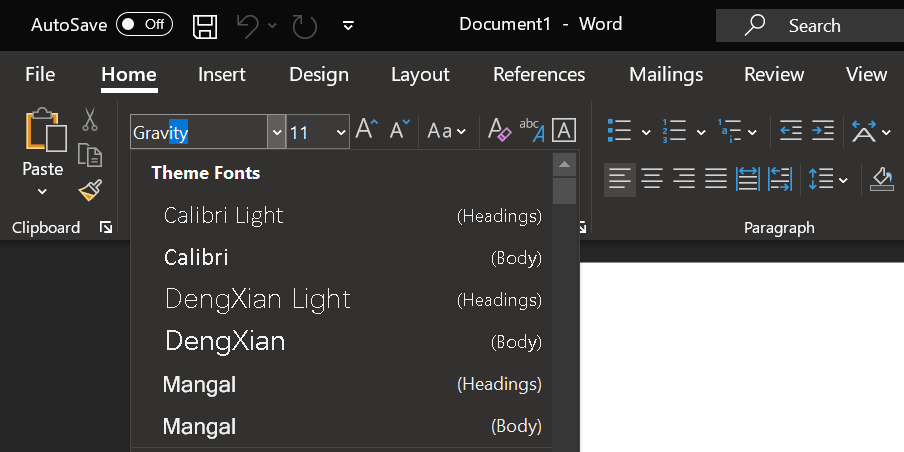
- Click on the arrow icon next to your current font name to view the list of available fonts.
-
You should find your newly installed font in the list. If you can’t find it, type the name of the font in the box and Word will narrow down the list for you.
- Once you’ve selected the font, you can start typing with that font in your document.
- If you want to use this new font for your existing text, simply select that text using your mouse and then select your newly added font from the fonts menu at the top. Your text will now use your chosen font.

3. Set the Downloaded Font as the Default Font in Microsoft Word
You don’t have to be stuck with the Word’s default font if you don’t like it. There’s actually an option that lets you use any font on your system as the default font in Word. This means you can choose your newly installed font to be the default font in any new document from now on.
You can always revert back to the previous default font if you don’t like the new font.
Here’s how you can change the default font in Word:
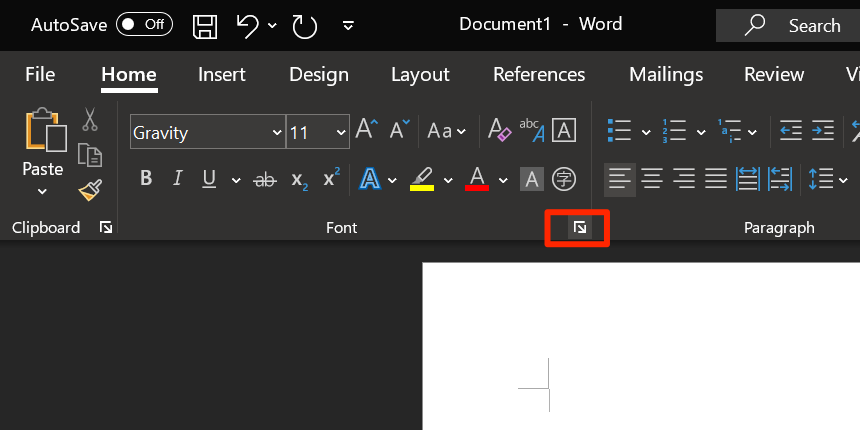
-
While you are on Word’s editing screen, click the arrow icon in the Font section to view more options for your installed fonts.
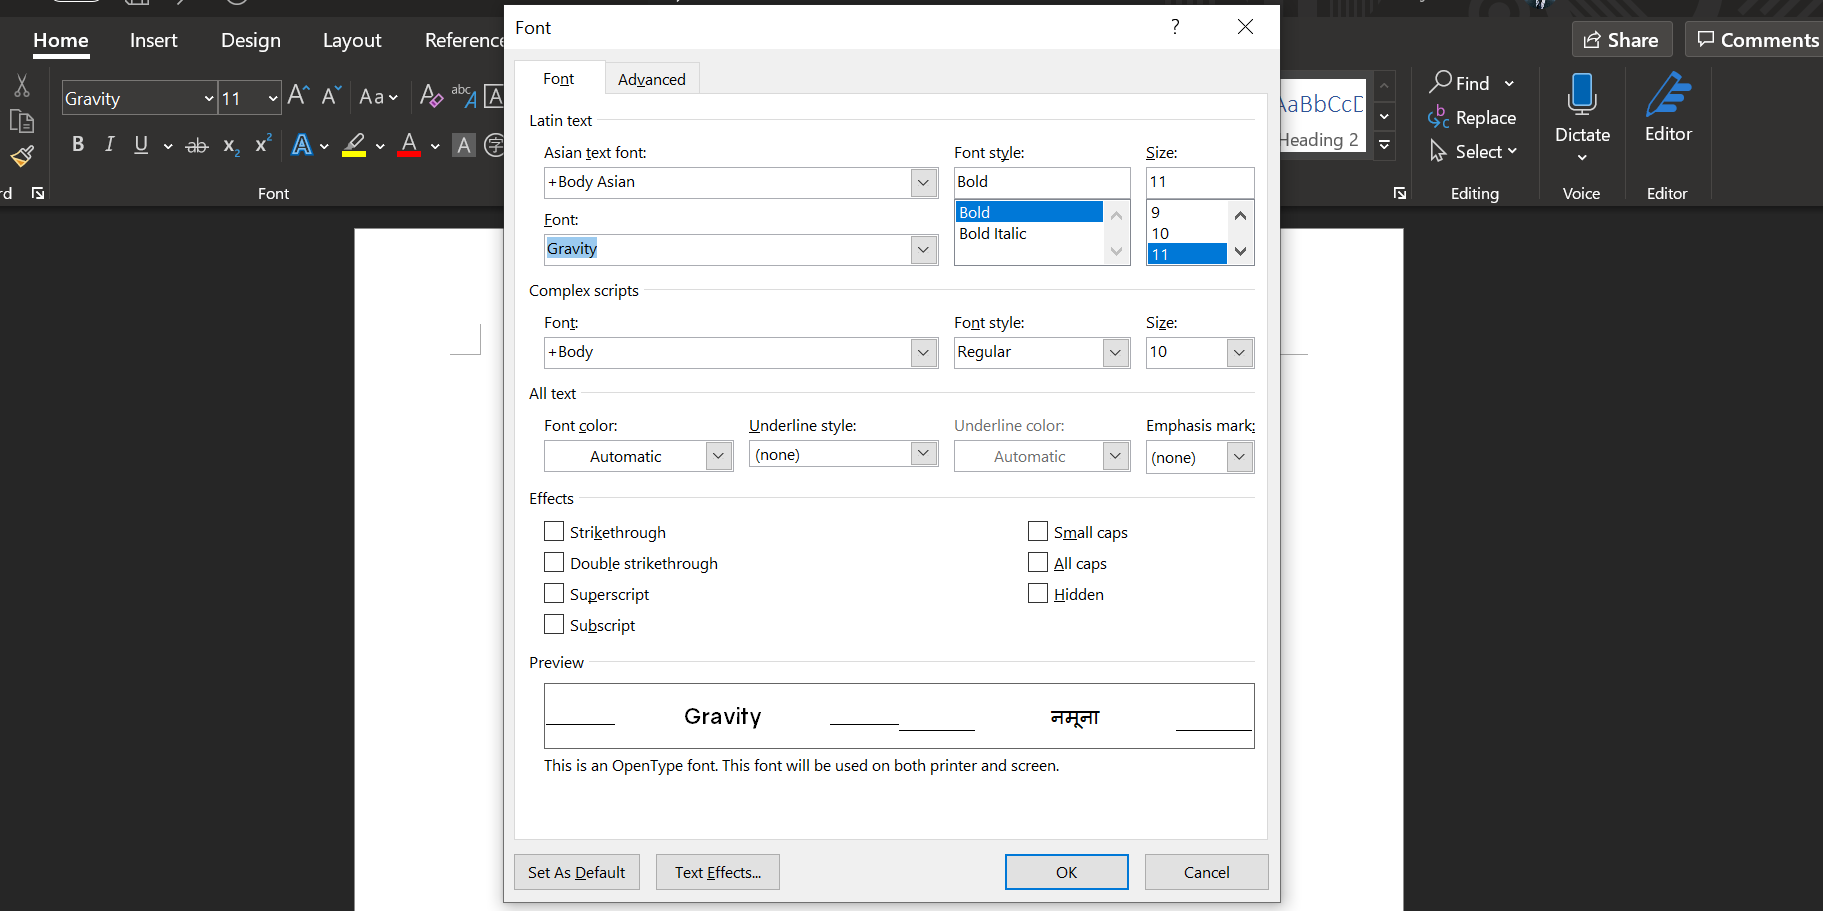
-
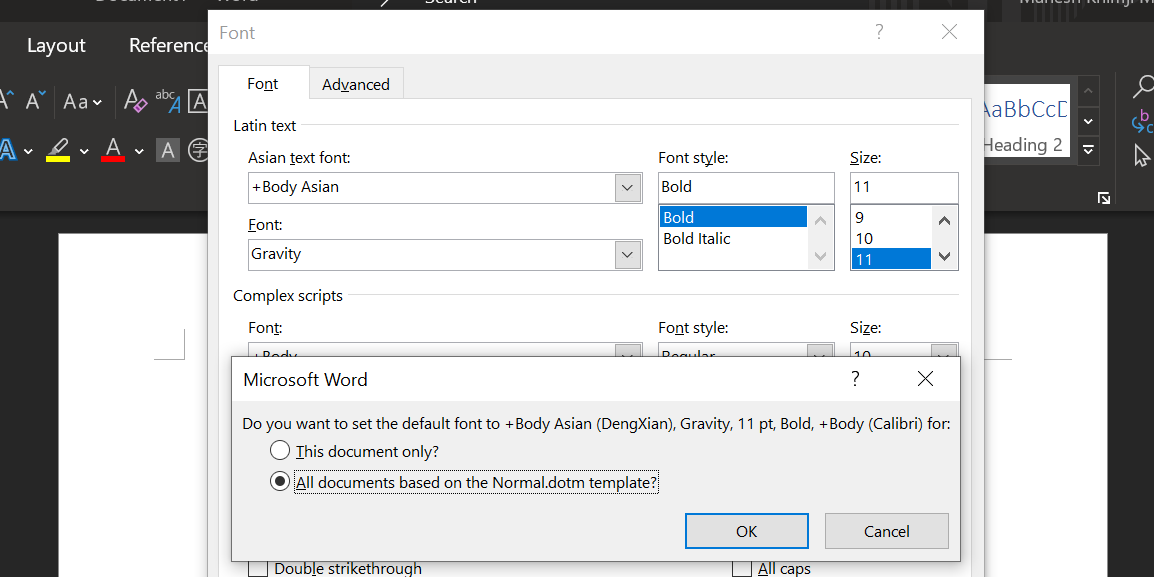
A box will open with all your fonts listed in it. Select your newly installed font from the Font dropdown menu, choose an option from Font style, set the Size of your font, and click Set As Default at the bottom.
-
Word will ask if you want to set that font as the default font only for your current document or for all your documents. Select the second option that says All documents based on the Normal.dotm template and click OK.
- From here on, whenever you create a new document in Word, Word will use your downloaded font as the default font for your document file.


4. Remove a Downloaded Font From Microsoft Word
If you’ve started to hate your downloaded font and think you won’t be using it, you can actually remove the font from Microsoft Word. When you do that, your font will disappear from Word’s fonts list.
Keep in mind that removing a font from Word means removing the font from your computer. You won’t be able to use that font in any apps once it’s uninstalled.
If you’d still like to proceed, the following shows how:
- Press the Win key and click the cog icon to open Settings.
- Find and click on the Personalization option.
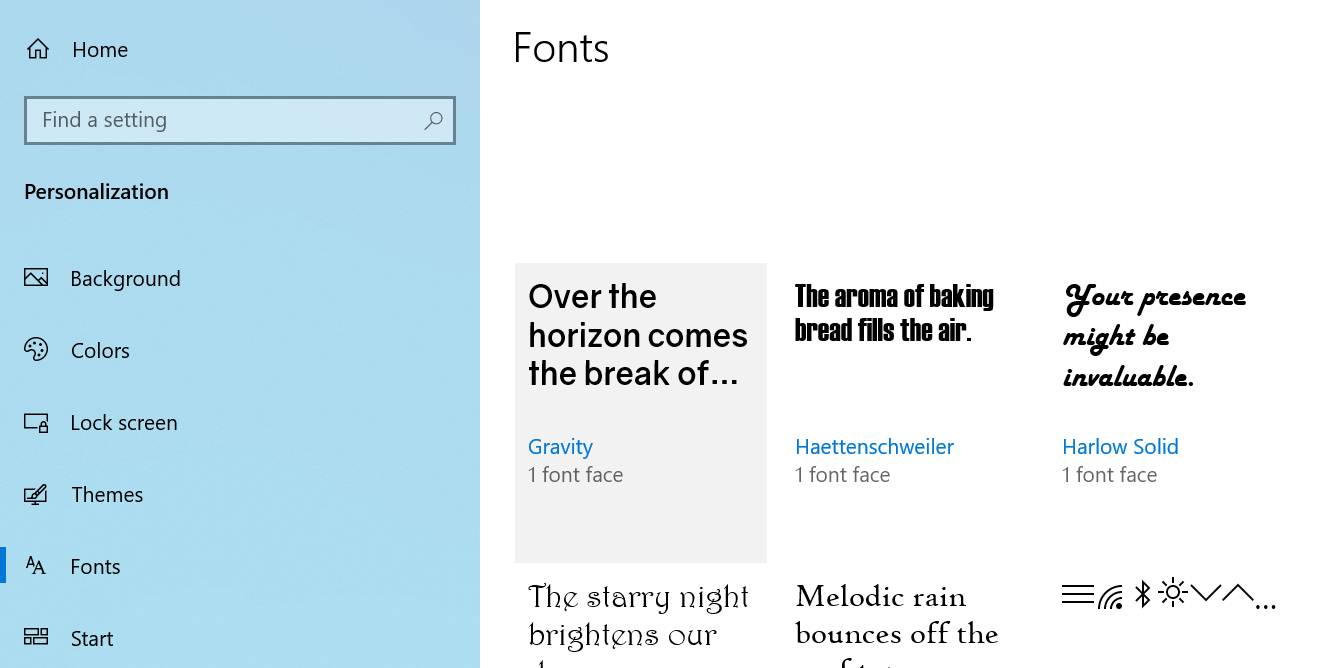
- Select Fonts from the options in the left sidebar.
-
All your installed fonts will appear on the right pane. Click the font that you want to delete on this list.
-
A new screen displaying your font information will open. Here, click the button that says Uninstall to remove the selected font from your computer.
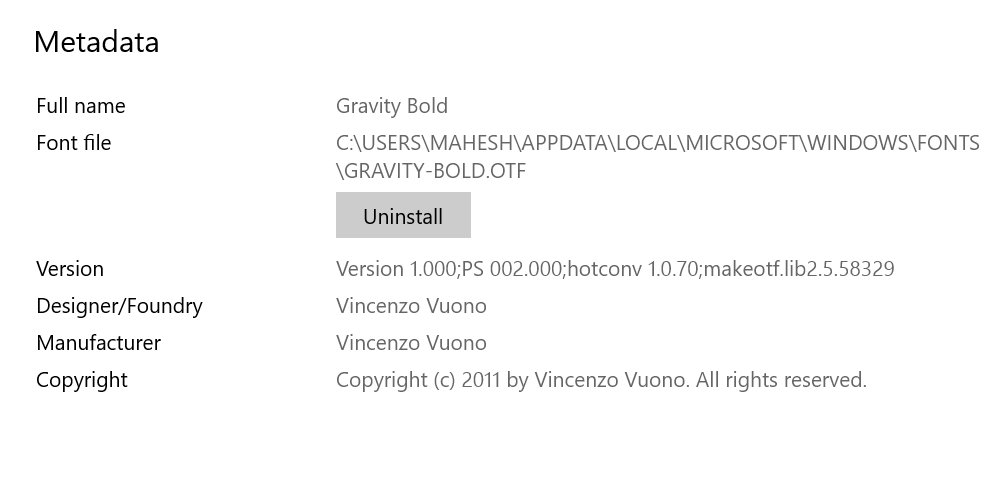
- Click on Uninstall again to permanently delete the font from your system.


Your selected font should be gone for good.
Can You Add Fonts in Microsoft Word Online?
If you use Word’s online version, you will be disappointed to know that you can’t add fonts to Word online.
While there are some posts on the internet telling that you can change fonts in your online Word documents, your changed font is only for your viewing and it will be gone once you save or print your document.
Stylize Your Documents With New Fonts in Word
If the default Word fonts just don’t cut it for you, you have the ability to download and use any font you want with this word processor. As long as you can install that font on your system, it’s usable in Microsoft Word.
There are many Microsoft word tips that you can use to improve your efficiency and get more things done with this popular document processing program.
Want to add fonts elsewhere? Here's how to use new fonts in Photoshop.