Depending on what you do in Blender, you may or may not require lighting. While 3D modeling or painting textures, it is unlikely that you’ll need it. However, lighting is an important part of the rendering process. Without lighting, we won’t be able to see objects in the real world.
In Blender, you may be working on a scene with an object in a background where lighting can change the entire mood. There are various lighting objects you can create in Blender. In this article, we’ll take an in-depth look at two ways you can add lighting in Blender.
1. Create a Light Object: Area
In this first approach, we'll use a light object. To start off, we’ll add one of the more common light objects.

- Press Shift + A, then mouse over Light, and click on Area.
- Once you have chosen the Area Light object and inserted it into the scene, you can place it anywhere. To do so, just left-click on the light object, hit G, and press X or Y or Z followed by a number to move it along its respective axis.
- To further illuminate the area, you can also tweak settings such as power or color.

In the image above we have an Area Light with a color of white, a power (or strength) of 100, and a size of 3 m. This is shining onto the cat figurine object.
Without this light source, this is how the scene would look:

As you may be able to tell, the Area Light object emits light rays from a plane. Select the light object, then hit R to rotate; you will see it emits light according to a direction represented by a dotted line. Based on its size, it can also affect the hardness of the shadows

Lastly, the strength of the light depends on its distance from the object. With the Area Light object, you can achieve precise lighting. Play around with the settings and see how it reacts!
Other light objects include Point Light, Spot Light, and Sun Light. For more information on these, check out the official Blender documentation on light objects.
2. Image Based Lighting (IBL)
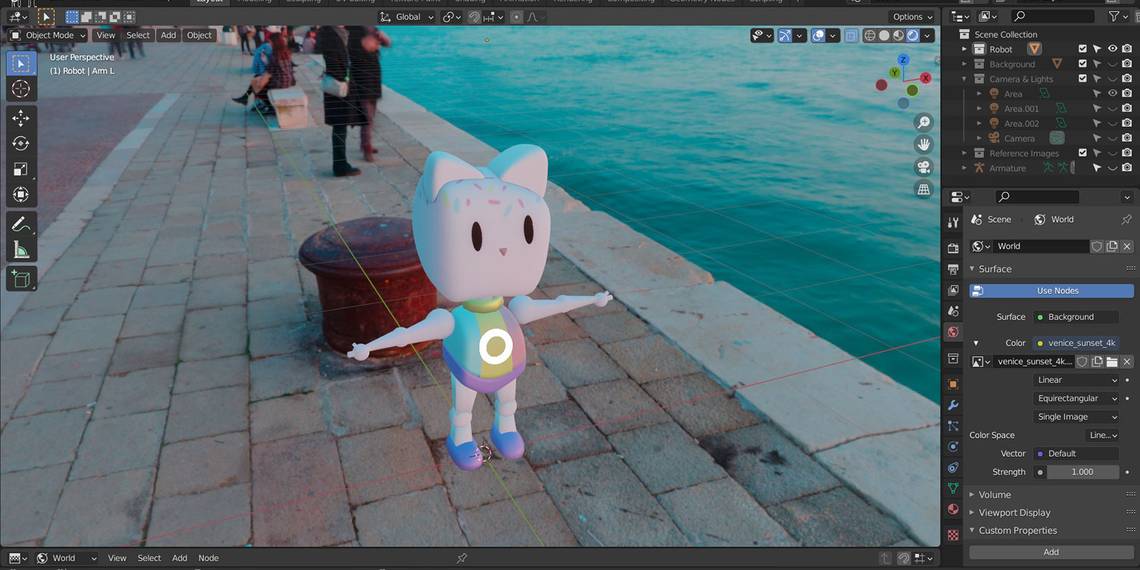
In Blender, the world defines the environment in which the scene is. There is a surface shader, which sets the lighting as either a fixed color, HDRI texture, or a sky model. In this section, we'll cover another convenient way to add lighting into Blender.
Here, we'll use the light intensity and hue of an image to light up the scene. To provide realistic results, we'll use an HDRI image. Essentially, you are using real-world lighting data and applying it to 3D objects created in Blender.
There are plenty of awesome sites with free textures you can download. In this example, we've downloaded a free HDRI found on PolyHaven as seen in the below image.

To upload the HDRI image into Blender, click on the World tab, then click on the dot icon next to Color, and change it to Environment Texture.

Then, open up the HDRI you have downloaded.

Try changing the color space options around it. In the above example, we've used Linear ACES to showcase the differences in the results you can achieve.
Light It Up in Blender
There's plenty you can achieve in Blender to create industry-level quality models and 3D scenes. In this article, you've learned how to add light objects to your scene as well as Image Based Lighting in Blender. Advance on to the next steps and learn about all the other awesome things you can do in Blender; check out our many tutorials!