Have you been designing all day but remain unsatisfied with the default GIMP fonts? Getting great fonts for your designs should be the least of your worries. Thankfully, you can download your preferred fonts from the web and install them on GIMP.
You only need to follow a few steps to complete this simple task. Let's see how you can make GIMP a home for beautiful fonts.
Download Fonts From the Internet
There are many websites where you can download fonts for GIMP. Downloading these files is just like downloading any other file from the web.
One excellent font resource is Google Fonts. Once you open the website, it loads a list of different font families you can download.
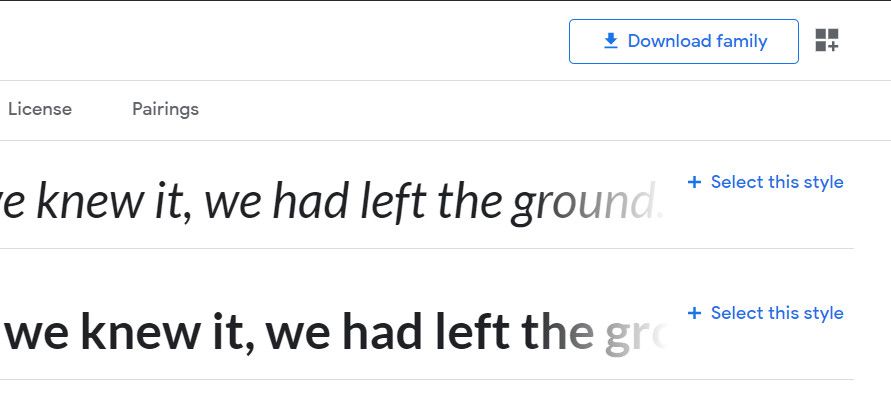
To select a font family to download, click on it. On the next page that comes up, click on Download family at the top-right corner of the webpage.
Once the ZIP file downloads on your computer, right-click on the file and select Extract All to extract the fonts to your chosen location.
Add the Downloaded Fonts to GIMP
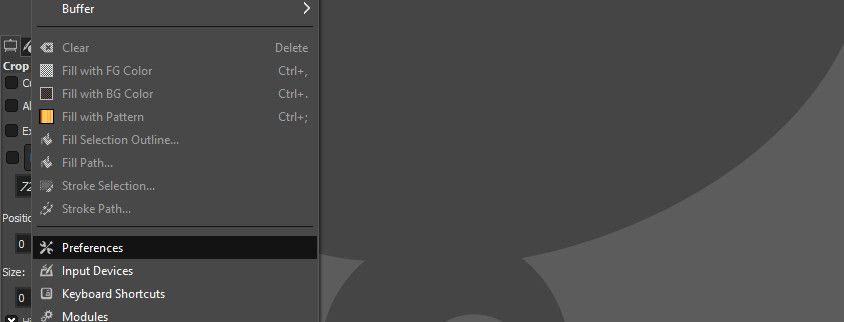
After downloading the fonts you want, open GIMP, and click the Edit option on the upper part of the app. From the dropdown, select Preferences.
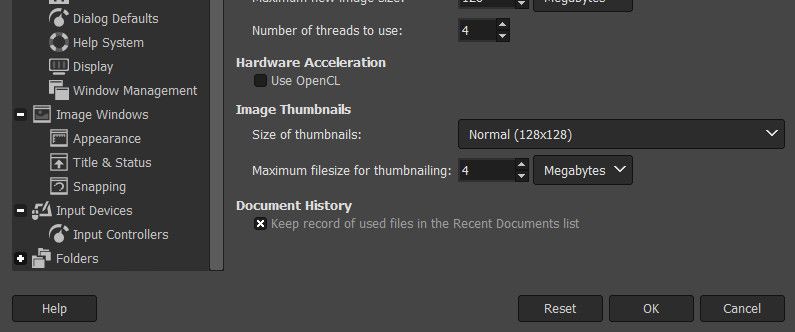
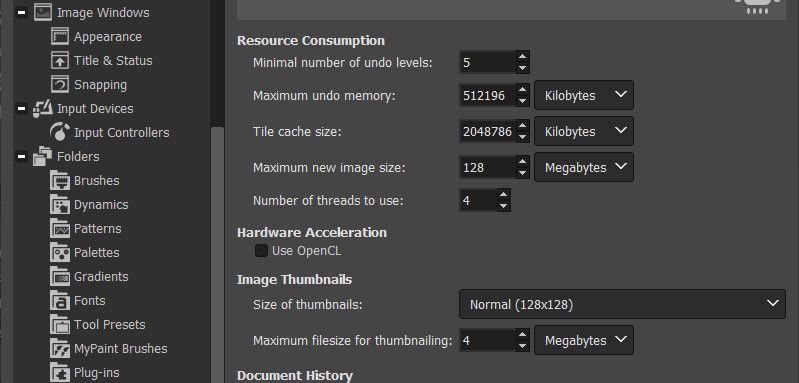
In the next menu, look to the lower-left corner, and click the plus sign (+) in front of Folders to expand the list.
Scroll through the expanded list and click on Fonts.
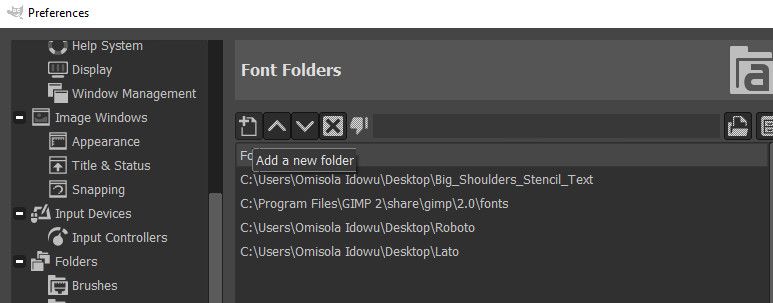
In the next menu, click on the Add a new folder symbol (the first symbol to the left of the folder path field) on the upper part of that menu.
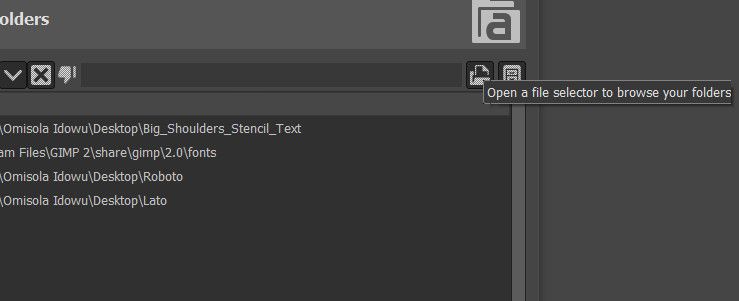
Next, click on the file selector immediately to the right of the folder path field to browse your PC for the font you just downloaded.
Once you locate the font family, select it. Then, look to the lower-right corner of the current menu and click OK. Click on OK once more to add the selected font family to GIMP.
However, if you want to add a single font and not the entire font family, that's possible as well. Go to the folder you just extracted and double-click on it to open it.
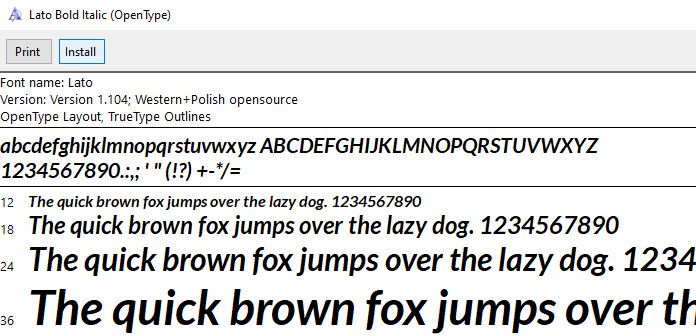
Next, from the list of fonts that appear, double-click on a preferred one. Then, in the next menu that comes up, click on Install to install that font on your PC. Next, refresh your font list to add that font to GIMP.
Note that adding a single font to GIMP doesn't work all the time. However, adding the entire font family is more reliable.
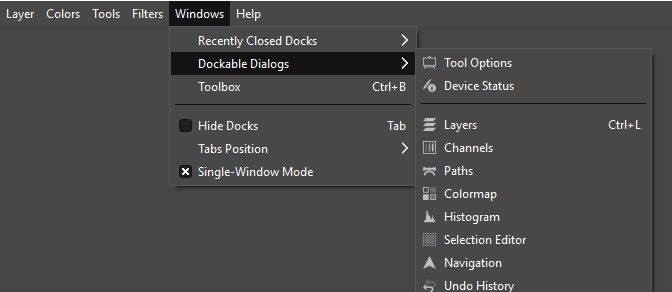
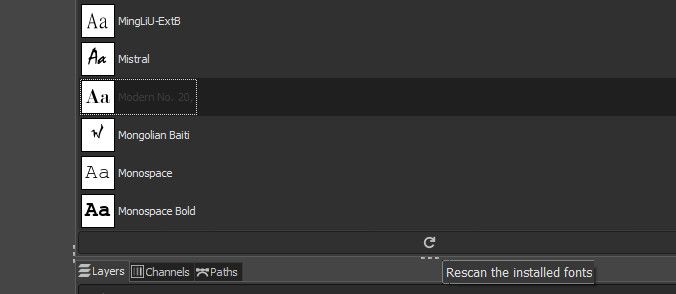
Once you add the selected font, click on Windows and select Dockable Dialogs to update your font list in GIMP. Look through the list that comes up and click on Fonts.
Next, once the fonts panel loads, click the refresh symbol at the base of the font list to update GIMP's fonts.
Once you've added the fonts you like, you can test them on your design to be sure they work.
Other Resources Where You Can Download GIMP Fonts
In addition to using Google Fonts, there are other resources you can browse for downloading fonts for GIMP as well. Take a look at some of them below:
Can You Remove the Fonts You Added to GIMP?
Removing the fonts you've added to GIMP is as easy as adding them. All you need to do is remove the font folders you added to GIMP, and then refresh GIMP's fonts.
However, you need to be careful when doing this to avoid removing relevant fonts from GIMP.
Install as Many Fonts for GIMP as You Want
With a lot of available resources out there, grabbing fonts for your GIMP designs is simple. Most of these font websites offer free and beautiful fonts as well. This means that you can download as many fonts as you want and start experimenting.


