
The right kind of audio and sound can add something extra to your presentations. It can be a simple background score that plays with the introduction or at the end. It can also be a voiceover that describes what you are watching on the screen or just sound effects that play with slide transitions. Google Slides allows you to add audio to any presentation and make it richer.
Before you begin to add audio to Google Slides, do remember that not every presentation needs sound. It is a design choice like any other.
How to Add Audio in Google Slides
There are three prerequisites you should be aware of when you think of using audio in your presentation.
- You can only use audio files in the MP3 or WAV file formats.
- You can only add audio to Google Slides on the desktop via a browser.
- You can only add audio files from Google Drive and not add it directly from the desktop.
With these three conditions in mind, follow these steps to add audio to your presentation.
Upload the Audio File to Google Drive
Create a new folder to hold your audio file or upload it to the main My Drive. A specific folder helps to keep your Drive organized if you have many files. Do note that you should share the audio file separately when you want to present it to an audience.
-
Drag and drop the audio file to Google Drive. Alternatively, click on New > File upload to select and upload the audio file.

-
Right-click on the file from Google Drive, and click on Share.
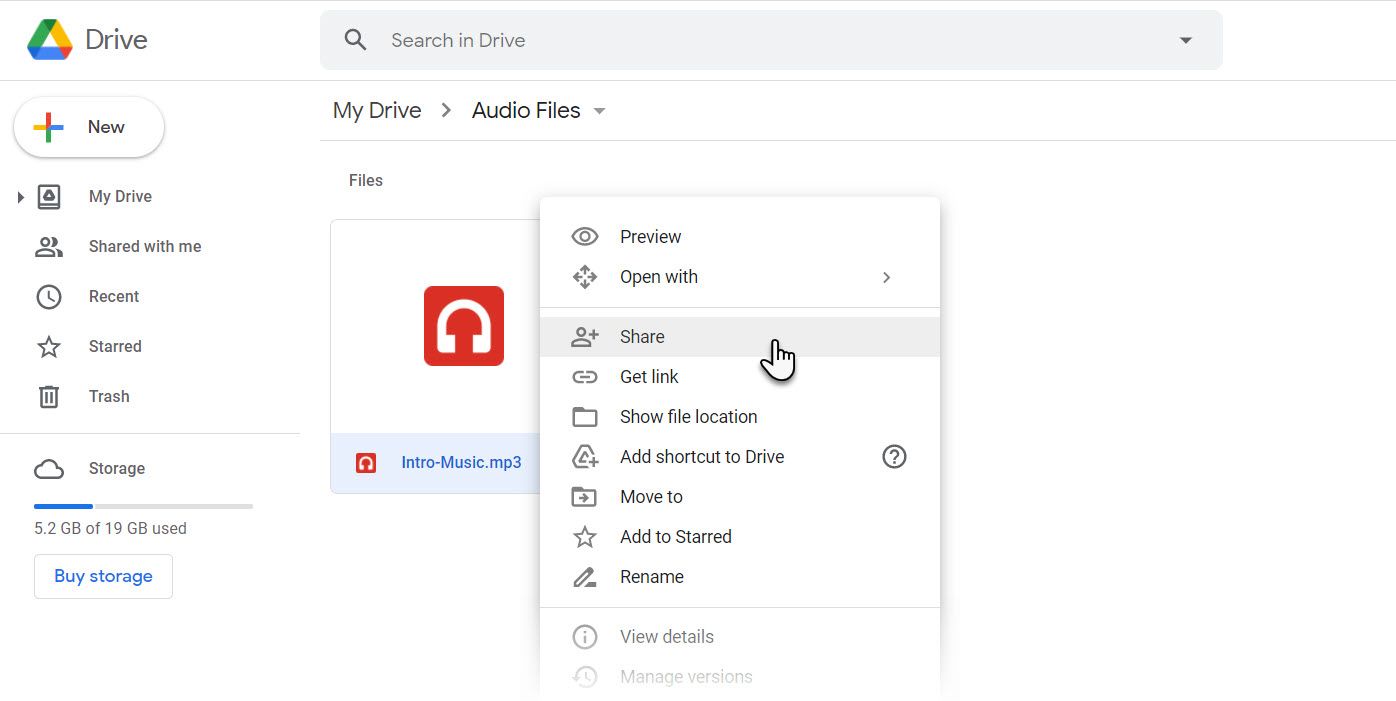
- Follow the usual rules of sharing files on Google Drive to give your collaborators access to the audio file when you present the slide decks.


Insert the Audio File in Google Slides
Go to Google Drive and open a new or an existing Google Slides presentation. You can also enter Slides.new in the browser’s address bar to create a new presentation instantly.
- Select the slide where you want to insert the audio file.
-
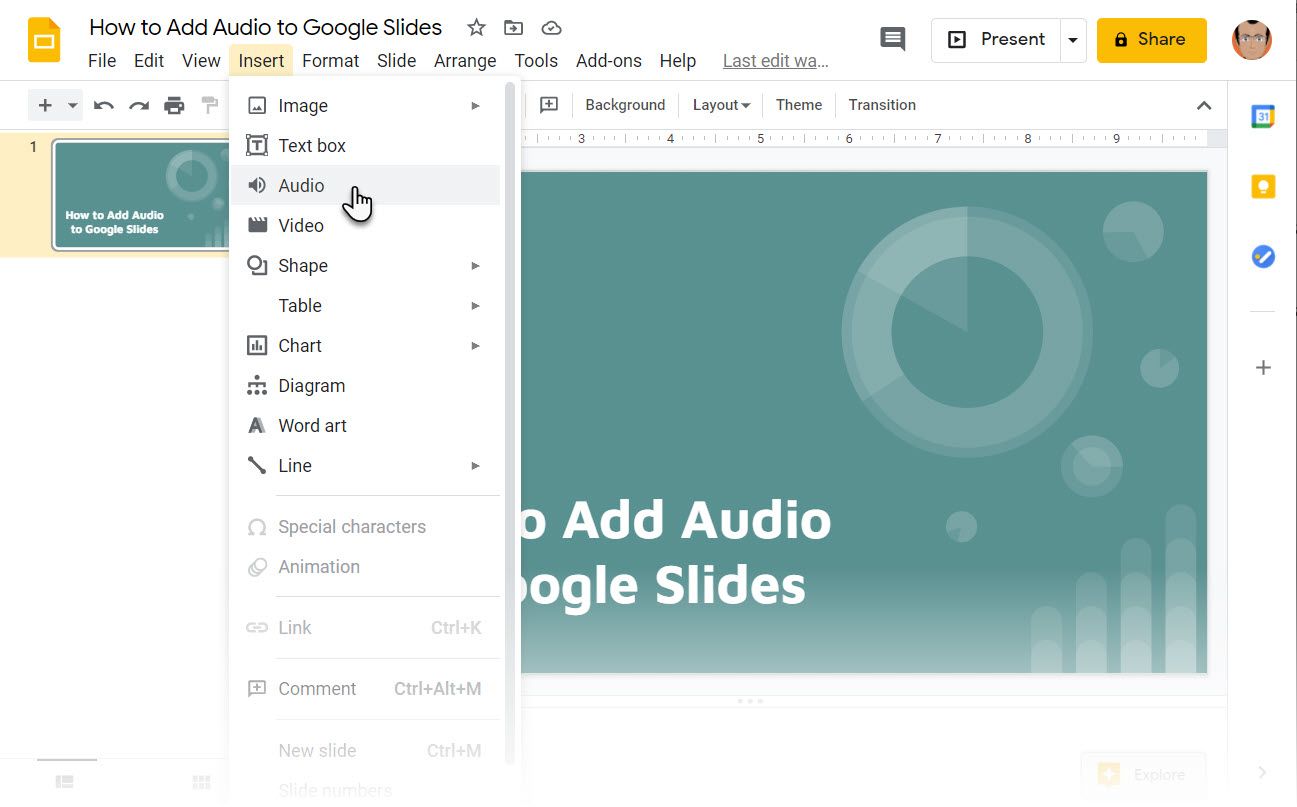
Go to Insert > Audio on the menu.
-
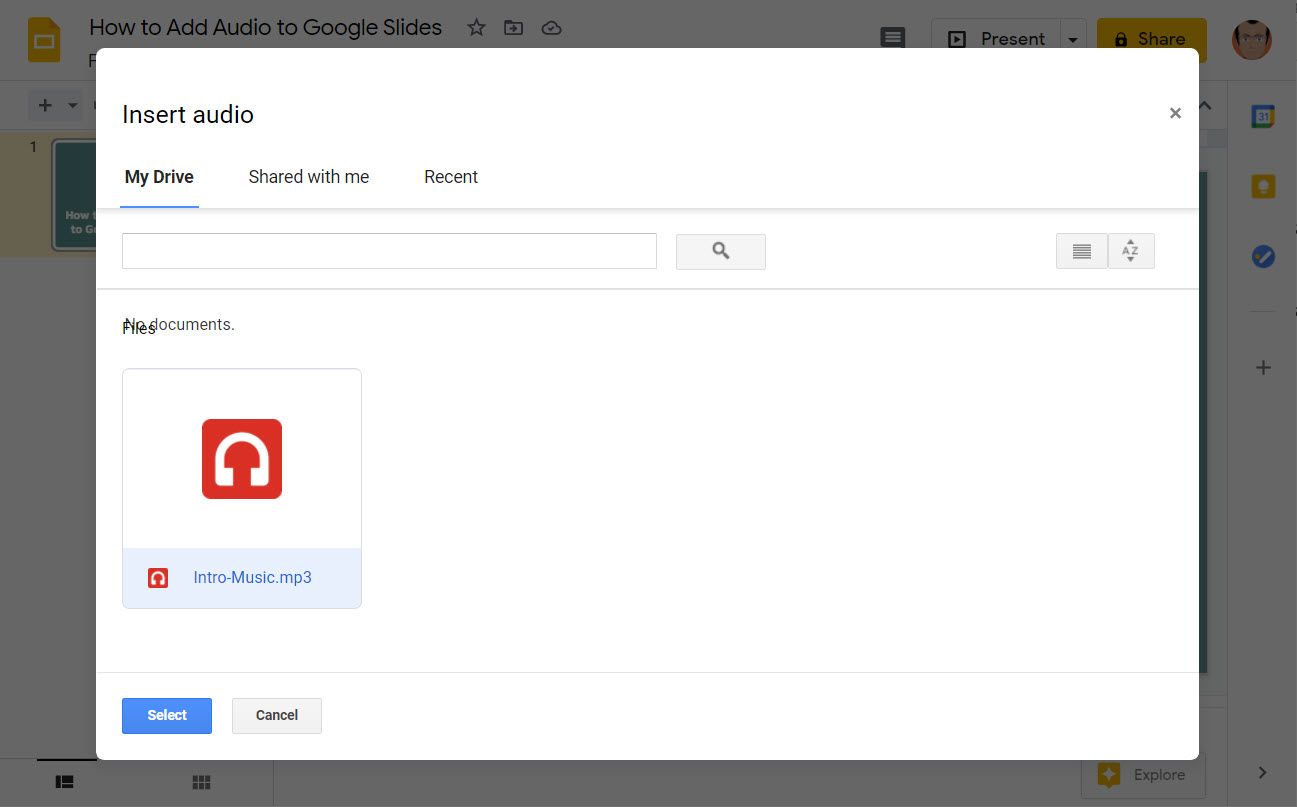
Select the file from your Google Drive (My Drive).
-
After you click the Select button, Google Slides will insert the audio on your slide and display it as an icon with playback controls. Click on the controls to play the audio and test it.
- Select the audio icon and move it to any preferred location on the slide.


Format the Playback Options in Google Slides
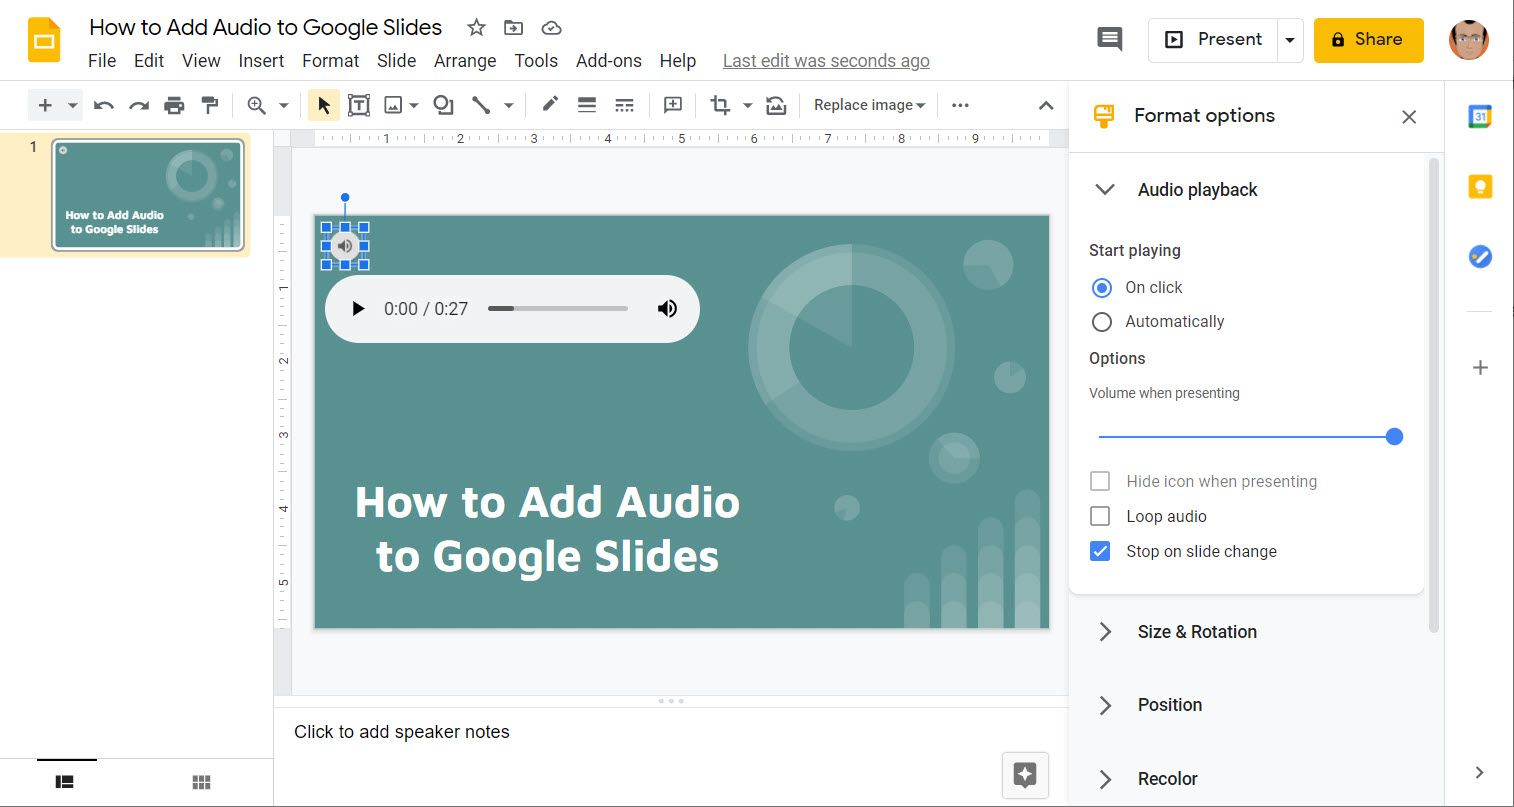
You can format the behavior of the audio file with the Audio playback settings under the Format options. The sidebar will only appear when you select the audio icon.

You can also display it by right-clicking on the icon and selecting Format options. Click and drag to place it where you want and finetune the precise position with the arrow keys.
The options are self-explanatory and will depend on the kind of audio you are using on the slides.
- Select Automatically to make the audio play with the slide. If set to play automatically (e.g.as background music), you can select Hide icon when presenting as no one will need to click on the icon to make it play.
- To make the audio play even on slide change, uncheck Stop on slide change.
- Test the volume and adjust with the volume slider if required.
There is no way to play a single audio file on a few selected slides yet. That is when you want to play it on slides 1, 2, 5, and not on 3,4.
Use Other Format Options
Play around with the other format options on the sidebar to see how they affect the audio icon. These formatting options are the same for every graphic on the slide. Some of the design choices are:
-
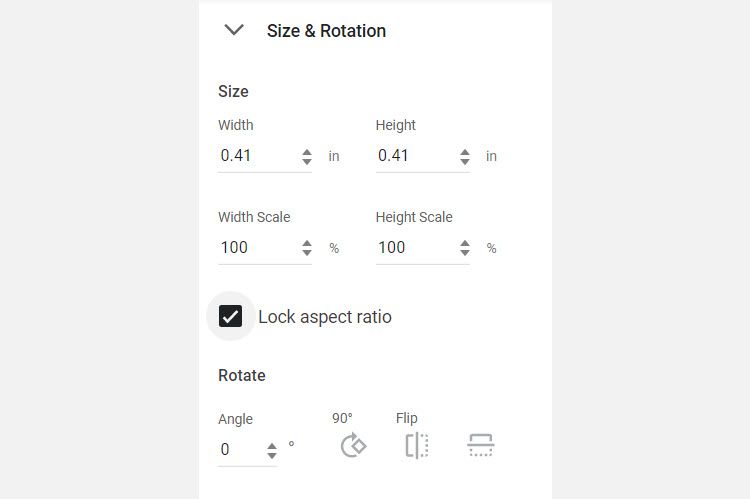
Change the Size & Rotation of the audio icon (lock the aspect ratio so that the dimensions increase or decrease relative to each other).
-
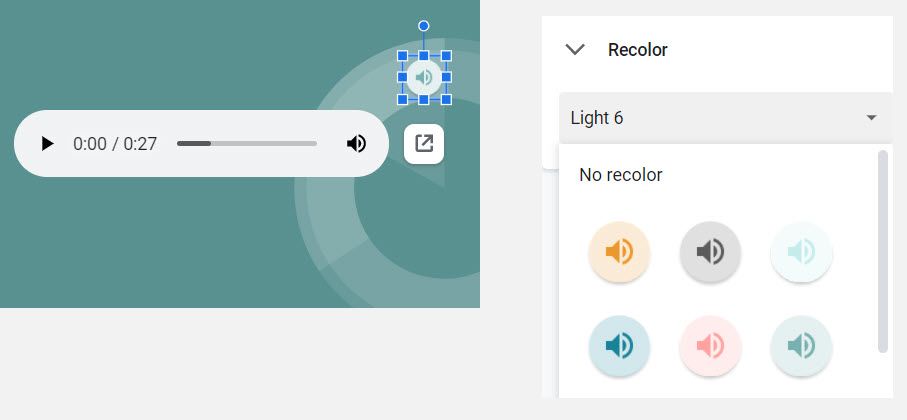
Use Recolor to match the shade of the icon with the color themes on the slide.
-
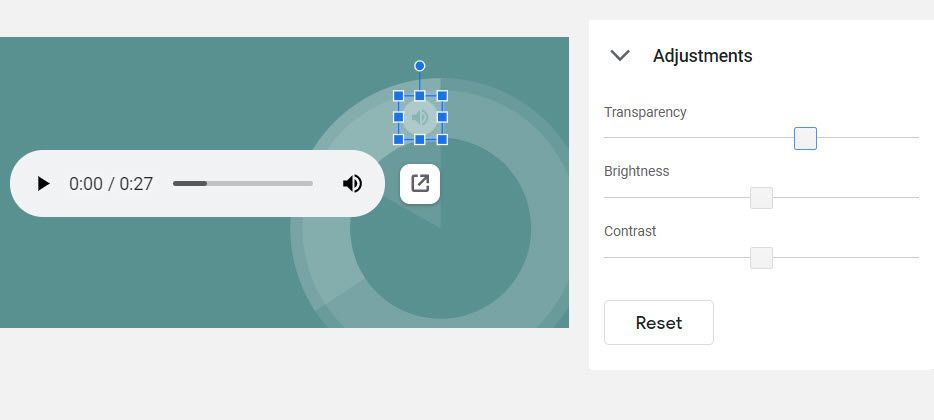
Set Transparency under Adjustments to tweak the opacity of the icon or render it invisible.
- Give it a Drop shadow or Reflection to add some style to the icon if it’s visible.


How to Play Audio in Google Slides
Play the audio in editing mode by hovering over the speaker icon and then clicking on the Play button. When you are in presentation mode, you can also click on the speaker button to play the audio, or just hover and click the play button.
Do note that you can always hide the icon when you play the audio automatically. Check if the placement of the icon is obstructing any text or graphic on the screen before you finalize your presentation.
Top 3 Reasons to Add Audio to Google Slides
It’s easy to add audio to Google Slides. But you shouldn’t do it because it’s easy, but because it adds value to your presentation. Here are a few reasons and situations where you can choose to embellish your slides with audio.
- Background music can set the theme or tone for your presentation.
- Make a recorded narration available to your viewers to help them follow the talking points as the presentation runs.
- Historical speeches can be a useful addition to an academic presentation and give the text more context.
- Add your talk to your slides and make it more interactive on any medium you share the presentation on.
- Audio can make your presentation more accessible to anyone with visual impairments.
Inserting Audio Is Better Than Linking to Sound Files
The ability to add audio to Google Slides is a neater way to design slides. It saves you the bother of linking to an external audio source and using a graphic element to hide the link. The audio now plays on the slide instead of opening in a separate tab.
Google Slides allows you to give presentations from anywhere. Use audio (don’t forget to share your audio files) next time and see how it goes. It gives you one more choice to create more interactive slide decks.