When Disney+ first launched in the US, essentially all the catalog was family-friendly. The library consisted of Marvel movies, classic Disney animations, every episode of The Simpsons, Pixar movies, and other Disney brands.
Now, Disney+'s library contains more mature content, including TV shows like Iron Fist, The Punisher, and Jessica Jones (all of which originally streamed on Netflix). Other regions already had adult-oriented content before this, but in the US that lives separately on Hulu.
As such, Disney+ users need to set content ratings for every profile on their account. By doing this, you can limit the types of movies and TV shows that someone can watch, or set no limit at all if you want to see everything in the Disney+ catalog.
How to Set a Content Rating on Disney+ When You Sign In
When Disney+ introduced the Marvel Netflix shows to the platform, it marked the first mature content to arrive on Disney+ in the US. As such, the service added a content rating setting for each profile—a feature which already existed in other regions.
When you first sign in to your Disney+ account from March 16th, 2022 onwards, you will see a screen to set a content rating for your main profile. This will limit the type of content you can watch on Disney+, based on its parental rating.
From this screen, you can select Full Catalog for TV-MA (the equivalent of no rating restriction), or Not Now to set it later (which applies a TV-14 rating).
Depending on your selection, you are prompted for your password, given the option to set a PIN to protect your profile, and can then set a content rating setting for any other profiles on the account.
But what happens if you don't see this when you sign in? Or you change your mind on the content setting? Keep reading.
How to Adjust the Content Rating for Any Profile on Disney+
Assuming you're the account owner, you can adjust your content rating setting at any time. Content ratings apply on a per profile basis. This means you can have one account with no restriction and another account with a TV-14 restriction, for example.
To set a content rating for a profile:


- Select your profile icon. On a web browser, it's in the upper-right. On mobile, it's in the lower-right. On smart TV, navigate left and it's at the top of the menu.
- Select Edit profiles.
- Choose a profile to edit.
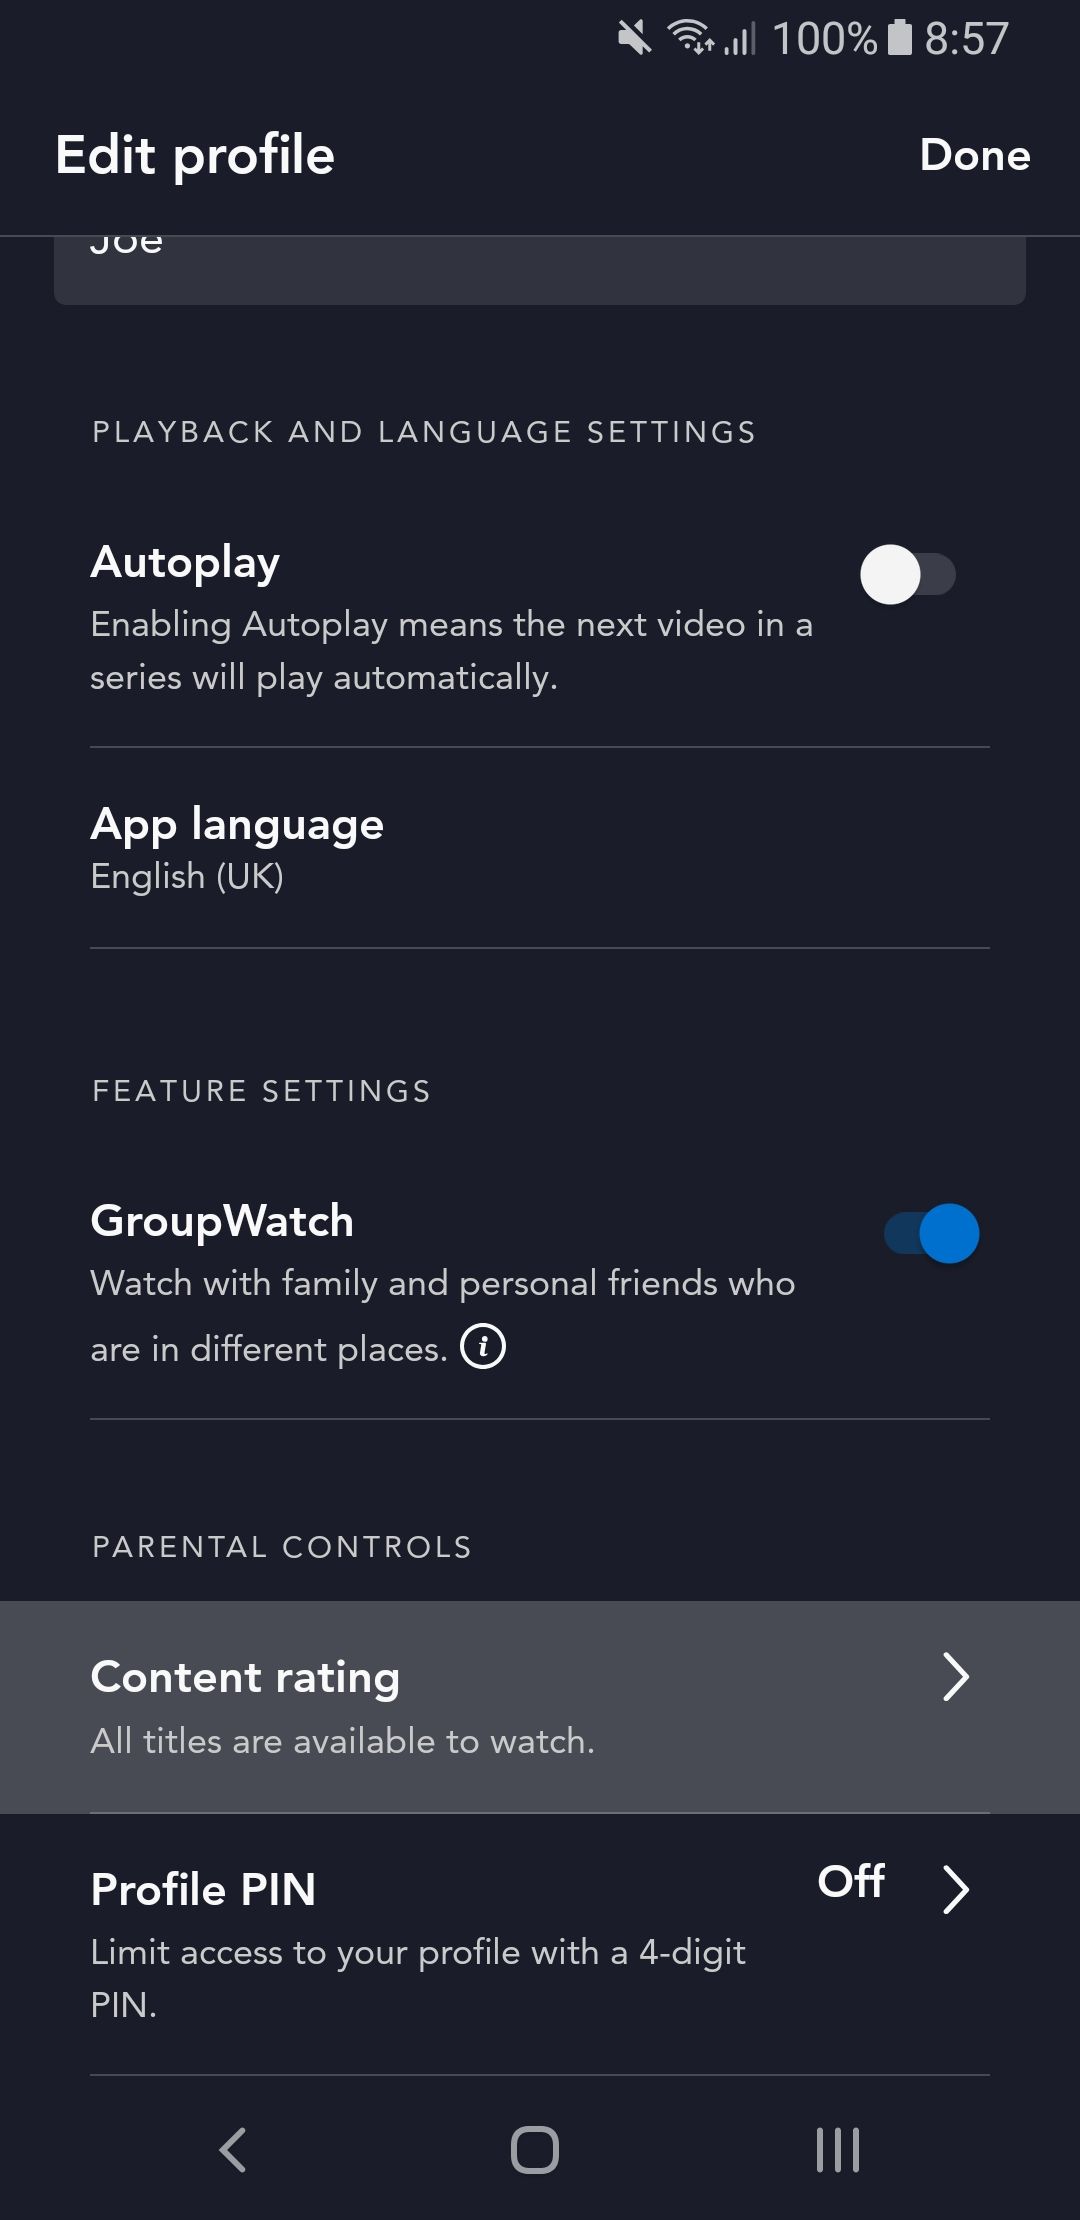
- Select Content rating.
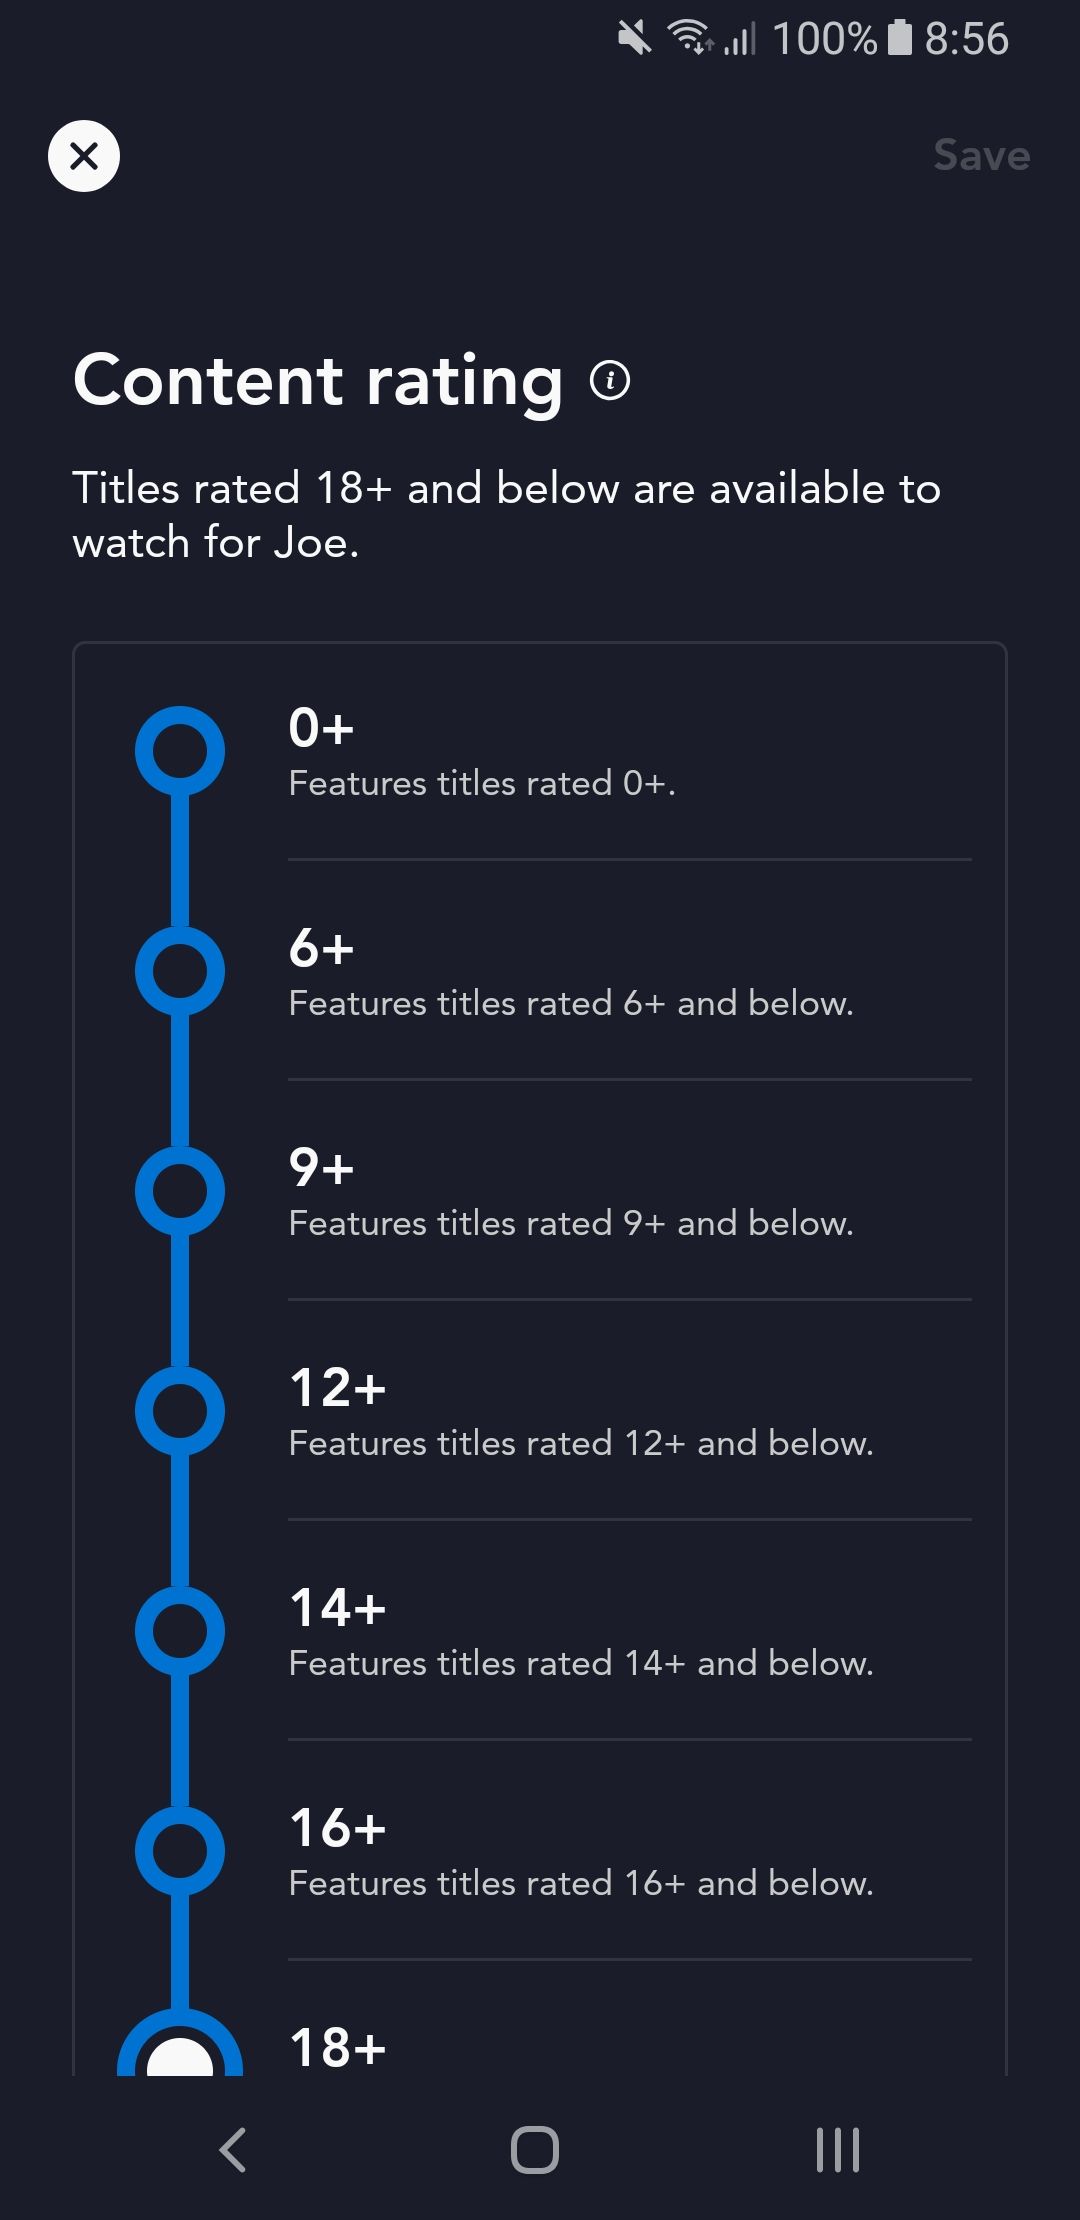
- Choose a content rating. To access the full catalog, select the highest rating (e.g., TV-MA in the US or 18+ in the UK).
- Select Save.
You may be prompted for your password during this process. This is to verify that you're the account owner.
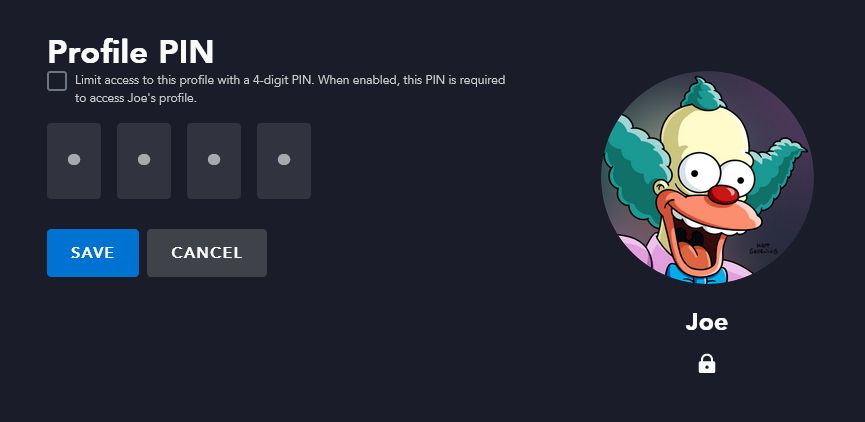
Additionally, when editing a profile, from the same menu where you select Content rating, you can also select Profile PIN. This allows you to set a four-digit PIN that must be entered to access the profile. This is useful if you have multiple profiles with different content ratings. It ensures that someone on a more restricted profile can't simply switch to one without restriction and watch whatever they want.
If you wish to create a fully child-proof profile, which comes with additional protection and a tweaked user interface, see our guide on how to create a Disney profile for your kids.
Disney+ Has Something for Everyone
While originally Disney+ launched with more of a family focus, the service has opened up and provided movies and TV shows aimed at more mature audiences—especially outside the US, with the integration of the Star brand. As such, it's vital that you apply these content rating protections to every Disney+ profile so that youngsters don't watch something unintended for them.


