Utilizing a green screen as part of your filming setup can give an extra dimension to your YouTube videos, corporate presentations, and home movies, or can simply be a fun project to do with your kids. It doesn’t have to be difficult or expensive to put together either.
In just a few simple steps, you could build a basic green screen studio for your home.
1. Find a Space
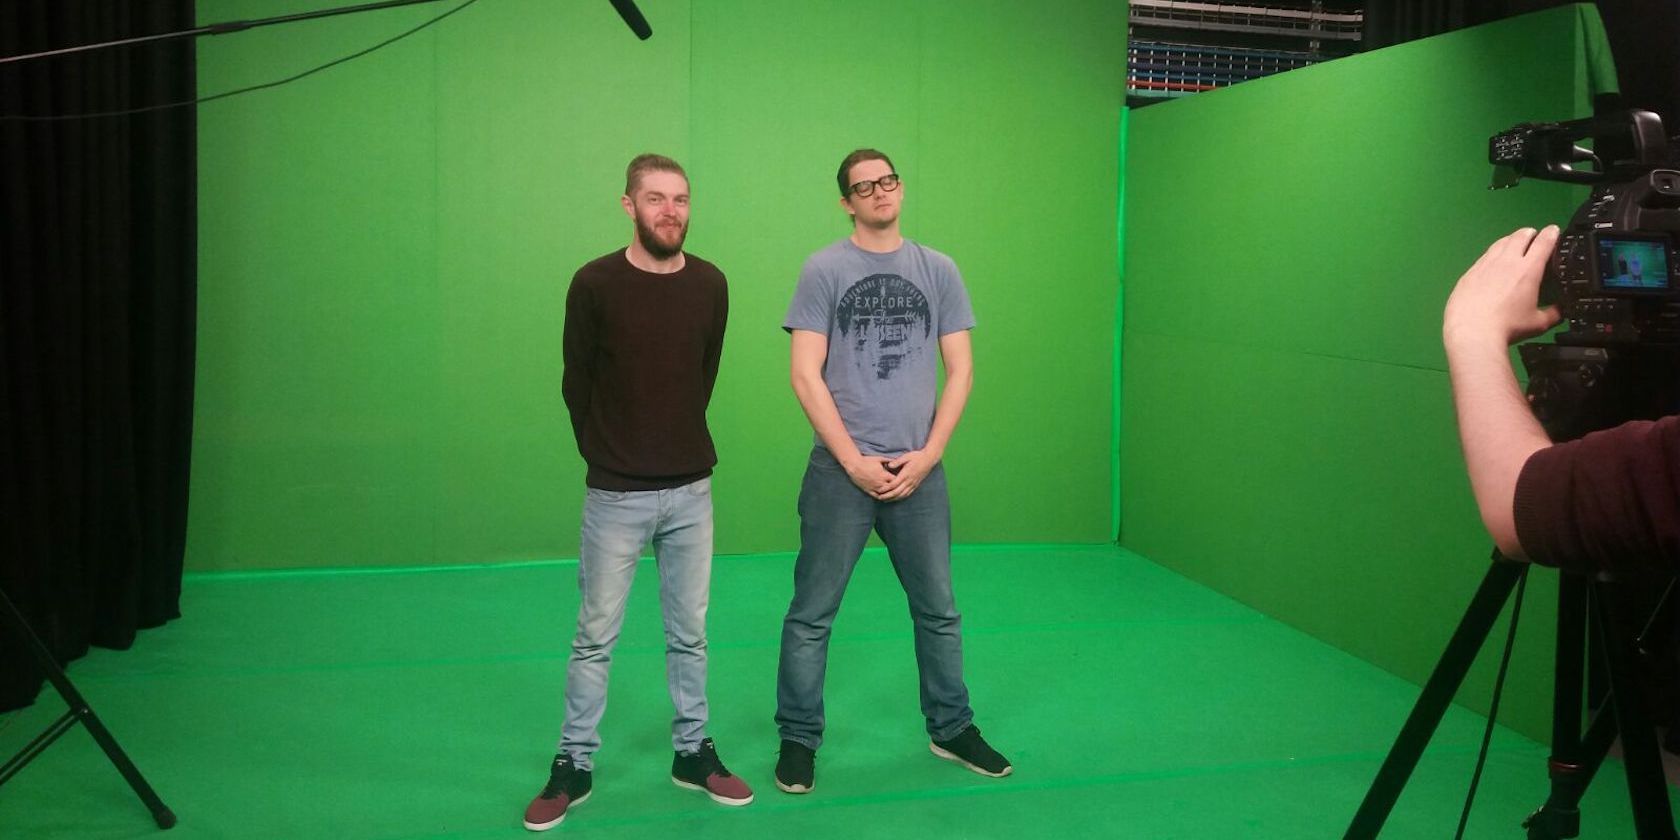
Where will your green screen be located? If you have the flexibility of a study or studio space, then the screen could be situated anywhere, within reason. You could fasten it to a wall using strong tape or a suspended wire, or even with screws and pins (if the materials of the screen and wall are compatible).
If you need a more portable or temporary option, there are a few unique methods to try.
Aside from purchasing a portable green screen, you could use a metal frame, such as a clothing rail, with some plastic clamps to secure it. Perhaps you happen to have an old freestanding projector screen in the attic or can access one pretty cheaply. This would do too.
The key to making this step work is keeping the screen as flat as possible; creases equal shadows. And you’ll need sufficient space that allows for that.
It’s also worth keeping lighting in mind. It would be a shame to go through all the efforts of putting up a new green screen, just for the image to be ruined by the natural light of a nearby window.
Tucking your screen away in a plain, non-lit, customizable corner will help you in the long run, as you have full control over the lighting conditions. If you already have access to some artificial lighting, that would be a bonus too. Anything to eliminate the shadows before bringing your lovely footage to the edit.
2. Choose the Screen
Now that you have decided where you want the screen to be, you need to acquire the screen itself. The material you use is down to personal preference, though some have important advantages and disadvantages compared to others.
Muslin and cotton are good materials to consider, as they absorb light, thus reducing the risk of glare. The downside is how prone they are to wrinkles. If you would like to go down this route, then it’s recommended to store them by rolling them rather than folding them. Better yet, try to keep muslin and cotton taught and secure for as long as possible.
They also aren't too expensive. You can easily pick up a very reasonably-priced screen on Amazon; consider the EMART 6x9 green screen.
Nylon and spandex can be an even more cost-effective option (many budget green screens are made from this material). They are a stretchier material which helps to reduce the risk of creases developing. The big downside is that there is a stronger likelihood of light reflecting, so you have to be extra careful when lighting this material, as you don’t want too much spill.
A paper green screen could be considered too, though there are numerous complications that can arise with this material. It can’t be washed, so if you accidentally mark it or cause any blemishes, it’s pretty much done for. The same goes for scratches, creases, and tears. Any imperfections with a paper screen could end up wasting your time and money.
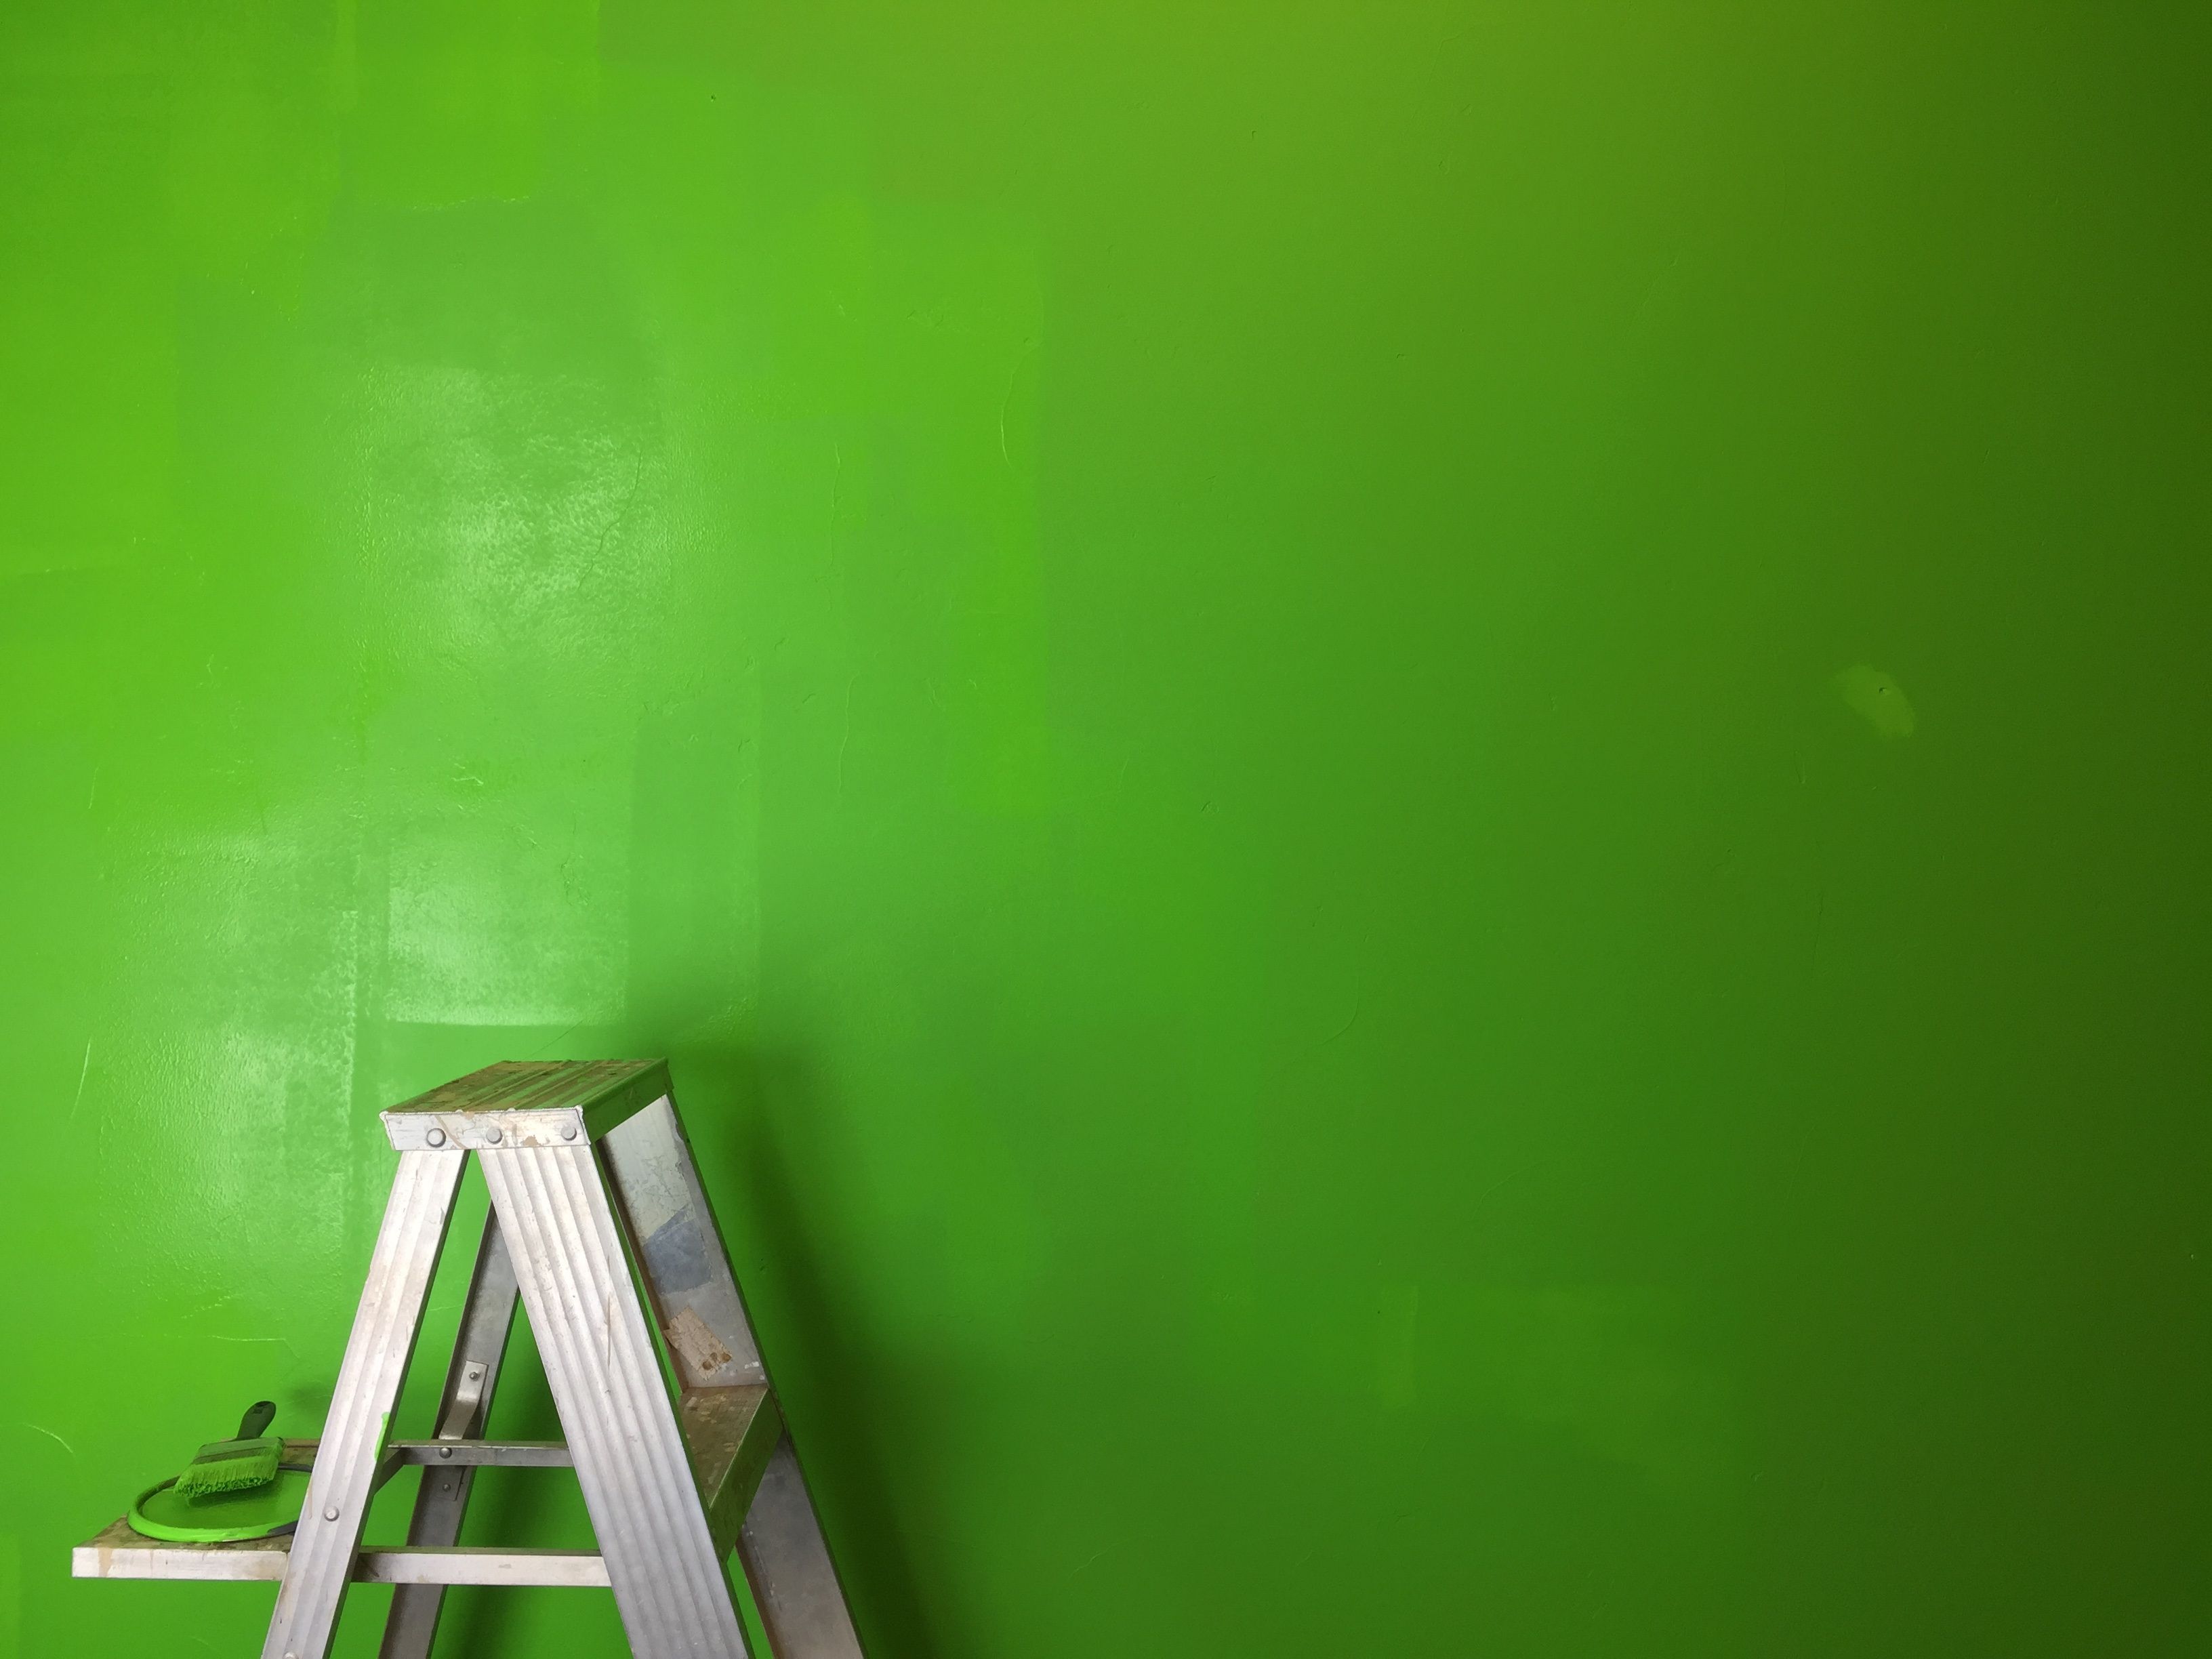
You could even paint the walls of your studio green. Dedicated green screen paint does exist, though it is usually expensive. If you choose to use normal paint, just watch out for anything that will leave a glossy or reflective finish. Also, check for any imperfections in the wall itself. It would be heartbreaking to spend the best part of a day repainting your wall, only for an uneven surface or plastering blemish to reveal itself.
For the ultimate money-saving option, you could use a green bedsheet. The color wouldn’t matter too much, as modern editing platforms are very intelligent and, as long as the lighting is nice and even and there is nothing in the foreground with a similar color, the green should be replaced with ease.
3. Ready Your Camera
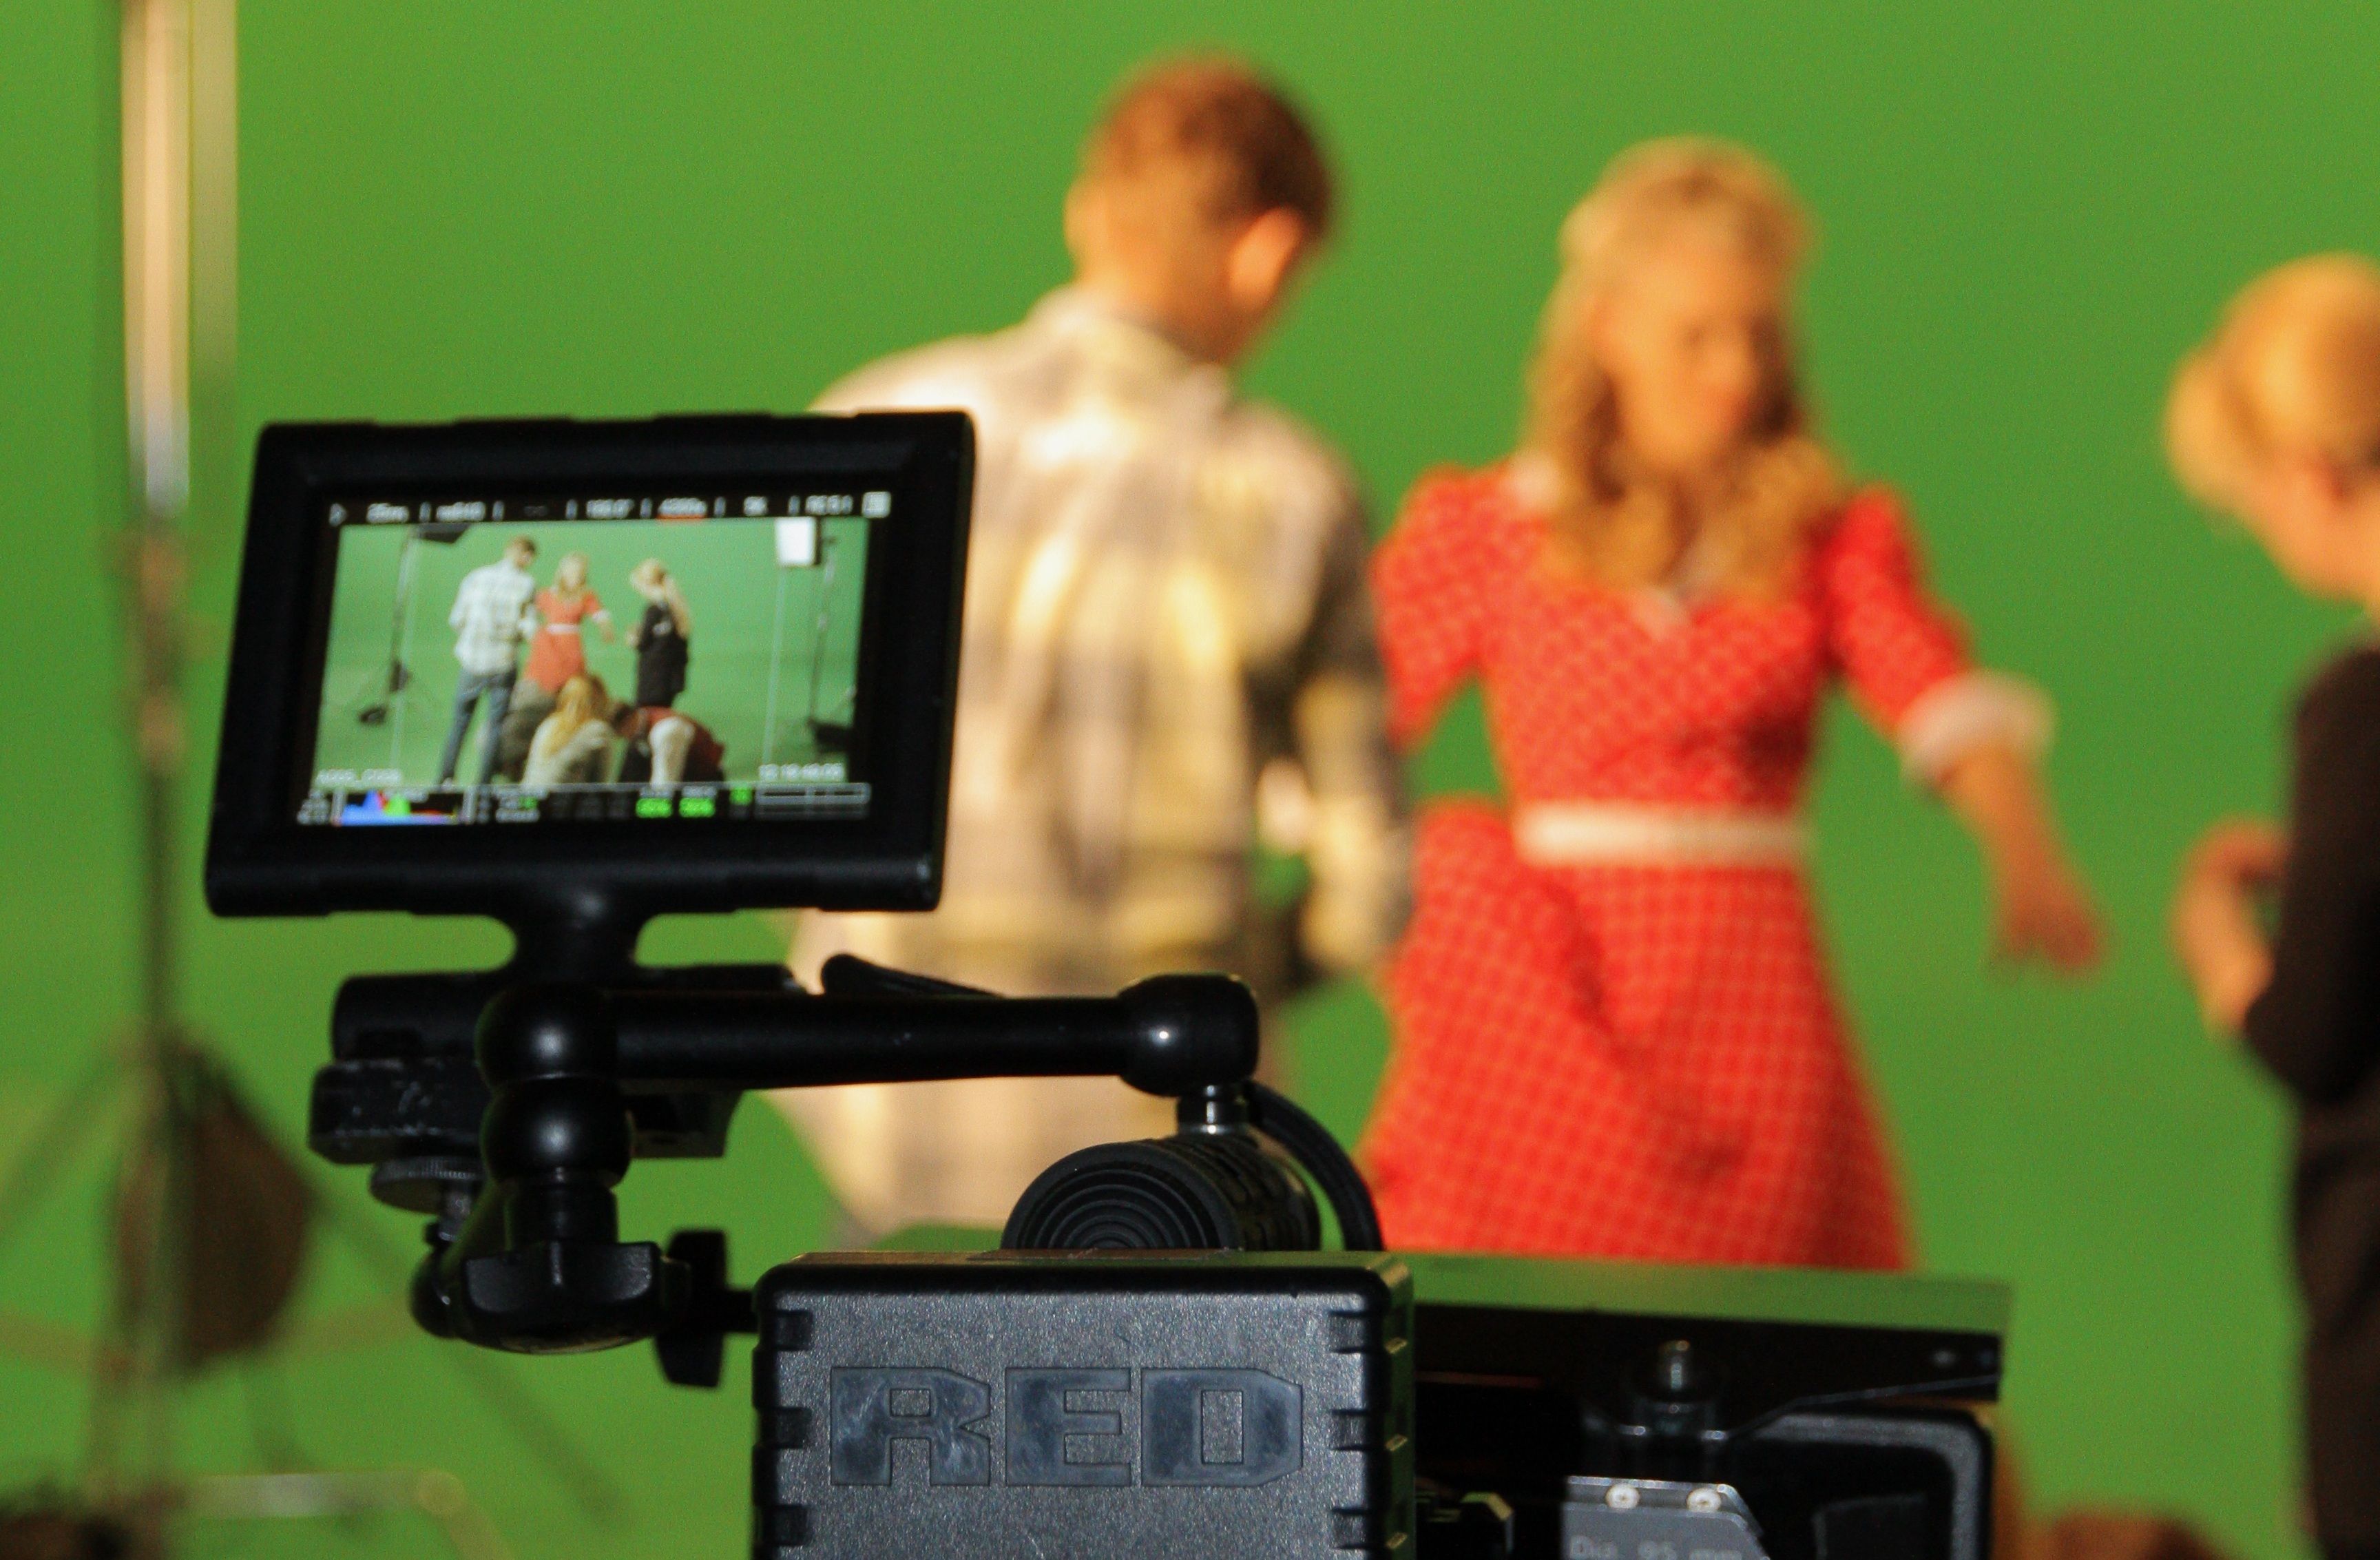
Whether shooting with a high-end DSLR, a pocket cinema camera, or simply your smartphone, you can generate a high-enough quality image that’s possible to use for green screen content. Of course, recording in as high a format as possible will help you out in editing, though it isn’t essential.
If you plan to create still images or static shots, then it’s strongly recommended to invest in a tripod (if you don’t already own one), as keeping the image stable will help reduce any imperfections. Here's what you need to consider before choosing a tripod.
If you do need to make any small movements, it’s best to keep them as steady and controlled as possible. This way, there is less risk of the frame being too large to accommodate the green screen.
4. Edit the Footage
After filming, you will need an editing system that can handle green screen work (chroma keying). There are a number of free options out there, just be careful to double-check that the output file doesn’t contain a watermark or a steep drop in quality.
For a more perfectionist approach, a dedicated, non-linear editing suite would do the job nicely. If you have a computer with strong specifications, it's worth having a play with DaVinci Resolve. With this system, you can cut, edit, add some VFX, color grade, and export, all in one neat package.
Though you would have to pay a little to use it, Adobe's After Effects is another great option for green screen content creation. In fact, the plugin "Keylight" is very intuitive and easy to use. Green screen work is merely one of the many cool things you can do with After Effects, so if you are new to video editing and motion graphics and need a great starter system, it's definitely worth looking into After Effects.
You don't have to use a professional editing system. There are even mobile apps that can help you create green screen content. It may be worth looking into how you can create a green screen video on CapCut, for example.
Expand Your Video Editing Potential With Green Screen
With the right location for a green screen, decent-enough screen material, a camera, and an editing platform that can support chroma keying, you can set up a homemade green screen studio quite easily.
The real challenge isn’t in fact setting up the green screen studio but having the patience to battle with the editing platform’s settings in order to create the smoothest possible image.


