If navigating your Android phone’s voicemail system feels archaic, bring it into the 21st century via Google Voice and Android's Phone app. Together, both apps add new features to your phone’s voicemail, such as automatically transcribing new messages, delivering voicemails via email, and blocking future voicemails altogether.
Here’s how to use Google Voice to replace your built-in voicemail on Android.
Step 1: Get a Free Google Voice Number
Let’s start by getting a free number from Google Voice. If you’re unfamiliar with the service, sneak a peek at our guide to learn how Google Voice works.
You can only get a number if you already have a valid US-based phone number.
To get your number, install Google Voice. Open the app, choose your Google account, then select Continue. Now select Search and type the location or area code number for where you want your Google Voice number in the search by location or numbers field.
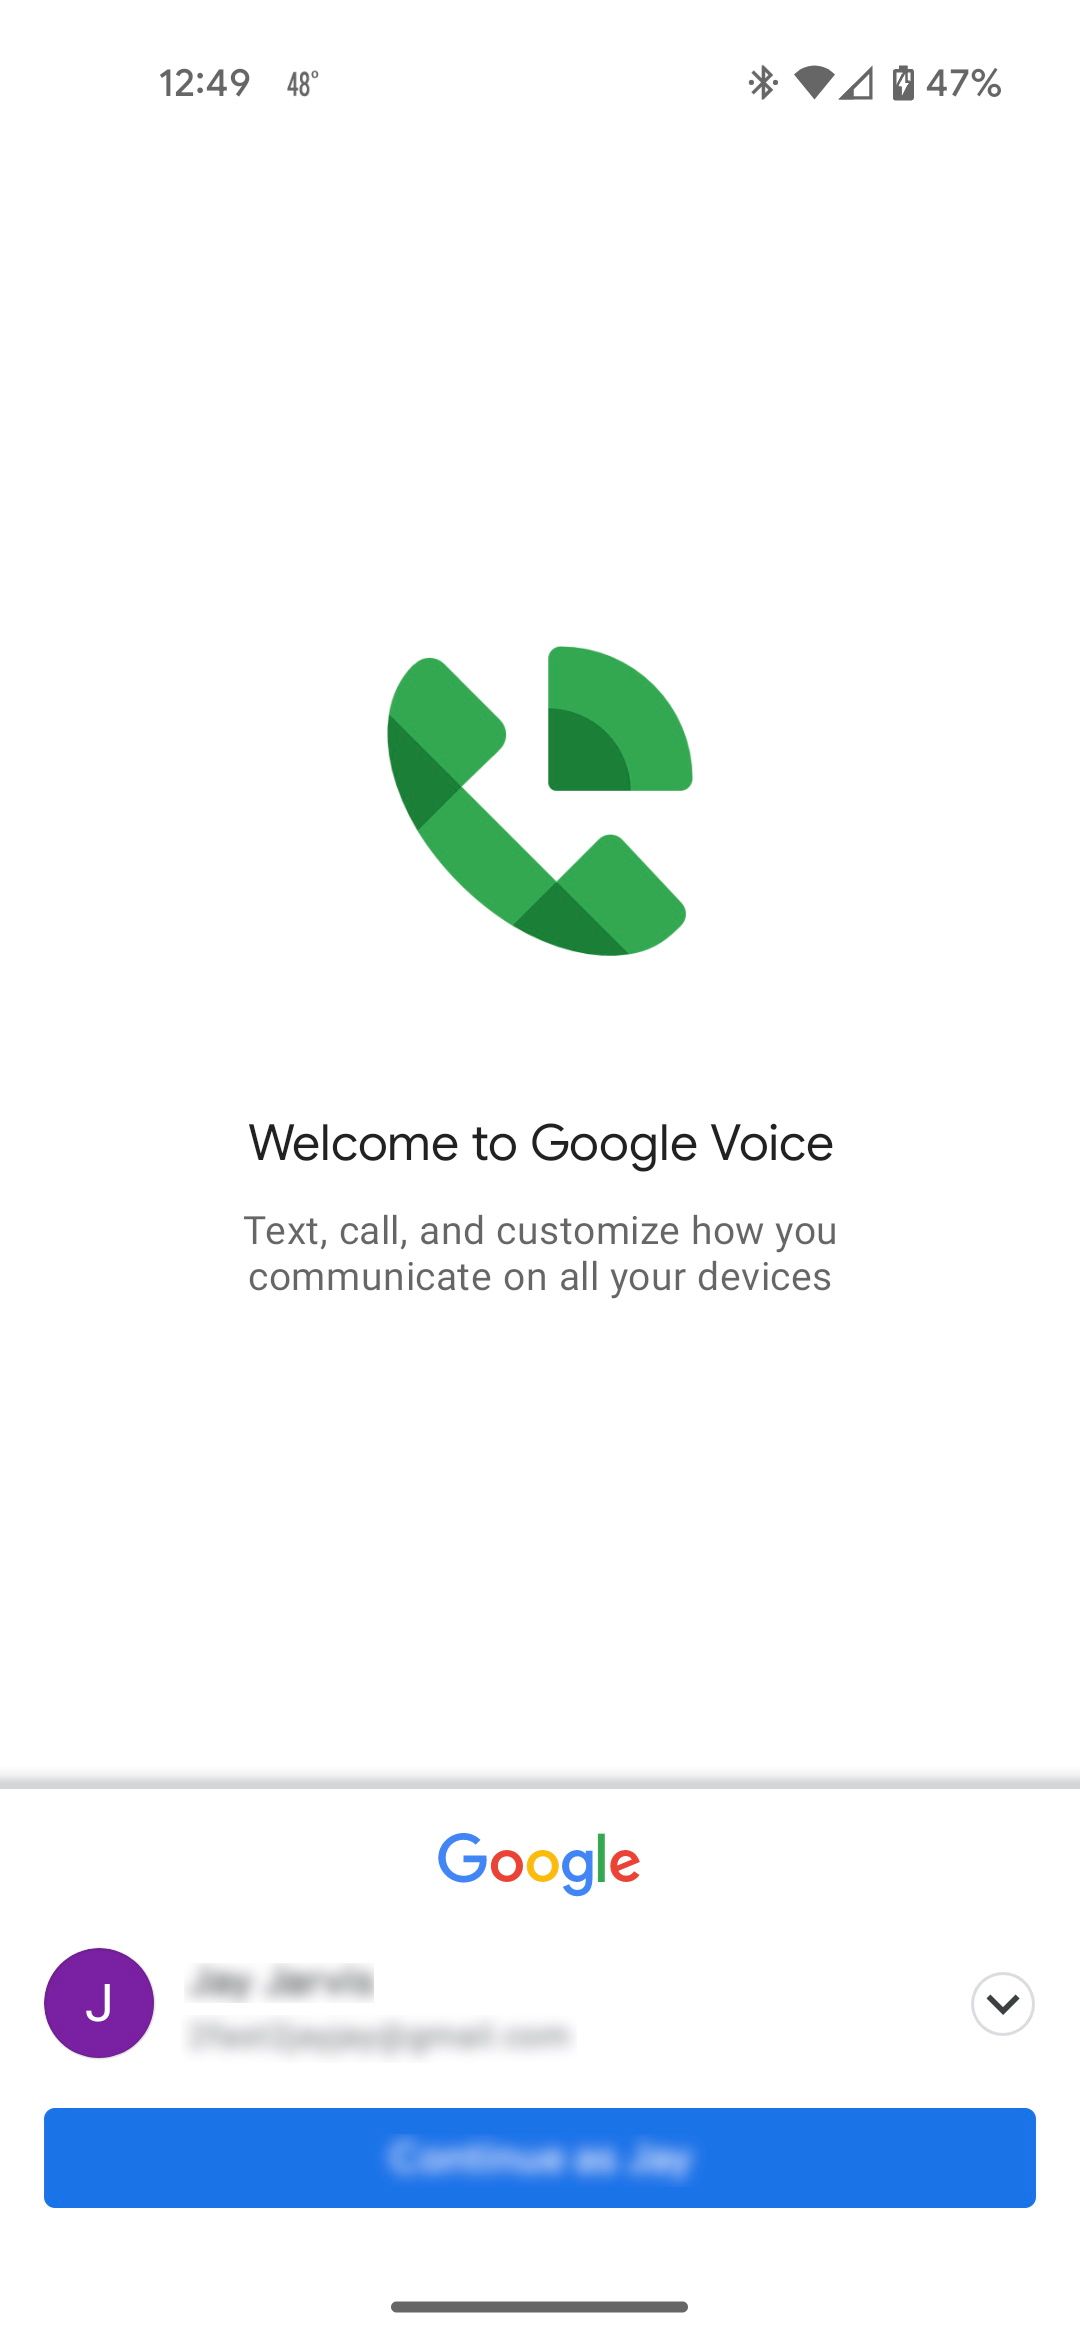
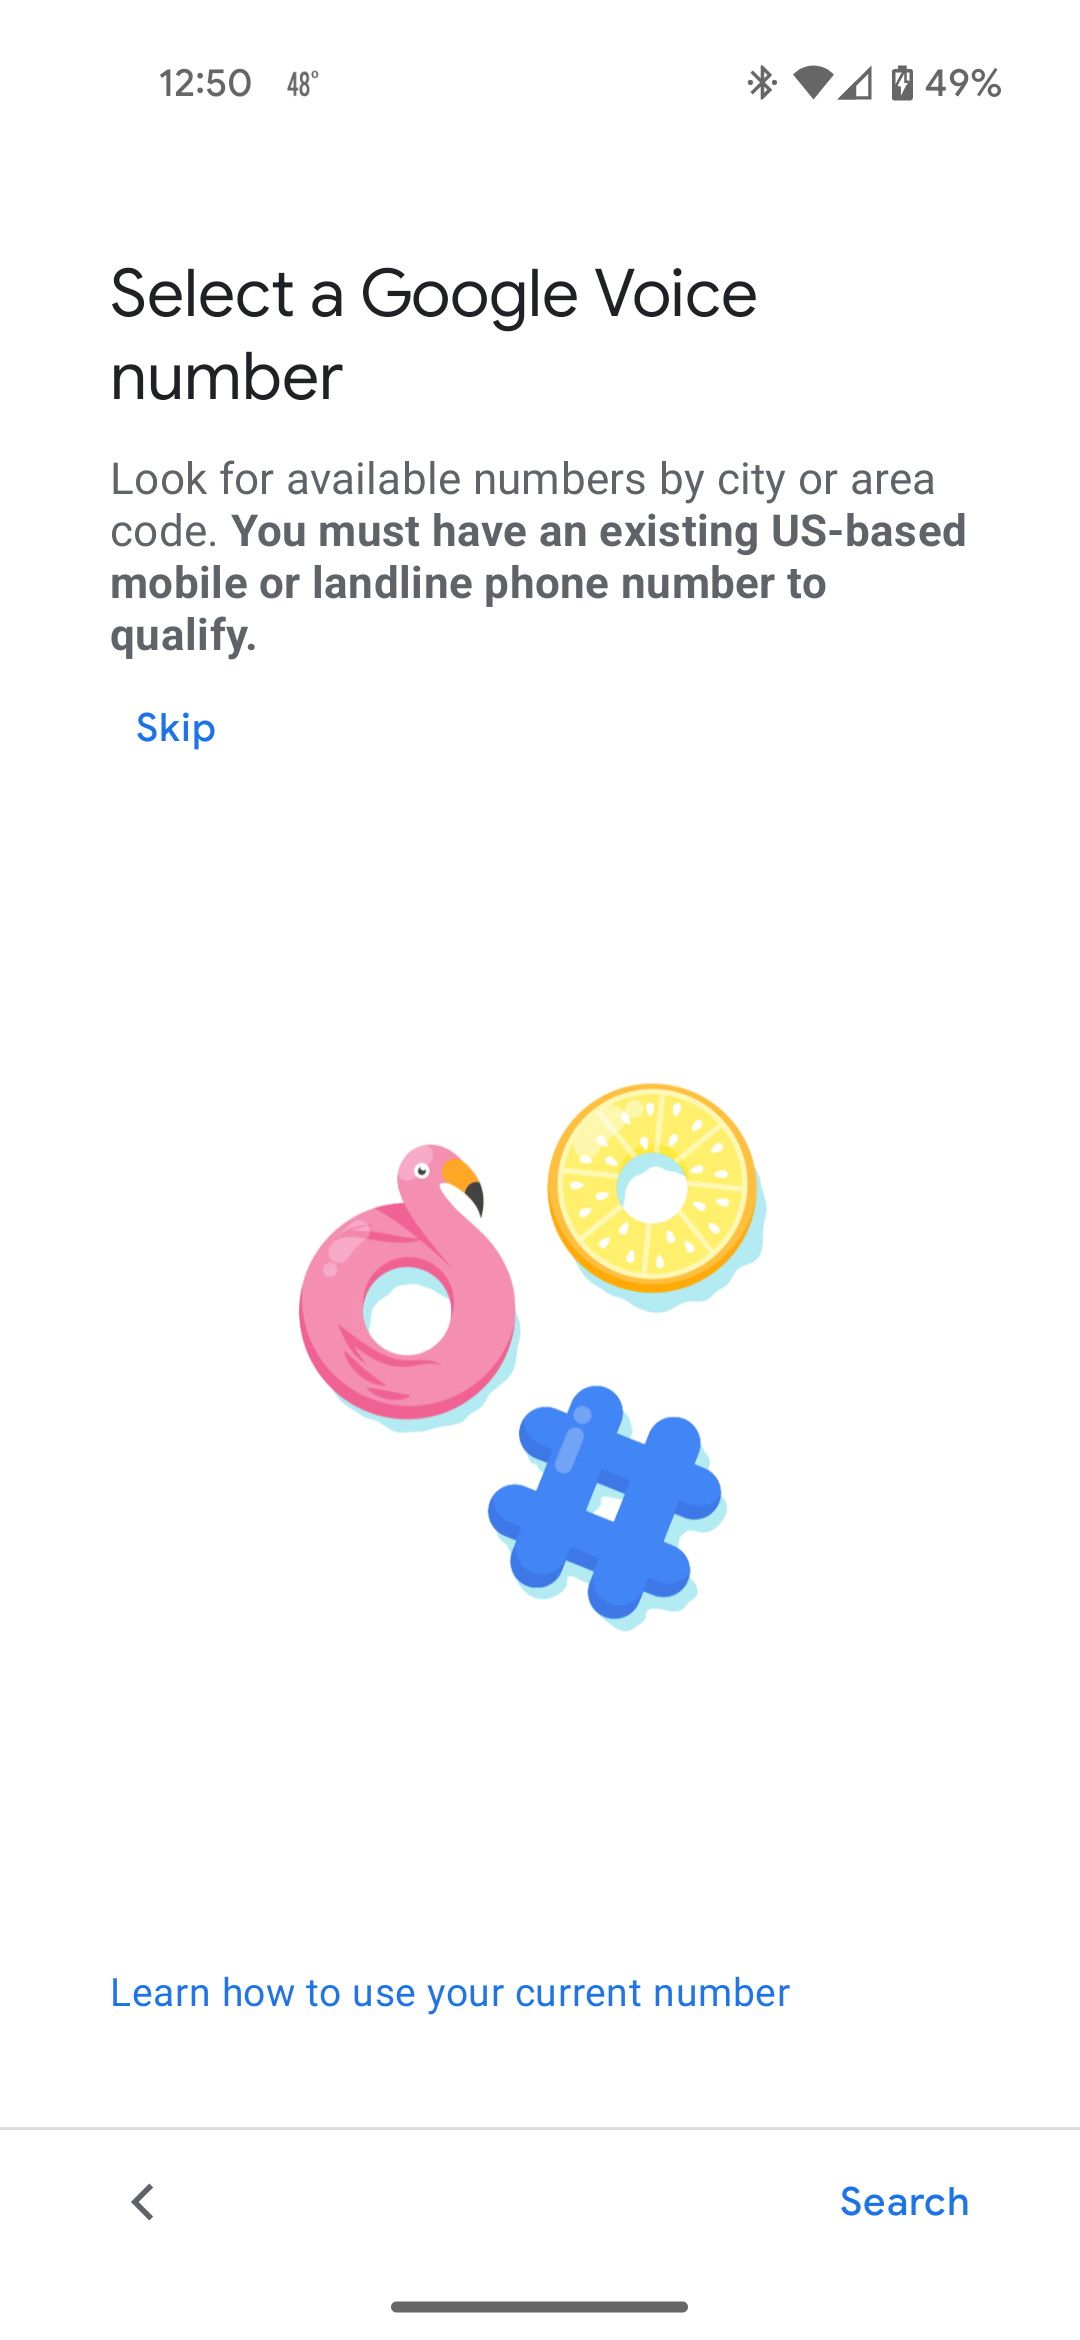
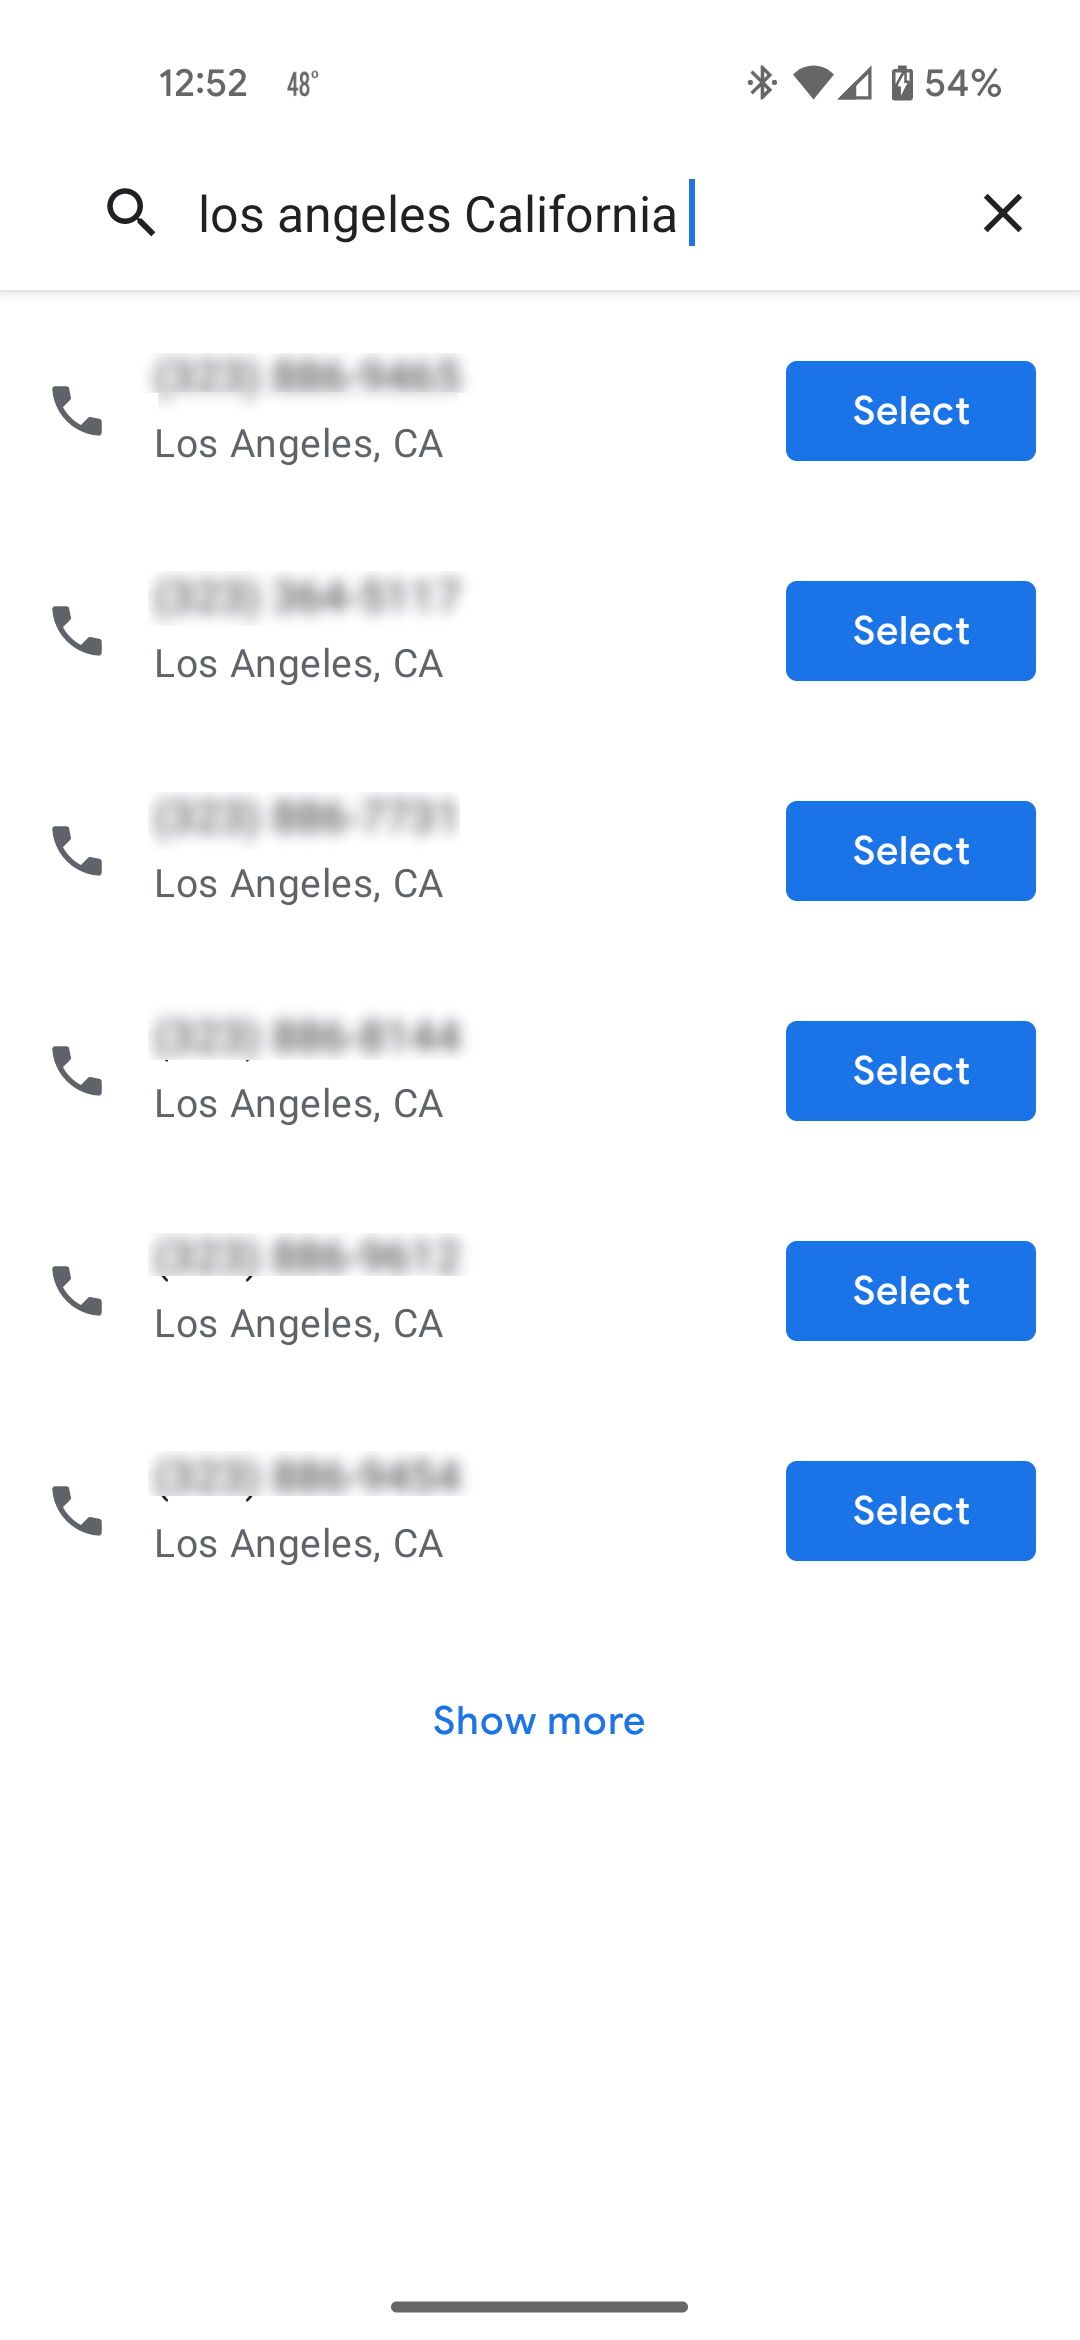
You don't have to choose a Google Voice number based on your current geographical location. You can claim a number using any area code in the US. Once you've found the number you want to claim:
- Tap Select next to the number you want to claim. If you want more options, select Show more.
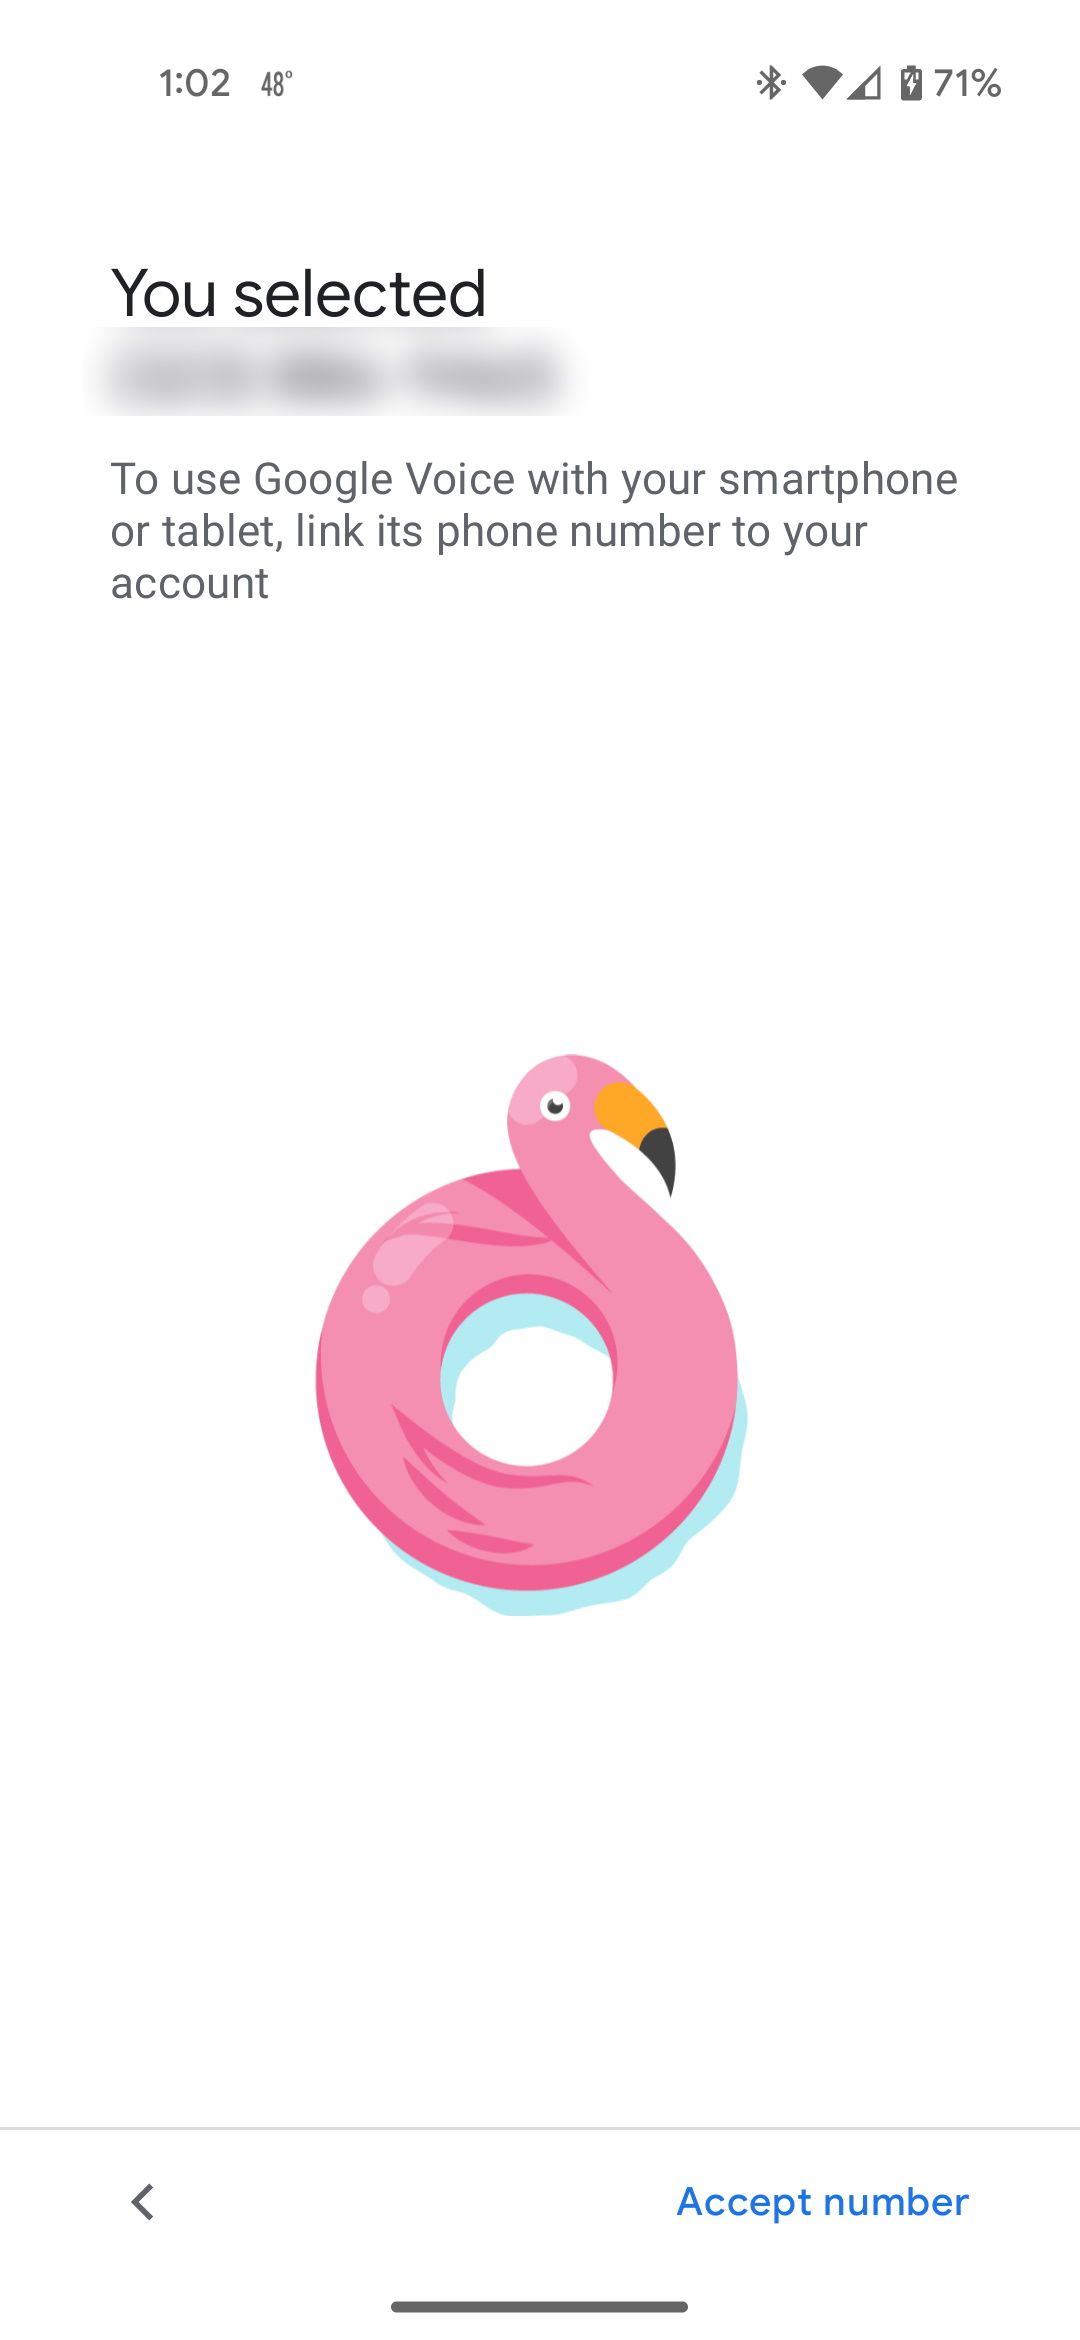
- Choose Accept Number to confirm you want to associate this number with your Google Voice account.
- Select Next to link your device to your new Google Voice number.
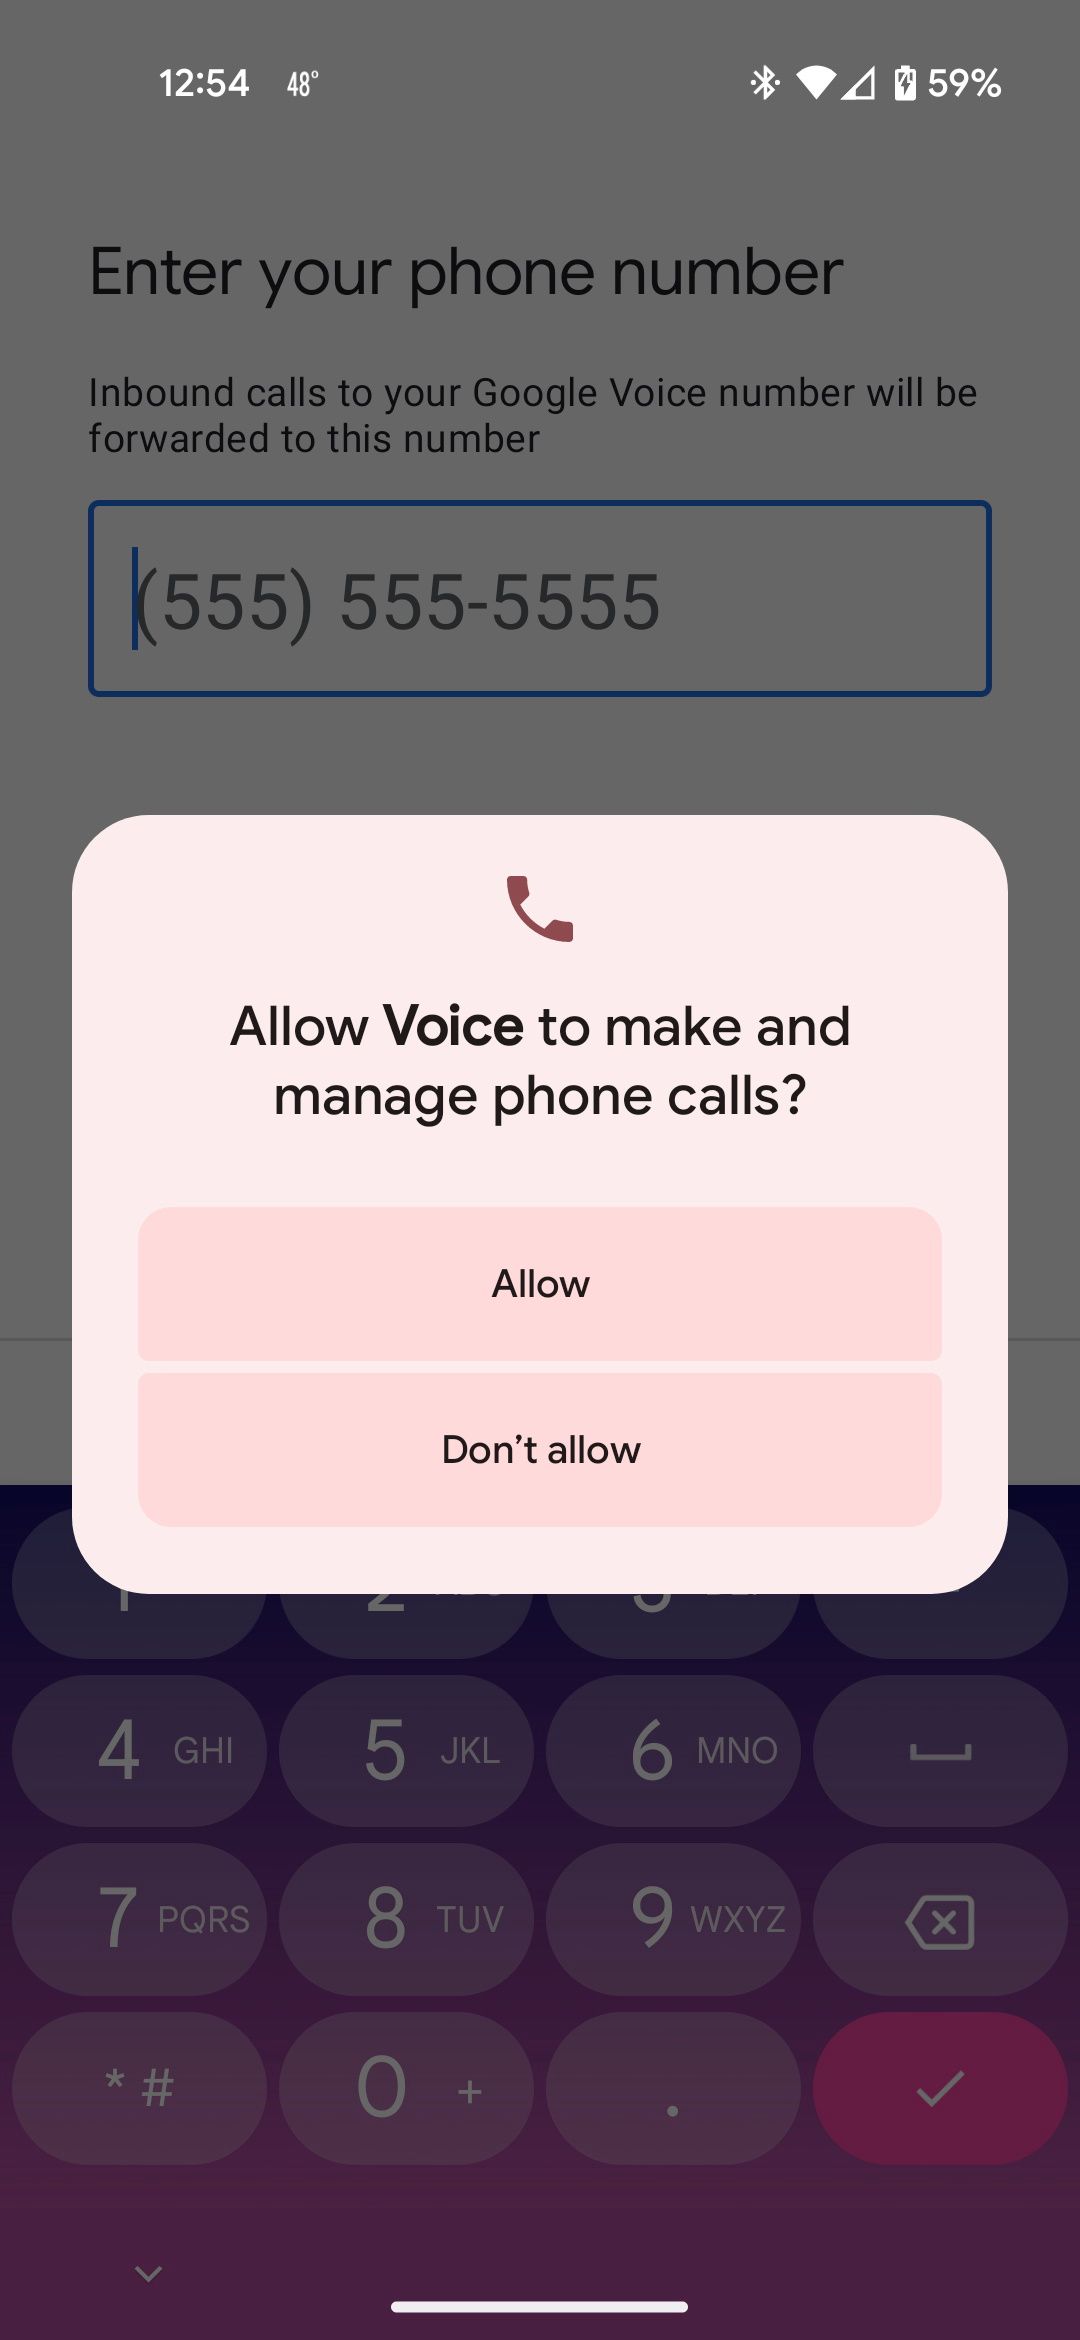
- Tap Allow if your Android device asks if you want to Allow Voice to make and manage phone calls.
- Enter your device’s phone number in the Enter your phone number field.
- You'll receive a text message containing a six-digit code. Enter this in the verification screen when prompted.
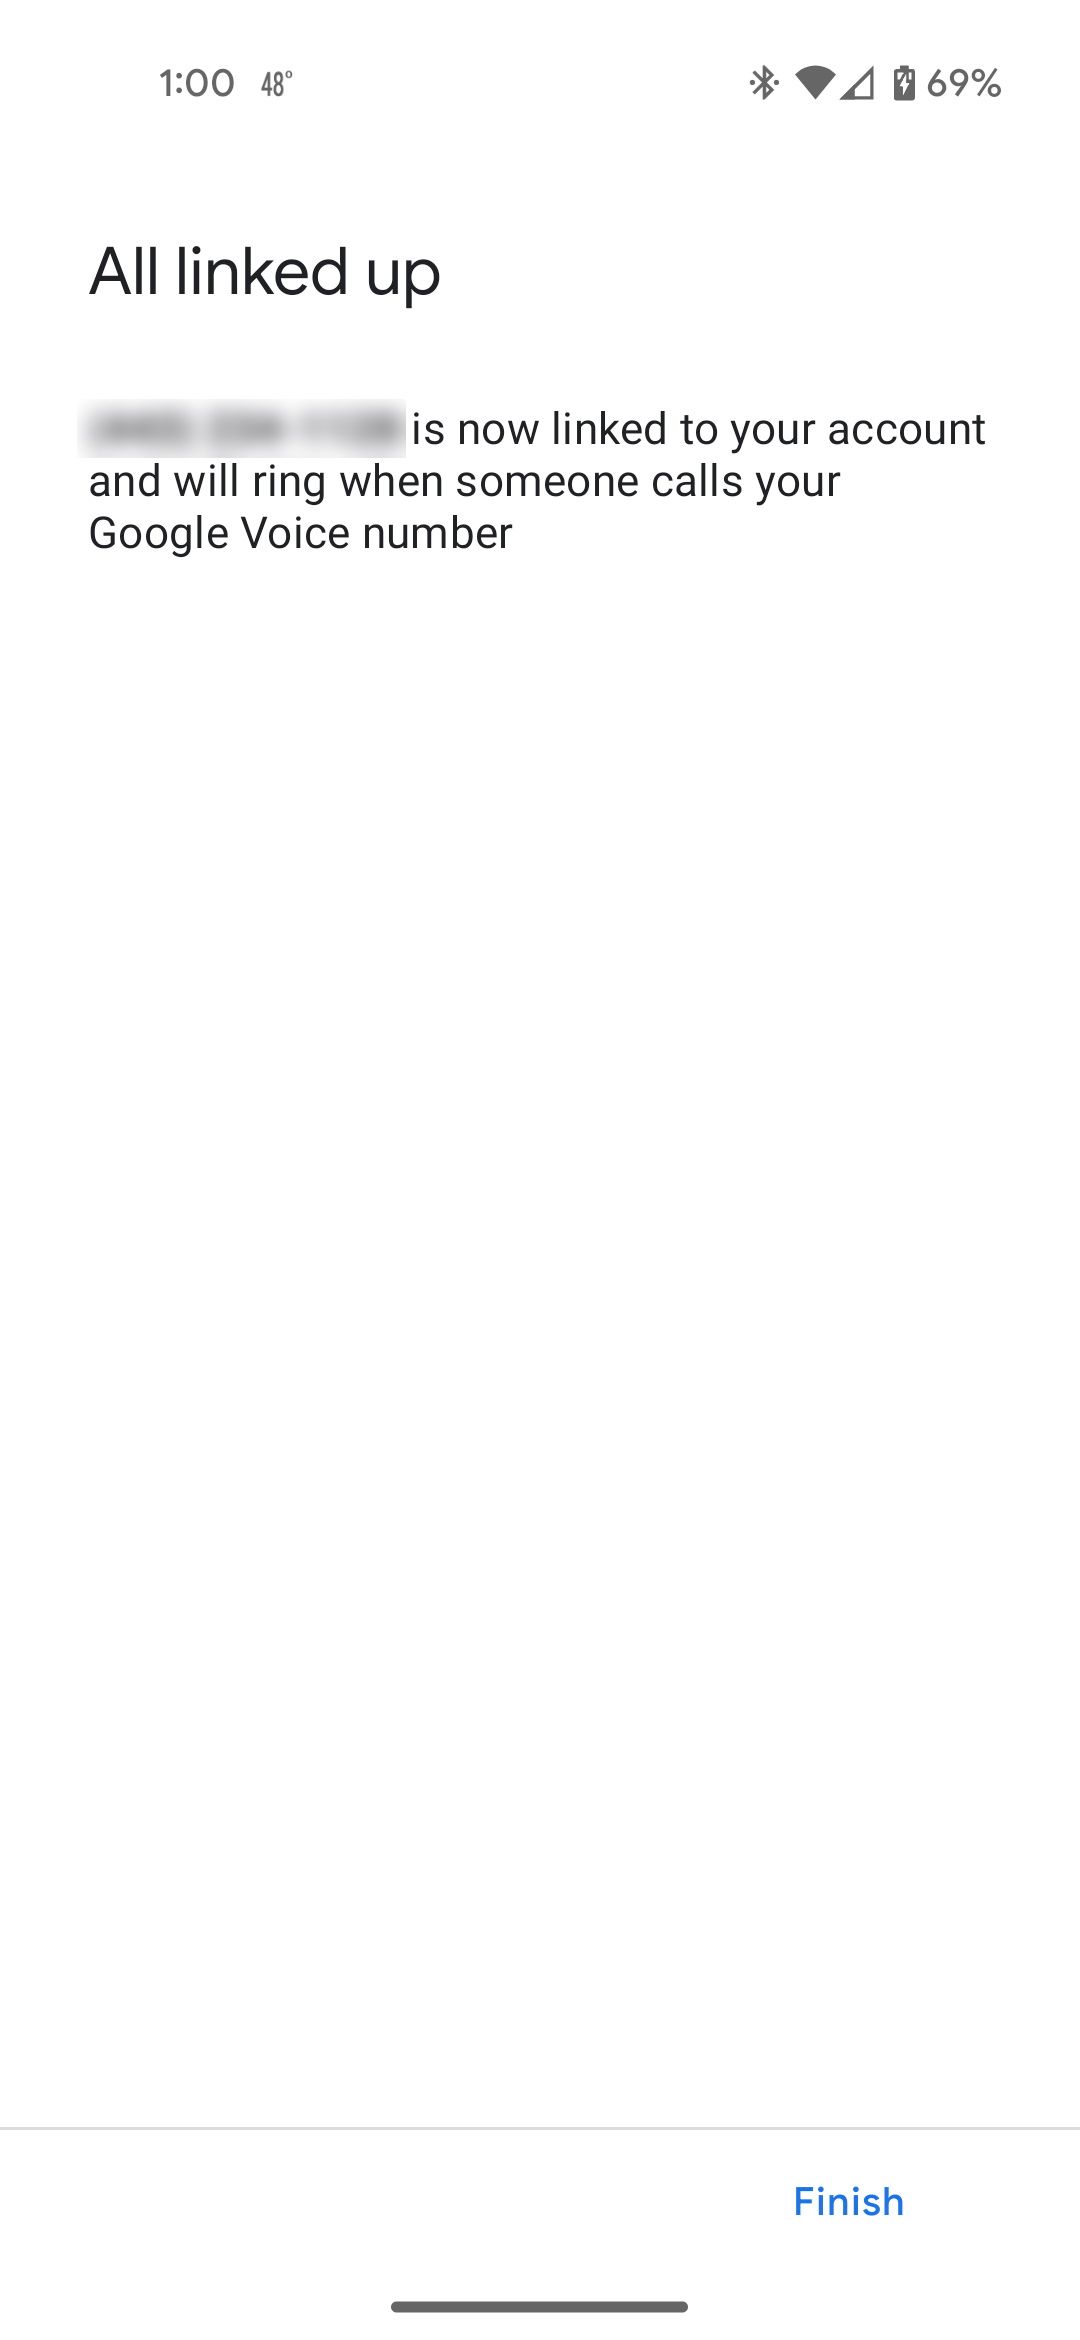
- You will be alerted that your linked phone number will ring anytime someone calls your new Google Voice number. Tap Finish.
Step 2: Set Up Voicemail on Google Voice
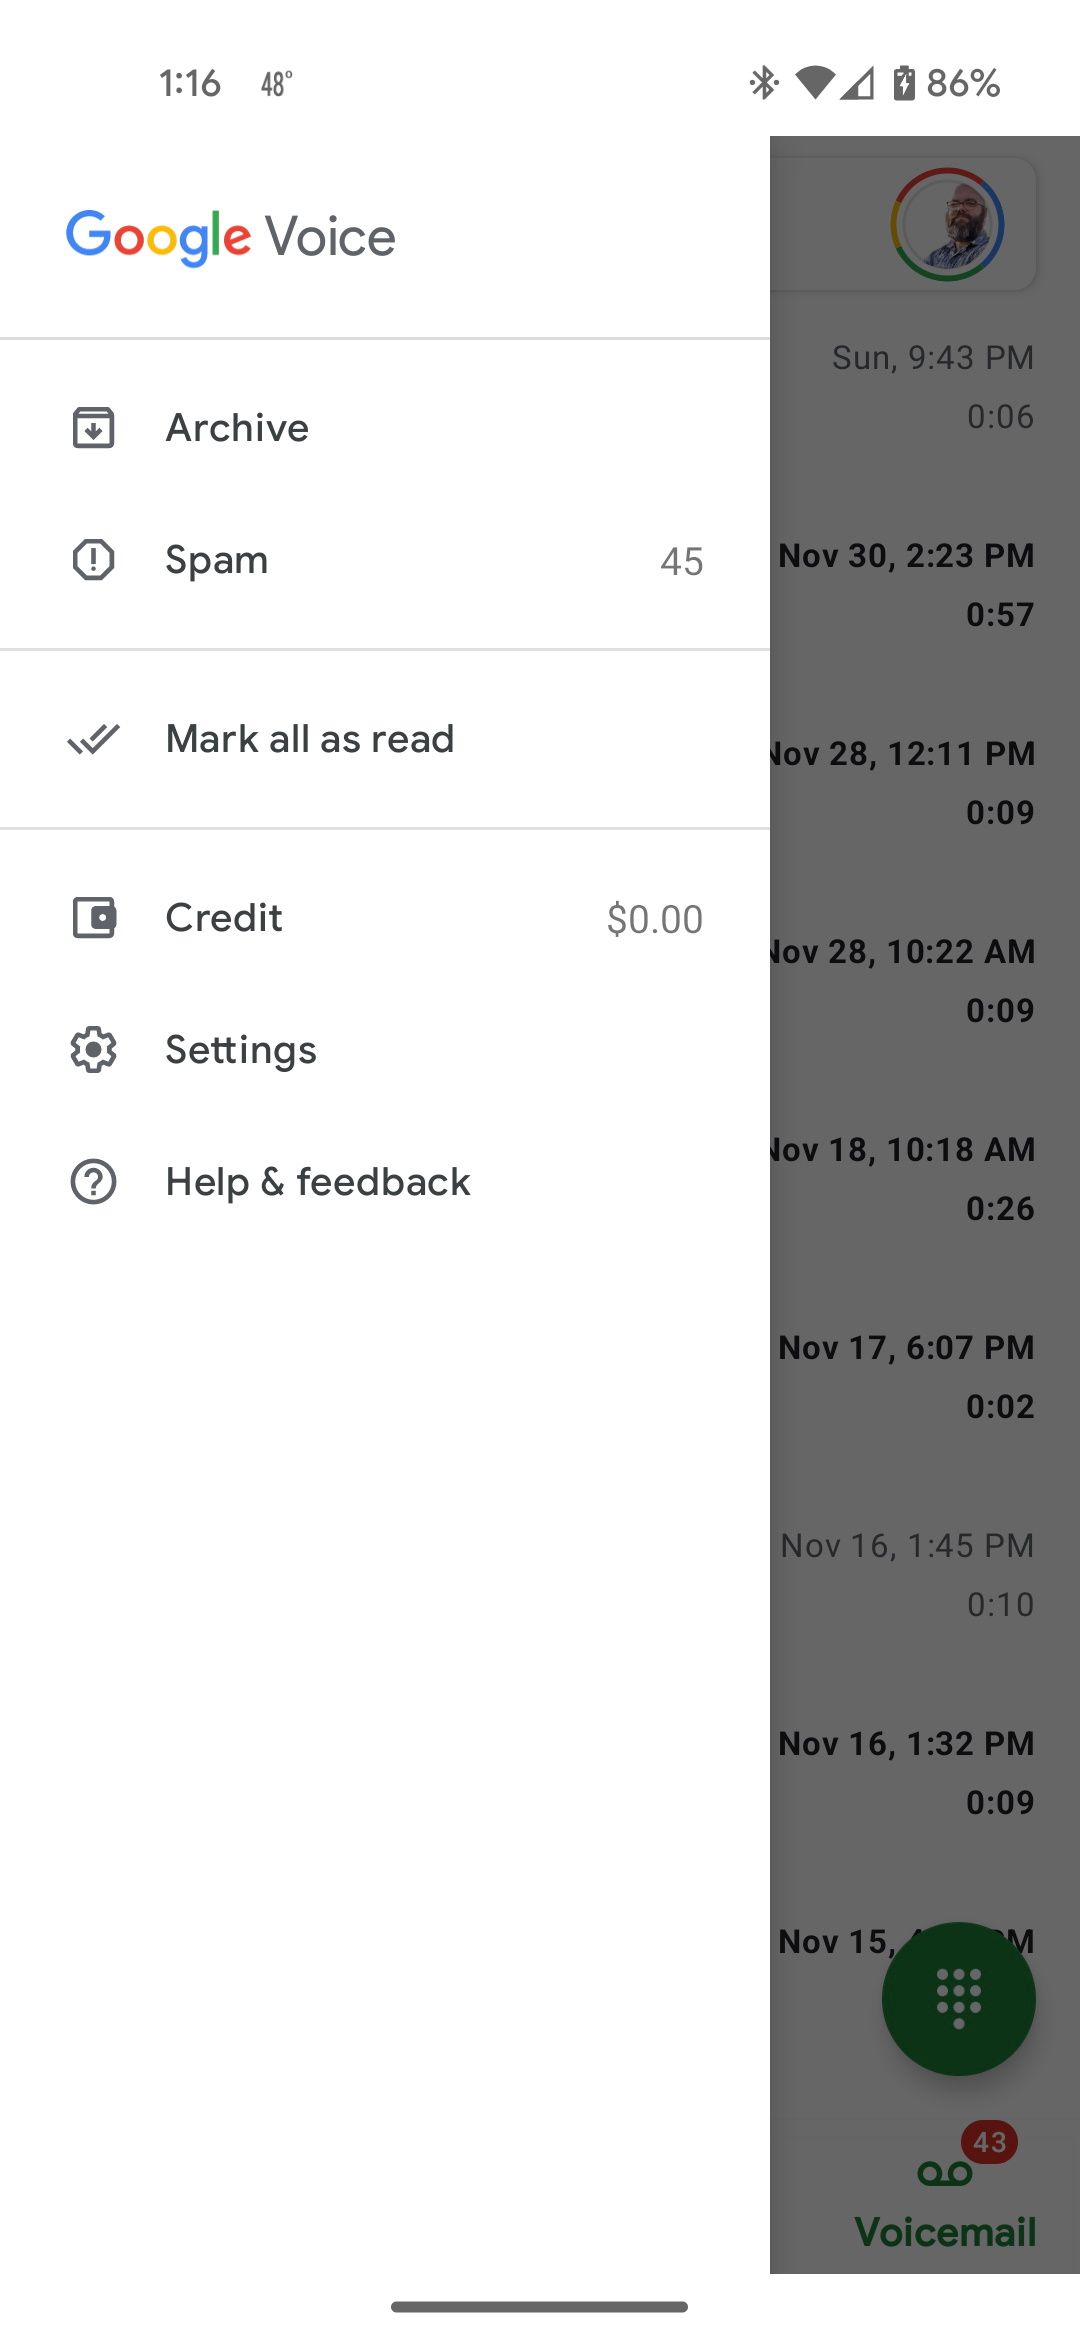
Now, you need to set up the voicemail service on your new Google Voice account. Open Google Voice, select the hamburger menu (the three lines in the top left), and tap Settings.
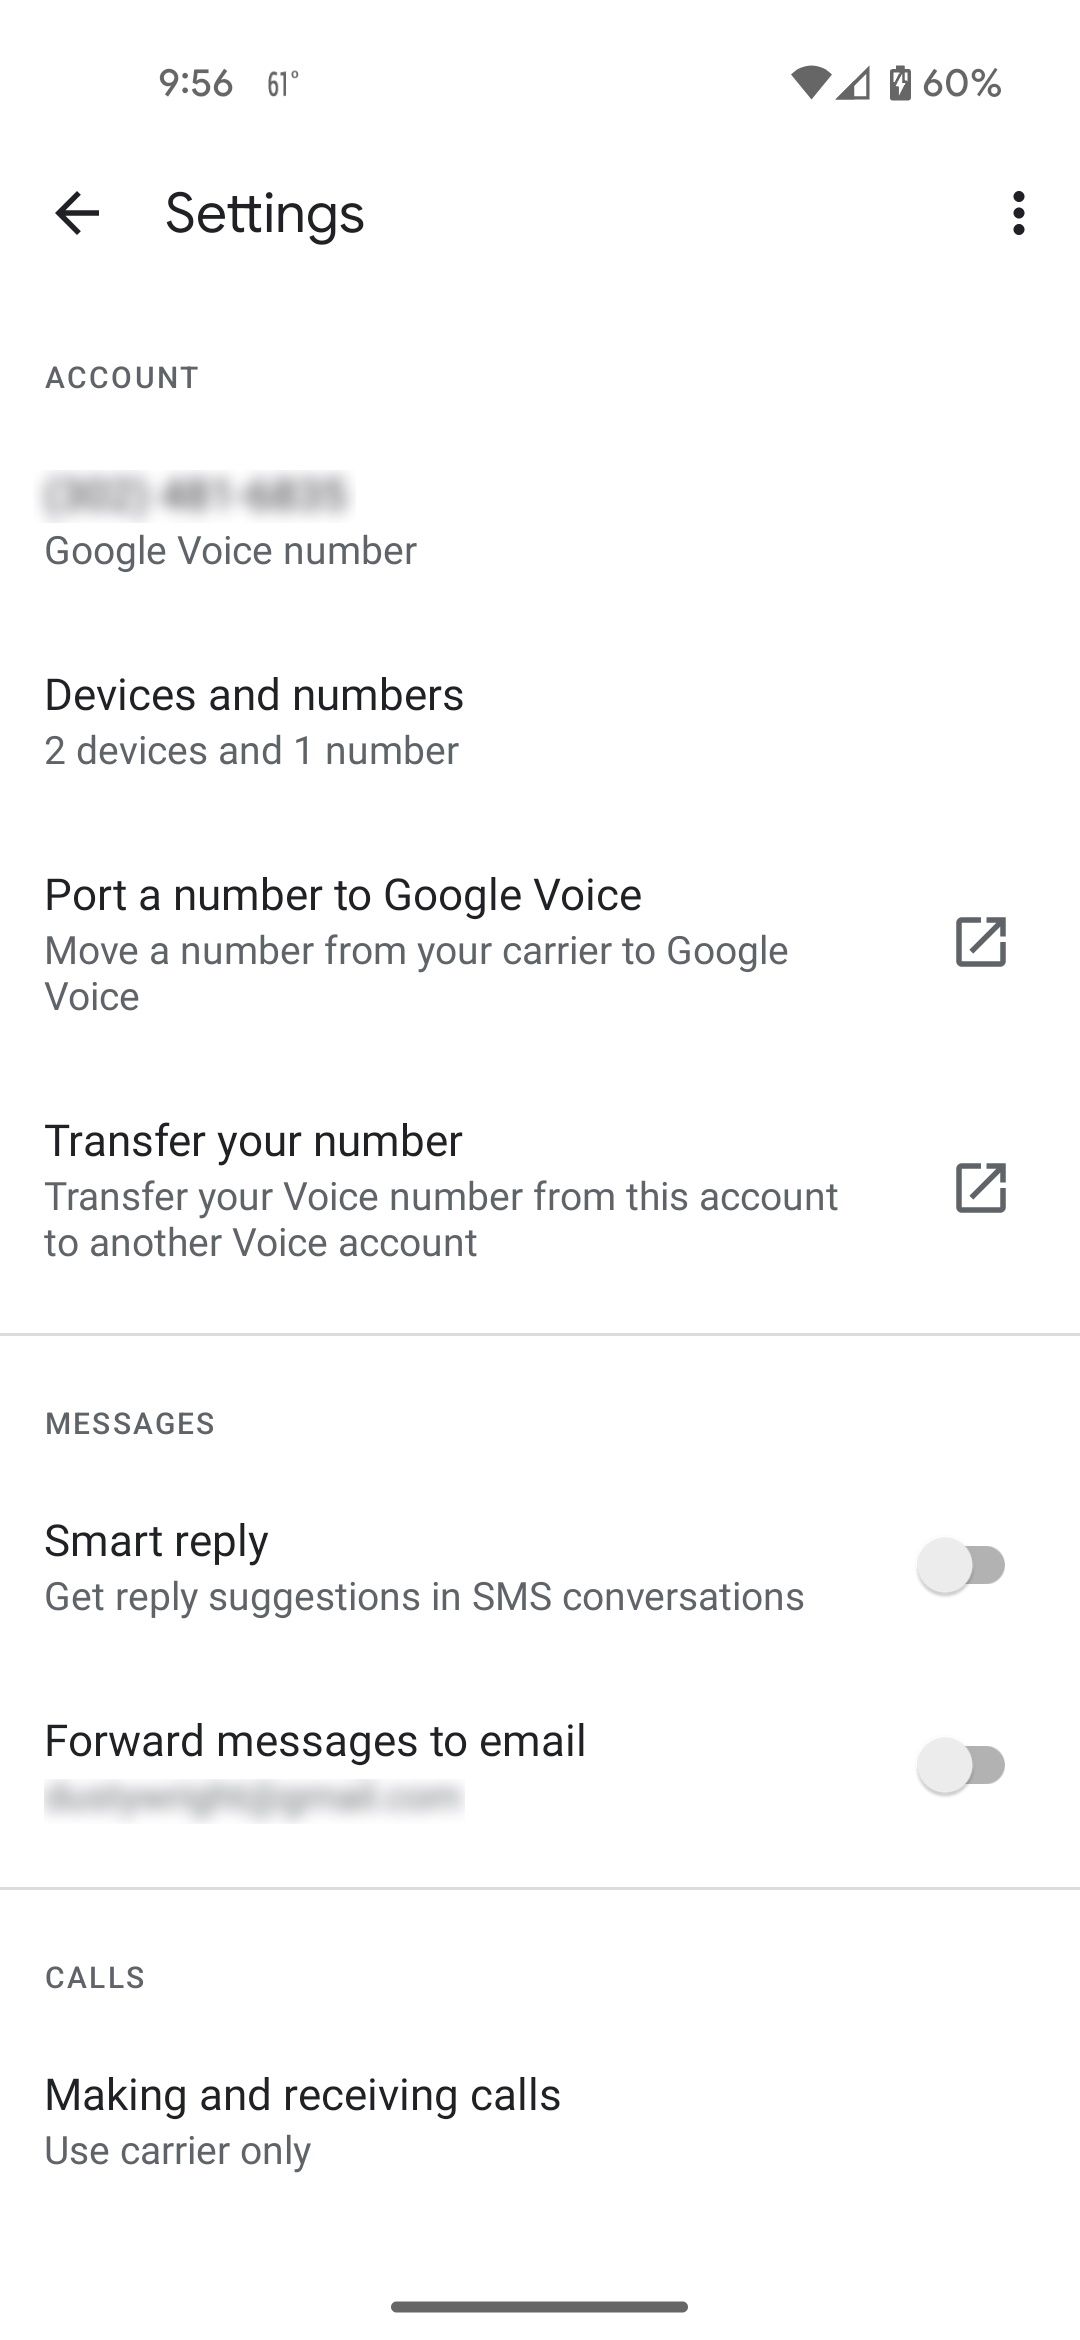
You’ll want to get familiar with two options: Devices and numbers and Do not disturb.
Under the former, you can add new devices and even link up to six phone numbers to Google Voice. The Google Voice Help site will show you how to do this. It's a handy feature if you want to use Google Voice as your sole voicemail service across multiple United States phone numbers.
Meanwhile, turn on Do not disturb since we’re not using Google Voice to send or receive calls or texts—just for voicemail. Now, if anyone tries to contact you directly via your Google Voice number, they will be redirected to your Google Voice voicemail. You can even set custom rules and greetings for certain callers in Google Voice, though this is only accessible via the web version of Google Voice.
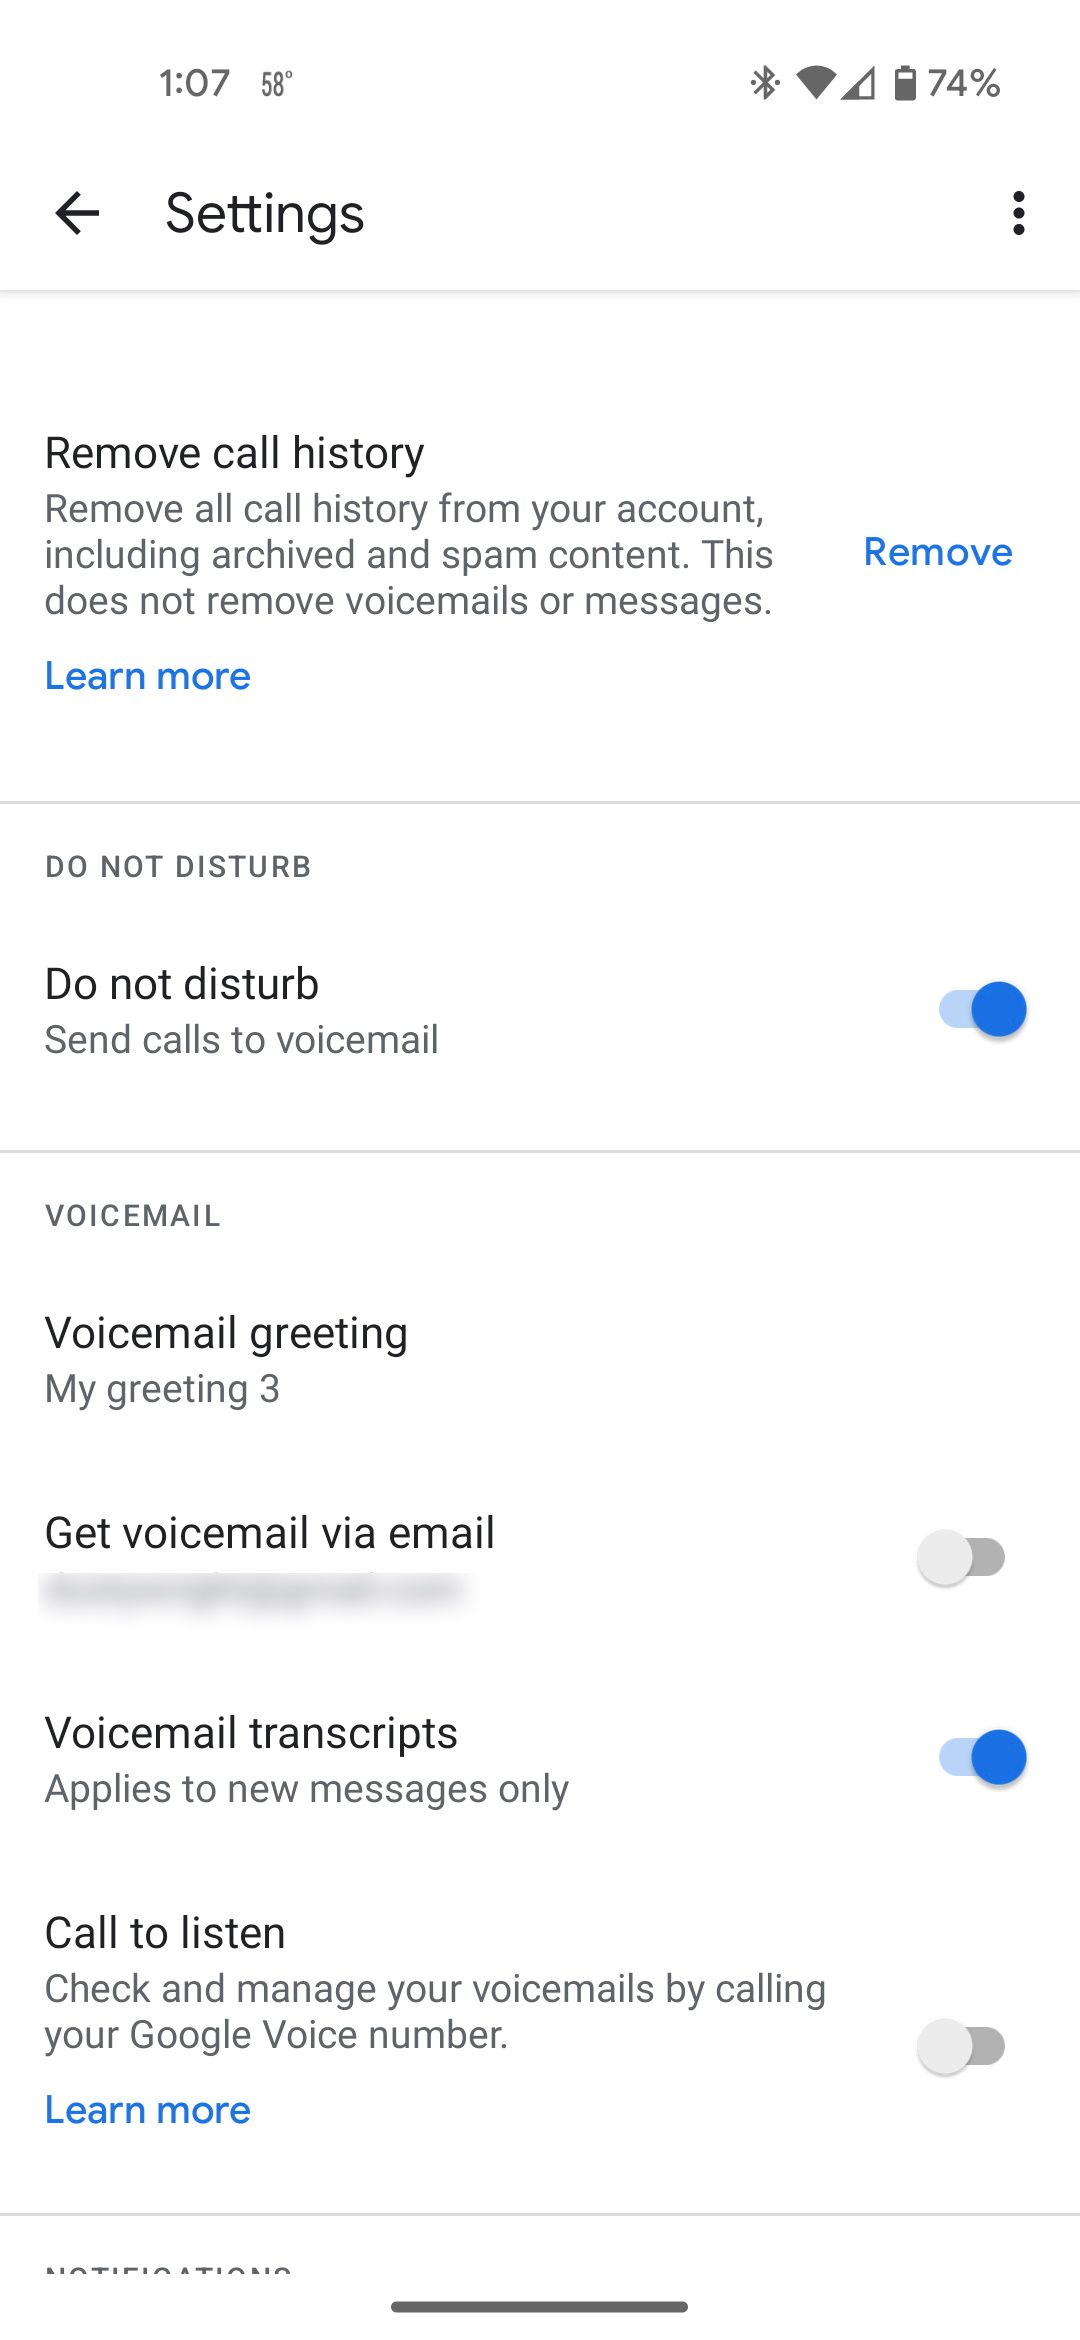
Next, let’s forward all future voicemails from your carrier’s voicemail to your Google Voice voicemail.
Step 3: Set Up Call Forwarding via the Phone App
To forward future voicemails from your carrier’s voicemail to Google Voice’s voicemail, you must first set up call forwarding. Traditionally, this has been a pain in the neck. For example, if you wish to forward your AT&T number to a secondary phone or voicemail when busy, you must dial *90, followed by the forwarding number, then the hash symbol (#). To deactivate, dial *91#.
Fortunately, your Android phone’s Phone app simplifies call forwarding. Open the app and tap the three-dot icon in the top-right corner of the screen. Now go to Settings > Calls > Call forwarding to access the Phone app's Call forwarding settings screen.
You will see four call-forwarding options:
- Always forward
- When busy
- When unanswered
- When unreachable

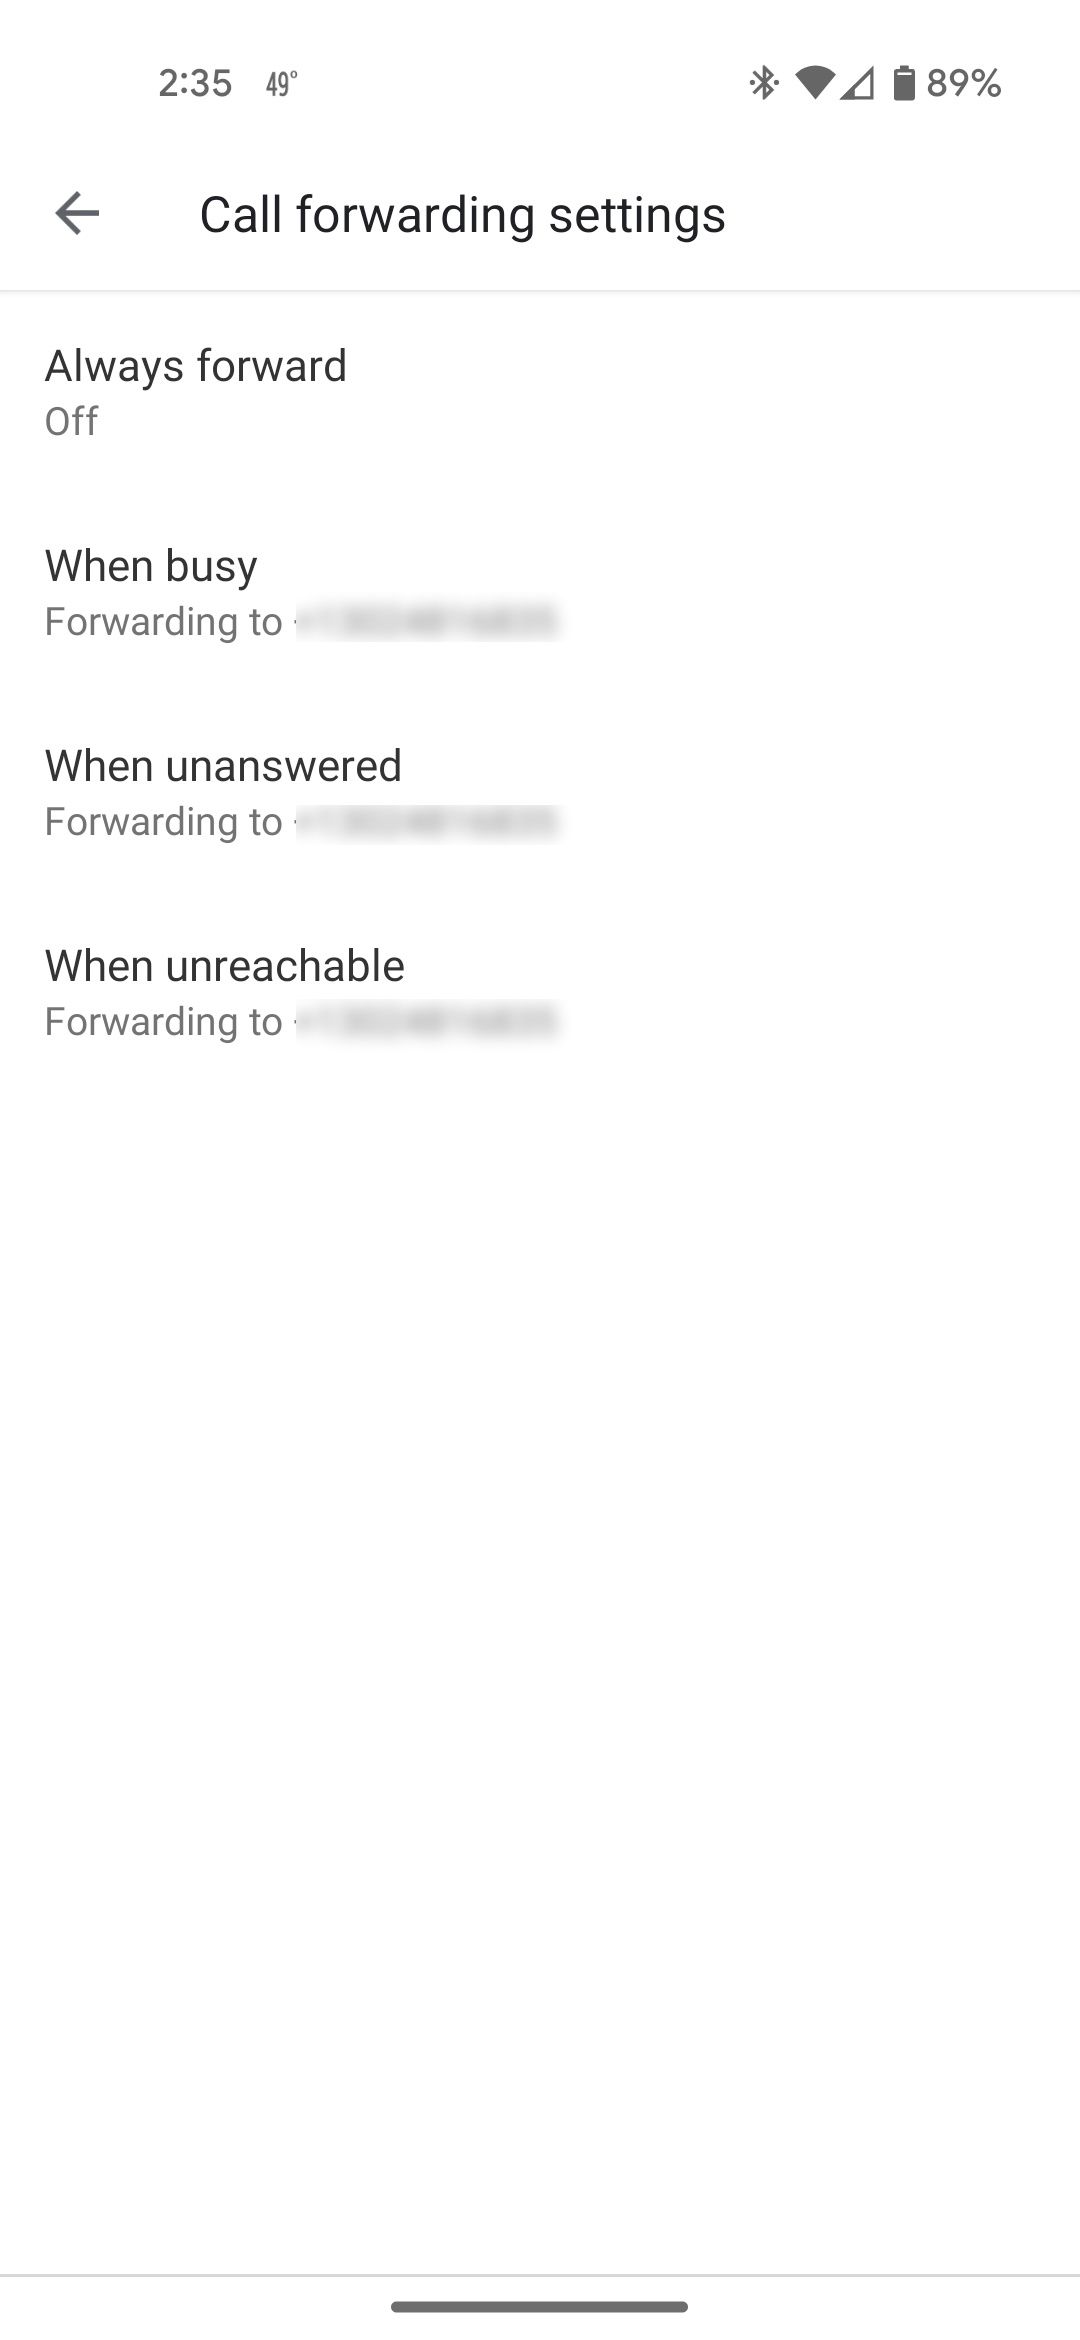
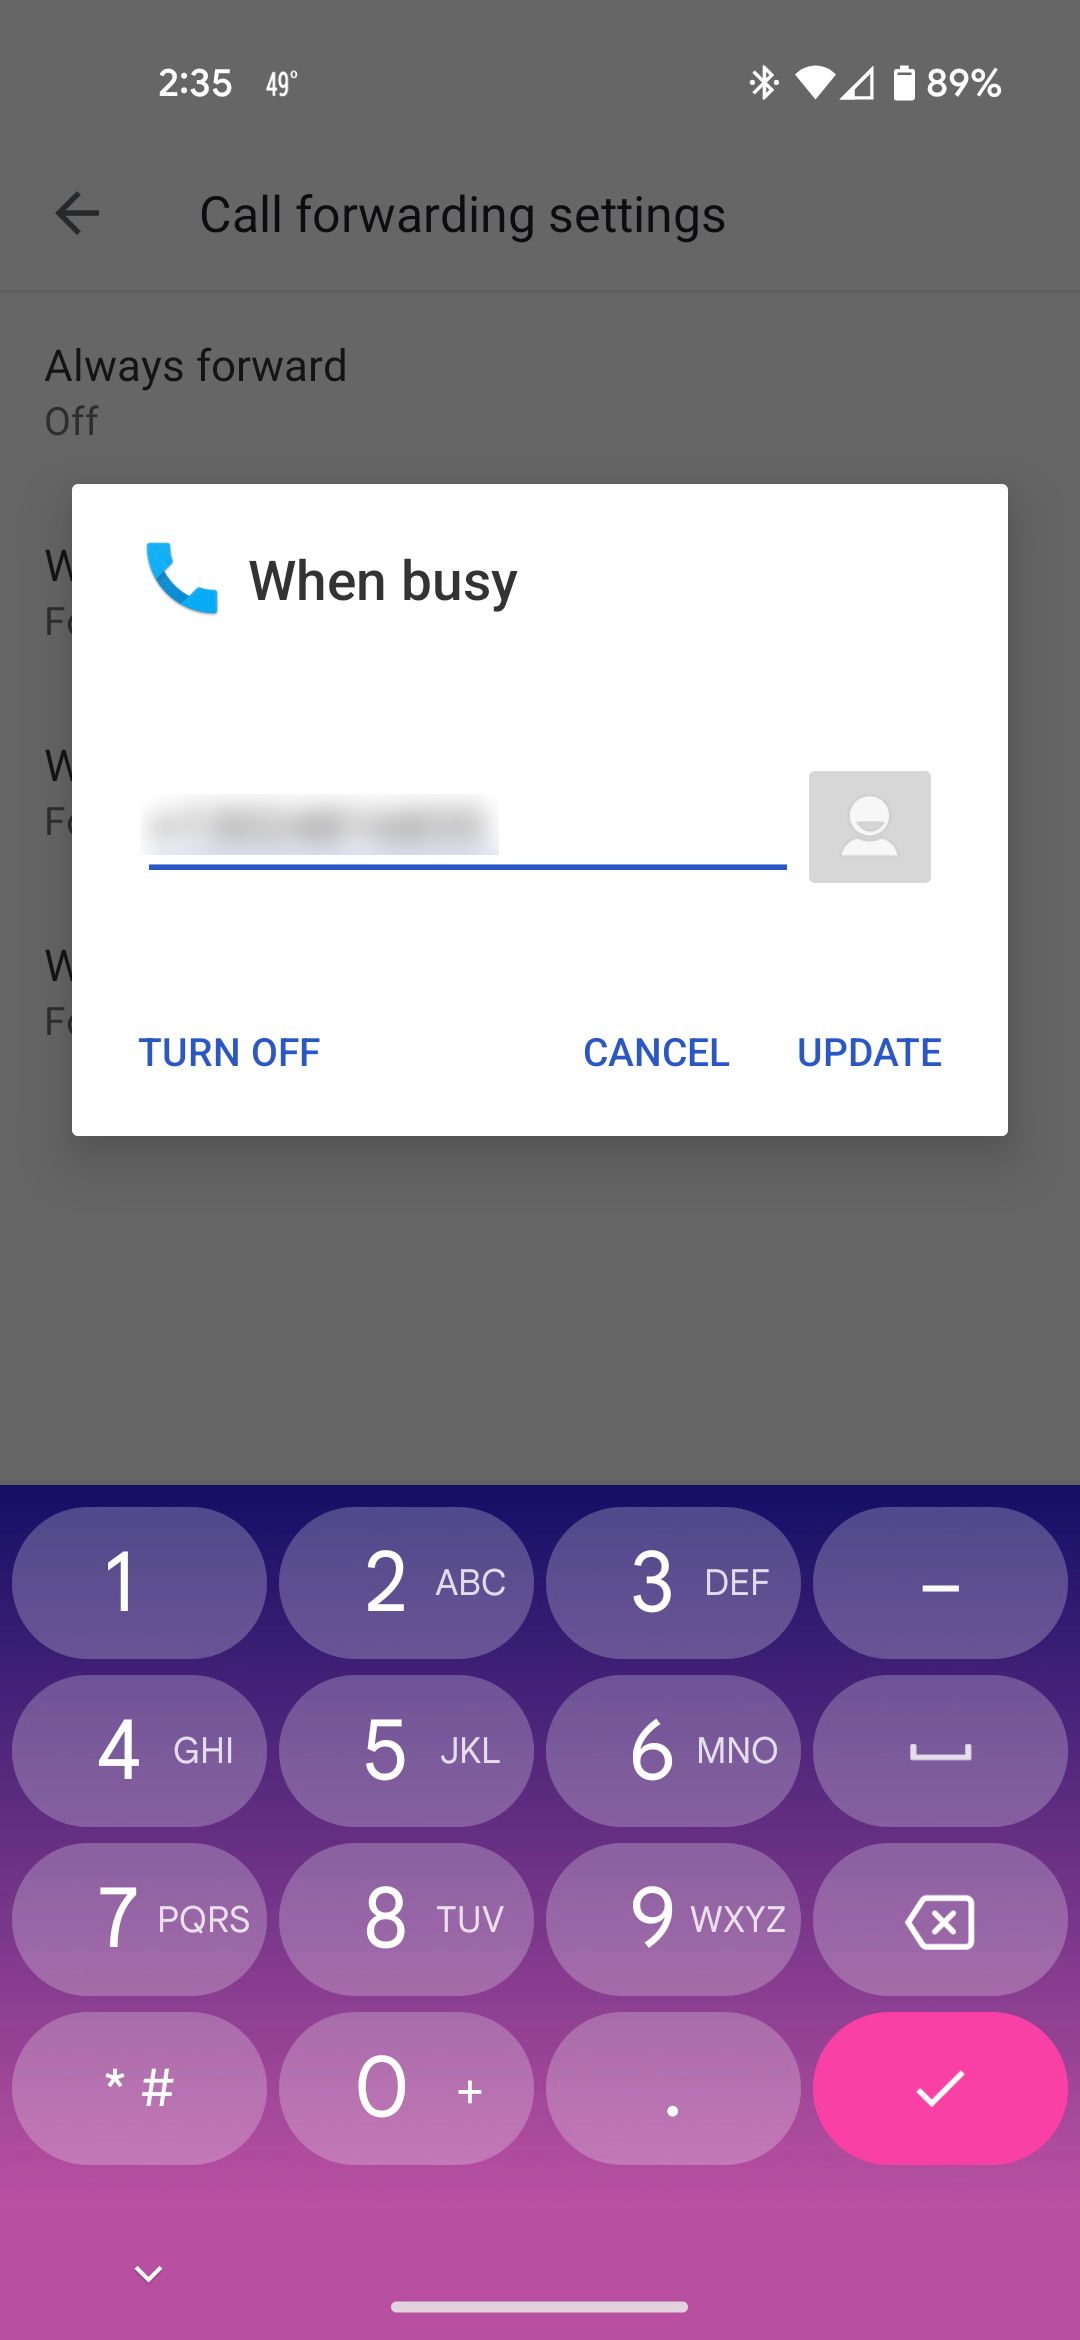
Since we only want calls to be forwarded from your main number to Google Voice when the caller leaves a voicemail, ensure the Always forward field is set to Off.
One by one, tap the When busy, When unanswered, and When unreachable fields. Paste your Google Voice number into each of them and select Update.
When someone calls your main number your phone will ring as normal. If your phone is busy, turned off, or you don't answer, their call will be redirected to your Google Voice’s voicemail.
Step 4: Set Up a Custom Greeting
The next step is to set up Google Voice’s voicemail greeting, so callers will know they are calling you. Unlike your carrier’s voicemail, you can create a custom greeting within the Google Voice app. To do this:
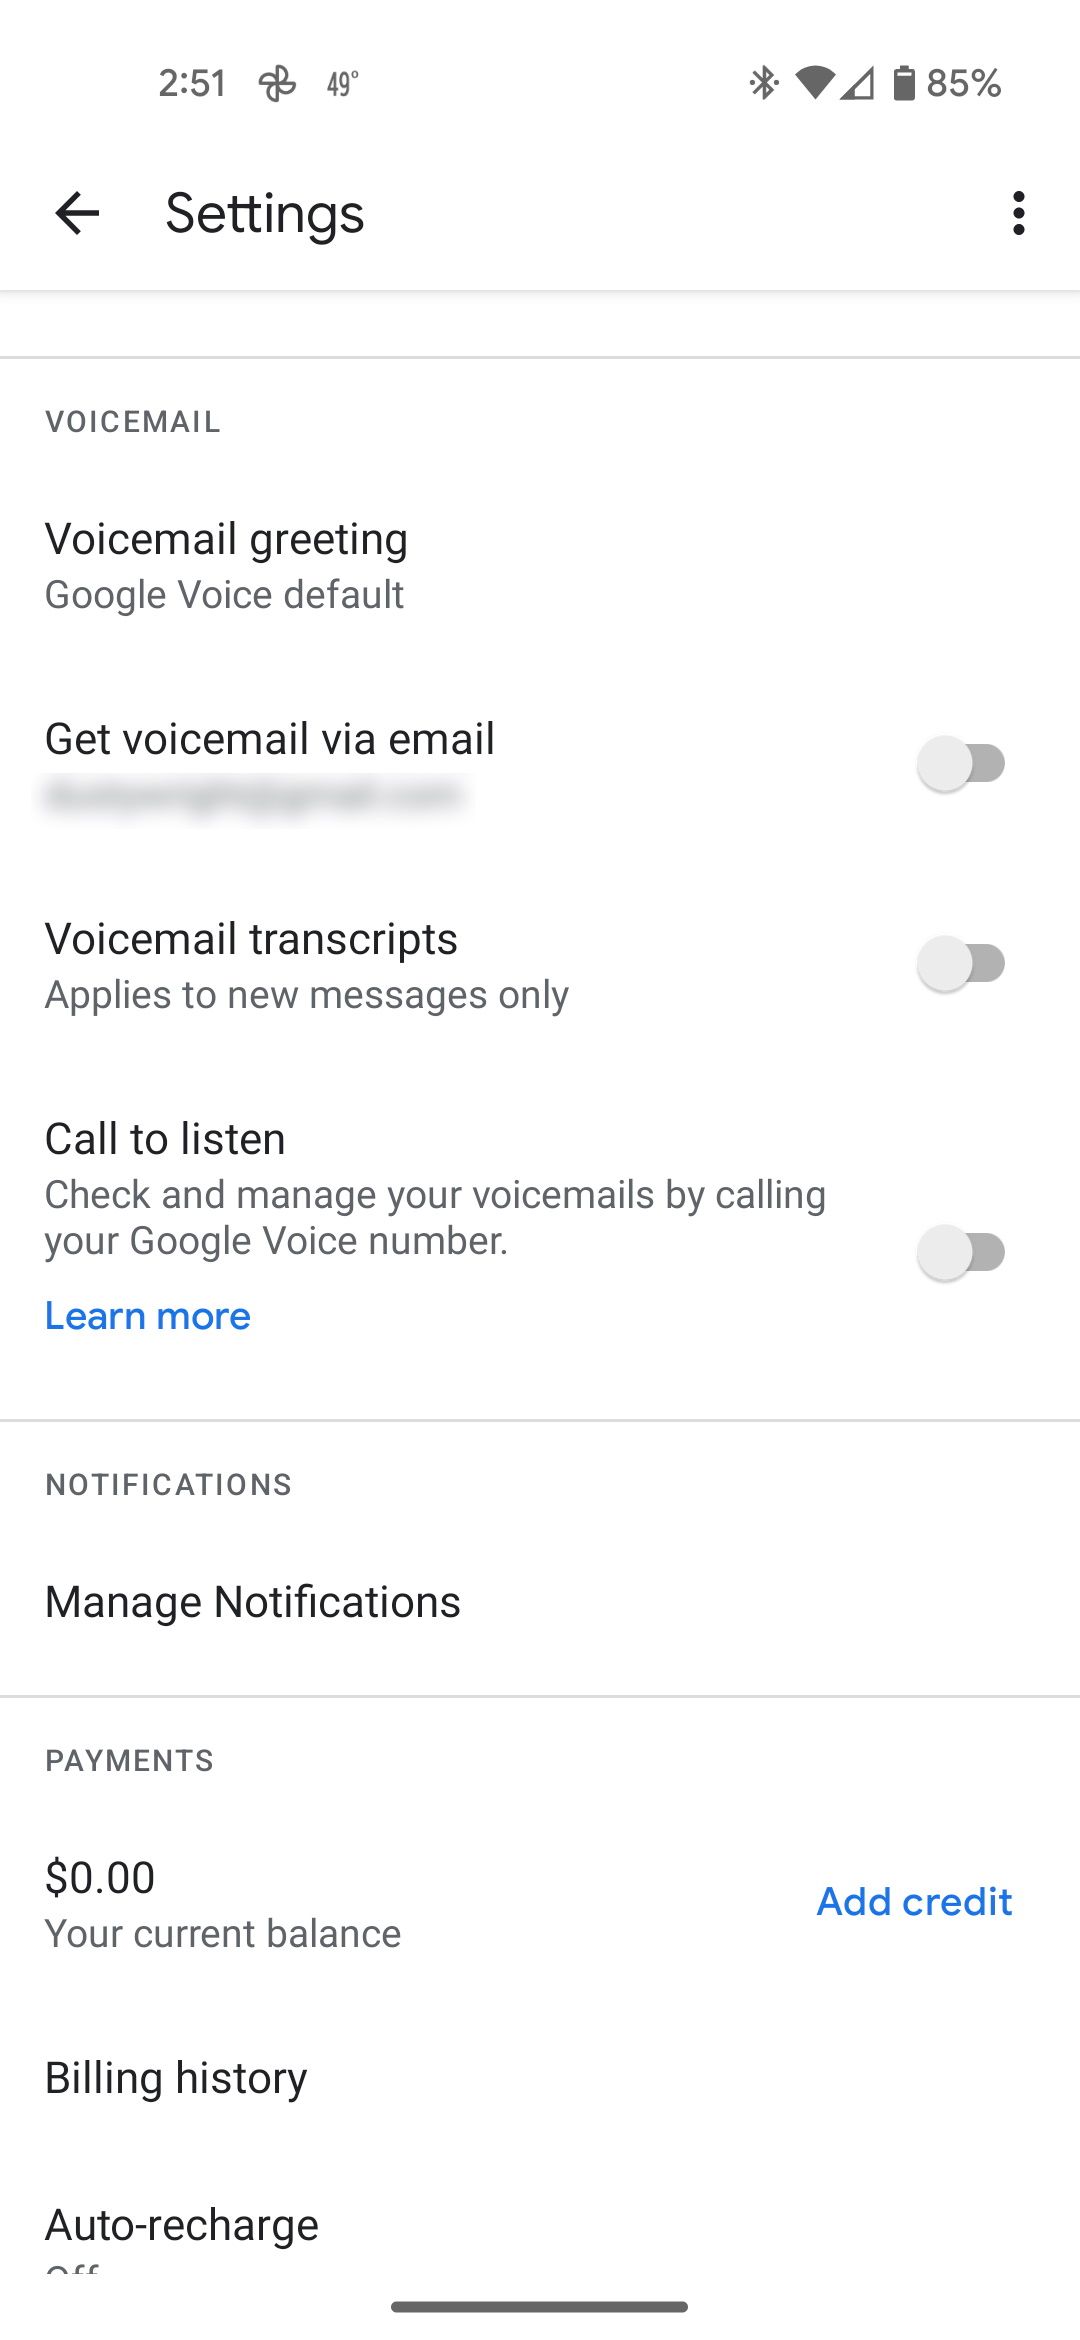
- Tap the hamburger button in Google Voice, select Settings, and scroll down to the Voicemail section.
- Tap Voicemail greeting and select Record a greeting.
- When prompted, select While using the app to grant the required permission.
- Tap the Microphone icon to start recording. You have up to three minutes to record your greeting.
- Choose Play to listen to your recording, Redo to record again, or Save to save the custom greeting.
- Enter a name for your greeting in the Save your greeting field, then select Save. You'll find your new greeting in the Active section.
- Select Play to listen to your greeting or the Pencil icon to edit the greeting's name.

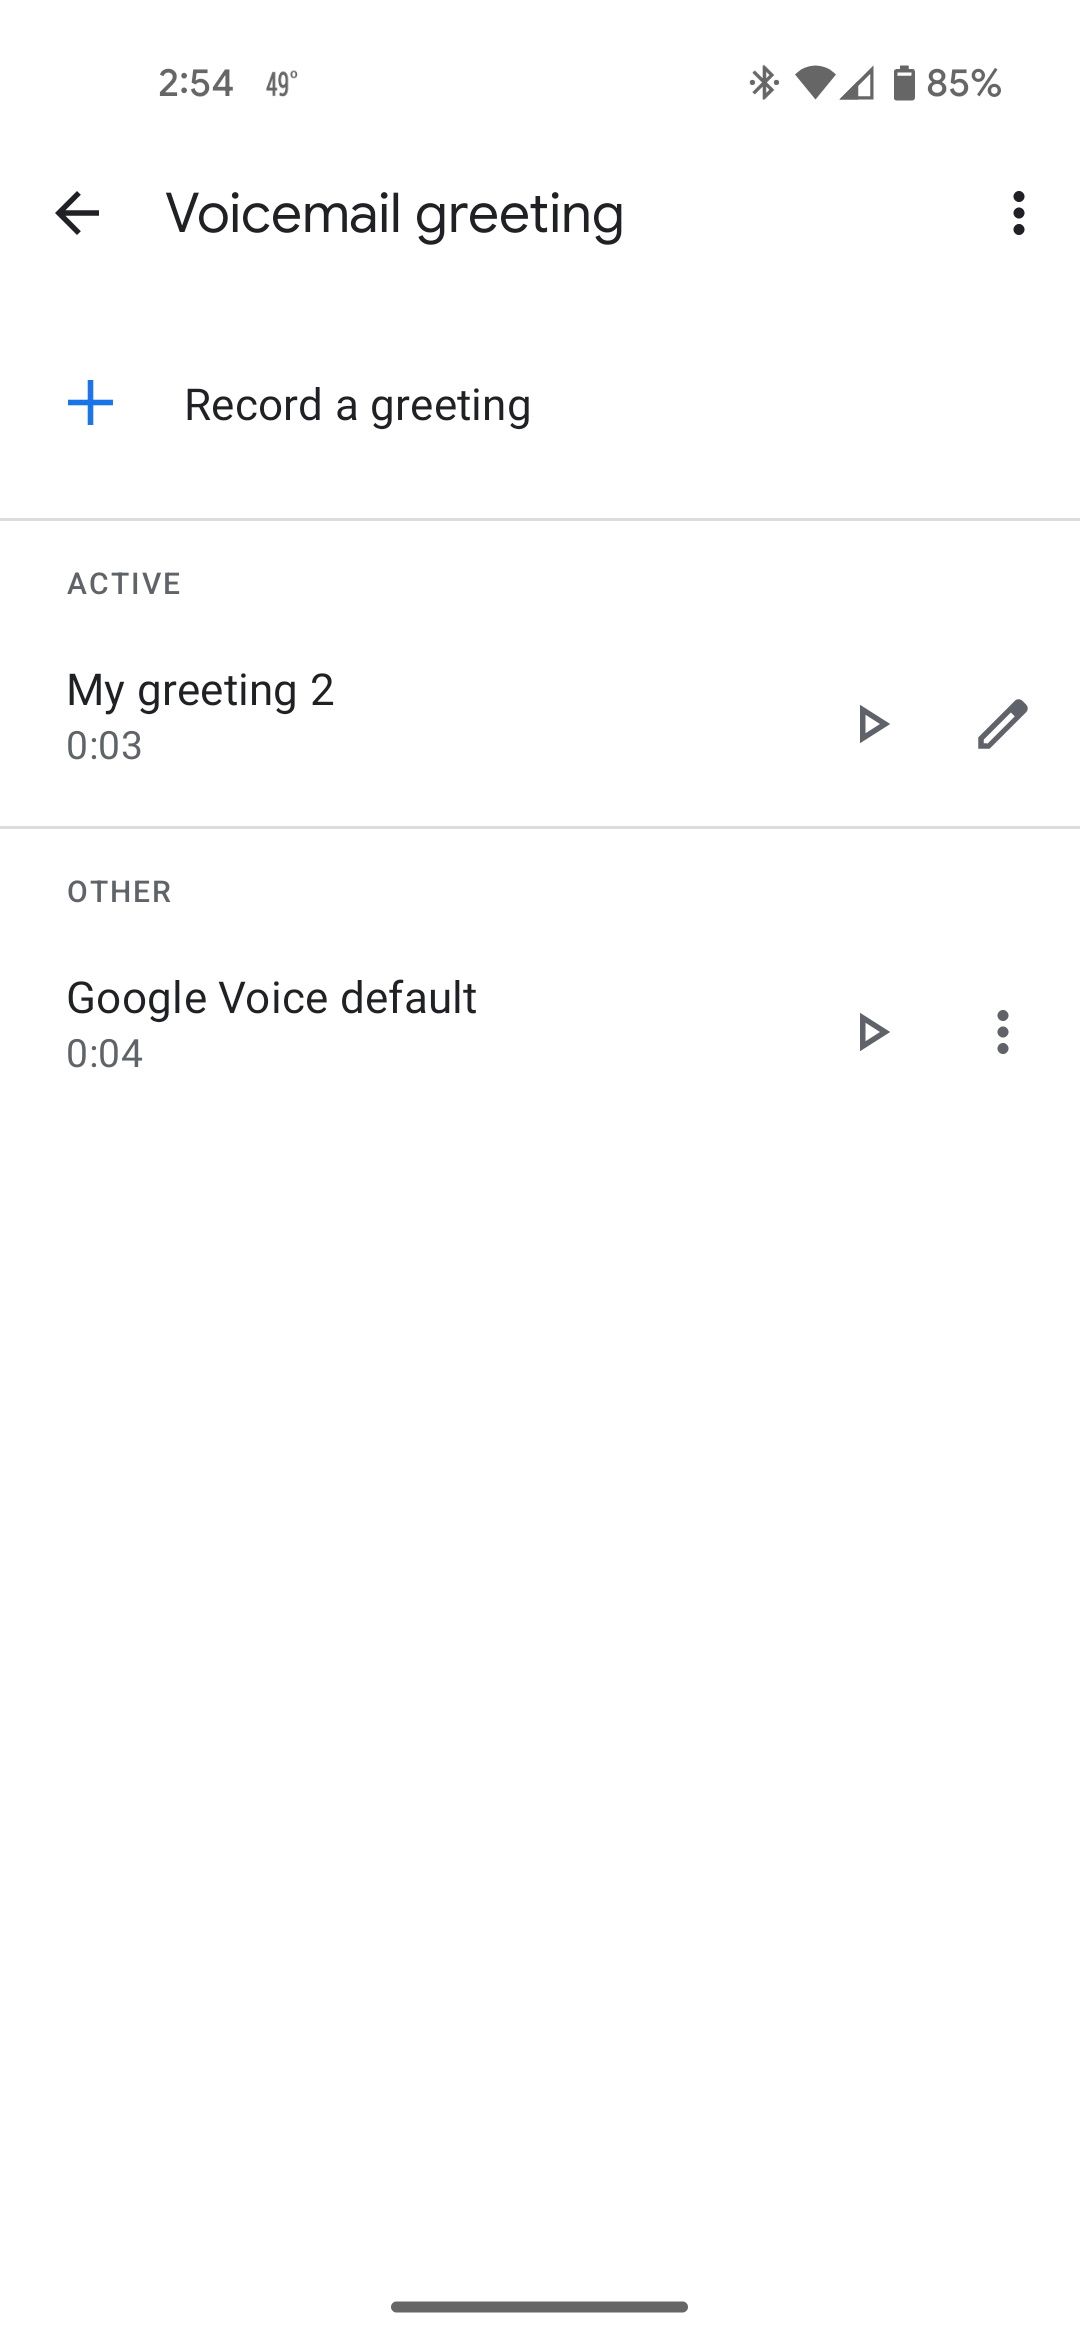
Repeat the process to add more greetings if you need them. To set another greeting as Active, select the three-dots icon and tap Set as active. Tap Delete on any greetings you no longer wish to use.
Step 5: Get Your Voicemails via Email
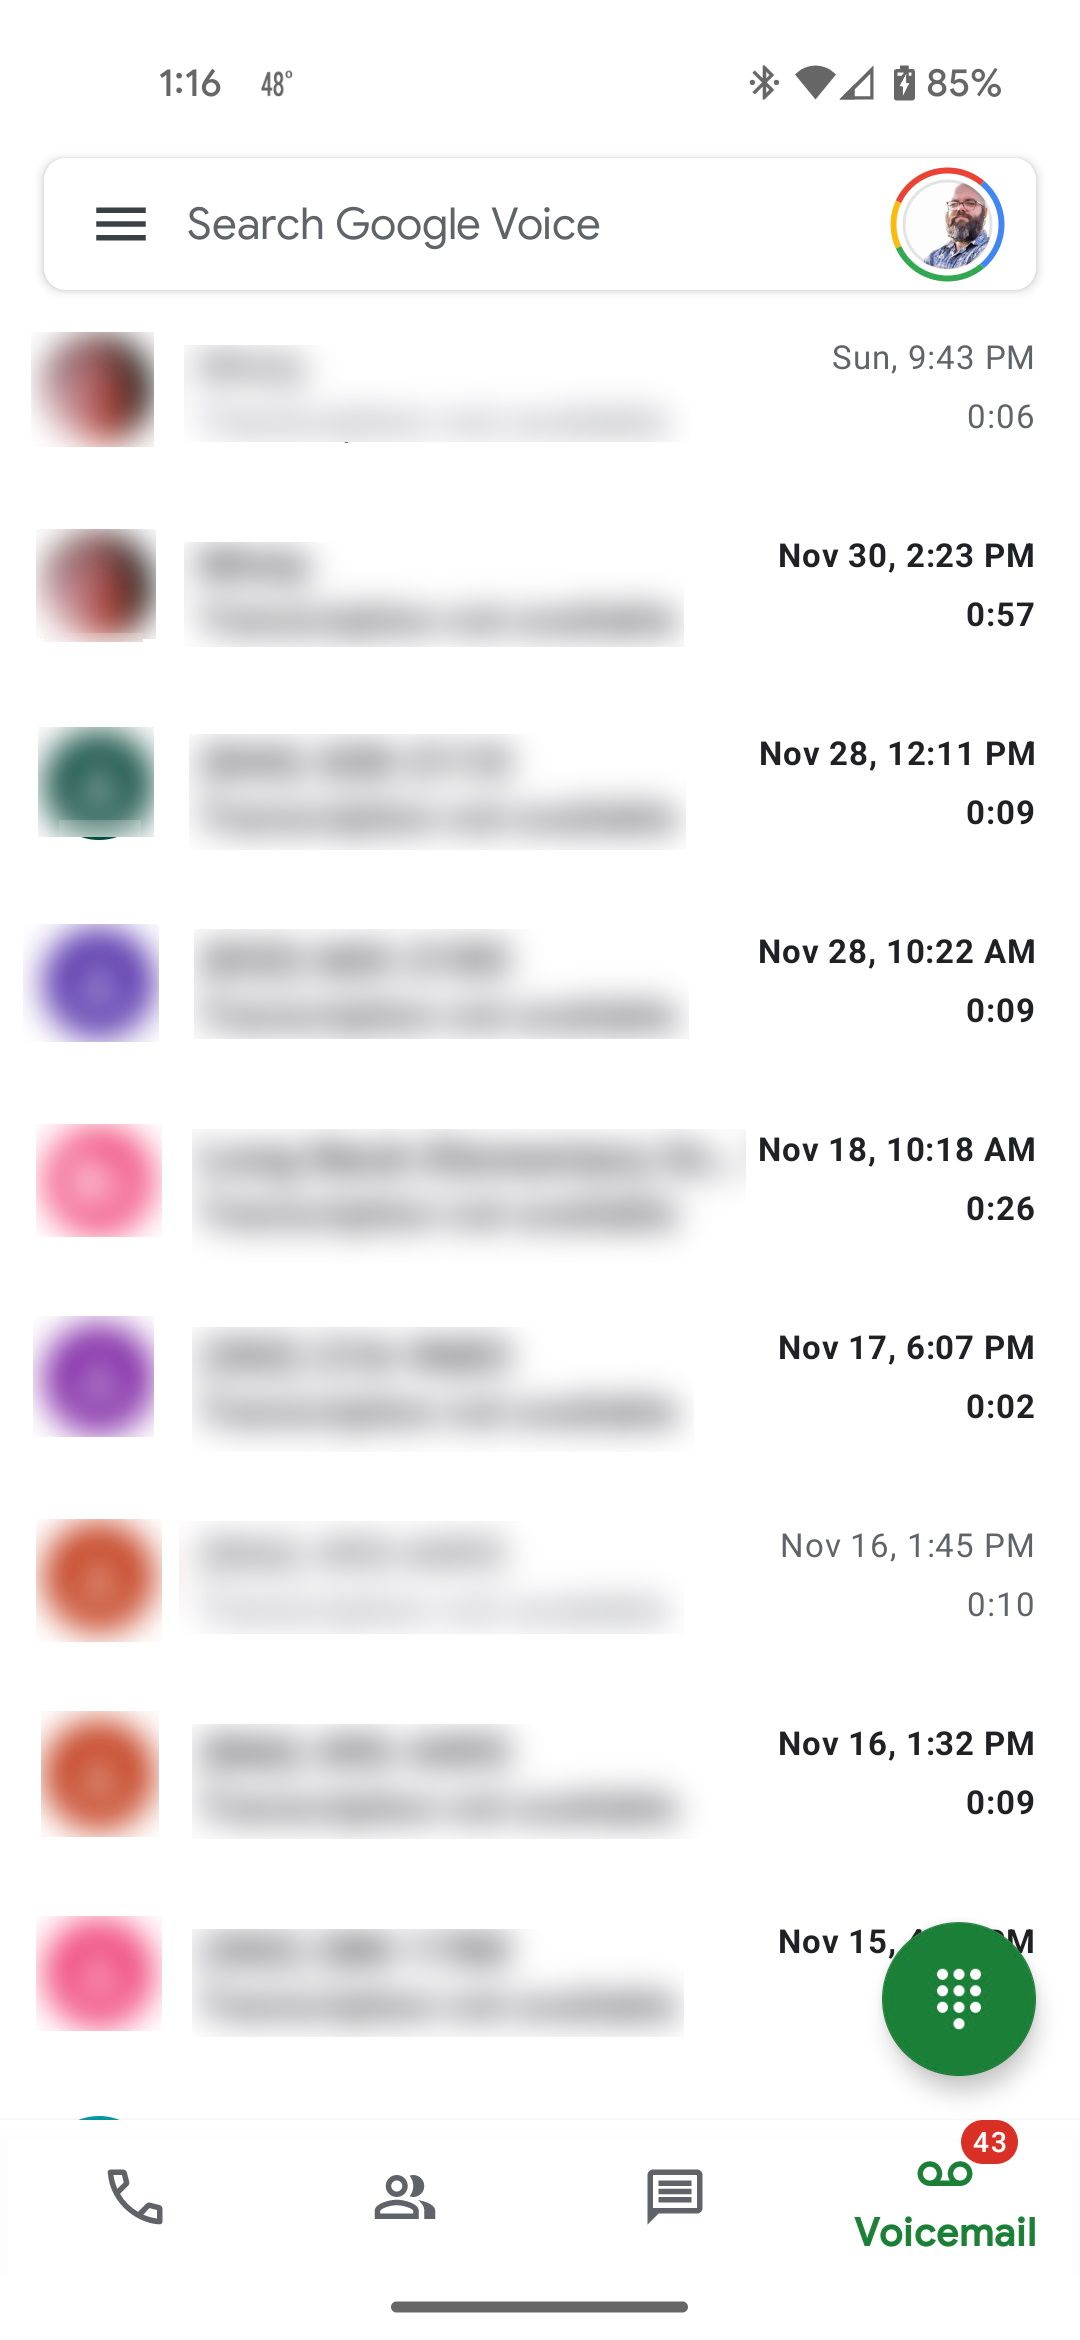
Google Voice makes accessing and listening to your voicemails as easy as using your carrier’s visual voicemail app—and it’s free! Open Google Voice, and you can listen to your voicemails directly in the app.
If you'd prefer to have your voicemail messages delivered to your email, this is easy. Select Settings, then tap the toggle next to Voicemail transcripts and the toggle next to Get voicemail via email. Going forward, every new voicemail message will be automatically transcribed and emailed to you.
How to Stop Using Google Voice for Your Voicemail
You can use Google Voice as a proverbial voicemail black hole simply by uninstalling the app. Voicemails will still be redirected to Google Voice, but you’ll never be notified of new messages.
If you wish to revert to using your carrier's voicemail, return to the Call forwarding settings, tap every call forwarding rule you activated in Step 3, then select TURN OFF. Now when you are unavailable, callers will be forwarded to your carrier's voicemail rather than your Google Voice voicemail.
Google Voice Is Voicemail, Modernized
Voicemail is in a kind of purgatory. It feels outdated and clunky, but in some situations, it’s still necessary. Google Voice changes that by incorporating new, quality-of-life features that your current voicemail desperately needs. Messages are displayed visually, so you never have to navigate a phone menu to listen to a message or change a greeting.
Whether you want to ignore future voicemails altogether or prefer to receive new messages via email, Google Voice makes it happen.

