Google Meet has quickly become one of the most popular video calling services in the world, as working from home became a norm during the height of the COVID-19 pandemic.
It became a viable alternative to Zoom. And with most professionals already using some of Google’s many services, switching to Meet was relatively easy for most people.
But, if you regularly use Google Meet for business communications, here are seven tips to improve your overall experience.
1. Blur or Change Background
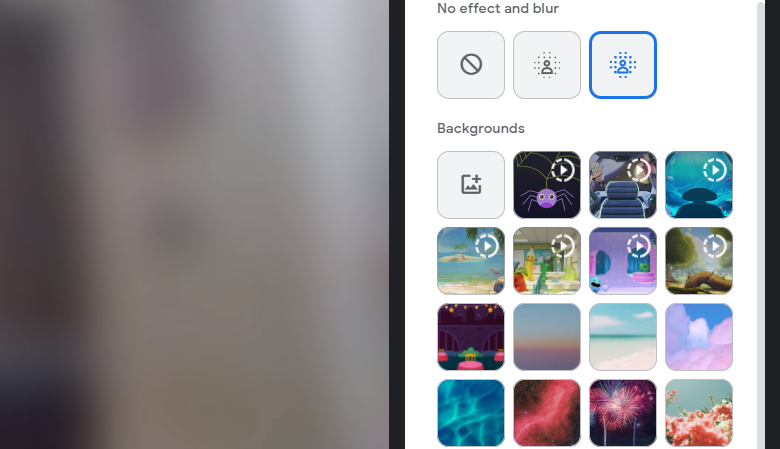
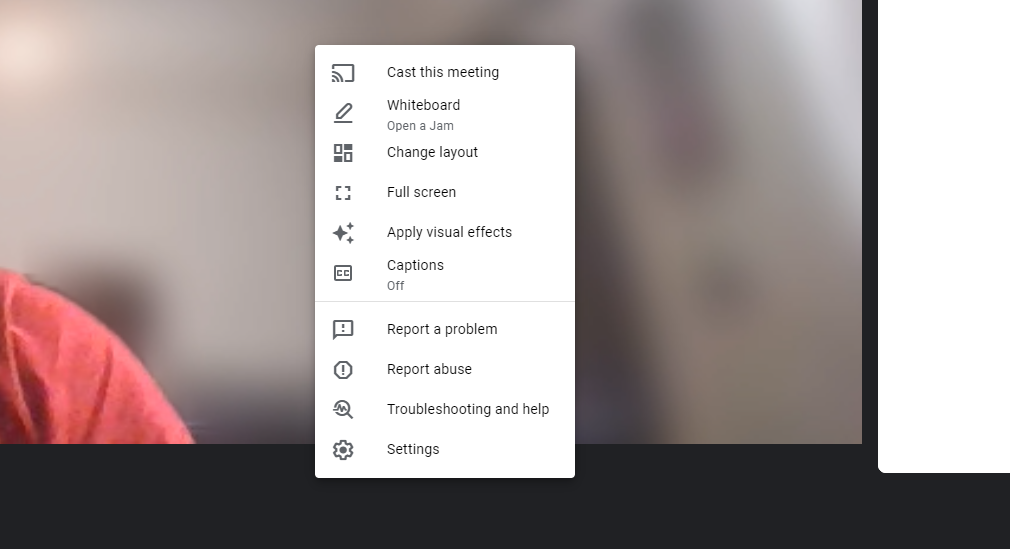
Google Meet allows you to blur or change your background to minimize distractions and hide what's going on in the background. To do this, click on More Options, then select Apply visual effects.
From there, you can choose from a variety of custom backgrounds, or upload your own image. You can also slightly blur your background if you want, or completely blur it.
2. Pin a Participant to Your Screen
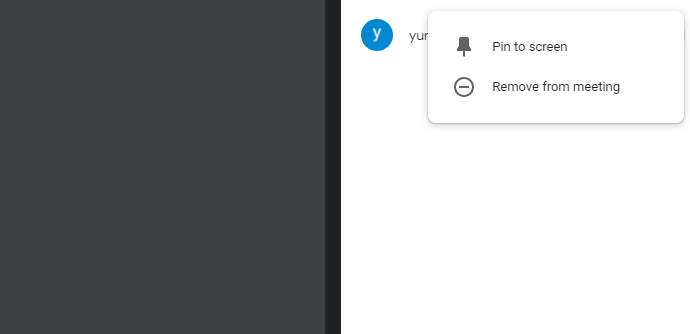
If you want to pin a speaker or a participant, you have two options. You just have to click on the pin icon that shows when you hover the cursor on their video. If you can't find the participant, just click on the People icon in the bottom right.
The number of participants in the meeting is also shown here. Just find the participant in the list, and click on the pin that appears besides their name. Their video feed will be pinned on your screen until you remove it.
3. Enable Live Captions
As the default, captions are turned off in Google Meet. To enable live captions, just click on More Options under your video. Then, just turn on Captions.
Google Meet will ask you to select the language used in the meeting. Once you make the selection, it will show you captions in that language for all subsequent meetings you attend on your device. Keep in mind that the captions on screen are not always accurate.
4. Create Breakout Rooms
Google Meet also gives moderators the freedom to divide participants into smaller groups. This is especially useful when a meeting contains a large number of participants.
A breakout room is only available to specific Google Workspace editions, including:
- Essentials
- Business Standard
- Business Plus
- Enterprise
- Education
- Nonprofits
- Workspace Business
Breakout rooms can be created for meetings in advance via Google Calendar, or they can be created during a meeting.
How to Create a Breakout Room in Advance
When creating a Google Meet event in the Calendar, add the participants, then click on Change conference settings.
You will see Breakout rooms. Just select the number of rooms, and simply drag and drop participants in the rooms. You can also randomly shuffle the groups.
How to Create a Breakout Room During a Meet
- To create a breakout room while you are in a meeting, just click on Activities in the bottom-right.
- If you are on one of the eligible plans, you will see Breakout rooms. Meet allows you to create up to 100 rooms in a single meeting.
- Select the number of breakout rooms. Then, just enter the participant's name in specific rooms, or drag and drop their names into different breakout rooms.
- Then, just click on Open rooms.
- You can also make changes to the breakout rooms by clicking on Edit rooms.
5. Check Your Mic and Camera
It's quite frustrating when you join a new meeting and don't know whether other participants can hear you. Instead of wondering whether your mic is broken or tinkering with the camera settings, Google Meet allows you to check both your microphone and camera before joining a meeting.
Here's how to check both your camera and mic:
- Open Google Meet on your computer.
- Then, click on Create a meeting for later. If you start an instant meeting, you won't be able to run the check. When you select the other option, Meet will give you a link to your meeting.
-
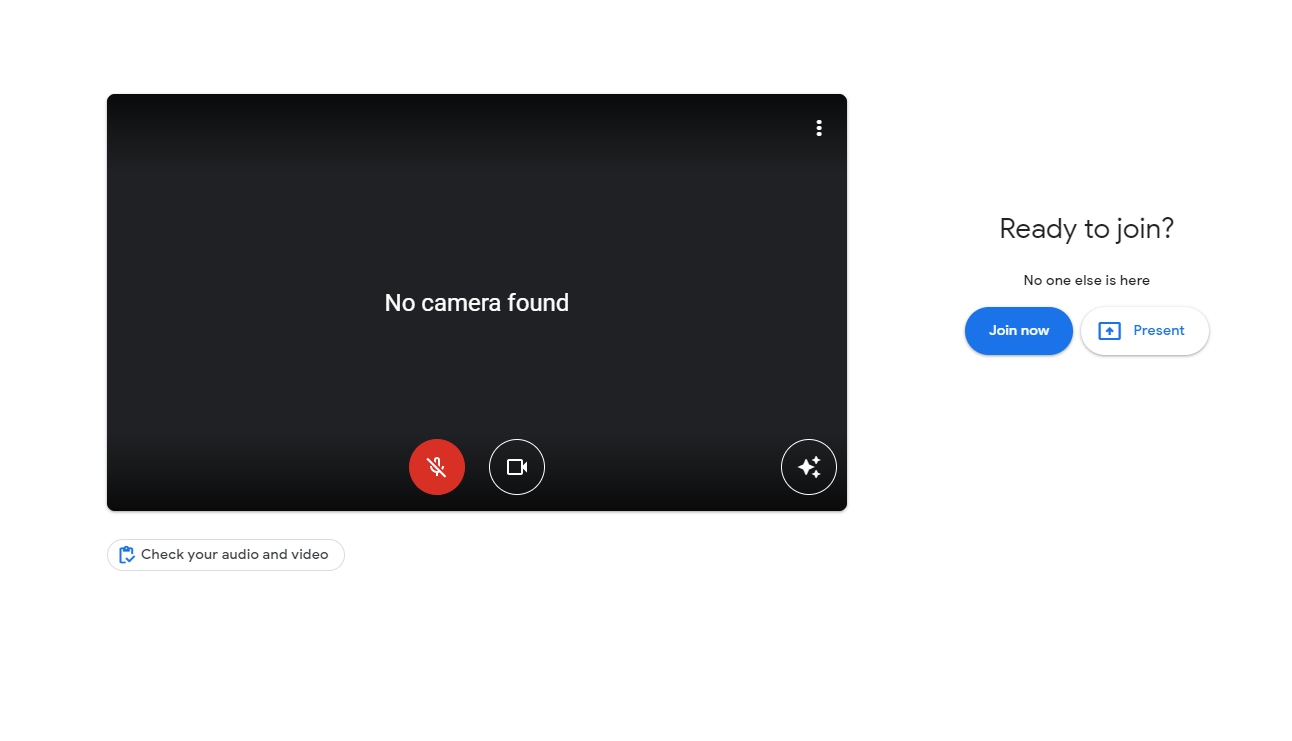
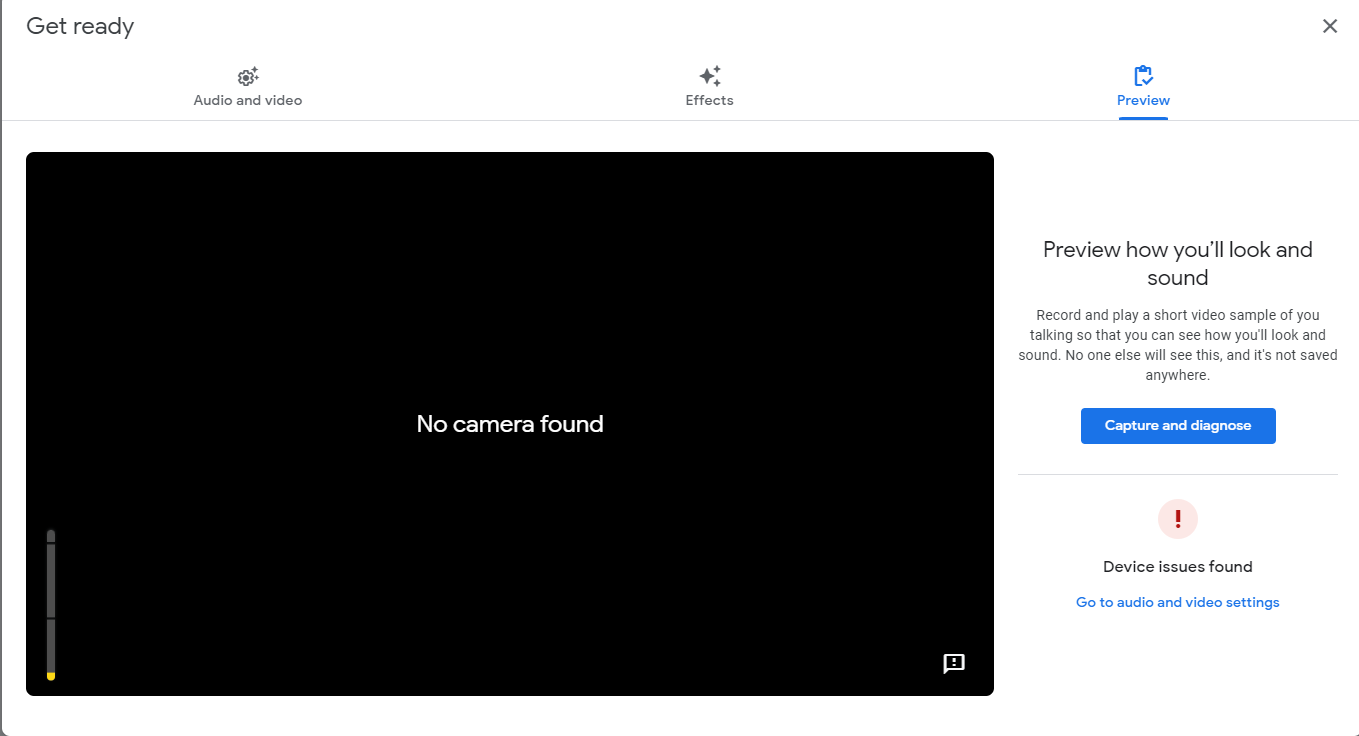
Just under your camera view, you will see an option that says, Check your audio and video. This will let you preview how you look and sound in a Google Meet.
- You can then test your microphone and camera. You can also try a few visual effects or blur your background before you join the meeting, as shown below.
6. Record a Meeting for Later
Particularly useful for onboarding and training sessions, Google Meet also allows you to record meetings. However, this feature is only available if your organization supports it.
To record a meeting, just click on Activities in the bottom right, then select Recording. The recording will begin immediately, and all participants will be notified that the meeting is being recorded.
Once you stop recording, the file is saved in the host's My Drive. A separate folder entitled Meet Recordings is automatically created.
Meet automatically shares a link of the recording with the host and the person who initiated the recording. You can also share your screen using Google Meet with other participants.
7. Add More Functionality With Extensions
The beauty of Google Chrome is that there are plenty of different extensions that you can use to further enhance its functionality. Keep in mind that these extensions are often not created by Google, but third parties.
For instance, the Meeting Notes extension allows you to quickly take notes during a video call without having to switch tabs. Then, there's the Google Meet Enhancement Suite, which offers additional feature such as a mute all button, automatically admitting participants, and many more.
What About Hosting Webinars?
Google Meet is a pretty robust tool for videoconferencing. However, it's not always the best choice for online training sessions or webinars. Google has added many new features, but it's not primarily designed for hosting virtual promotional events.
If you want to host a webinar but don't want to use conventional video-conferencing apps like Zoom or Google, there are quite a few options available out there.

.jpeg)
