
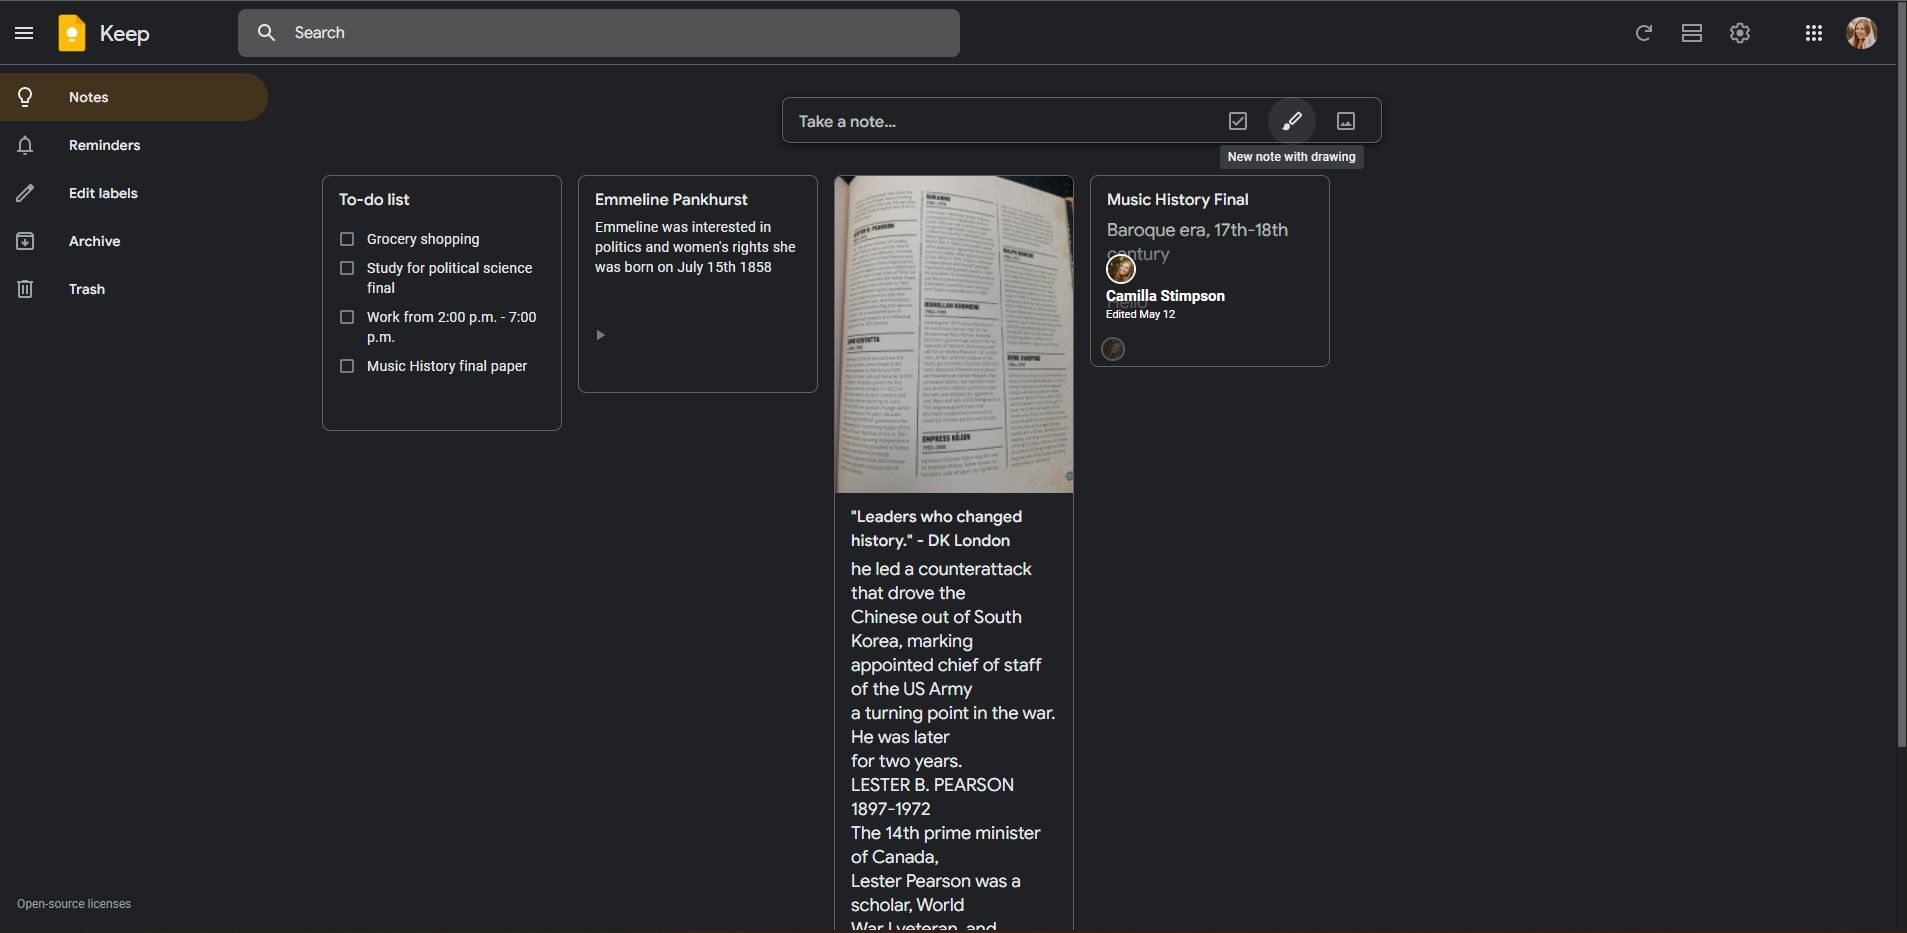
A student's life can be very demanding, and they are often left juggling many tasks at once. Technology has thankfully developed enough to help students stay organized among all the chaos in their life. One of these valuable tools is Google Keep. It's also free to use, which is excellent considering how much you can do with it.
Google Keep has many features that can make a student's life easier that they may not know about. Here are five of those and how you can use them.
1. Save a Drawing as a Note
Google Keep makes it easy to create a drawing for a note. This can be useful when you want to write out a complicated formula, draw a blueprint, or anything else that may be difficult to recreate on a keyboard. Google Keep is available on the web, as browser extensions, and as a mobile app for iOS and Android.
How to Create a Drawing as a Note
- Open the Notes tab on Google Keep from the left sidebar.
-
At the top, select New note with drawing. It has an icon that looks like a paintbrush.
- Create your drawing by clicking and dragging.
- When done, click Back to save your drawing automatically.
- You should now find your drawing on your notes page.

2. Share Notes
Having a shared notes page with those in your study group can be very helpful, especially during exams. With Google Keep, you can create and share notes with your fellow students. You can also add them as collaborators so that they can easily add their notes to the document as well.
How to Share Notes With Classmates
- Select the note you want to share. Be sure you're under the Notes tab.
-
In the toolbar at the bottom, select the collaborator button. It will have an icon of a person with a + on it.
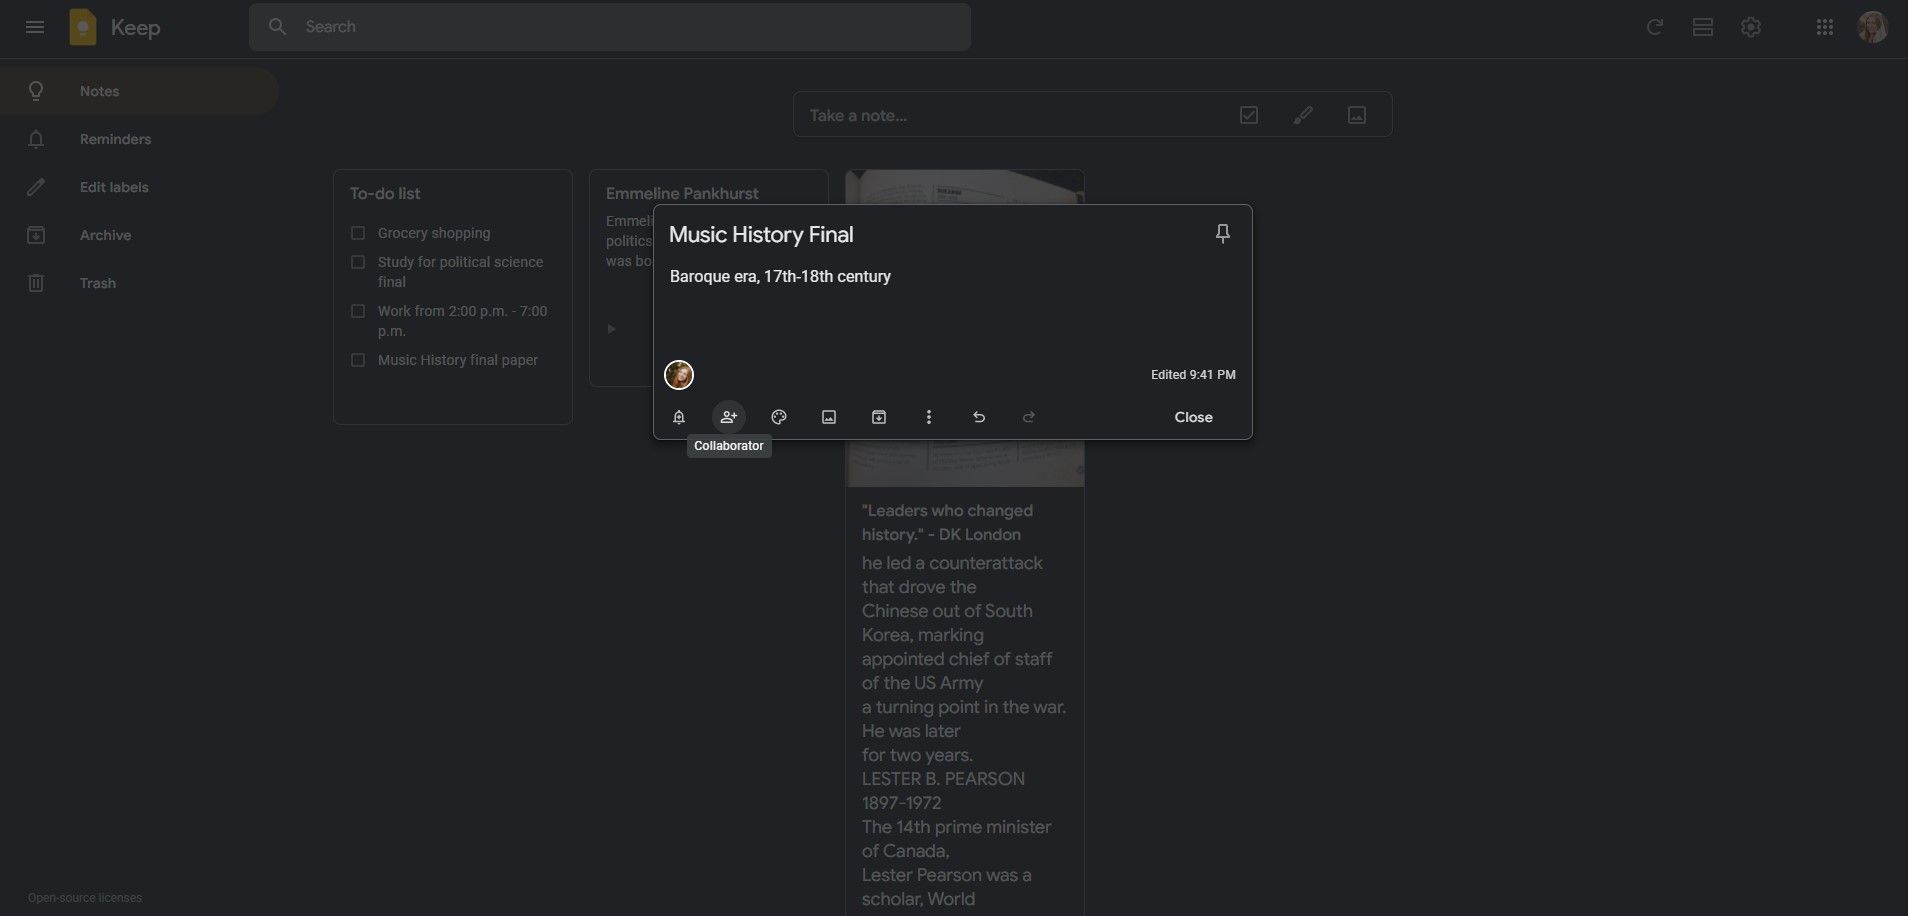
- Your name and email should show up as the owner. Then, below it, type in the email of the person you want to share the notes with.
- Press Save. That person can now access the notes and also add to the document.

3. Transcribe Text from a Textbook Picture
Some students learn better by writing down notes in classes. But, it's nice to have those notes on the computer so that you can access them anywhere. So, if you have pages of notes that you want on your computer but don't want to type them, this is the perfect tool for you.
Google Keep transcribes text from a picture using Optical Character Recognition and places it on your notes. You can do this with your notes and also with slideshows and textbooks. This tool makes it easy to put all your notes on a subject in one place. So whether you want to copy a paragraph from your textbook, a slideshow, or your notes, simply take a picture, and Google Keep will do the rest.
How to Transcribe Text from a Picture
- Under the Notes section of Google Keep, select New note with image.
- Upload the image you would like transcribed.
- In the toolbar on the bottom, click the three dots labeled More.
-
Select the Grab image text option.
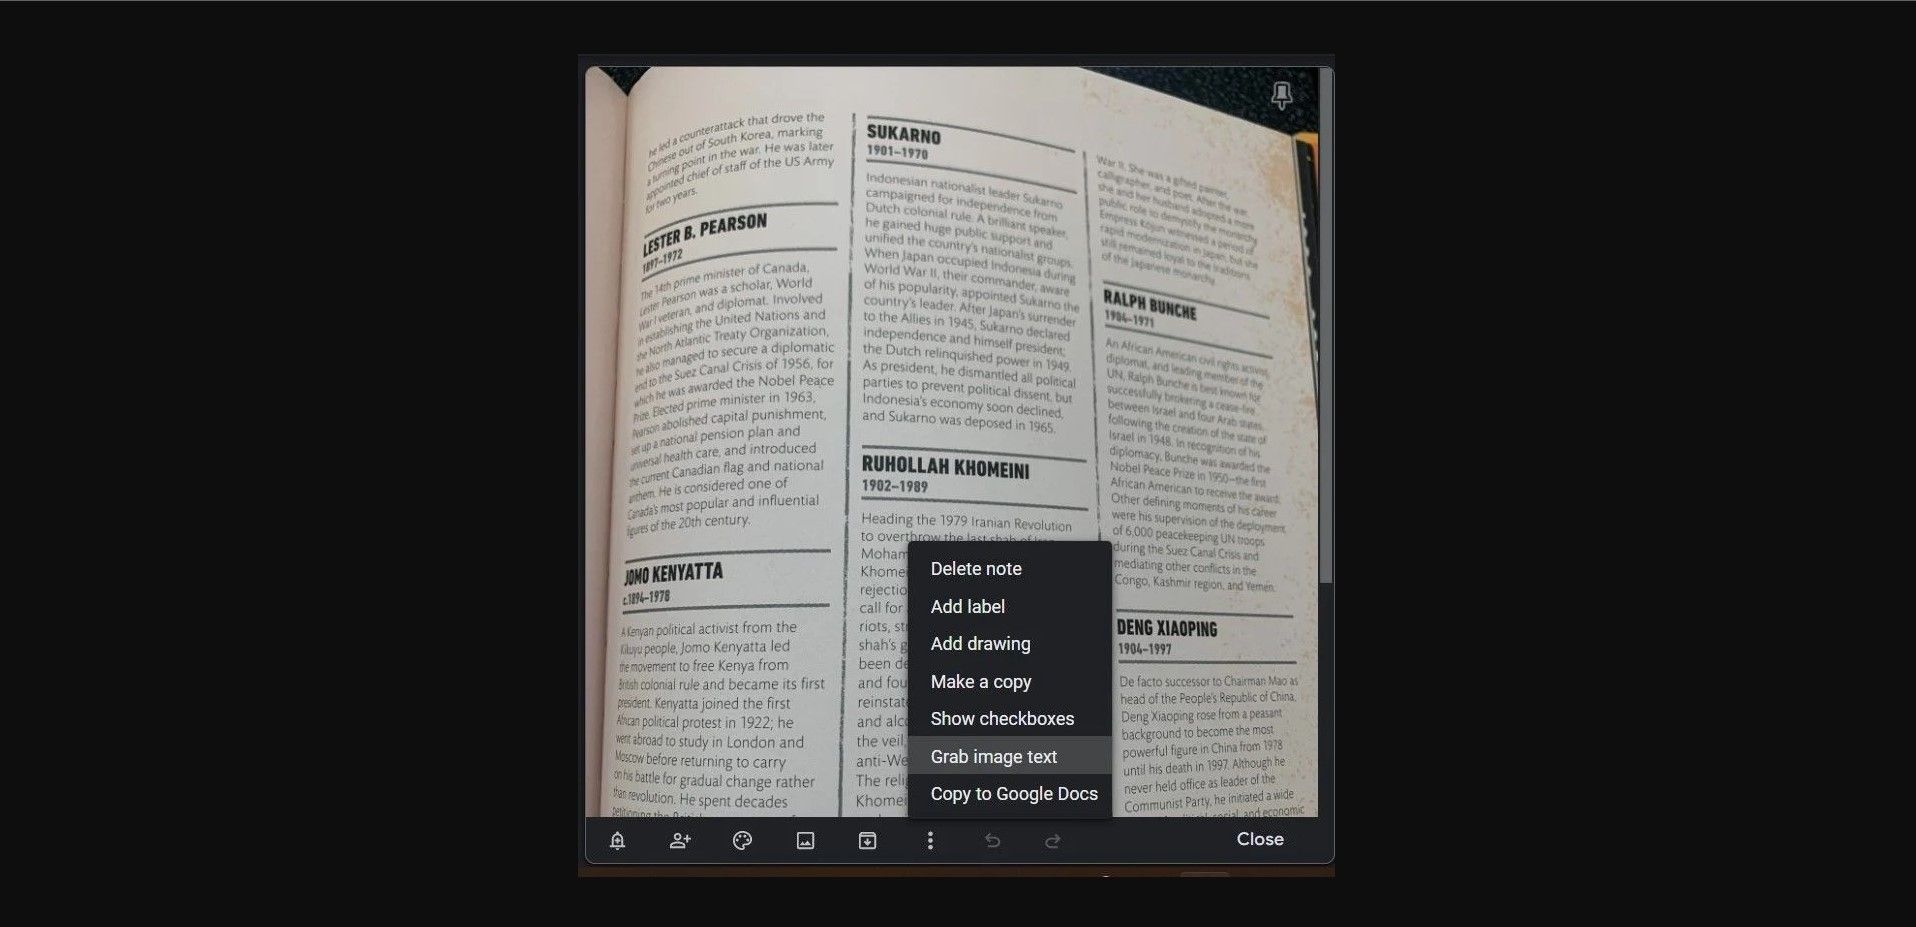
- A transcription of the text from the picture will now appear in the text box below the image.

4. Create Voice Notes in Class
It's hard to pick up everything a professor says in a lecture or a study group. This is where voice notes are helpful. Voice notes record the sounds around you and then transcribe what was said in real-time. This way, you can review what was said in class later.
Keep in mind that you can only use this feature on the Google Keep mobile app on the phone.
How to Record a Voice Note
- Open the Google Keep app, and select the microphone icon at the bottom of the screen. Recording and transcribing will begin as soon as you hit that button.
- The recording will stop when there is a long pause in the sound or when you stop it.
- Keep will now save the voice recording and transcription to your notes. Remember that the transcription may not be completely accurate, and you may have to go back and make some corrections afterward.
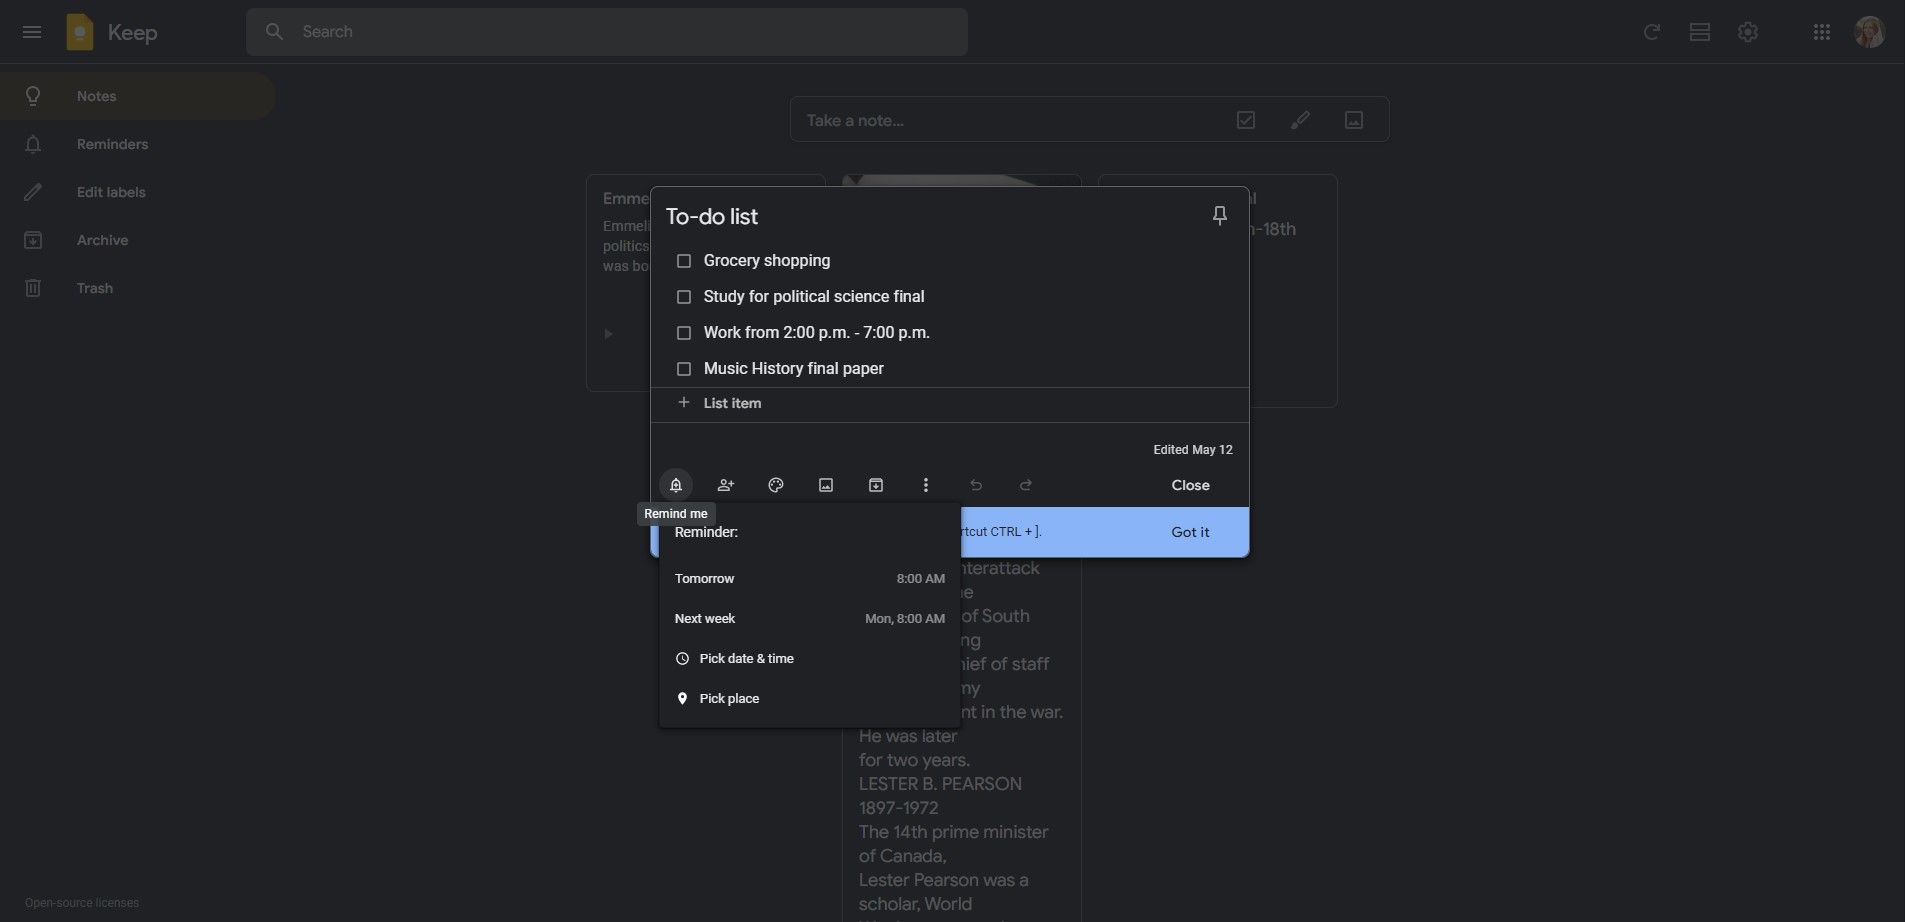
5. Use Google Keep as a To-Do List
A student's life is busy and full of tasks. Between work, classes, and homework, it's easy to lose track of everything that needs to get done. Thankfully, Google Keep makes it easy to create to-do lists, find them, and set reminders.
How to Create a To-Do List
- Under the Notes section of Google Keep, select the New list option.
- Type each task under List item.
- If you want to make the to-do list easy to find, select Pin note at the top right of the note.
- You can also configure reminders to make sure the tasks get done. Set it up by clicking Remind me at the bottom left of the box. The icon will be a little bell.
-
Then, set the day and time you'd like to be reminded.

Google Keep has other features like checklists and location reminders to help you make more effective to-do lists.
Google Keep Has More Tricks Up Its Sleeve
Google Keep is full of smart but simple features that make learning and organizing easy for students. It also caters to different learning styles. For example, if you learn better listening and don't want to worry about taking notes, the voice note feature will be helpful. If you don't want to copy everything in your textbook, you can save time using the transcribing the text from a picture tool.
One of the best parts about Google Keep is that it is available to everyone for free. You can download the apps for Android or iOS or access the web version. No matter what the device, Google Keep can help you stay organized.