You sit down to type out an email. As you start entering the address, Google auto-fills it with your colleague's old email and, on reflex, you hit enter to send. Then you realize your mistake.
Now you have to go through the struggle of opening your sent folder, copying the contents, and sending it again. If you're really unlucky, Google will auto-fill the wrong address again and you'll end up sending it once more.
This guide will help you ensure that never happens again.
Why Does This Happen?
Before we get to solving the problem, let's briefly explain why it happens. Google is not the only app that behaves this way. Many email programs automatically save the address that you send an email to. Google saves these email addresses in your Google Contacts.
Google Contacts has two repositories for email addresses. It stores your main contacts in a folder called Contacts and all other types of address in a folder called Other Contacts. This includes email addresses from companies and support addresses. If you send an email to a brand new address, Google automatically creates a contact for them and saves the email address to it. It does so, even if that address has a typo or is one you'll use just a single time.
How to Remove a Saved Email Address
To stop outdated and misspelled emails from appearing, you need to modify or remove the contact itself. To do so, perform the following steps:
- Open the Google Contacts App.
- Select a contact.
- To remove the contact, tap the three-dot menu and select Delete.
- To edit or update the contact, tap the Edit contact button. Make your changes and select Save to finish.
This will handle your main contacts. To get rid of email addresses that are not tied to anyone you know, follow these steps:
- Open the Google Contacts App.
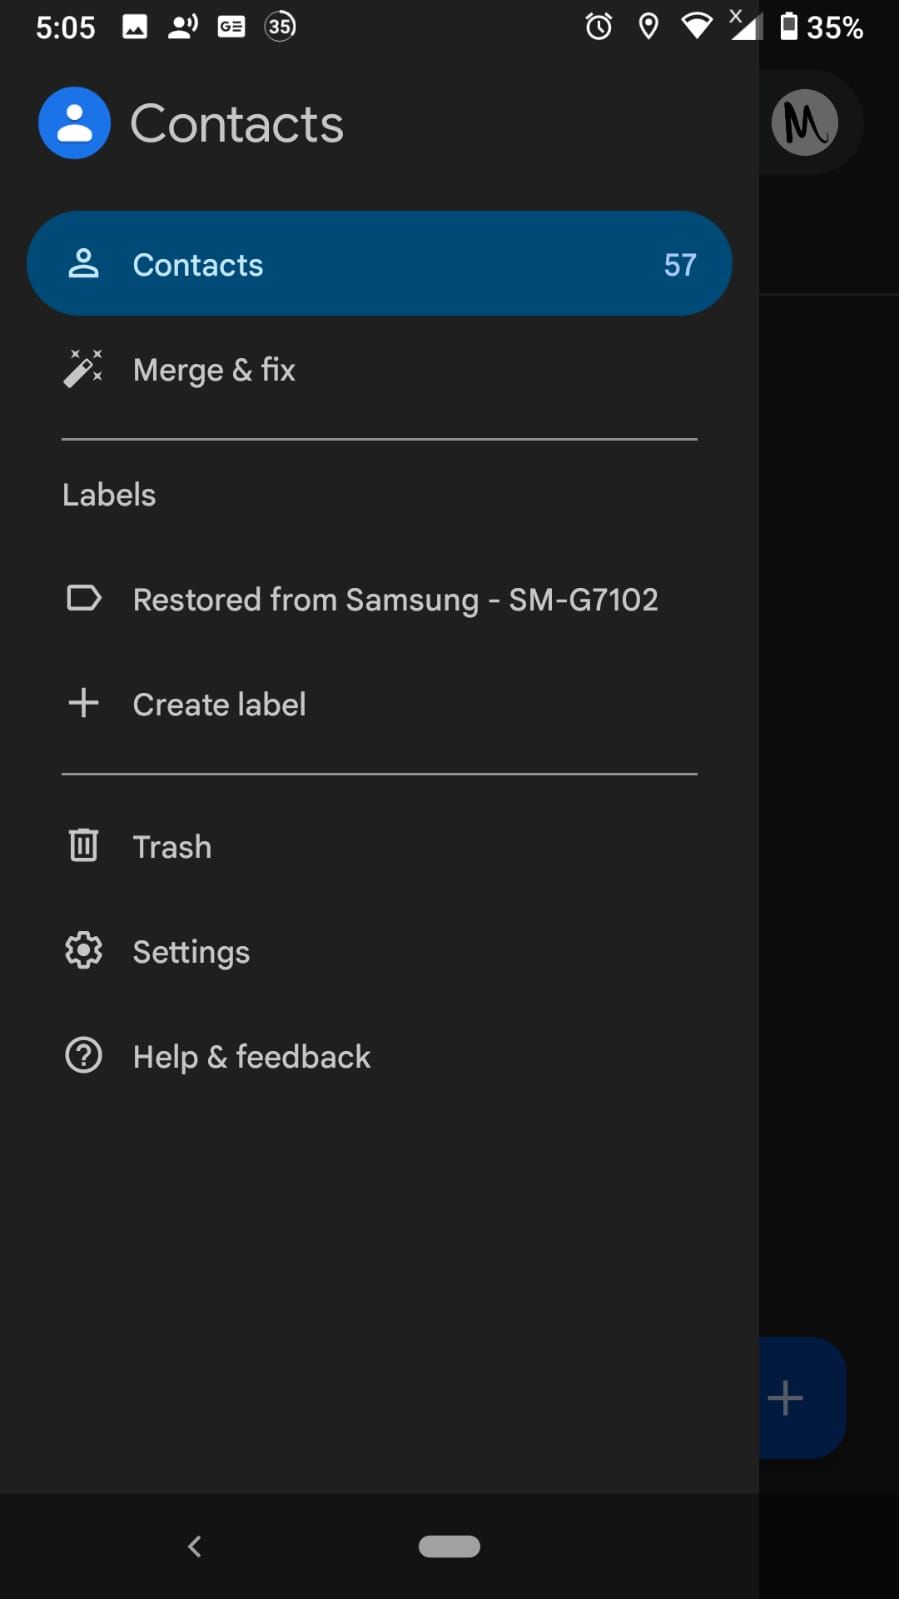
- Select the three-bar menu in the top left corner.
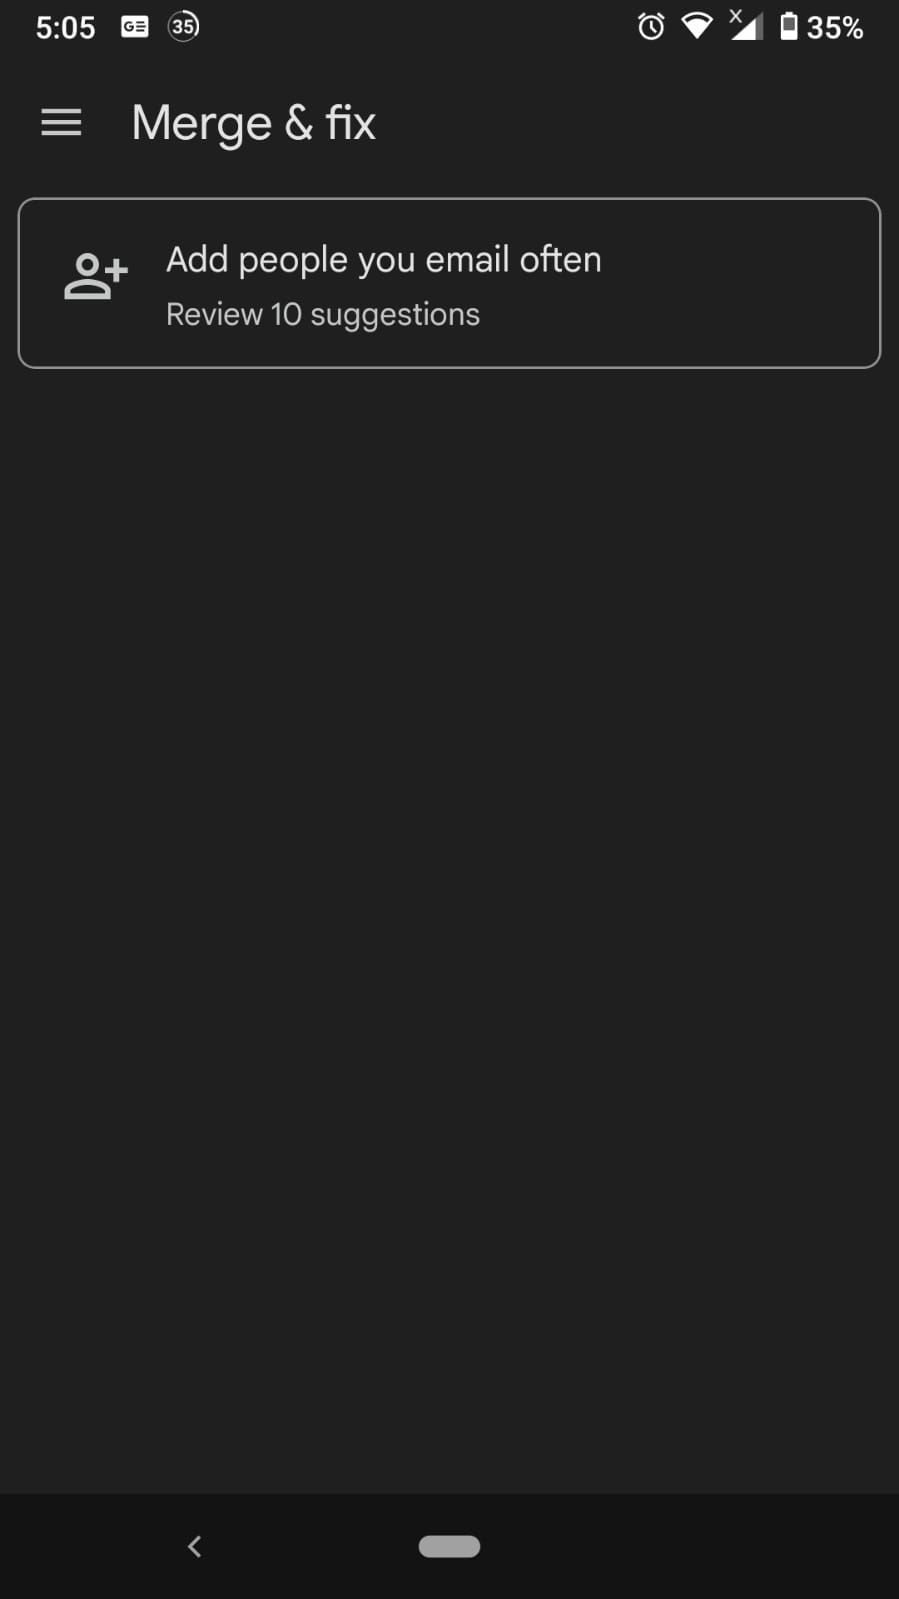
- Depending on your contacts, you will have an option labeled Suggestions or Merge and fix. Select this option.
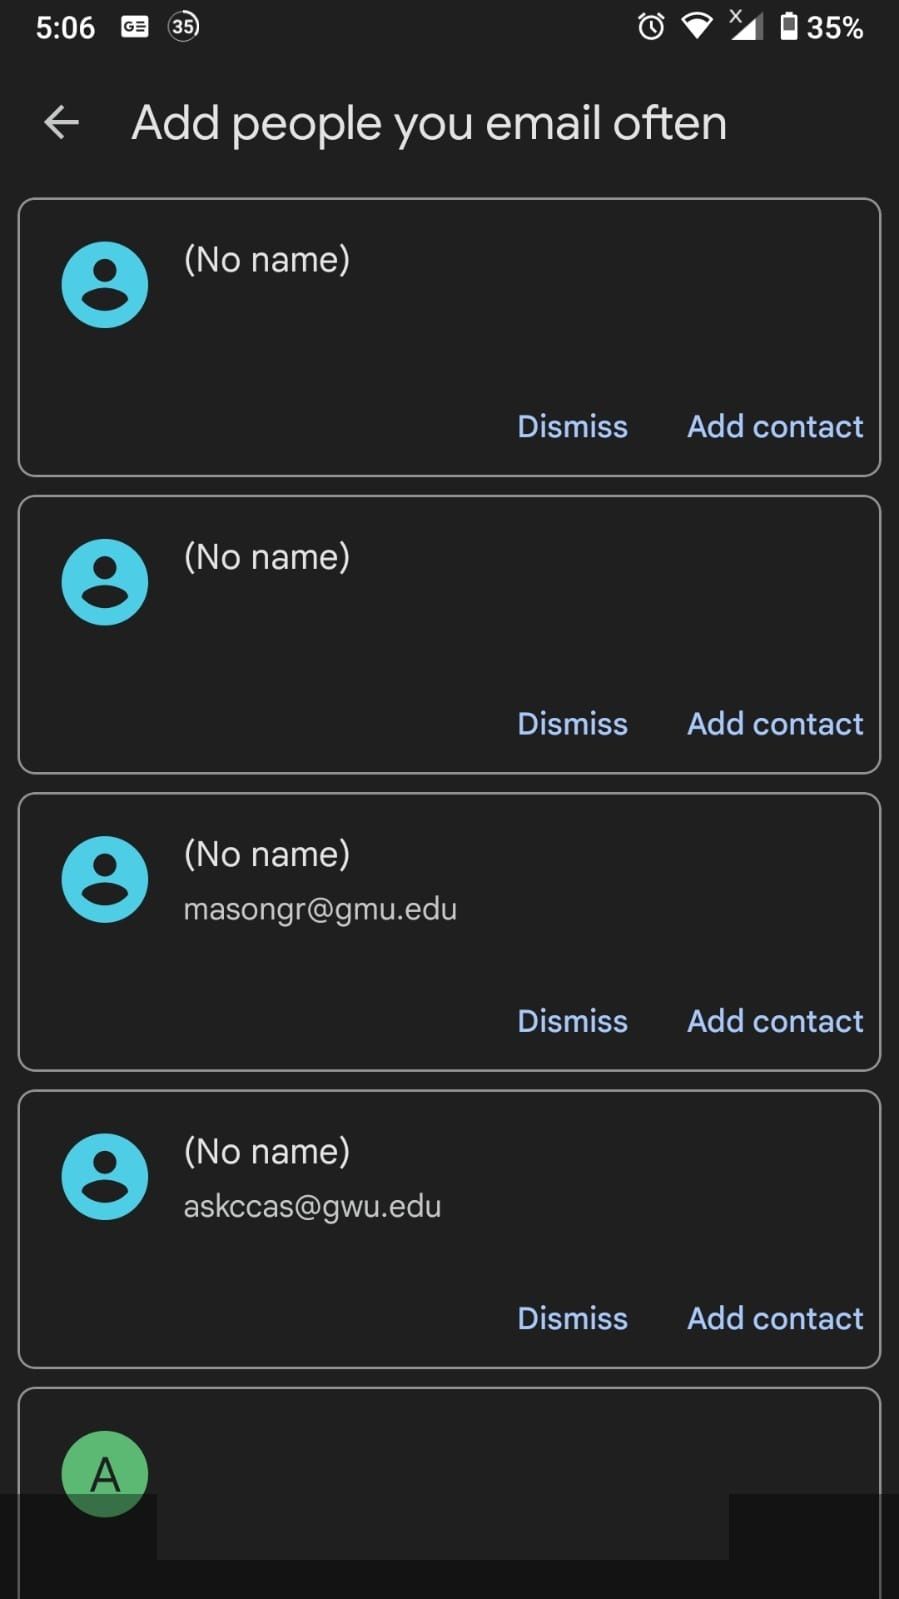
- Select Add people you email often.
- You will now see email addresses from your Other Contacts folder.
- Select Dismiss to remove the email address.
- Select Add contact to create contacts for these addresses.
How to Disable Auto-Complete for Contacts and Emails
So, once you've finished sorting and removing email addresses, you may never want to do so again. Google saves contact information from any interaction you have with someone, on any of their services. This can happen from sharing a Google Drive folder with other people or somebody adding you to a Google Photos album.
Thankfully, Google gives us an option to turn off the feature that auto-saves all contacts. Perform the following steps to disable the feature:
- Open the Settings app.
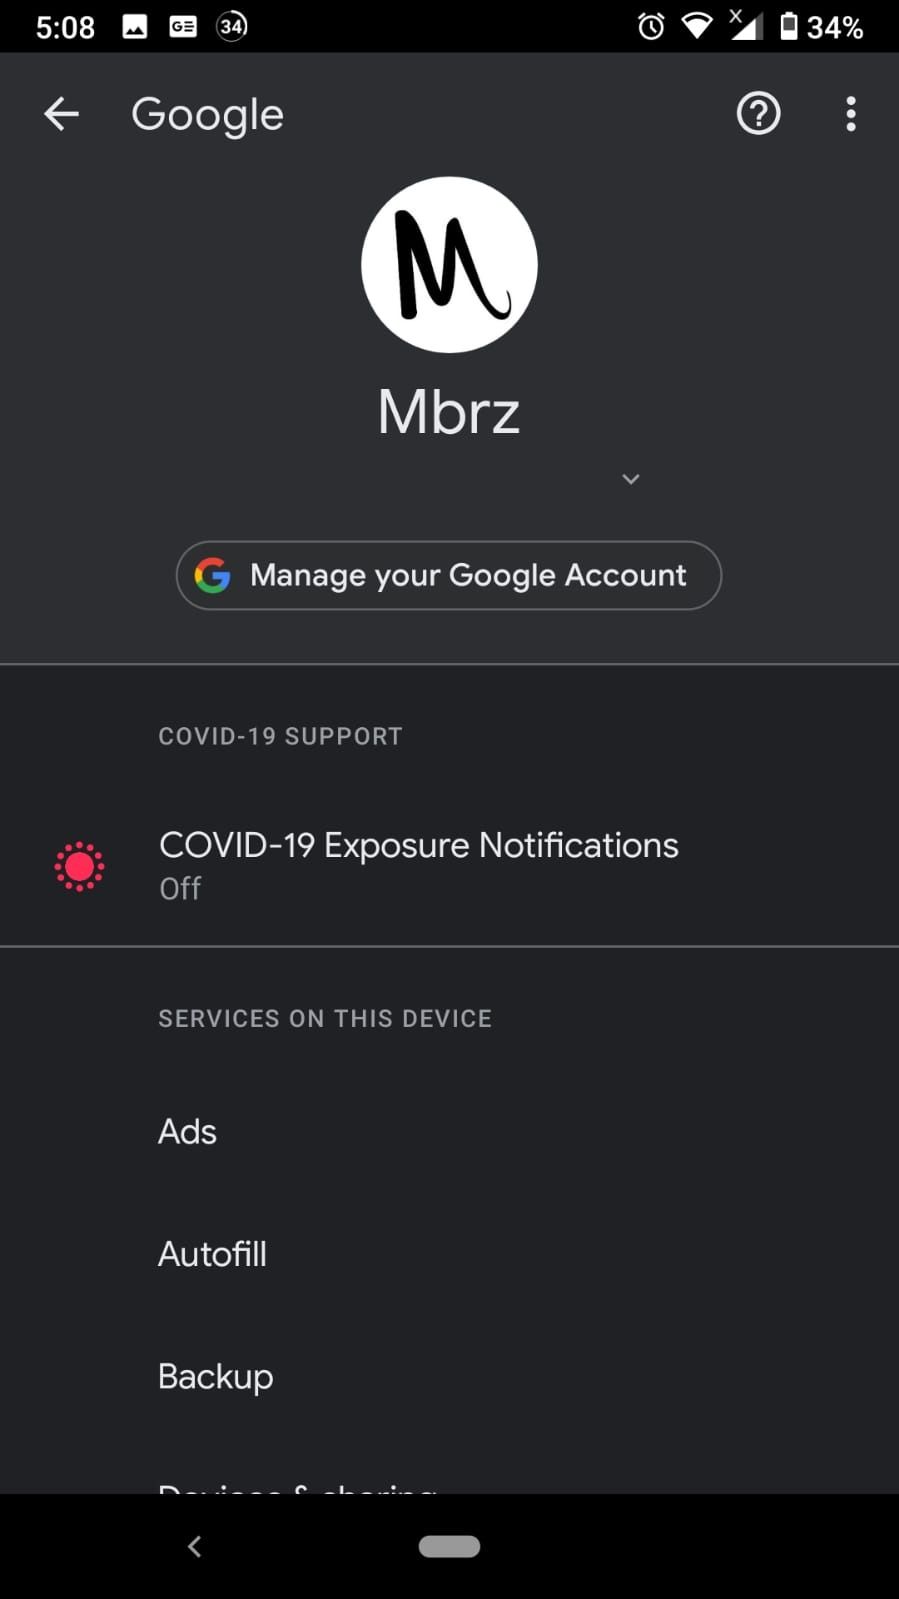
- Select Google > Manage your Google Account.
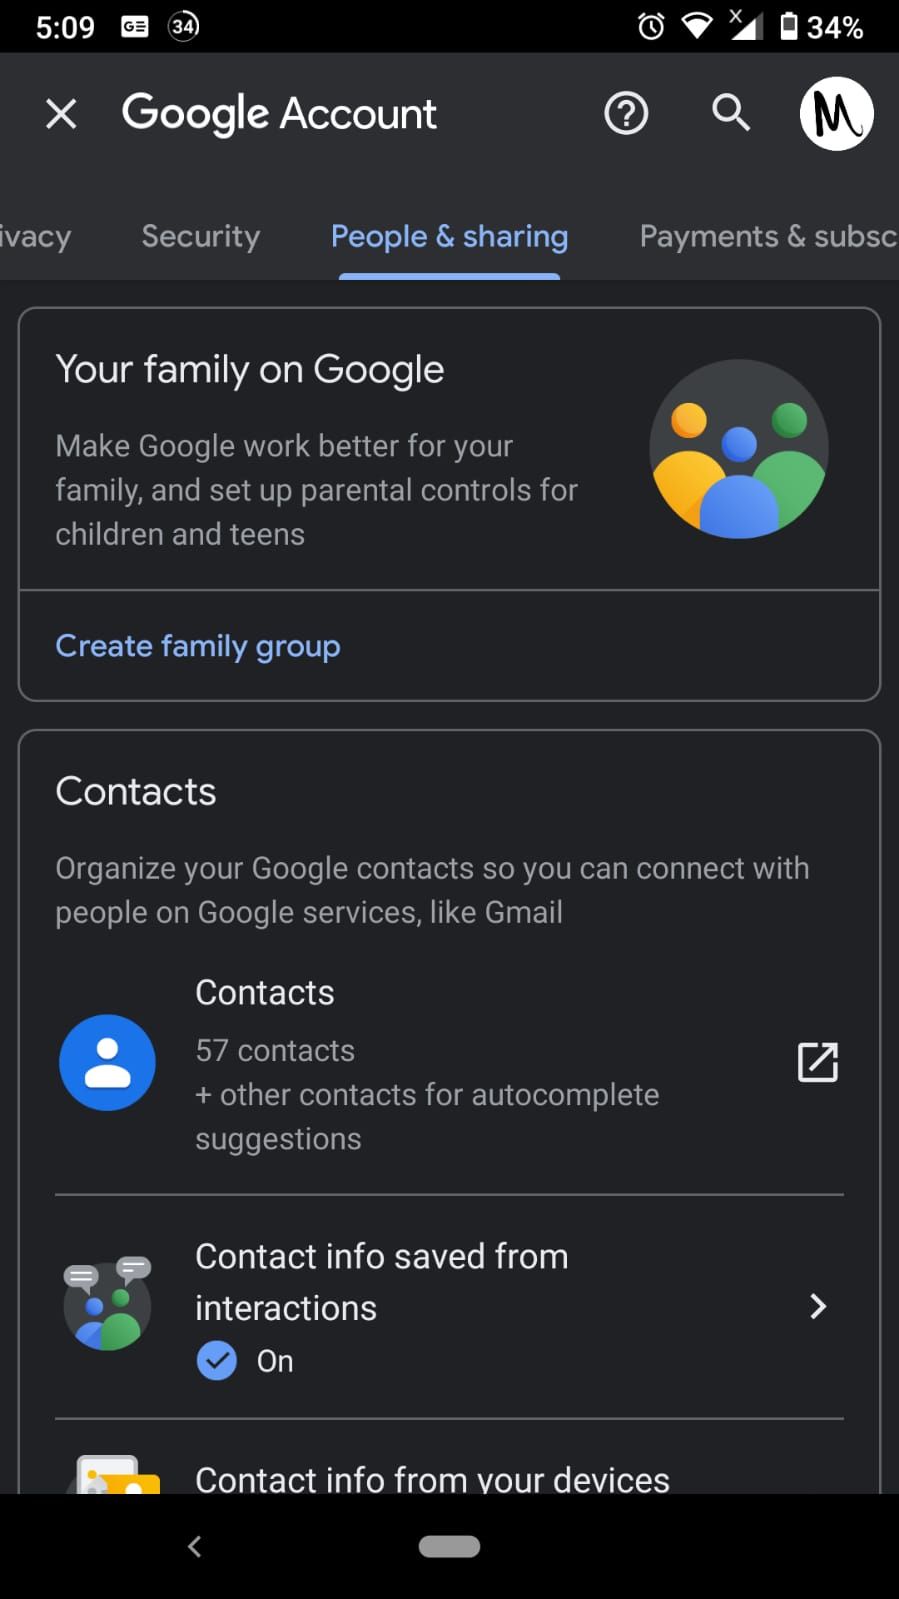
- Click on the People and sharing tab
- In the Contacts section, select Contact info saved from interactions.
- Disable Save contact info when you interact with people.
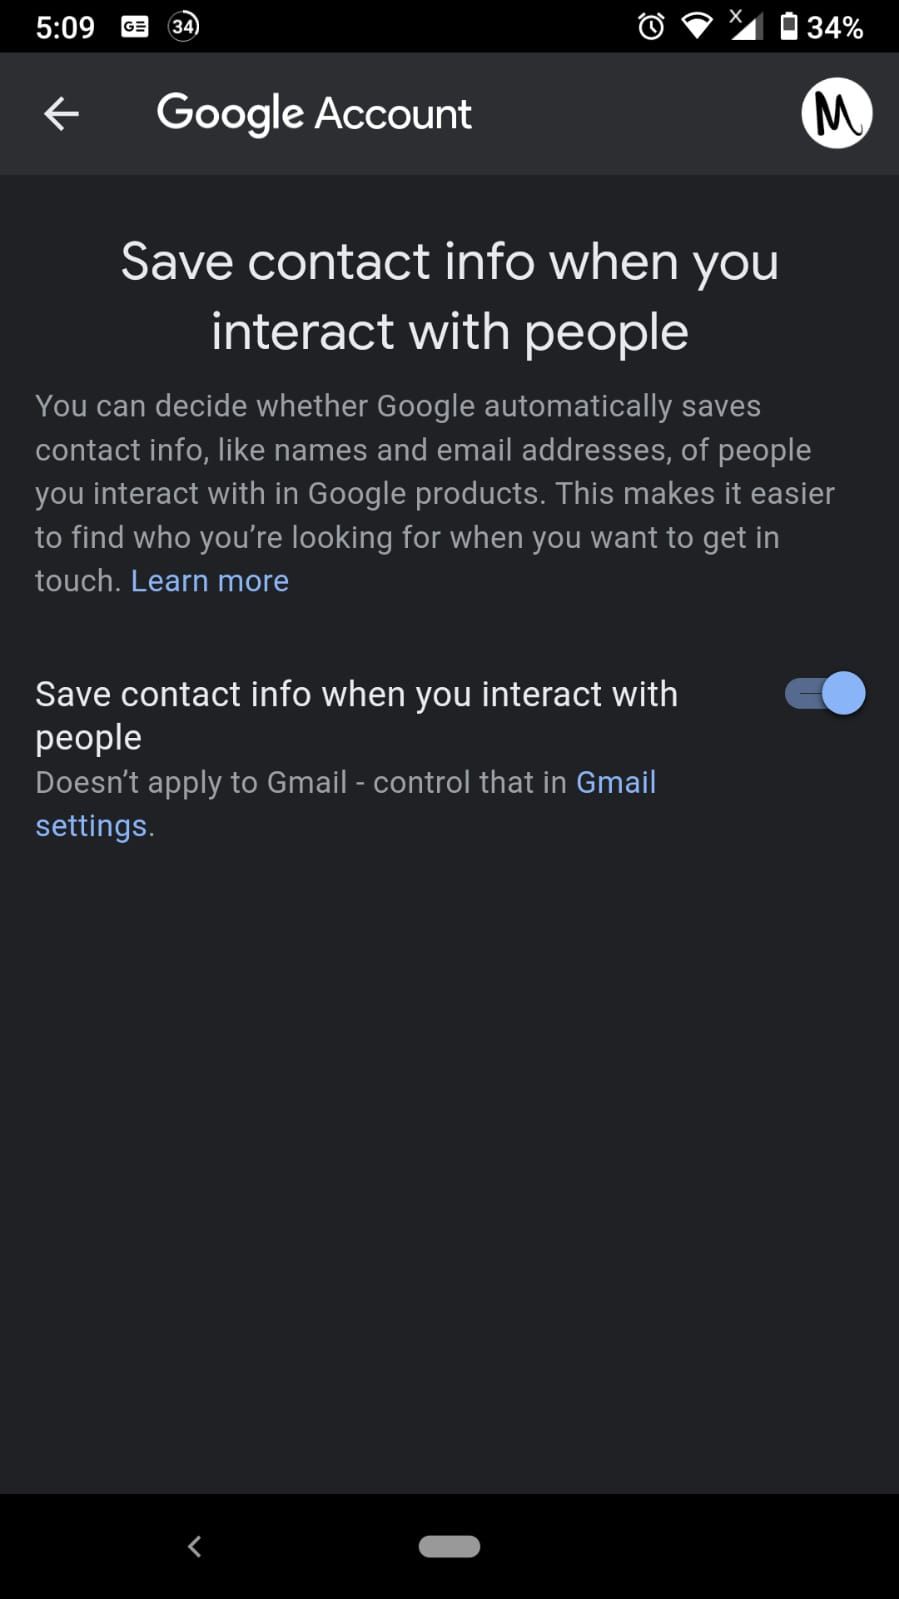
Note that this turns off the feature in all Google services except for Gmail. To also apply it to Gmail, you'll need to use the website, not the app:
- Head over to mail.google.com.
- Select the gearbox in the top right corner to access the settings.
- Select See all settings.
- Scroll down to Create contacts for auto-complete.
- Select I'll add contacts myself.
- Scroll down and press Save Changes.
Say Goodbye to Unwanted Email Addresses
Using these steps, you can say goodbye to all those outdated and misspelled email addresses that clog up your contacts. Enjoy sending email without fearing that you're using a bad address.

