Notion is a powerful tool for personal productivity, team collaboration, and indexing information. Whether you’re trying to organize class notes, keep track of personal goals, brainstorm a project with a team, or share information on the web, Notion can be customized to your needs.
Like any new software, there may be a learning curve at first, but we have you covered with an introduction to the basics of Notion and what you can do with it.
1. How to Add Content
To add content to your Notion page, it can be as easy as clicking your cursor on an empty space. This creates a block, which is what every piece of content on Notion is referred to. When you create a new block, you can start typing to add text to the page.
The formatting tools are hidden to keep the writing experience minimalist and distraction-free. When you highlight your text, a formatting menu pops up that allows you to perform basic formatting functions, hyperlink text, change text color and background, and more. Basic keyboard shortcuts can also be used.
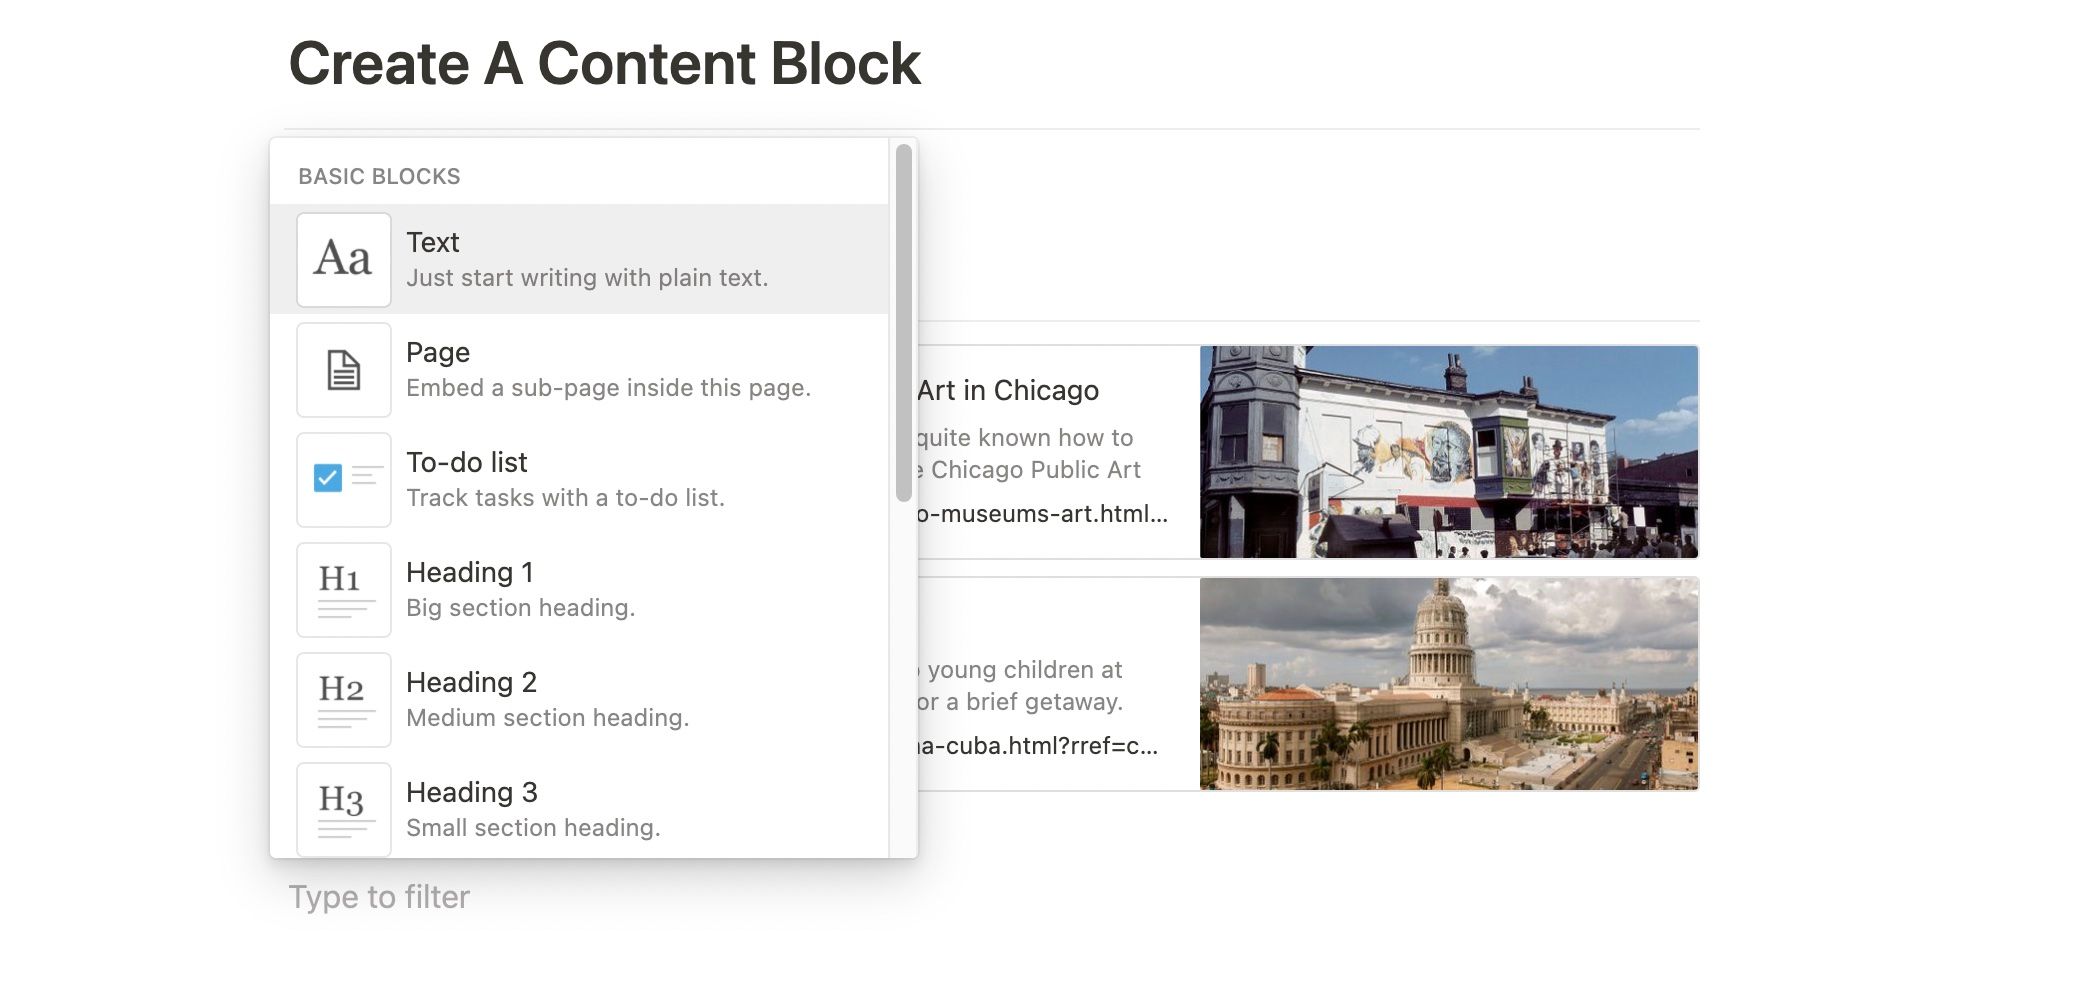
The content options with Notion don’t stop with just text. There are a lot of different content blocks you can create, from simple text basics like headings to checkboxes to more advanced content such as embedded photos, databases, web bookmarks, and much more.
Our personal favorites to add to Notion are databases, which are very easy to get started with and have many views available to use to your advantage. To add a content block, you can hover your cursor and click on the plus sign that appears in the margin and select the content type from the pop-up menu.
2. Use Slash Commands
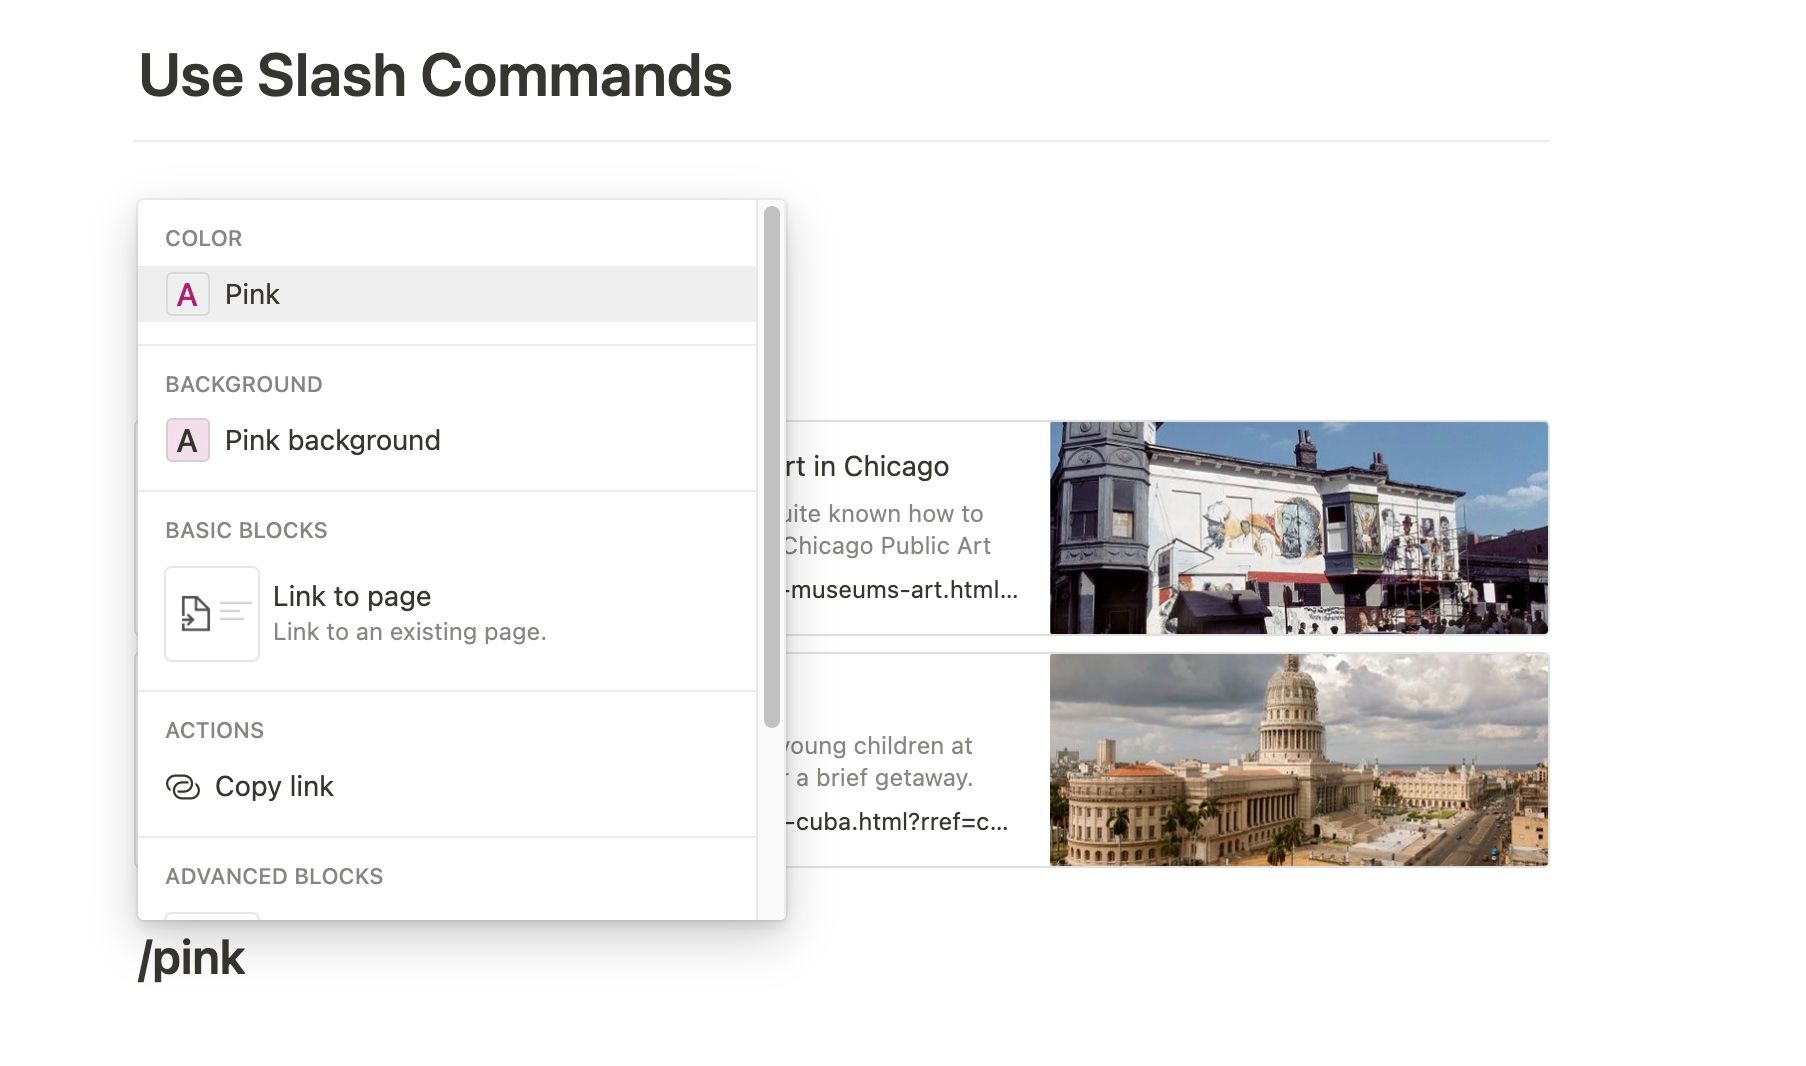
You can also use slash commands by typing out a slash and then searching for the content block you want to add. For instance, you would type “/file” to add a file block.
Once you get acquainted with the different types of content blocks available to use in Notion, you may find that slash commands are a quick and convenient way to build a page of diverse content. Many slash commands and keyboard shortcuts are carried over from shortcuts you may already recognize, such as bolding text with “CTRL+b” for Windows and “cmd+b” for Mac, or using “/h3” to create a “Heading 3”.
Slash commands are also useful for quickly changing the color of text or highlights, by simply adding a slash followed by the color you want to the beginning of the text.
3. How to Edit Content
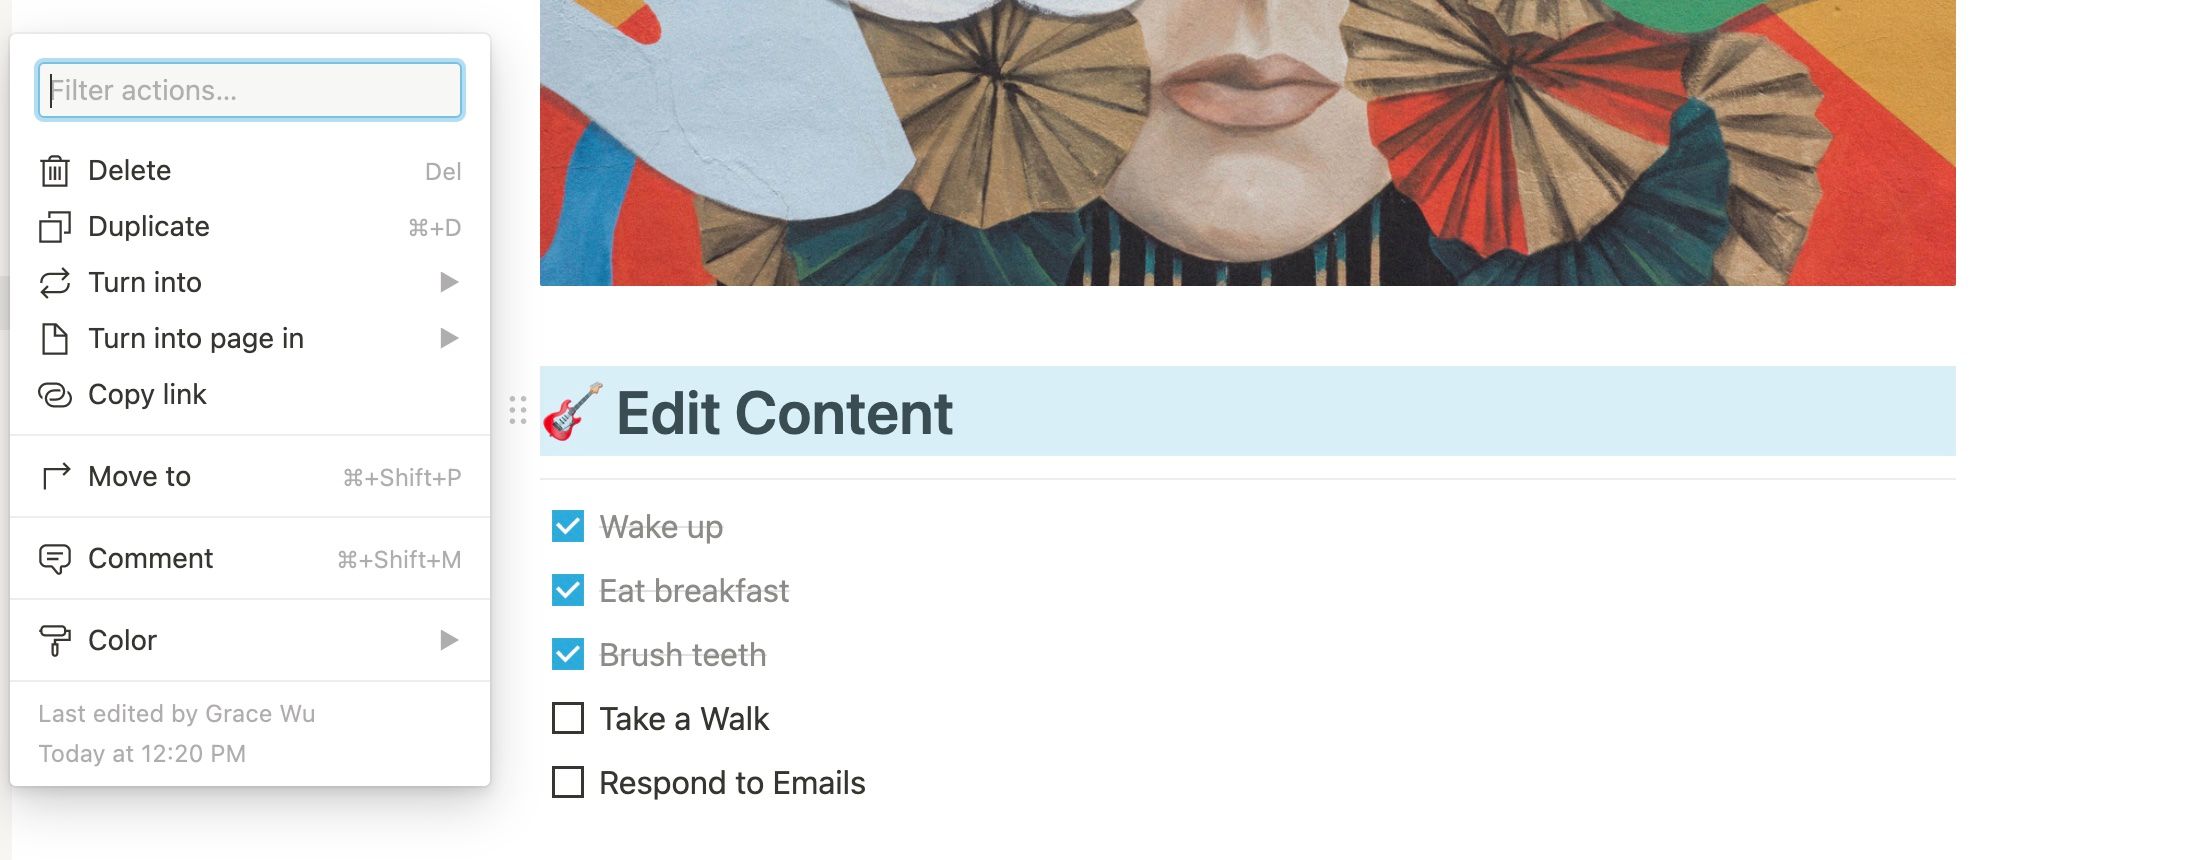
When you hover over a content block’s margin, you’ll also notice six dots. Click on it to reveal a menu that allows you to delete, duplicate or copy a link to the block. Depending on what type of content it is, there may also be some more options available.
You’ll also be able to turn it into another type of content block or turn it into its own page. Lastly, you can also change the color of text or block highlights from this menu. One of the great benefits of Notion is how easy it is to edit and rearrange your information on the page. You can use those same six dots from the margin of a content block to drag and reorder it on a page.
You can also create multiple columns of content by dragging a content block beside another block. This creates a new column that you can resize by dragging the gray bar between the columns back and forth.
4. How to Customize Pages
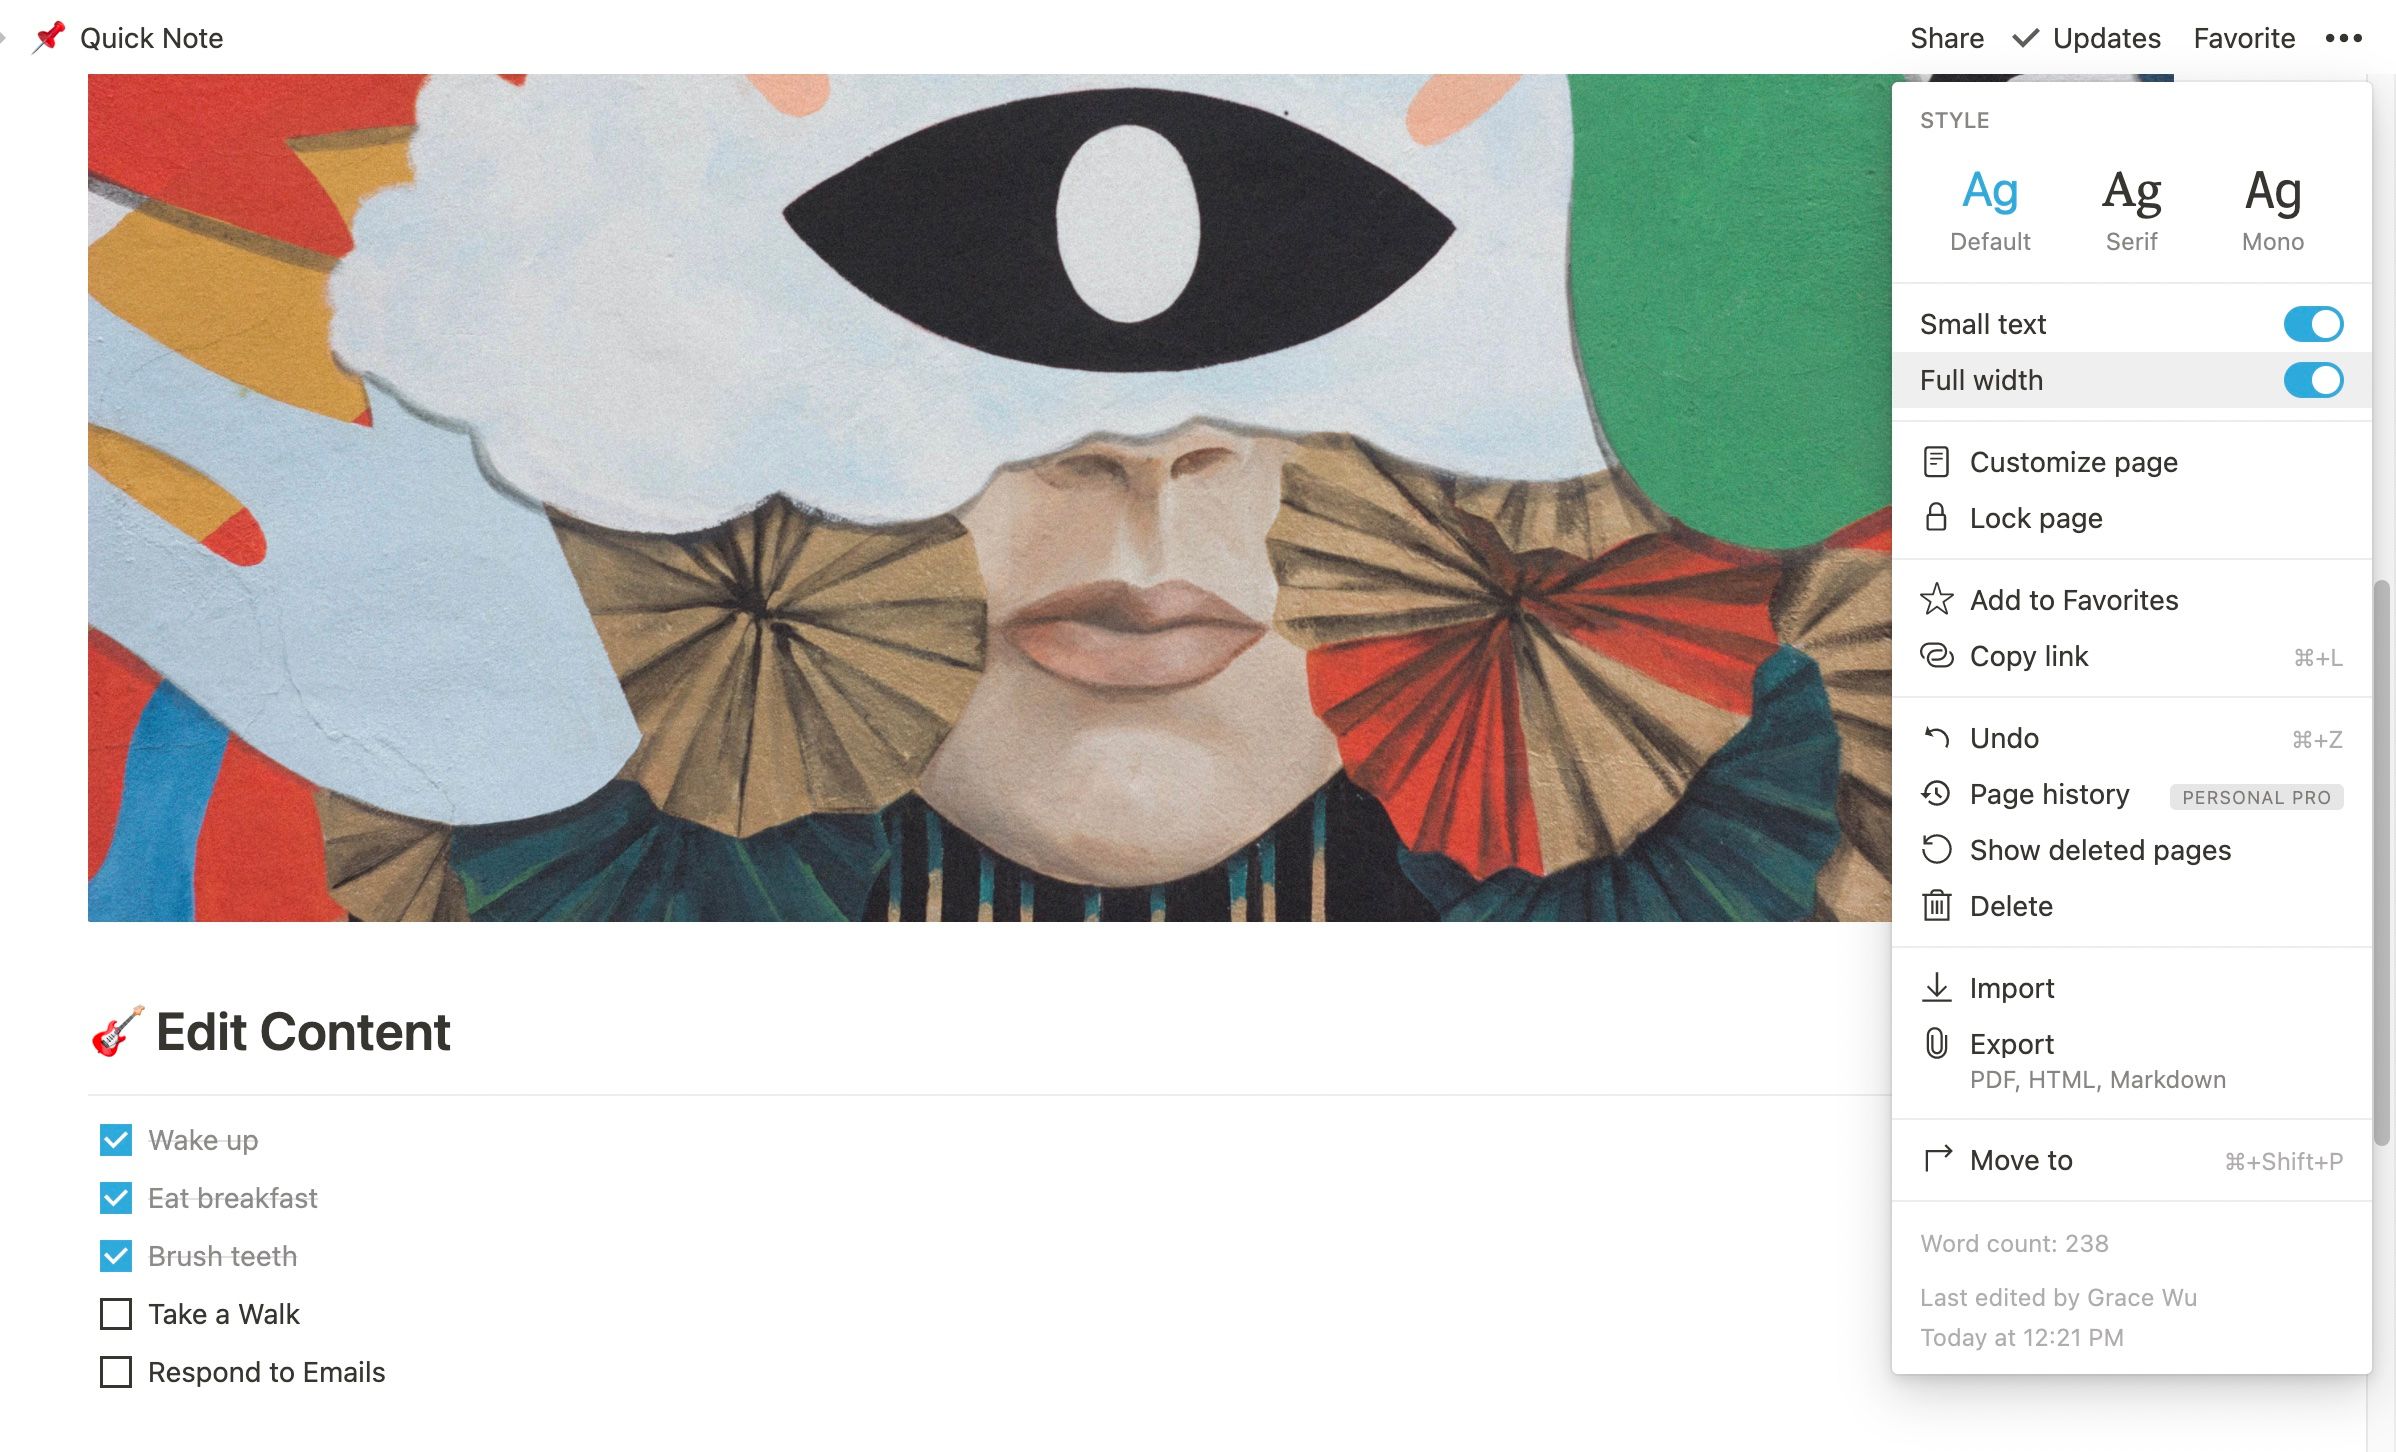
On the top right of Notion, click on the three dots menu to view some customization features that can be applied to the whole page. You can change the font from Default to Serif or Mono, and you can adjust the width of the content and make the text smaller.
5. How to Create Your Own Workspace
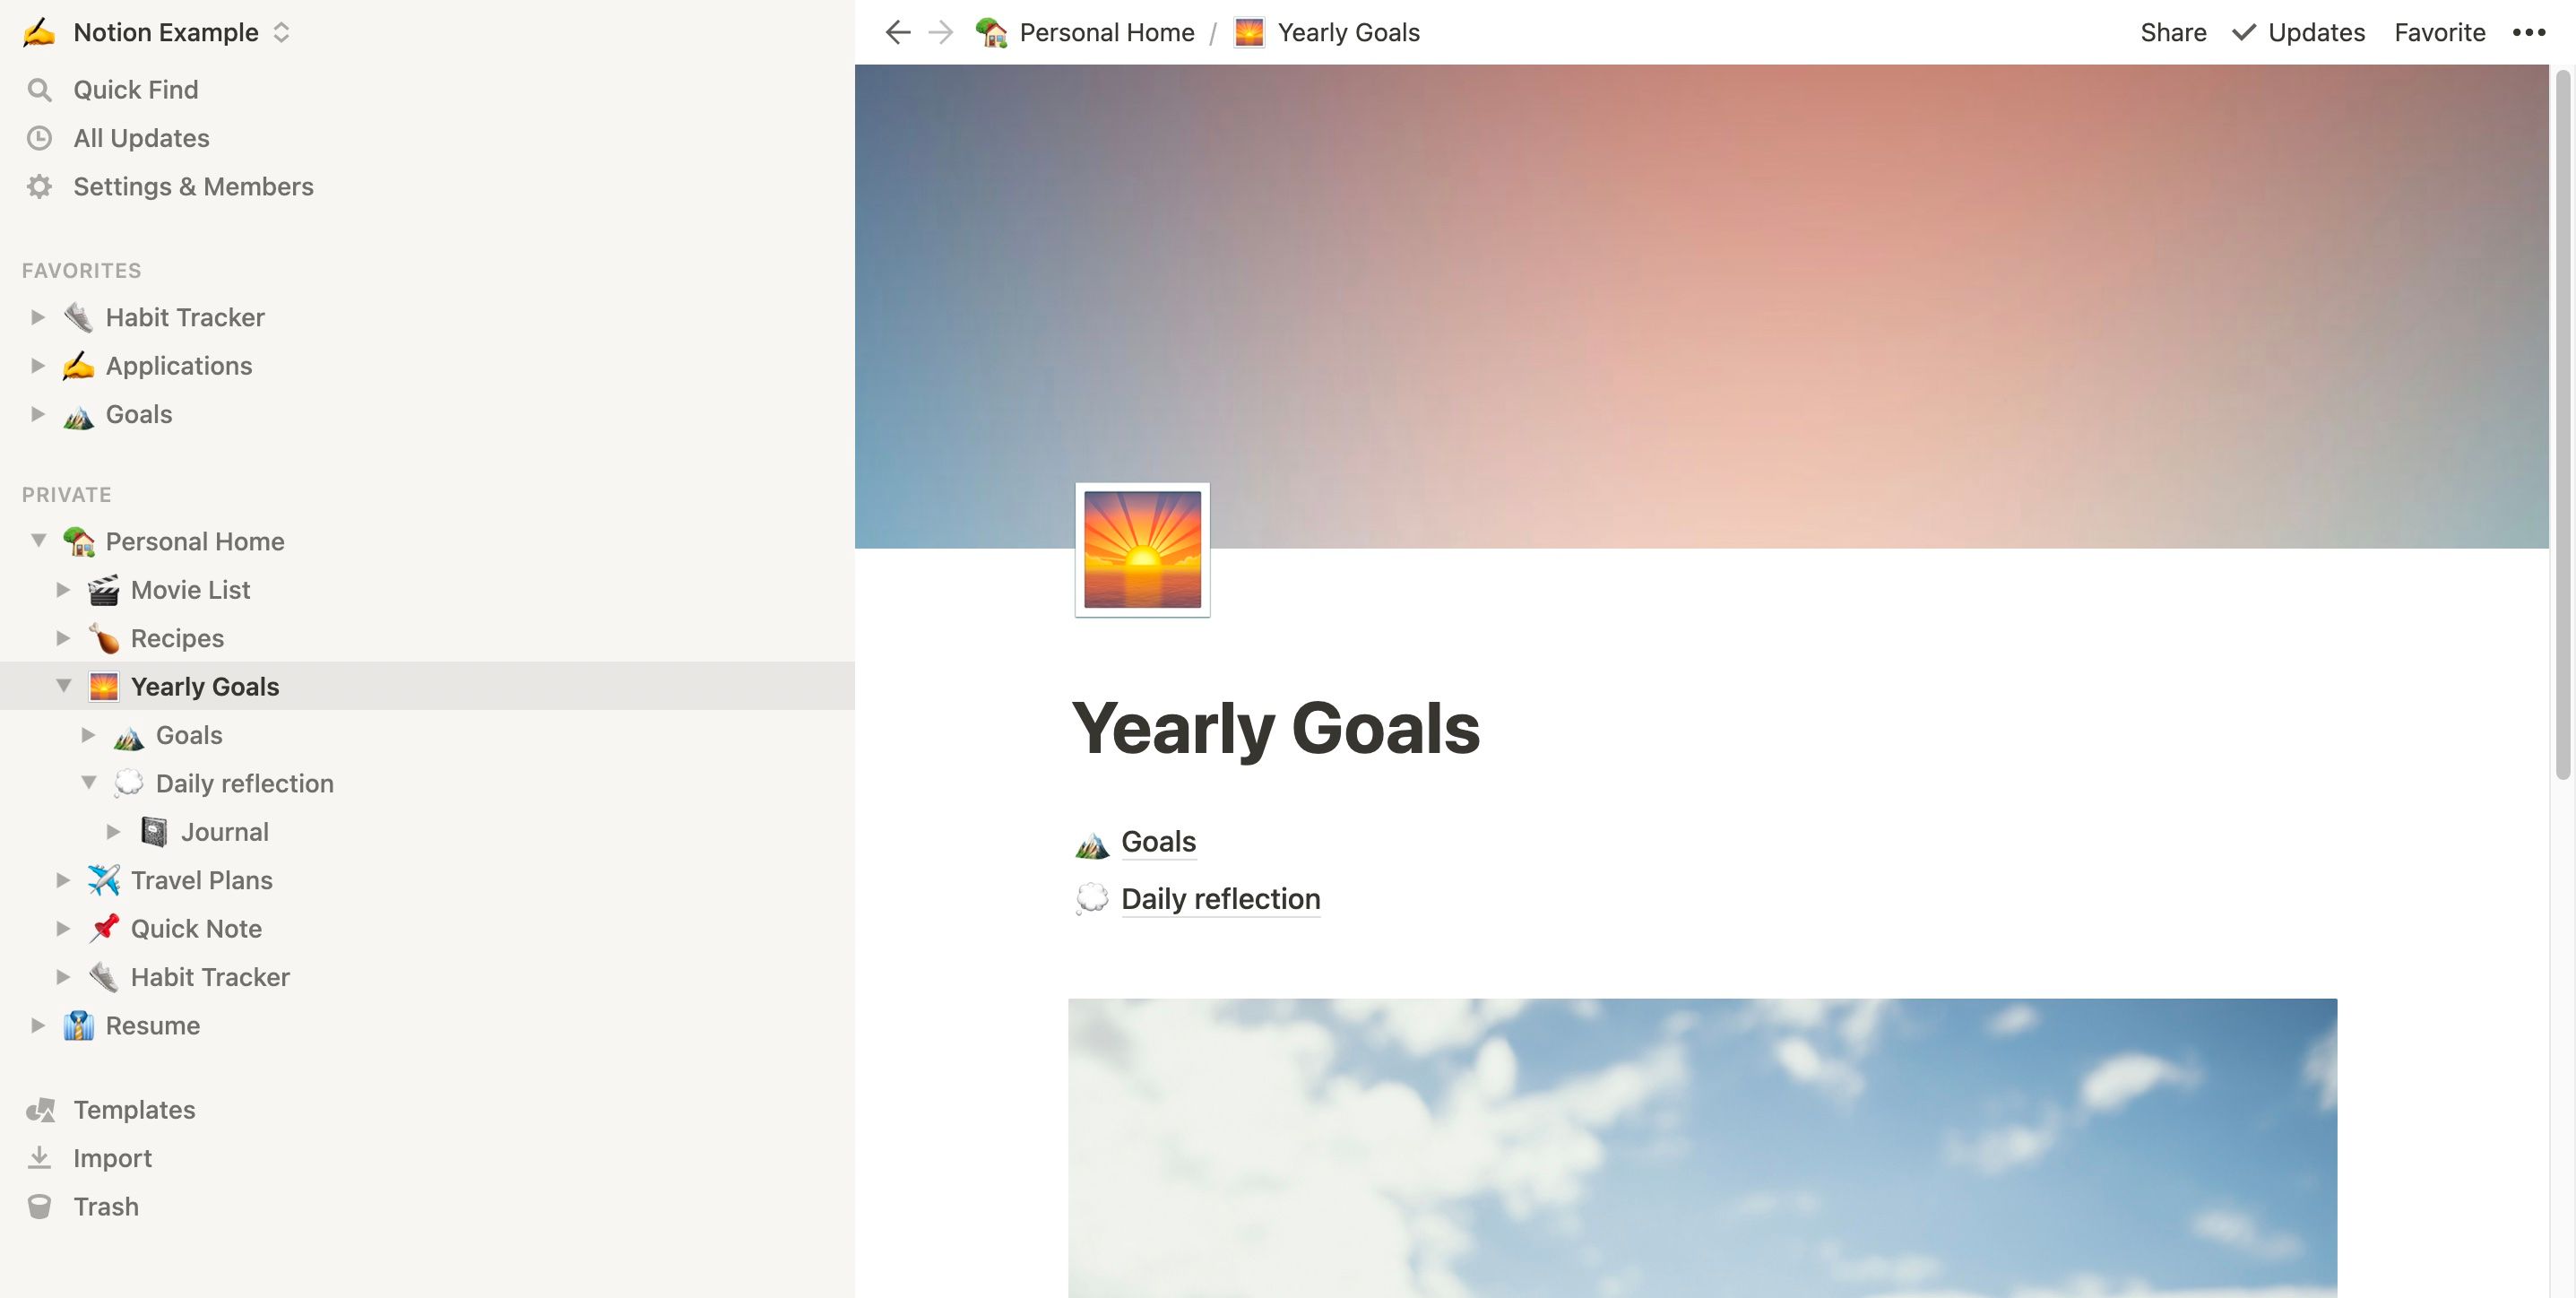
With Notion, you can have private pages and workspace pages that are shared with others. Notion allows you to nest sub-pages inside pages, which is useful for keeping relevant information together and organized. To create a sub-page, simply add a new content block and choose “Page” as the content type.
The sidebar is a great resource to keep track of the pages you have and to create new ones. Top-level pages are always visible, and you can open and close toggles to view the pages nested within. You can almost think of these are folders within folders of your content and information.
If creating a completely blank page feels like a bit of a daunting task, then you can get started with a Notion template. Templates are a useful starting ground for beginners and advanced Notion users alike, and there are hundreds of useful free ones available. You can access pre-made official Notion templates from the sidebar, or duplicate third-party templates online.
You can also import content from other apps such as Evernote, Trello, Google Docs, or more. This makes it easy to transfer content over to your Notion workspace.
6. How to Keep Your Workspace Tidy
Because of how easy it is to have sub-pages within sub-pages and navigate throughout your workspaces, we recommend having a small number of top-level pages and simply nesting relevant pages within. This helps keep the sidebar tidy and organized and allows you to hide pages that may not be relevant at the moment.
You can favorite any subpage that you use frequently and need quick access to by clicking “Favorite” on the top right. This pins the page to the sidebar under a “Favorites” section.
You can organize your pages by dragging and dropping them in the sidebar to reorder. You can even drag and drop a page into another page, and it will become nested into the new page. Another way to move sub-pages around is to find the block they are nested on and move the content block to another top-level page.
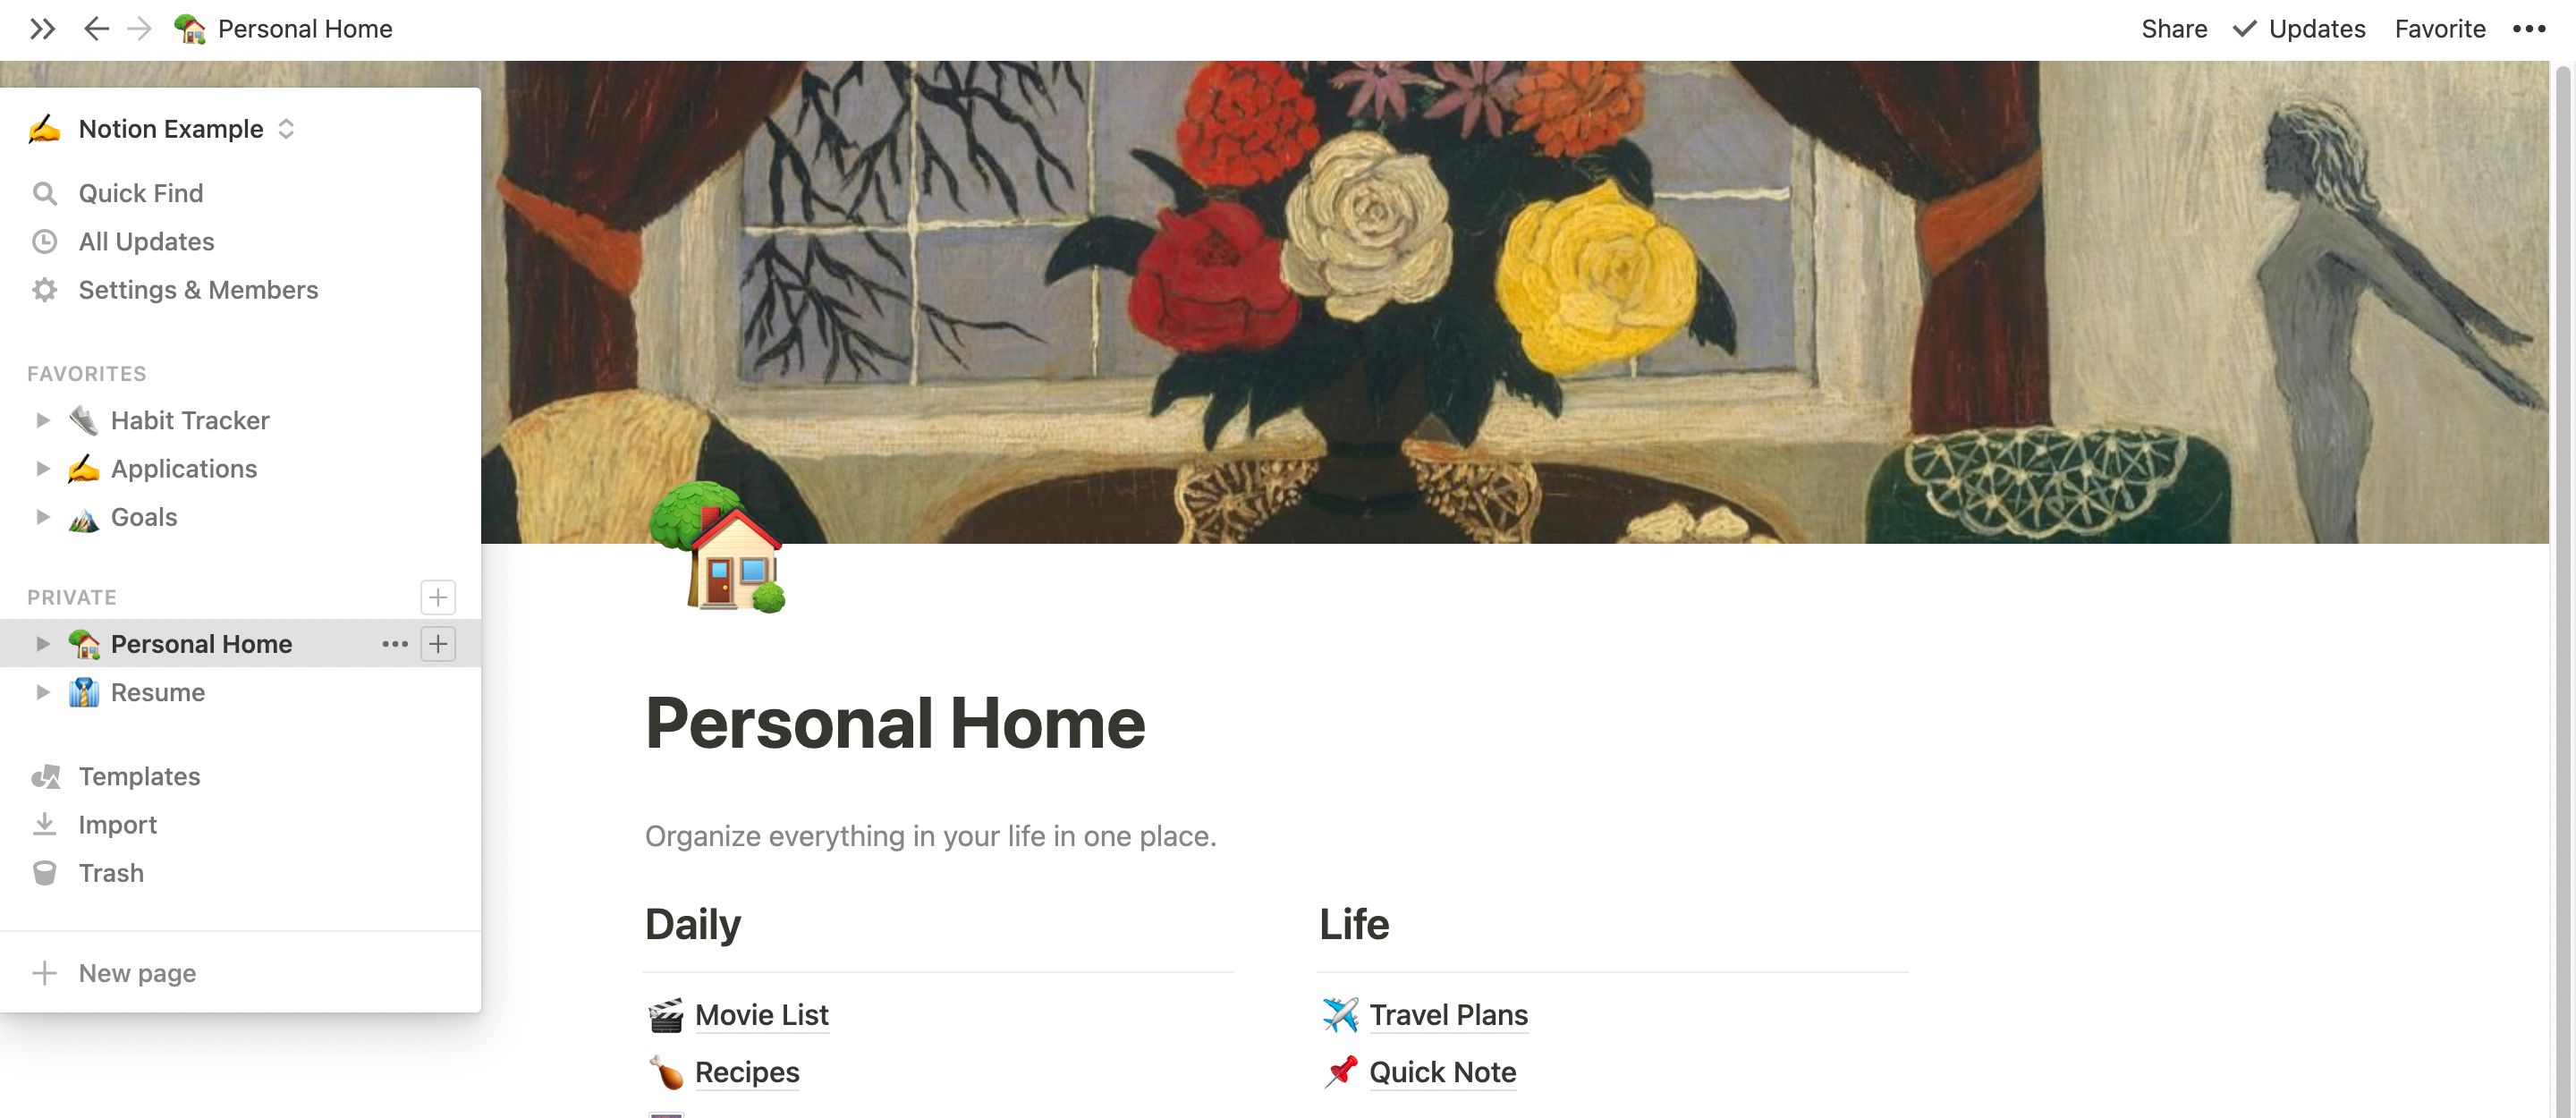
Lastly, you can hide the sidebar by hovering over the top of it and clicking the arrows. This can help simplify your view of your workspace and focus on what’s on the page, and you can always hover your cursor on the left side to have the sidebar pop out again.
7. Collaborate With Others
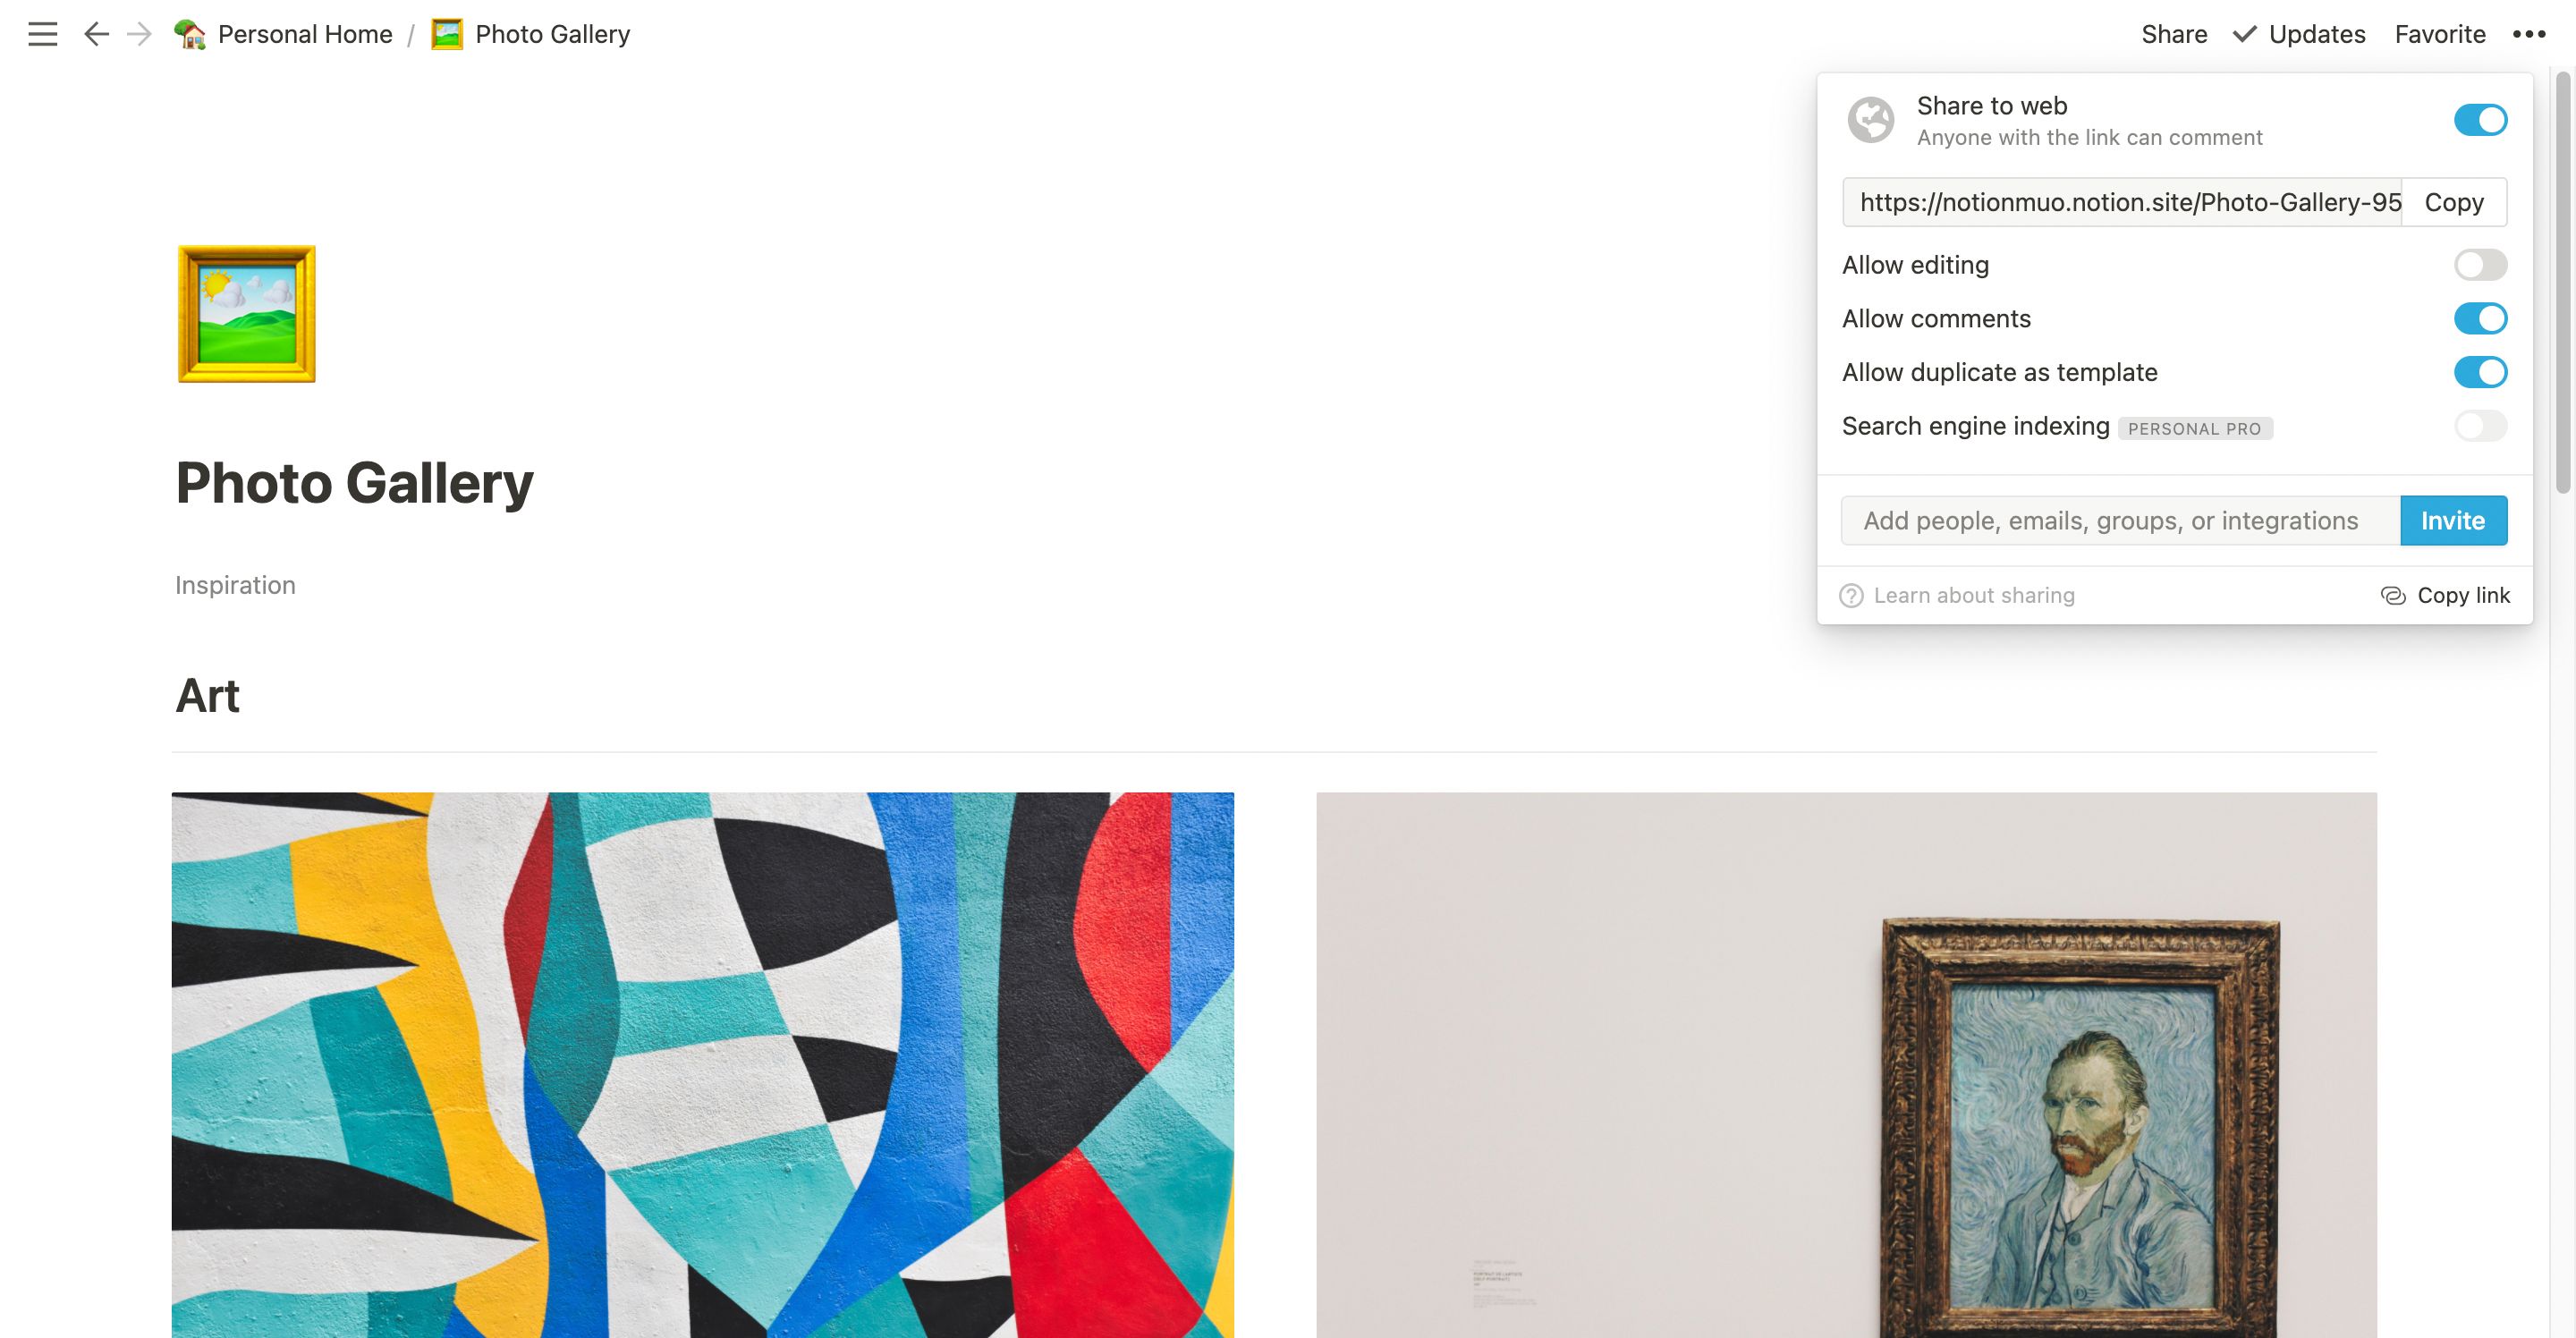
As much as Notion is a powerful tool for personal productivity, it’s also a great tool for collaborating with others. Click Share on the top right of a Notion page to invite others to edit, comment, or view its contents.
You can also choose to publish your page to the web, in which case anyone with the link can view it.
Build Your First Notion Workspace
Now that you know how to use the basics of Notion, it’s time to get your own workspace up and running. The tips we’ve shared in this article are a perfect starting off point, but there are many more features from Notion that are worth taking advantage of once you’re comfortable.
Customize your pages to work for your needs, and take a look at the online Notion community for inspiration. You may find yourself becoming a power user in no time.

