Starting fresh with a new project management software is a project in itself. Each one is different from the next, so on top of trying to map out all your projects, you may be dealing with a learning curve. It can be overwhelming.
However, one thing they all have in common is that planning ahead can help make a smooth transition. Additionally, you’ll set yourself up to keep a clean and consistent workspace. Read on to learn what steps you can take when starting with a new project management software.
Deciding How You Want to Use Project Management Software
Before you set up your software, you need a plan for how you want to use it. Knowing who will use the account and the types of project boards within will help you get started.
Who Will You Be Working With?
Will anyone else be on the account? Who are they, and what are their roles? The level of privacy and permissions you can set for your team will vary depending on which one you use and the tier you subscribe to. So, it’s good to plan ahead, even before selecting one, who is using the account and what you want to give them access to.
For example, the personal versions of Notion are very different from Team account, but you can collaborate using either. The personal ones offer pages that start private and allow you to invite guests, while the Team account unlocks collaborative workspaces that allow you to share with your entire organization right away.
Within your organization, you’ll also want to consider who you want to give admin permissions to. Additionally, if your software allows guests, you can determine whether sharing a project board with clients, contractors, or others outside of your workplace is necessary or not.
What Kinds of Project Boards Are You Going to Use?
You can do more than create simple project outlines in your project management software. You can also:
- Create project request boards where you and your coworkers can delegate miscellaneous tasks or ask for help. ClickUp is an excellent software to build one, but you can build them in any project management software.
- Outline an ongoing workflow from start to finish to get a quick overview of what step projects are in.
- Set up an open assignment board where you and your coworkers can assign yourselves to available tasks.
Deciding How to Organize Project Management Software
Now that you know who you’re working with and the kinds of project boards you’ll be using, you need to determine how you want to organize the account.
How you do this is really a matter of preference, but the number of people you work with will also help you decide. There are many ways you can organize your project boards, such as by:
- Client
- Project
- Department
- Team
You can even use a combination of the above. But, if you work with a large company, organizing by department or teams will simplify finding projects and tasks for everyone.
As you organize items, you want to avoid overcomplicating the names of your tasks, projects, boards, and folders. You and your coworkers will find what you need quickly if you keep things as straightforward as possible.
This is especially true of subfolders. If the tool you’re using offers subfolders, ask yourself before creating one if it’s really needed, and if so, determine the optimal name when others are looking for it. Including a series of small, empty, or mislabeled folders will only create confusion.
Think of it almost like the file folders on your computer. You want to be able to find what you’re looking for in as few clicks as possible.
Adding Tasks to Project Management Software
Once you determine how you’d like to organize your tasks and projects, you can start mapping them out. First, it’s helpful if you make a list of ongoing projects and break them down into action items. You can do this on paper or in word processing software—whatever method works best for you.
Sticking to current projects will help simplify the process. Create boards and tasks only for projects you’re currently working on or are upcoming, rather than including outdated or placeholder information.
Be sure to name your project boards accordingly and only include related tasks within. This hierarchy will help you find details more swiftly and give you and your coworkers a quick overview of a project’s status.
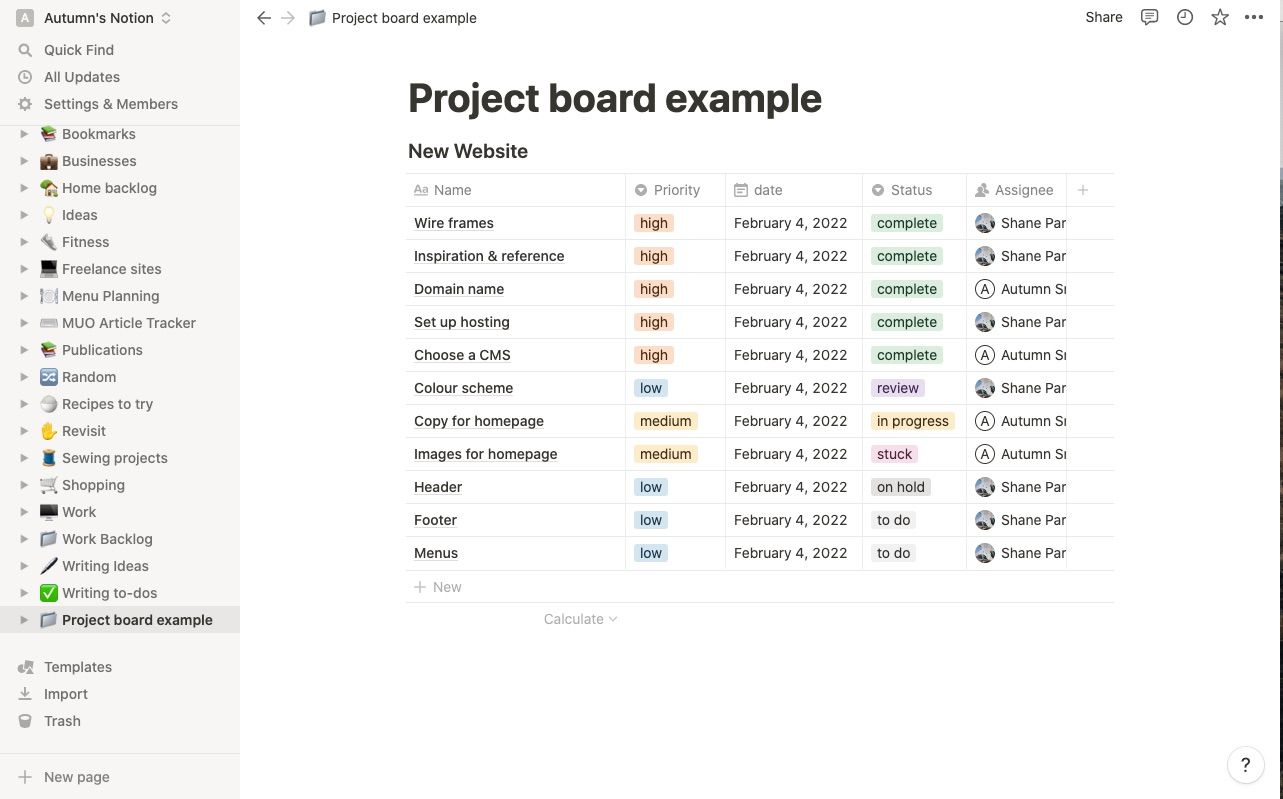
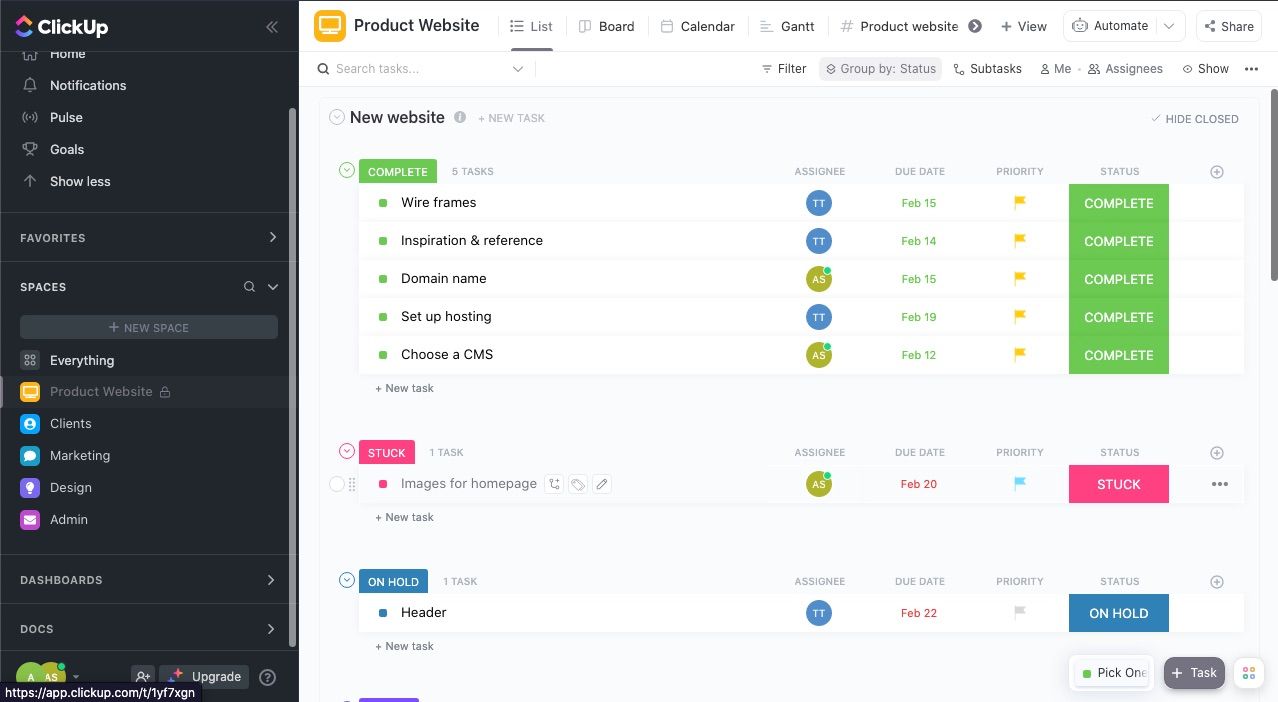
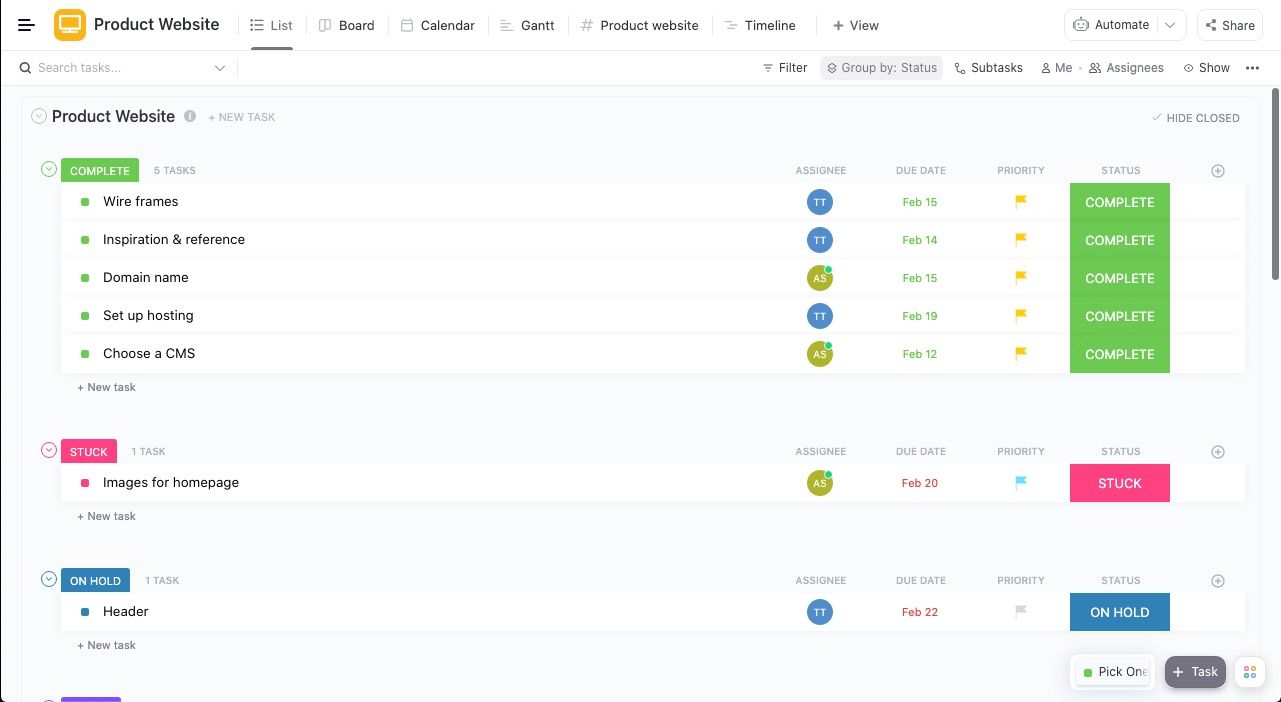
As an example, if you’re developing a new website for a product, you would create a project board and call it something like a Product Website. Then, you would list all the action items that make up a website as tasks within. So, things like choosing a domain name, setting up hosting, designing wireframes, and so on.
If you keep your system for adding projects and tasks consistent, it’s less likely you’ll need to spend time decluttering or reorganizing.
What to Avoid When Setting Up Project Management Software
Some things you want to avoid when setting up a new project management software are:
- Doing everything at once—start small with a list of current projects to avoid getting overwhelmed or cluttering up your workspace.
- Utilizing every feature—especially if it’s a paid account, you may think you want to get your money’s worth. However, there are a lot of bells and whistles that come with project management software that may only get in the way. Researching the product beforehand is one of the ways you can avoid feature fatigue.
- Overcomplicating projects—take the less is more approach when mapping out your projects. For example, a lot of project management software offers less visible subtasks you can nest within larger ones. However, it may be tedious for you to list out the steps within a task and for your coworker to check them off.
Get Started With Your Project Management Software
Getting started with a new project management software is less overwhelming if you do a bit of planning ahead, and you start small. Rather than building it out with outdated projects or placeholder information, create items as you go, and keep a consistent naming system for tasks, projects, and folders.
Remember to keep it simple. The fewer clicks you need to find what you need, the better.


