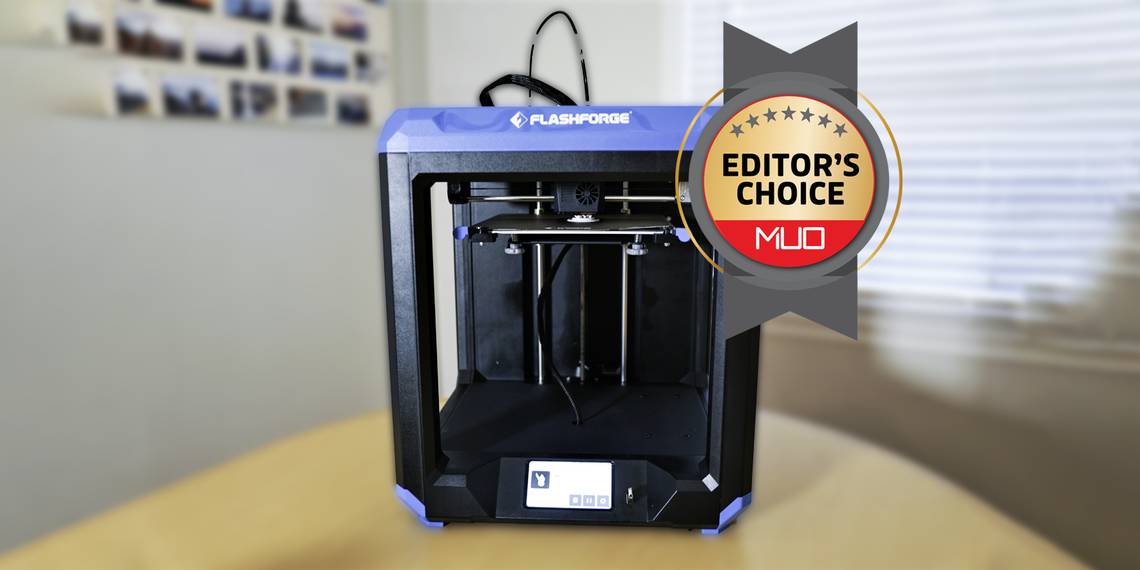
flashforge artemis


The lack of assembly required, color touchscreen, and modern look of the Artemis make it easy to love. Add a user-friendly slicer software on top of that with FlashPrint, and there is sure to be something here for anyone, regardless of experience level.
- Quiet printing
- Comes with glass and PEI magnetic build plates options
- Compatible with 3rd party slicing software
- 260°C maximum extruder printing temperature
- Build Volume: 190 x 195 x 200mm
- Printing Speed: ≤180mm/s, 50-80mm/s normally
- Materials Used: 1.75mm PLA / PETG / TPU
- Brand: FlashForge
- Extruder Quantity: Single extruder
- 4.3" color touchscreen display
- Very user-friendly slicer software
- No assembly required
- Wi-fi connectivity can be unreliable
- Filament run-out detection failed
The Artemis is the latest model from 3D printing pioneers Flashforge; famous for its Adventurer and Creator series of 3D printers. They’re now touting the Artemis as your next warrior and workhorse desktop 3D printer, suitable for a home tinkerer, student, teacher, beginner, or expert in 3D printing. We think that's a fair assessment, and we're amazed at the results we've got from such a beginner-friendly printer.
What Can You Do With the Flashforge Artemis?
3D printing is a fascinating technology that’s still so young and intersects with so many other hobbies and professions. The potential for its utility seems really limitless. I've been a big fan of tabletop gaming for years and can see all the obvious applications 3D printing has for that hobby, but like many of you, was very intimidated by the idea of 3D printing.

Even though 3D printers are becoming more affordable every year, they’re still very complicated pieces of machinery with lots of moving parts, and you’ll have to learn the basics of slicer software.

Flashforge has positioned the Artemis in a few interesting ways that may or may not fulfill its mission of being an ideal 3D printer for beginners, veterans, educators and pragmatic builders alike. It’s compatible with Polar Cloud 3D, which is great for educators; but it’s also a bit outside the “beginner” price range at $585.
So as a complete beginner, let me walk you through all of my ups and downs with the Flashforge Artemis: the best and worst prints, compatible software, maintenance on the printer, and everything in between.
Unboxing and Setup
The Flashforge Artemis starts out with what I consider to be a huge pro: it comes fully assembled out of the box. There are still quite a few things you’ll have to do before you can start your first print, but I definitely consider this a huge win over cheaper 3D printers marketed toward beginners. Not having to assemble the printer itself suddenly makes delving into this new hobby feel so much more manageable.
Inside the Artemis you’ll find: the power cable, a filament spool that attaches to the back of the printer, both a glass sheet and a flexible spring sheet for the printer bed, several small tools like wrenches, screwdrivers, a scraper tool, a needle, a glue stick, a few replacement parts, and most importantly a USB flash disk loaded with FlashForge’s own slicer software: FlashPrint. Not to mention, a generous inclusion of two (1kg) spools of PLA filament! One black and one white.
Once you’ve unpacked all of your components, there are several zip ties on the inside of the Artemis that you’ll have to cut out. Most of these are easy to find or clearly labeled, but there were a couple I almost missed. What’s worse, is that there are a few more really tiny zip ties around cables on the extruder head, and I wasn’t sure if I was supposed to remove those. I really would’ve appreciated some more clear direction on this in the user manual. Cutting some of those zip ties was stressful enough as they were around belts or other things I didn’t want to cut.
The last few steps in the user guide before moving on to downloading the software include loading filament into the printer and leveling the build plate. Out of those two steps, which would you assume is the more difficult task? I was very surprised by how easy it was to level the bed of the printer. So much so that I releveled and recalibrated it two more times. On-screen prompts guide you through the leveling process and make it super easy—I nailed it on my first try.
Loading filament on the other hand, which sounds straightforward, took me a couple of tries. I found I needed to push the filament in a little harder than I was comfortable with.
Now the only thing standing between you and your first print is cracking open that slicer software!

I was very pleasantly surprised when I opened up FlashPrint for the first time. Part of the reason I wasn’t looking forward to learning any slicer software was that every glimpse of them I’d seen up until that point all looked so ugly.
The user interface of FlashPrint is much more aesthetically pleasing than the typical slicer software and actually makes it so easy to print things that I didn’t even really start digging into how the software worked until I had completed a few prints.
Hardware
The Artemis is certainly one of the nicest looking 3D printers out there. Especially in comparison to budget 3D printers that are in that $200-400 range and usually require assembly. The partially enclosed build plate and mostly concealed filament rack contribute to the Artemis’ appearance. When I see 3D printers that don’t have any sort of enclosure or have one or two spools of filament sticking out of the top of it, they look like they belong on a workbench in a garage or basement.
The Artemis on the other hand looks quite natural in my home office, next to a traditional 2D printer (which, by the way, has worked exactly once, so by comparison, the Artemis is way better and it prints things in a whole extra dimension!)
The Artemis has a 4.3-inch full-color touchscreen display. The interface is extremely user-friendly—I never felt lost or like I couldn’t find a setting I was looking for.
I also greatly appreciated the inclusion of the flexible spring sheet as opposed to the glass sheet. I installed the flexible spring sheet right away, and up until my most recent print, I had absolutely no adhesion issues. The few issues I’ve recently experienced didn’t even ruin the prints. In my experience, I can’t see why anyone would ever want to bother with a glass sheet; the spring sheet not only has had great adhesion without the assistance of glue, and it makes it incredibly easy to remove prints from the bed. Most times, I wouldn’t even have to flex the sheet at all—the print would just fall right off once the plate cooled.

The build volume is a little above average, but not remarkably so, at 190mm deep by 195mm wide by 200mm high. Obviously, this thing can handle printing small stuff like miniatures and terrain for D&D and wargaming, but I was also able to print larger items like the Master Sword from the Zelda franchise.

With a print as large as a full-scale sword, I had to make several prints in segments and then attach them afterward.

The largest single print I made was this dice tower that looks like a skull. It took 36 hours to print and turned out absolutely fantastic! I'm still shocked at all of the visible detail, and this STL file was a free download that took no adjusting in the slicing software.


The printing process itself is very quiet, especially compared to most 3D printers. For the most part, you’ll just hear the fan running accompanied by the occasional whirring of the motors and servos moving the x and y-axis. My home office is within clear earshot of the living room, and the Artemis hasn’t disturbed any TV watching or naps on the couch thus far. I do live in the city near busy roads and the airport though, so maybe my roommates and I are all just used to a louder level of background noise.
The spool on the back of the Artemis that feeds the filament is mostly concealed. It isn’t behind a door or inside a compartment, but it is behind the printer rather than on top of it, and I think that overall makes the space the Artemis occupies look a lot cleaner and less chaotic.

Finally, the extruder can heat up to 260°C. I haven’t had to heat my Artemis past ~245°C for any prints yet, and I’m still novice enough to not really know why you might need it to get that high, but it’s nice knowing I haven’t reached that ceiling yet.
Software
As mentioned, the flash drive comes loaded with Flashforge’s own slicer software, FlashPrint. However, the Artemis is also compatible with third-party slicing software. I installed and tried to learn Cura because, from what I can tell, it seems to be one of the more popular options available.
Unfortunately, while FlashForge is an option within Cura for printer types, Artemis isn't yet added to the compatible printer list. So, after poking around in Cura a bit to see what I could learn, I decided to bounce back to FlashPrint. Not only does it look more user-friendly than Cura and most other slicers, but like with anything else, since FlashPrint is the software I learned on, it’s what I’m most comfortable with.
Whether you’re a newcomer like me or an expert in third-party software, the interface alone I think makes FlashPrint worth checking out.


Artemis is also fully integrated with Polar Cloud 3D, a cloud printing platform suited to educational needs, with its own library of models. You can use the basic features for free. I found this wonderful model called, "The Rocktopus" with the body of an octopus and the head of Dwayne "The Rock" Johnson.

Lastly, it's worth noting that the Flashforge Artemis can connect over Wi-Fi. This is a great feature when it works—but I haven’t gotten it to connect consistently. In FlashPrint, after slicing your model, simply click “print” rather than “download” and you’ll be given the option to connect to your printer via IP address. The first time I did this, my computer connected immediately, and as soon as the connection is made between your computer and your Artemis, the print starts.
Sadly this didn't work all the time, but I don’t mind just running the flash drive up a flight of stairs.
Print Quality
Onto my actual experience printing: I’ve had some really impressive results. I’m consistently shocked by the fact that you can print out articulated joints in a single go like with Rocktopus’s tentacles or this fidget cube I made.

All of these came out in one piece and move so fluidly! These were both printed on the standard black and white PLA that came included with the Artemis.
These five prints, I think, are a good example to track my progress by. These are custom mini figures of the character I’m currently playing in a D&D campaign. This is the only STL file I’ve paid money for ($8, in fact), and I assumed printing him would be no problem at all since I’d already completed a highly detailed skull and models with moving joints.

This first one was my lesson learned about adding supports and many of the other settings you can adjust in a slicer to impact the result of your print.

By version 3, you can see that I’m actually getting the shape of my character to come out, but there’s so much stringing you can barely make out any detail on him at all.

Version 4, and you can see he’s a bit more recognizable, but part of his staff broke off and his arm cracked while I was trying to remove supports. It’s at this point where I kinda wish the FlashForge would’ve included tweezers or needle nose pliers in with their accessories rather than the glue stick or scraper, which I haven’t had to use at all, I think those would’ve come in more useful, but perhaps not for everyone.

By version 5 of my mini, he still isn’t perfect, and I’ll probably try making another version of him, but I’m much happier with this version compared to version 1. Seeing him evolve has only encouraged my learning process.

In terms of failed prints, I really only had one that I feel like I can fault the Artemis for. I ran out of filament on one of my prints, and despite FlashForge equipping the Artemis with a filament-out detection system, my Artemis continued to run a print for a few hours while being completely empty.
This is the only instance in six weeks that I've run out of filament during a print, but we can only assume the sensor is faulty.
Maintenance of the FlashForge Artemis

Lastly, I want to talk a little bit about the maintenance the Artemis requires, and give a quick shout-out to the US FlashForge support team. I had two instances of issues where the Artemis stopped working and I couldn’t find answers online by myself. In both of these cases, I got in touch with FlashForge support, and they were always extremely helpful and prompt in their responses, so thank you very much for your help FlashForge, I really appreciate it.
The first of these two issues came pretty shortly after setup: the Y axis seemed to not have a full range of motion, and would click when trying to move. Support suggested there might be some misalignment, and after following their instructions, something (still not sure what) seemed to snap into place, and it hasn’t given me trouble since.
The second issue only arose about a week ago when I started putting my thoughts together for this review, and thankfully I was also able to get this one resolved once I figured out what the issue was. Turns out, I needed to replace my nozzle!
A quick google search suggests that I should only have to replace a nozzle every 3-6 months. I’m not sure how accurate that is, and to be fair, I’ve been running my Artemis pretty much nonstop in the month that I’ve had it, but this nozzle looked completely fried when I removed it. Replacing the nozzle was definitely a bit more in-depth in terms of maintenance than I felt comfortable with.
It’s fairly easy—just a few screws here and there—but I also had to remove a couple of wires near a circuit board and that made me a little nervous. But in hindsight, it’s really not that difficult to do, and the extra nozzles included in the package have me feeling prepared to do it without FlashForge support walking me through it.
FlashForge Artemis is Ideal for Beginners
I have absolutely loved my time with the FlashForge Artemis. As someone new to 3D printing, I’m extremely glad that my first experience with the hobby was with a printer like the Artemis. The color touchscreen display and FlashPrint software makes controlling the printer really easy and learning the process feel approachable. The modern look of the Artemis and lack of assembly required also make it really easy to love.

So, would I recommend this printer to someone else who knows nothing about 3D printing? If you’re willing to pay a bit more for your first printer, the answer is absolutely yes.
Most people looking at their first printer are more than likely going to be looking at options much cheaper than the Artemis, and I don’t blame them. The Artemis is nearly $600, and for a hobby that can be really intimidating to get started with, I think it’s very understandable that you might want a cheaper option first. However, FlashForge and FlashPrint go a long way to make your first experience simple.
To those of you with more experience in 3D printing, I would still definitely recommend the FlashForge Artemis. For a mid-range printer in terms of prize and size, the Artemis looks great and can deliver great results.