
installing the latest Windows updates is crucial for the overall health of your system, but the process of installing them is not always as simple as it sounds. There are times when the users encounter issues while doing so, which are typically caused by corruption errors and temporary bugs.
In this guide, we will discuss some troubleshooting methods that have proven effective in resolving the 'Your Device is Missing Important Security and Quality Fixes' error which prevents users from updating their system. The good thing is that the methods below are not just limited to fixing this error, and you can test them out in cases of other similar update issues as well.
1. Run the Windows Update Troubleshooter
One of the easiest methods to help you resolve the update error is running the Windows Update troubleshooter. Microsoft designed this utility, and it works by scanning the system for potential issues. If it finds any problems, it will fix them for you automatically.
All the latest Windows versions come with an Update Troubleshooter, but the steps for navigating to its location might be slightly different.
Here is how you can run the troubleshooter:
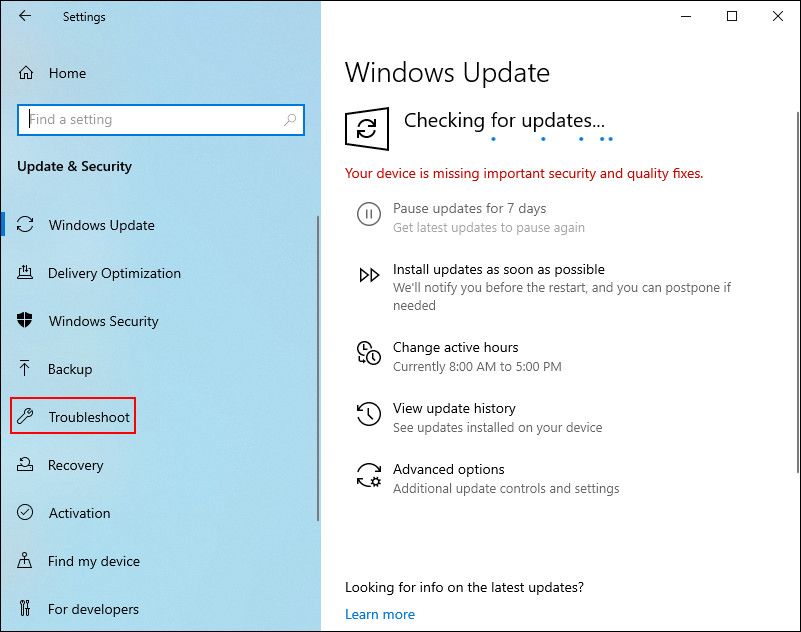
- Press Win + I to open Windows Settings.
-
Navigate to Update & Security > Troubleshoot.
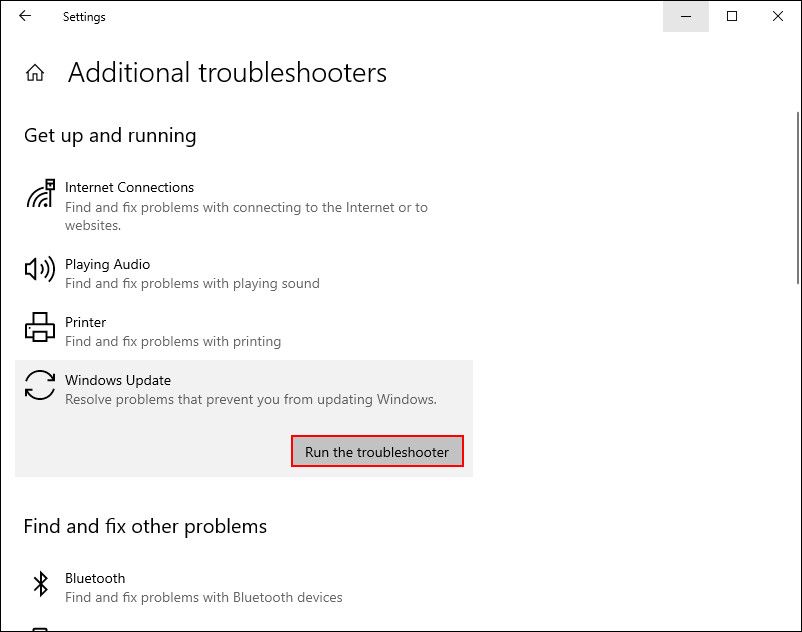
- Locate and click on Windows Update troubleshooter on the right side of the window under Get up and running.
-
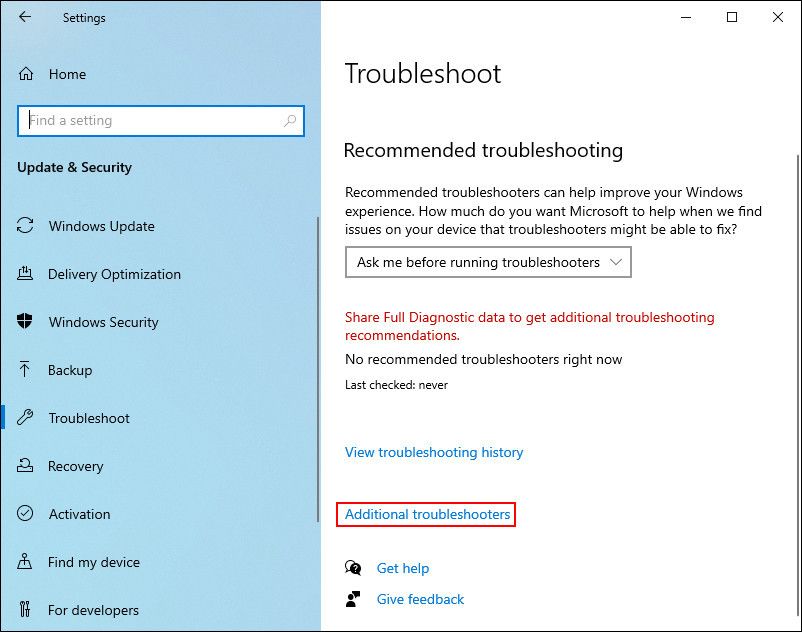
If you cannot locate this troubleshooter, click on the Additional troubleshooters option and look for the Update troubleshooter in the following window.
-
Hit the Run the troubleshooter button and wait for the utility to complete its operation.
- If any issues need to be looked into, the troubleshooter will display them in a dialog. In this case, click on the Apply this fix option.
- Then, click on Close the troubleshooter and try installing the updates again.


Hopefully, the Windows Update service will work fine now.
2. Rename Software Distribution Folder
The Software Distribution folder on Windows is where the operating system stores its Windows updates files. The Windows Update Agent maintains this folder, and while it does its job silently in the background most of the time, it can sometimes prevent you from installing the latest updates.
This typically happens when the Windows Datastore folder and Download folder have become incompatible.
In this method, we will be renaming the Software Distribution folder and see if that makes a difference. However, before you proceed, make sure you disconnect from your Wi-Fi connection and switch to Airplane mode. Then, restart your computer.
Upon reboot, follow these methods:
- Press Win + R to open a Run dialog.
- Type cmd in Run and press Ctrl + Shift + Enter to open Command Prompt with administrative privileges. You will need to be logged into Windows as an administrator for this.
-
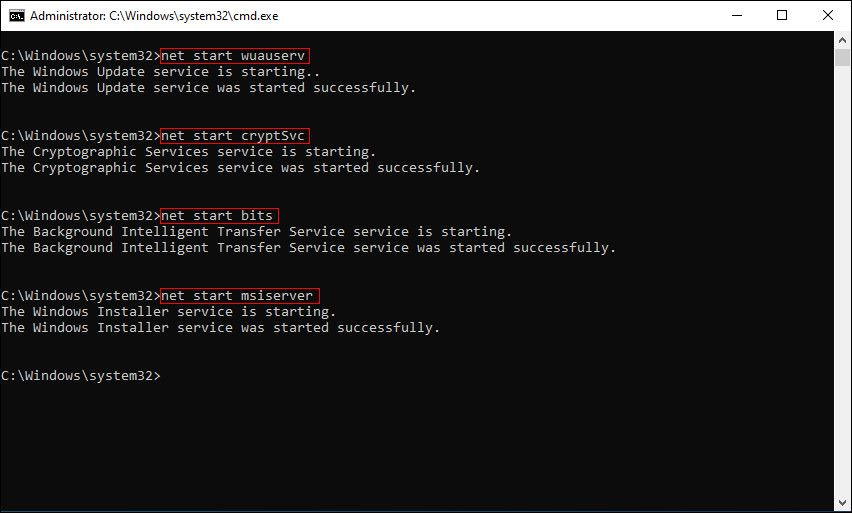
Type the following commands in the Command Prompt window one by one and hit Enter after each to execute them.
net stop wuauservnet stop cryptsvcnet stop bits net stop msiserverren %systemroot%\softwaredistribution softwaredistribution.bak ren %systemroot%\system32\catroot2 catroot2.bak net start wuauserv net start cryptSvcnet start bitsnet start msiserver
- After the commands are executed, restart your PC. You can now try to install the updates again.

3. Restart Windows Update Service
There is a relevant service behind every Windows process, including installing an app, using Windows Defender Firewall, and updating the system.
A problem with the Windows Update service could also prevent you from installing the latest Windows updates. Fortunately, you can resolve most of the problems with Windows Services by restarting it.
Follow these steps to reset the Windows Update service:
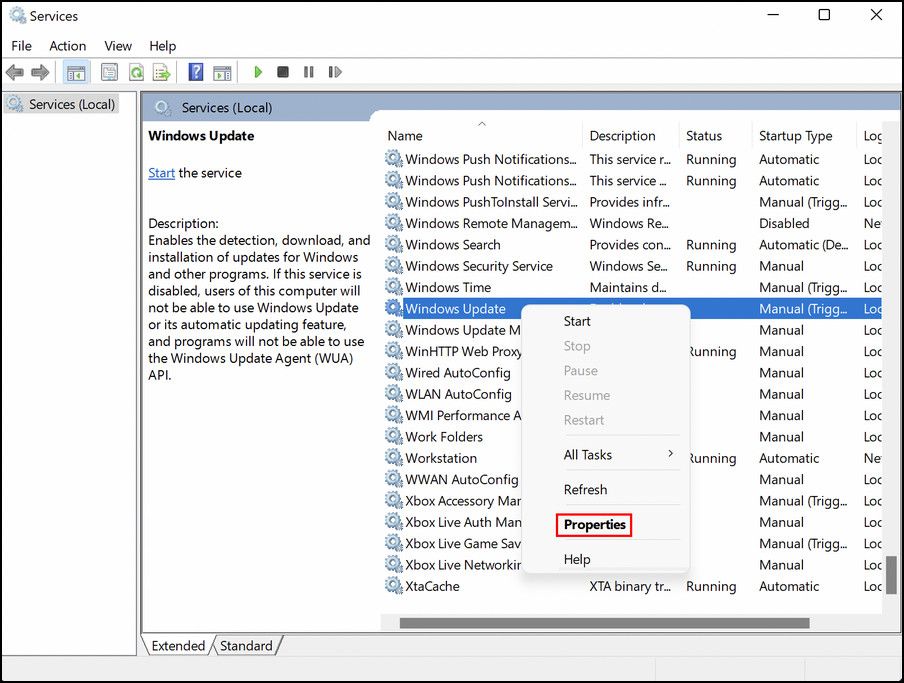
- Type Services in Windows search and click Open.
- In the following window, look for the Windows Update service and right-click on it.
-
Choose Properties from the context menu.
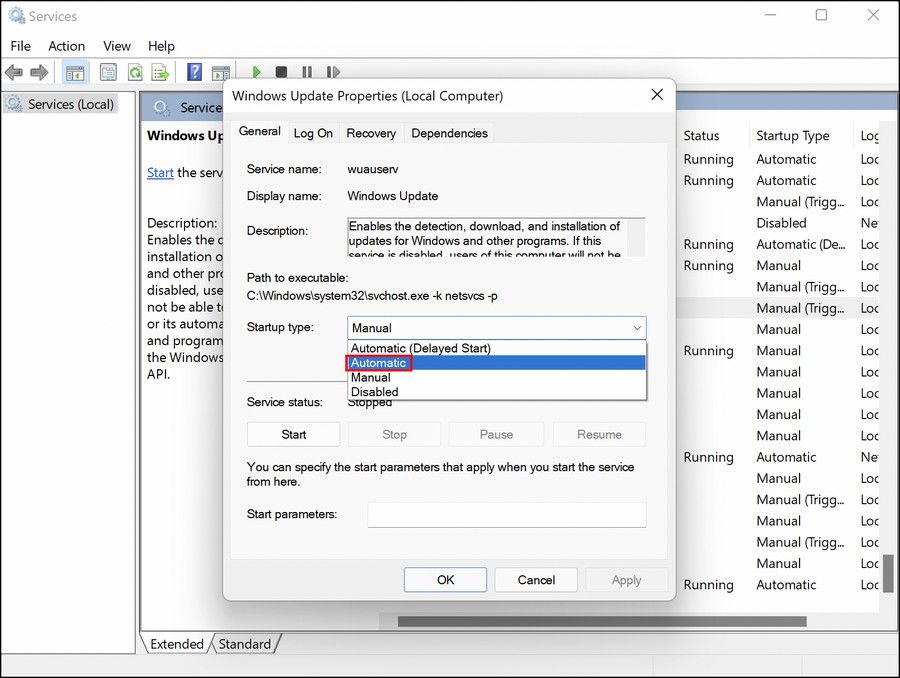
-
If the service is stopped, expand the dropdown menu for Startup type and choose Automatic.
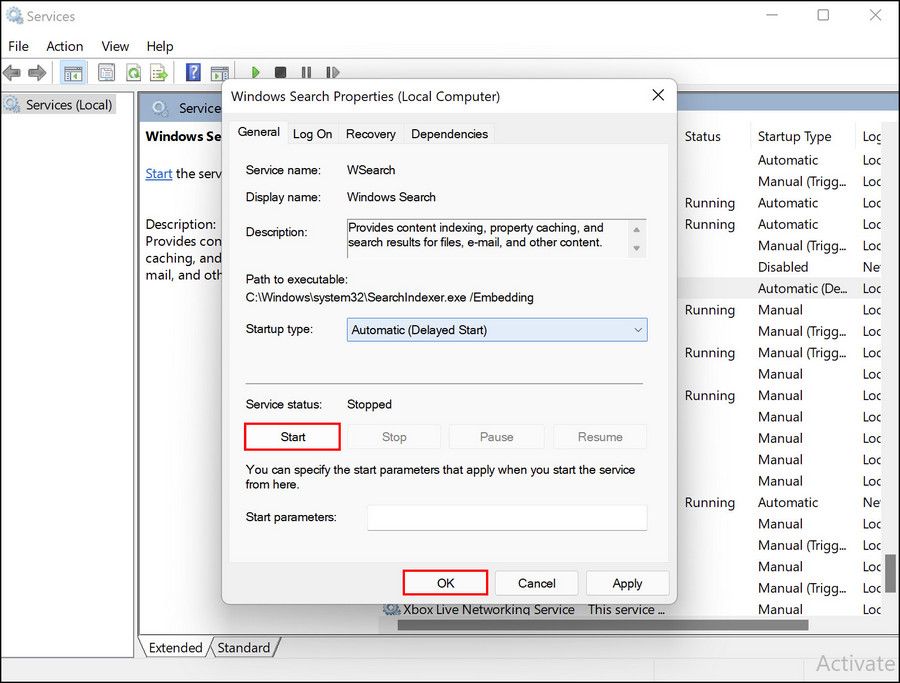
-
Then, click on the Start button and select Apply > OK to proceed.
-
If the service was already working, then click on the Stop button.
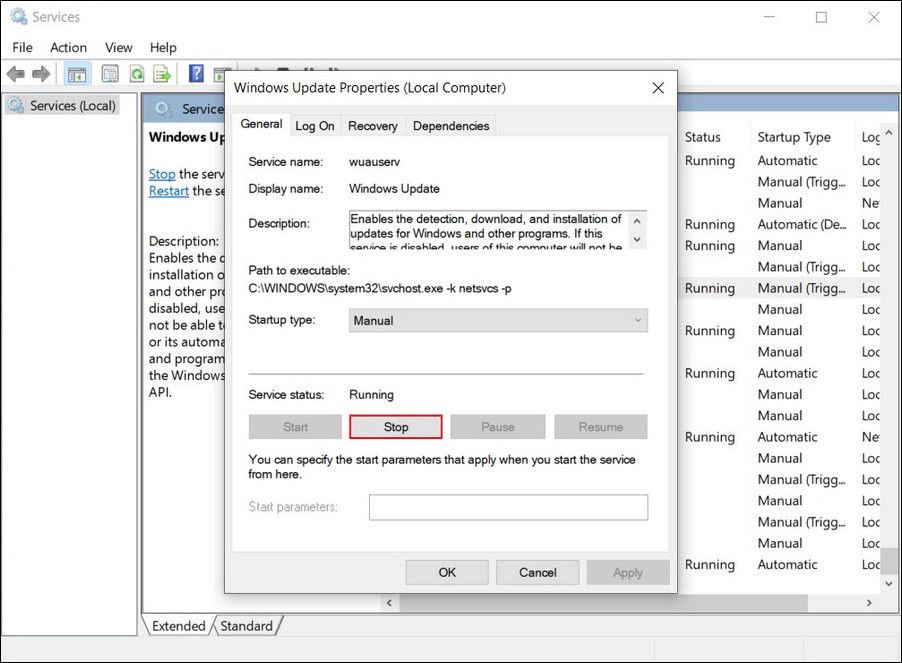
- Wait for a few seconds, and then click on the Start button. Make sure that the Startup type is set to Automatic.
- Click Apply > OK to save the changes.


Once done, check if following the steps above made a difference.
4. Check System Files for Inconsistencies
The essential system files on your computer might also be corrupt, preventing you from using certain Windows features. This typically happens when malware and viruses infect your system.
As with the troubleshooter, Windows also includes some built-in fixes for issues such as this one. The best course of action moving forward will be to scan the system for problems using the SFC and DISM utility developed by Microsoft.
These utilities look for corrupt files in the system and then replace them with their healthier counterparts. SFC and DISM are independent tools, but they work better in coordination with each other.
We recommend running the SFC command on Command Prompt first. After it is executed, proceed with running the DISM command.
5. Reinstall Windows Updates
Windows Updates are meant to fix the issues within the system, but that is not always the case. Sometimes, broken updates can bring in issues like the one under consideration.
In this specific case, the KB4100347 and KB4457128 seem to be the culprit. We will try to reinstall them and see if doing so allows you to install the latest update on Windows.
Proceed with these steps:
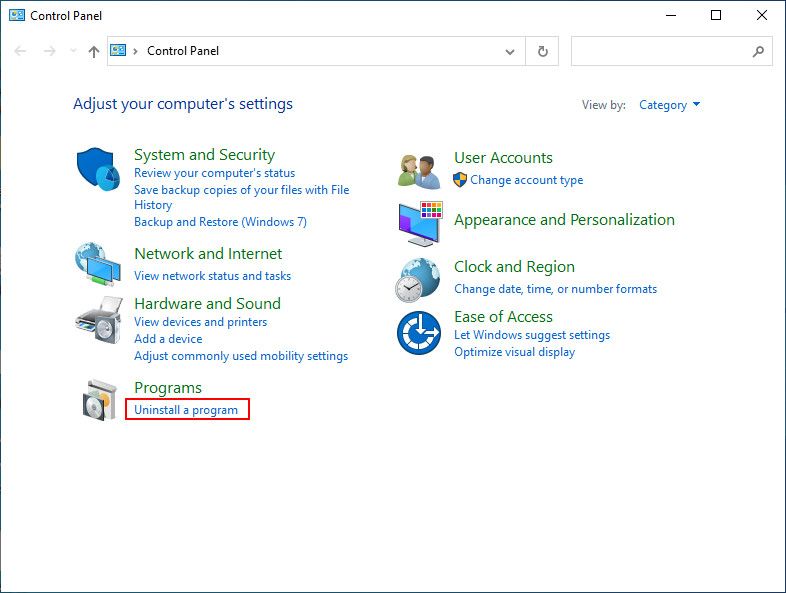
- Type Control Panel in Windows search and click Open.
-
Click on Uninstall a program.
-
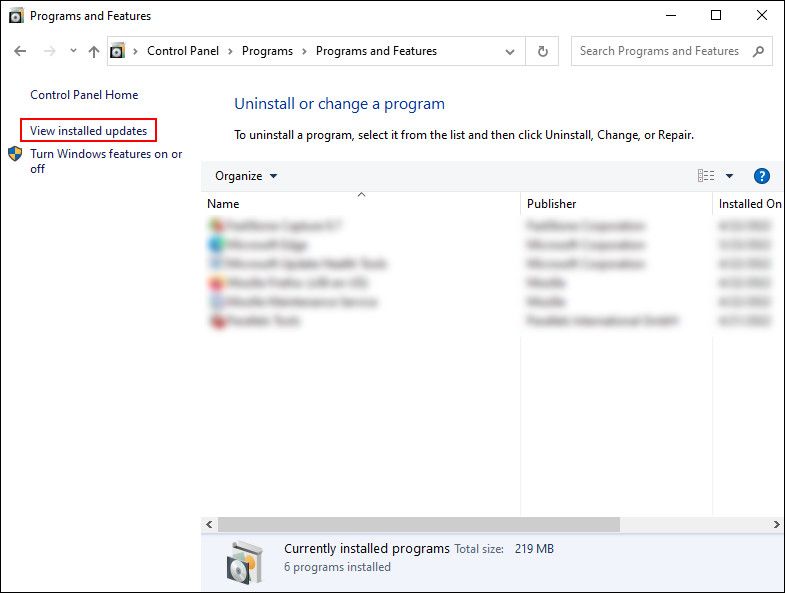
Select View installed updates from the left panel.
-
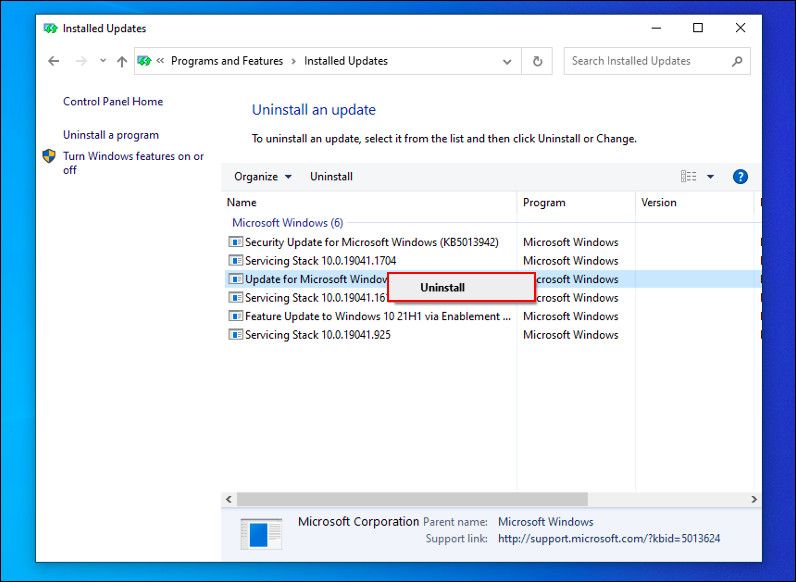
Locate KB4100347 and KB4457128 updates. If both/any of them are present, right-click on it and choose Uninstall.
-
Once the updates are uninstalled, head over to the Windows Update section of Settings.
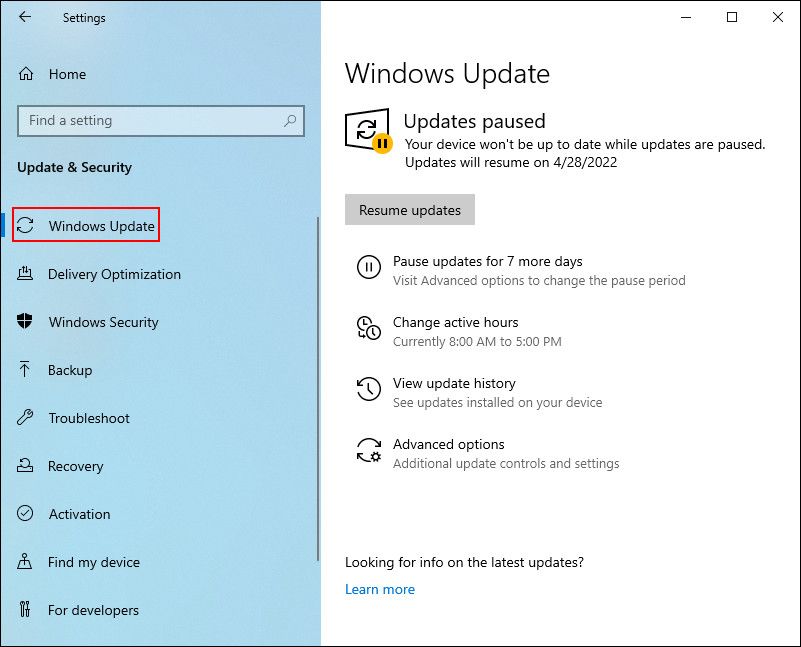
- Look for these updates and reinstall them.
- Then, try to install the updates you previously attempted to install.


6. Modify the Telemetry Level
Telemetry level is the data that the system collects and sends it back to Microsoft for analysis. If this level is set to 'Security Only' mode, it will limit the amount of data that is collected and in some cases, prevent security updates (that include bug fixes and security patches) from being offered.
You might be facing the problem at hand if the telemetry level is not set to its default settings. In this case, here is how you can modify it to resolve the problem:
- Press the Win + R keys together to open Run.
- Type gpedit.msc in Run and click Enter.
- Click Yes in the User Account Control prompt.
-
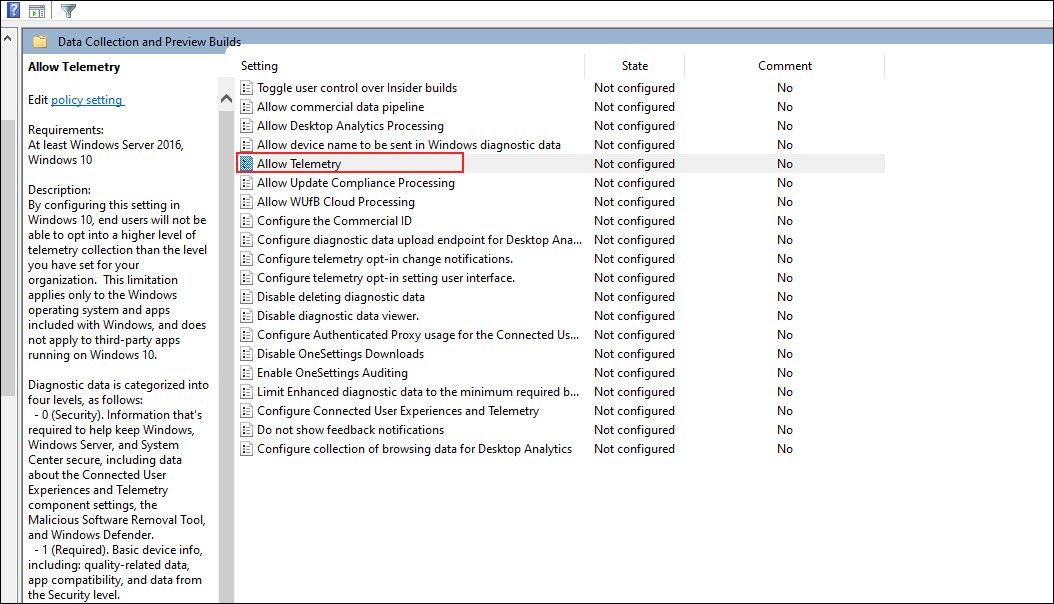
Once you are in the Group Policy Editor, navigate to the location below:
Computer Configuration > Administrative Template > Windows Components > Data Collection and Preview Builds
-
Locate Allow Telemetry in the right pane and double-click on it.
-
Choose Enabled and expand the dropdown for Options.
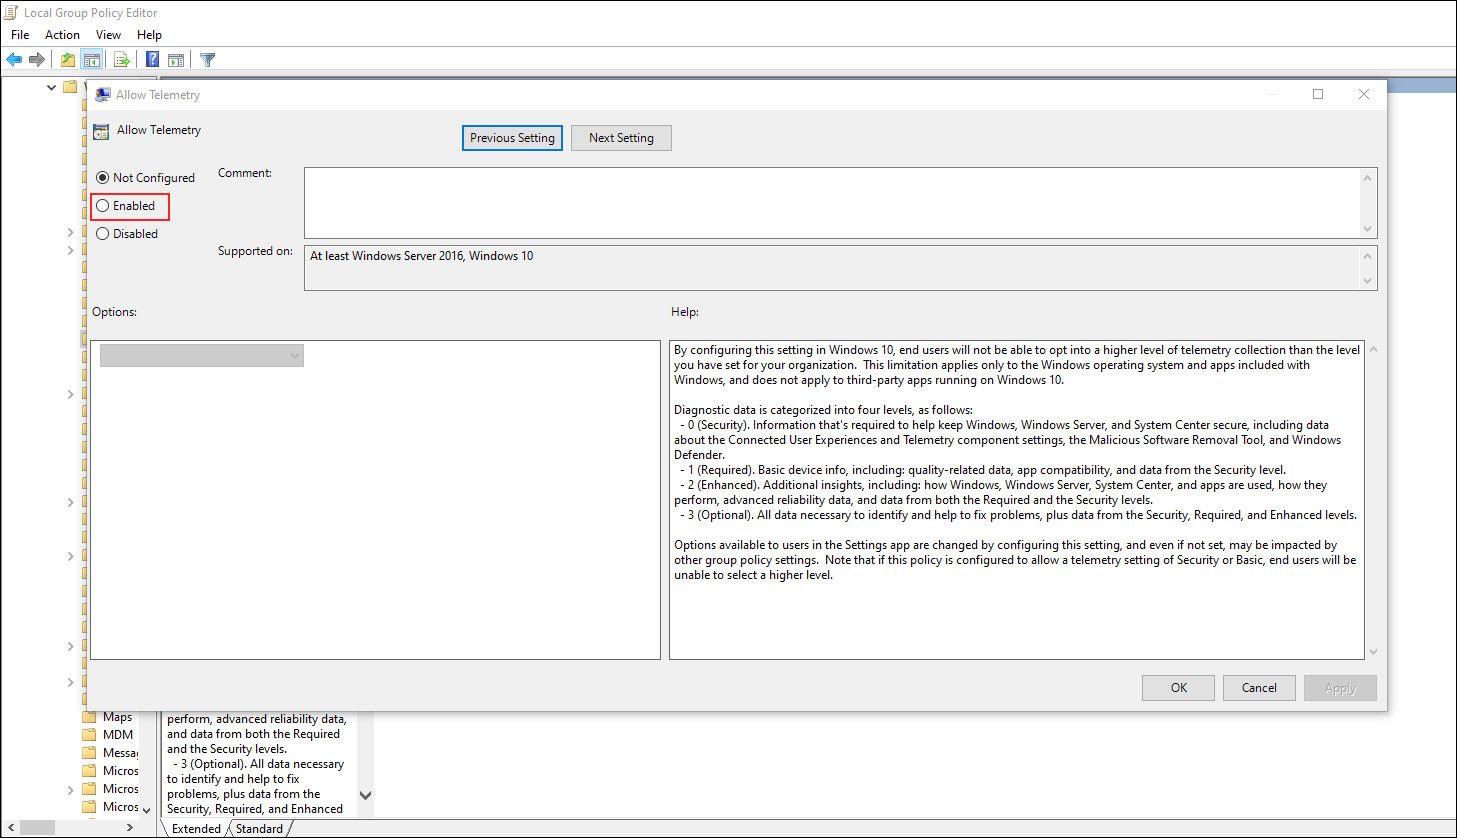
- Pick any option except 0 - Security [Enterprise Only] and click on Apply > OK to save the changes.


You can now exit the Group Policy Editor and check if the problem is resolved.
7. Modify the Registry
In some cases, when the affected users looked into the additional information provided by the error, they encountered the 'You can't install Windows on a USB flash Drive using setup' error statement. If this is true in your case, then a simple Registry fix can resolve the issue at hand. In this method, we will be changing the value of PortableOperatingSystem key in the Registry to 0.
Before we proceed, we recommend creating a Registry backup, just to be safe.
Once that is done, follow these steps:
- Press the Win + R keys together to open Run.
- Type regedit in Run and click Enter.
- Click Yes in the User Account Control prompt.
-
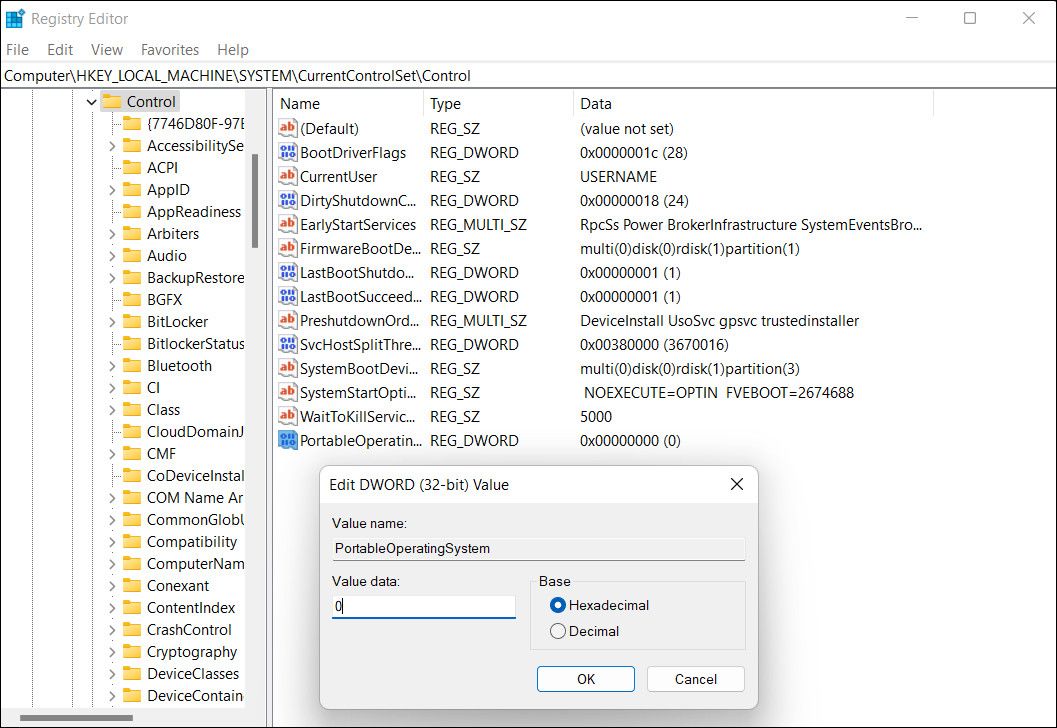
In the Registry Editor, navigate to the location below:
HKEY_LOCAL_MACHINE\System\CurrentControlSet\Control
-
Double-click on PortableOperatingSystem and change the Value data to 0.
- Click OK to save the changes and exit the Registry Editor.
- Restart your computer and check if the issue is resolved.

8. Use Windows Update Assistant
Finally, if the troubleshooting methods are not working for you, you can use the Windows Update Assistant to install the required updates instead of using Windows Settings.
For this, you need to first install the Windows Update Assistant. After you download the assistant, launch it and click Yes in the confirmation prompt. In the following window, click on the Update Now button.
Then, choose Next > Restart Now, and the pending updates will be installed.
Keep Your System Updated
You should now be able to install the updates without any problems. However, if you are still facing a problem, we suggest you contact the Microsoft Support officials and report this issue to them. They will help you identify the real cause and suggest fixes accordingly.