
Microsoft allows devices that are connected to the same network to access each other's data and share files remotely. When you need to use two devices simultaneously, this process of data and resource sharing can be quite useful. However, there are times when users encounter errors, which can make the process quite a hassle and unpleasant.
One such common issue is the "network path name was not found" error, which occurs when users attempt to connect to a remote device. If you are facing a similar problem, we have discussed six troubleshooting methods below that will help you fix the error in no time.
1. Double-Check the Path Names
If you encounter the "network path name was not found" error, then the first thing that you should do is double-check the path name you entered. A small mistake within the path name will prevent the system from finding the path to the connected network.
While you are at it, we also recommend checking if the device you want to share files with has the sharing feature enabled. If not, enable it and then try performing the action that was previously causing the error.
Here is how you can make the targeted drive on the remote computer shareable:
-
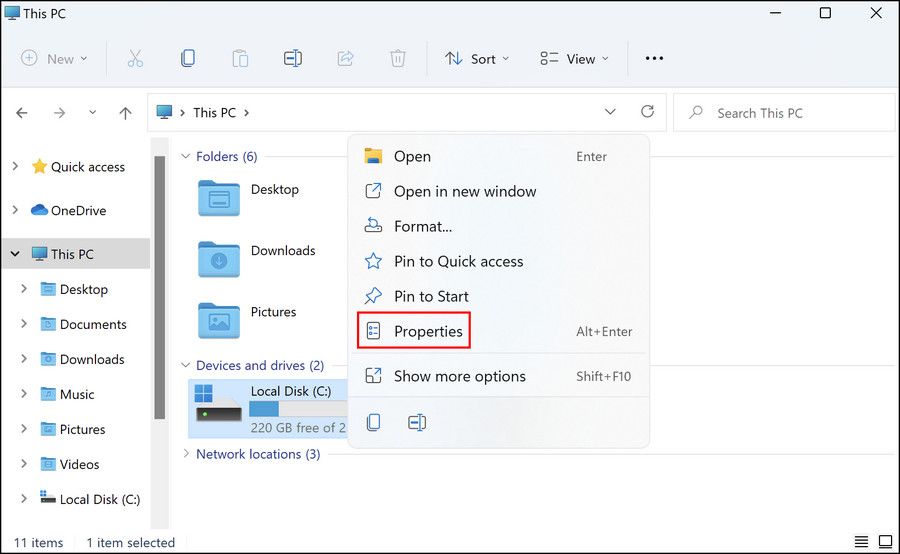
Right-click on the targeted drive and choose Properties from the context menu.
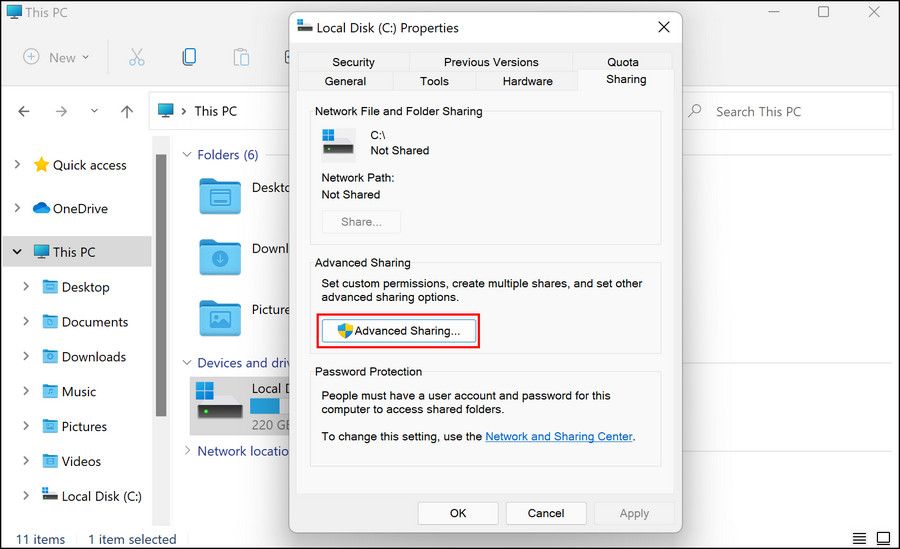
- In the following dialog, head over to the Sharing tab and check the status of Network Path.
-
If it says Not Shared, then click on the Advanced Sharing button.
-
Checkmark the box associated with Share this folder and note the Share name of the drive.
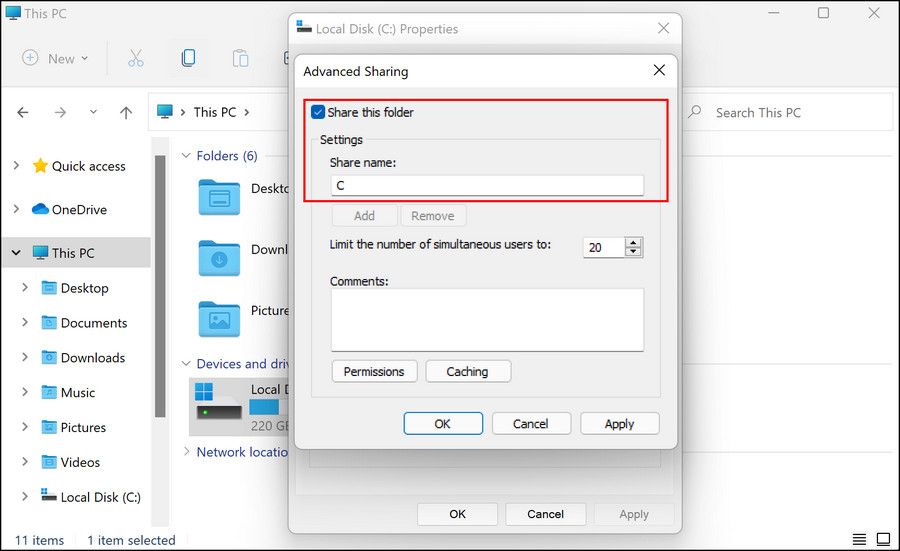
- Once done, click on Apply > OK to save the changes.


You can now check if the drive is accessible after following the steps above.
2. Temporarily Disable Your Antivirus
Another common culprit that often prevents users from connecting to networks, sharing files, and downloading applications from third-party sources is an overly protective antivirus.
Antivirus’s job is to identify malicious activities and block them, but there are times when these security programs start labeling legitimate processes as threats as well, blocking them completely.
If you are using a third-party security program on your operating system, we recommend that you disable it temporarily and then try connecting to the remote computer and sharing files. If the antivirus was causing the problem, disabling it should fix the issue for you. If this happens, you can consider switching to a better security program to avoid such issues in the future. See our guide on the best antivirus apps for Windows to make an informed decision.
You can also try disabling Windows Defender if you are using it and see if that helps. However, once you are done sharing the files, make sure you enable the antivirus back immediately since keeping it disabled for a long period can expose your PC to threats.
3. Try to Connect Using an IP Address
You can also connect to the remote computer using the IP address. In this method, we will be using Command Prompt to make this work.
Here is what you need to do:
- Press Win + R to open Run.
- Type "cmd" in the text field of Run and hit Ctrl + Shift + Enter to open Command Prompt as an administrator.
-
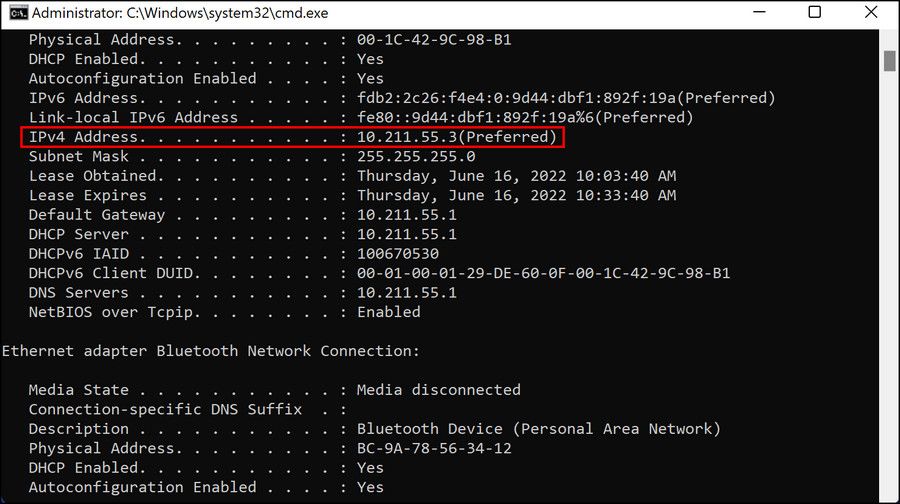
In the Command Prompt window, type the command mentioned below and hit Enter to execute it:
ipconfig /all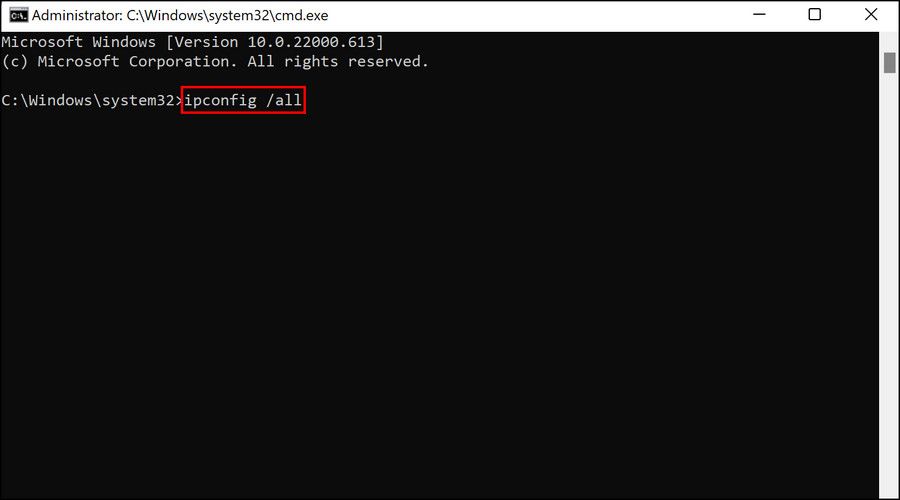
-
Scroll down and bit and note down the address for IPv4 Address.
-
Now, open a Run dialog again and paste the IPv4 Address you noted in the text field here.
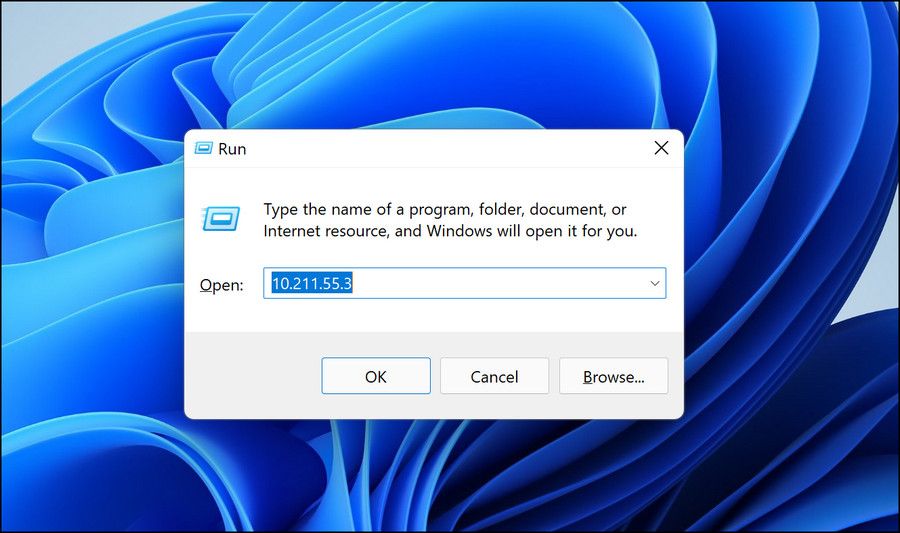
- Click Enter and see if you can connect to the remote computer successfully.


4. Restart the TCP/IP NetBIOS Helper Service
To connect to a remote device and share files with it, certain services on Windows should be functioning properly. One of the most important services, in this case, is the TCP/IP NetBIOS Helper service. As such, we recommend that you restart it to ensure that it is working.
Here is what you need to do:
- Open Run by pressing Win + R.
- Type services.msc in Run and hit Enter.
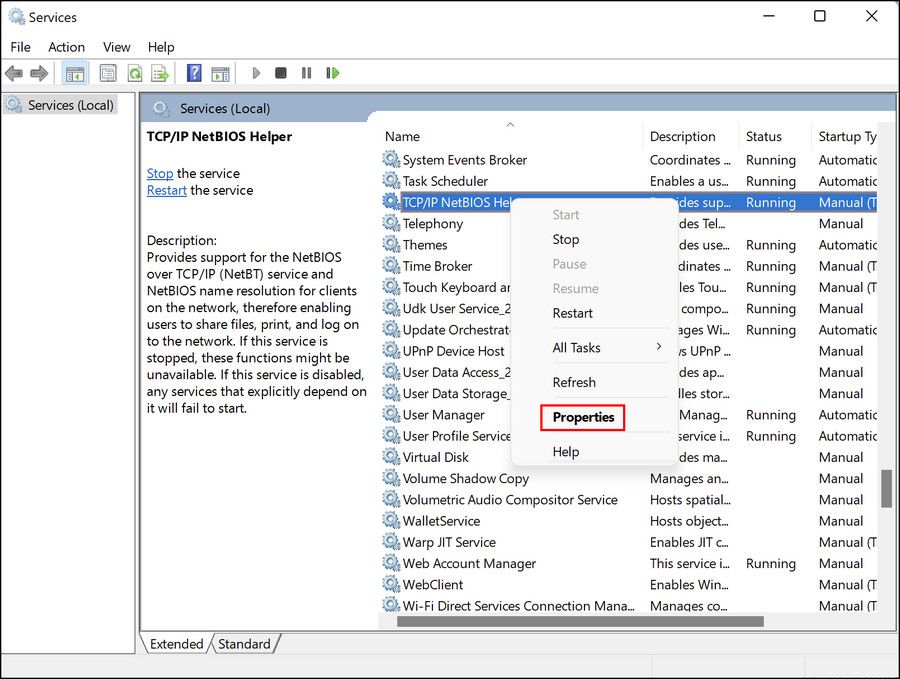
- In the Services window, look for TCP/IP NetBIOS Helper and right-click on it.
-
Choose Properties from the context menu.
-
In the following dialog, click on the Stop button.
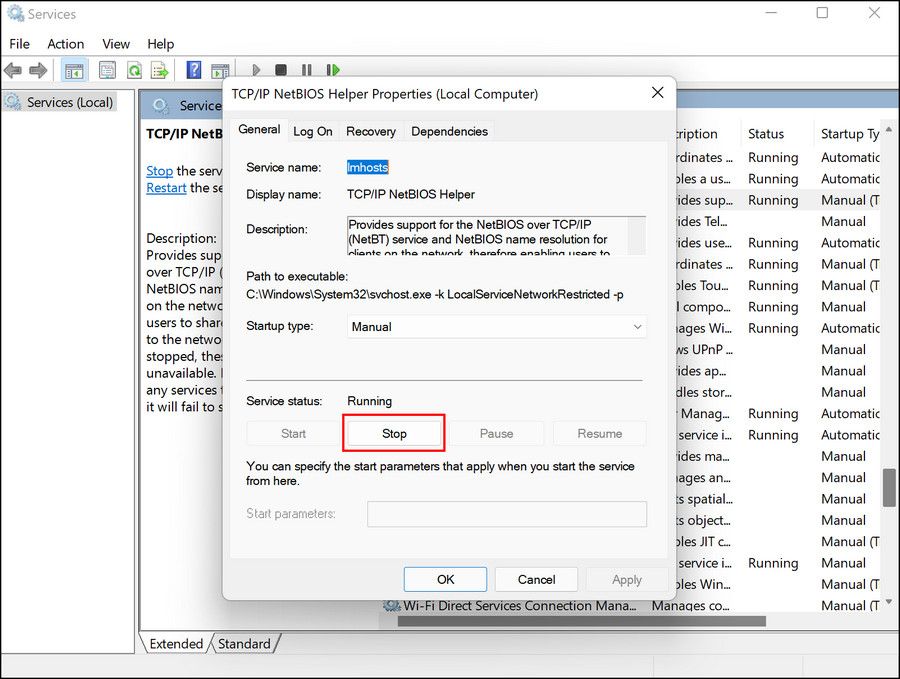
- Wait for a few seconds and then click Start.
-
Now, expand the dropdown for Startup type and choose Automatic.
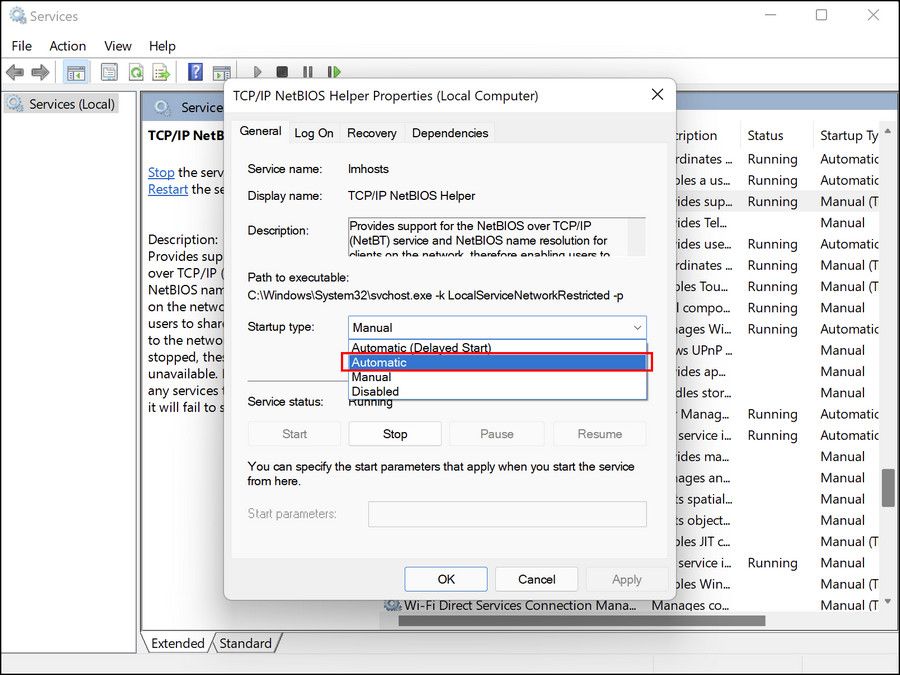
- Click Apply > OK to save the changes.


Once done, check if that fixes the issue for you.
5. Enable SMB 1.0
SMB is a network protocol that allows users access to shared files and printers on Windows. This is disabled by default in Windows, but enabling it can help you connect to a remote device and share files across the network.
In this method, we will enable it to share the files. However, we strongly suggest that you disable it after usage since it is known to have some security vulnerabilities that can mess up your system.
Here is what you need to do:
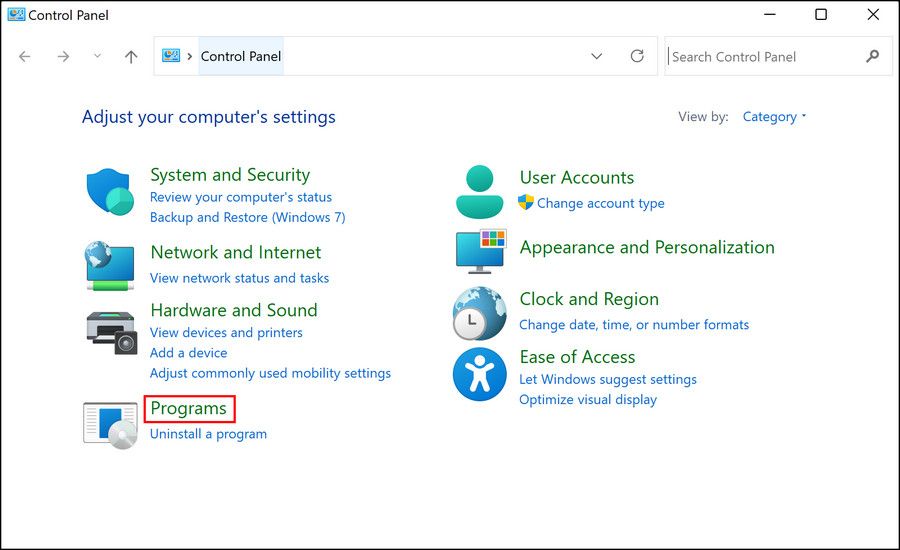
- Type Control Panel in Windows search and click Open.
-
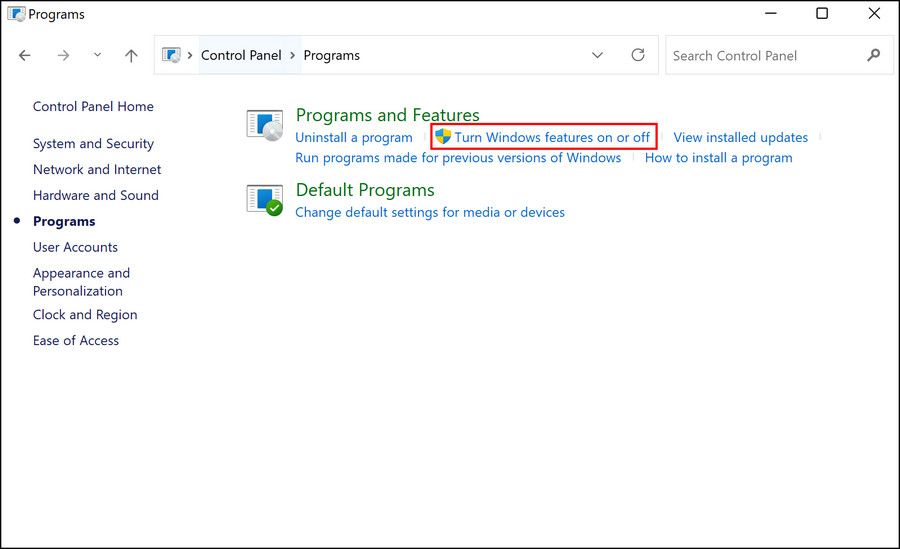
In the following window, head over to Programs > Programs and Features.
-
Choose Turn Windows features on or off from the left pane.
-
Now, look for "SMB 1.0/CIFS File Sharing Support" and checkmark the box associated with it.
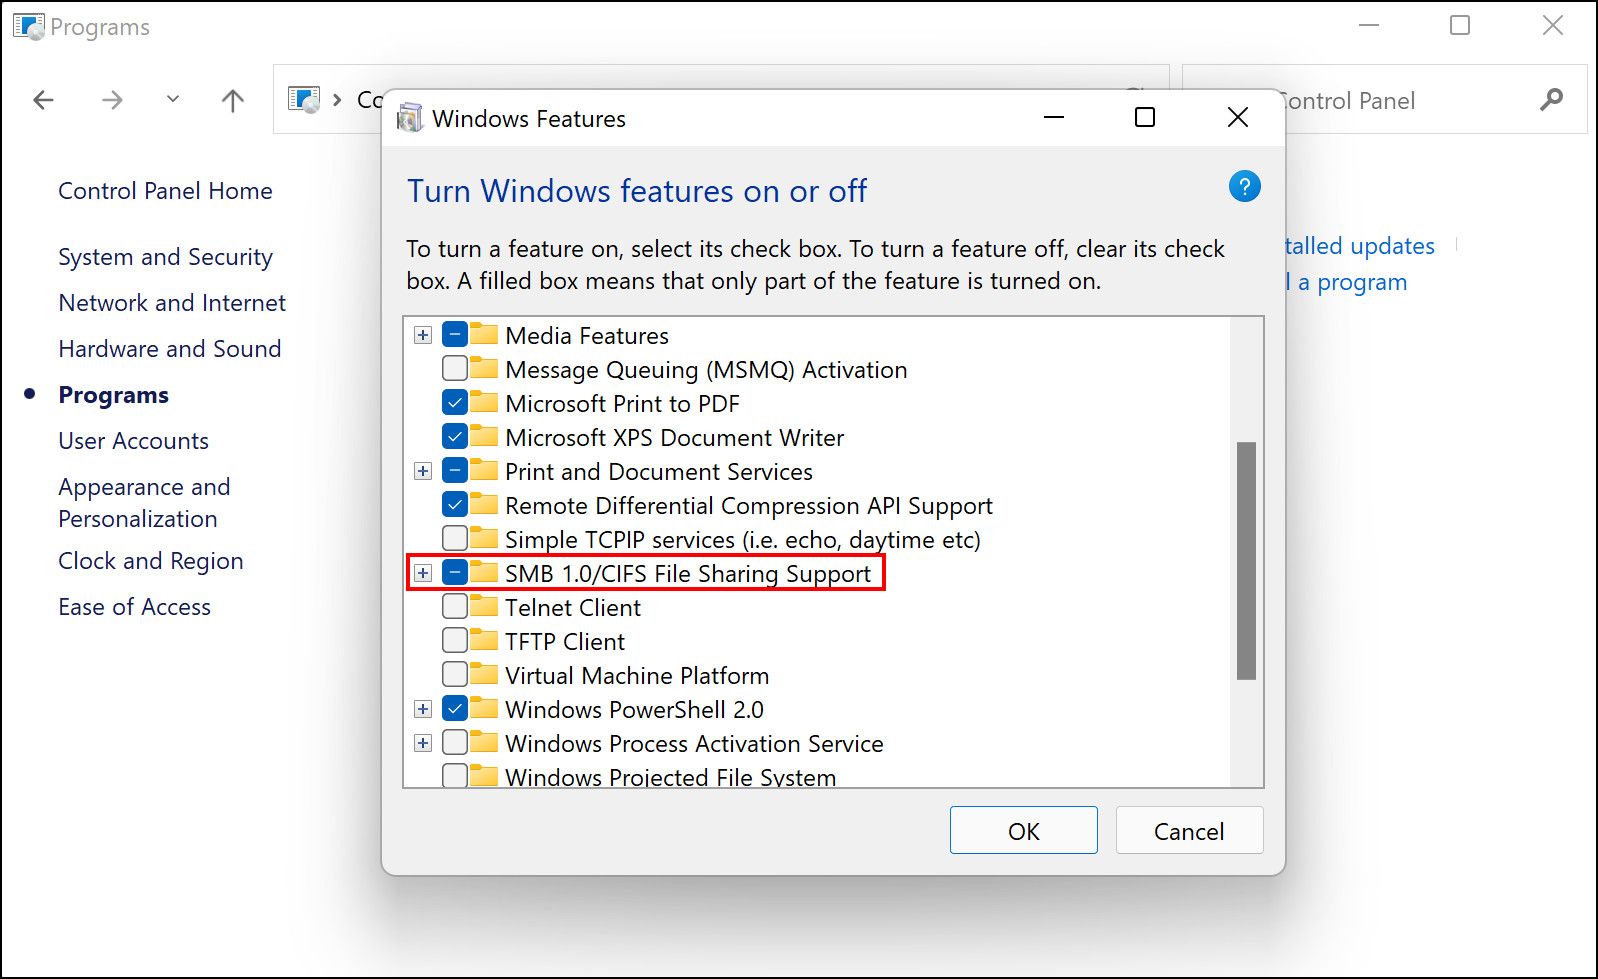
- Click OK to save the changes and check if the error is now fixed.


6. Modify Network Security Settings
There can also be a problem with the network security settings of your computer, which might block access to shared resources, resulting in the error. Here is how you can ensure that you have the correct network settings to effectively communicate with other devices or resources on the network.
- Press the Win + R keys together to open Run.
- Type "secpol.msc" in Run and click Enter.
-
In the following window, navigate to the following location:
Local Policies > Security Options > Network Security: LAN Manager authentication level
-
Expand the dropdown and choose Send LM & NTLM-use NTLMv2 session security if negotiated.
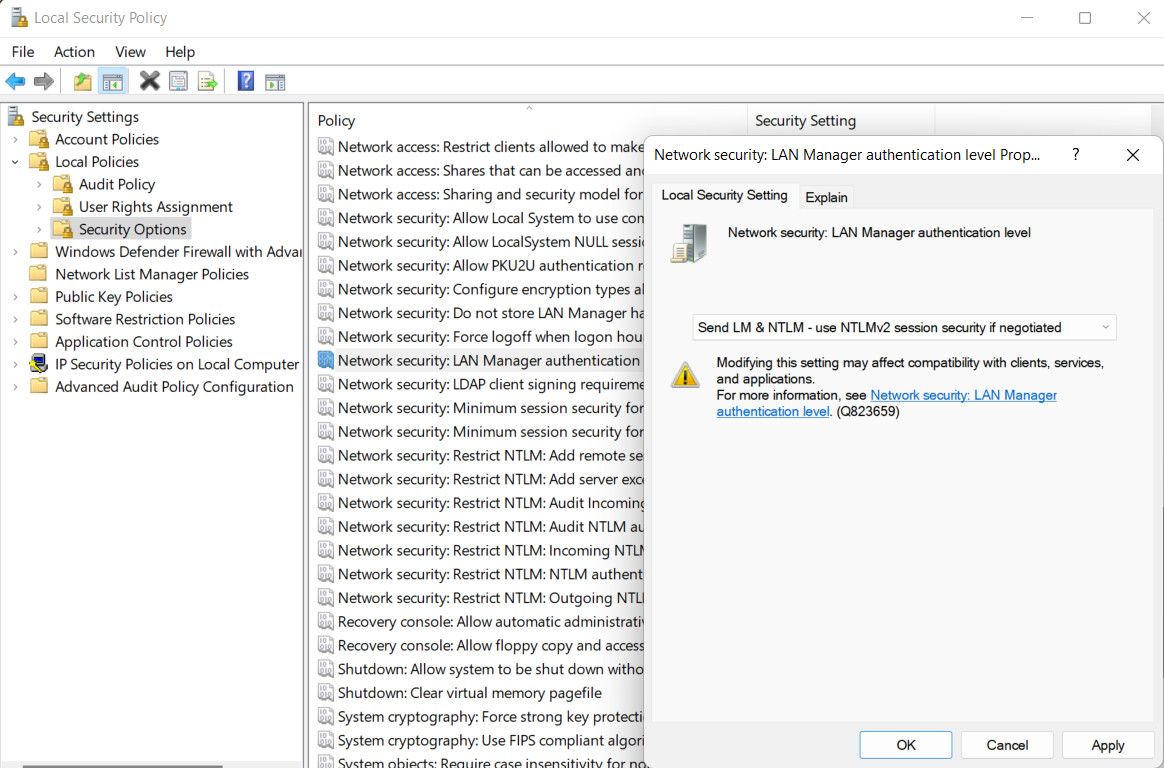
- Click Apply > OK to save the changes.

7. Reset TCP/IP
Finally, if the methods above have not worked for you, then you can consider resetting TCP/IP, which will revert all the IP protocols and DNS entries to their default state.
This fix is known to fix almost all the network-related issues that pop up in Windows now and then, and will hopefully fix the error at hand for you as well.
The Windows Network Path Error, Resolved
Connecting to another device over the network and sharing files should be a seamless process. Hopefully, the troubleshooting methods mentioned above will help you get the network functionality up and running in no time. However, if the error persists, you can consider using another file-sharing service like Google Drive till Microsoft launches an official fix for this issue.