Skype is Windows 10's default messaging app many users utilize to keep in touch with contacts. Yet, sometimes the Skype app doesn't open for Windows users. Some users may see an error message when Skype doesn't open. However, in other instances, it doesn't start without throwing up a message.
Fixing Skype not opening is important for all those users who rely upon that app for sending instant messages or making video calls. Has your Skype app been facing issues in Windows 10 or 11? If so, you can follow these troubleshooting steps to fix Skype not launching on your PC.
1. Check the Microphone and Webcam Settings for Skype
First, check if the required microphone and webcam settings are enabled for Skype. Remember that the app needs access to your PC's webcam and microphone. You can check those settings in Windows 11/10 by following these steps:
- Launch Settings by pressing the Windows button + I keys.
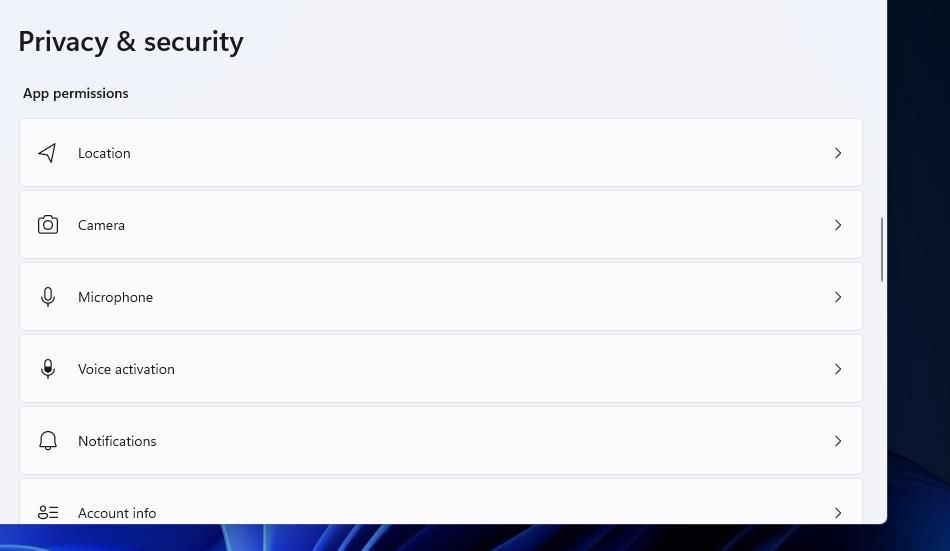
- Then select Settings' Privacy tab or category.
-
Select Camera to access the webcam settings.
-
Toggle on the Camera access option.
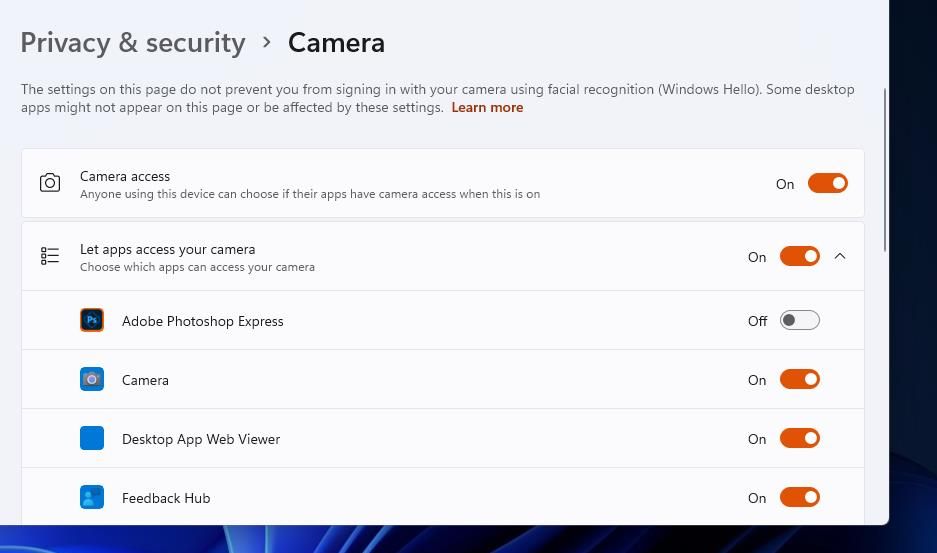
- Scroll through the listed apps, and turn on access for the Skype app.
- Then, go back to the previous menu and select Microphone app permissions.
-
Make sure the general Microphone access option is turned on.
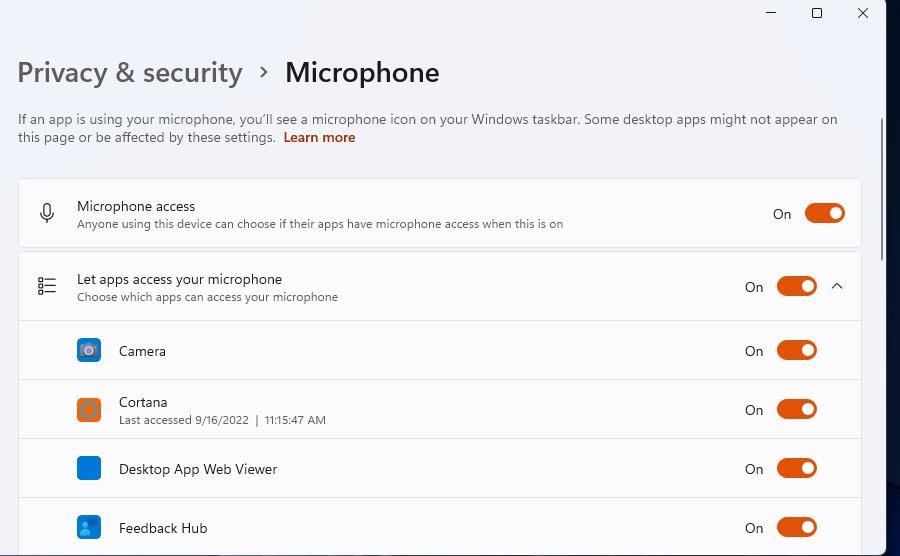
- Click Skype's toggle switch under the Let apps access your microphone section to turn on mic access for that app.


2. Run Skype in Compatibility Mode
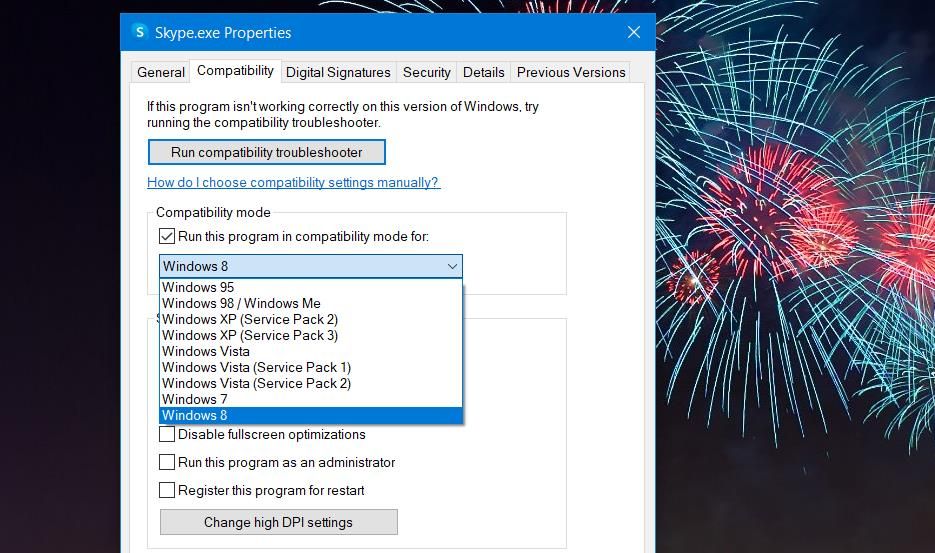
Skype compatibility issues can sometimes arise with new Windows versions. So, opting to run Skype in compatibility mode might help some users kick-start the app. Try setting that app to run in a Windows 8 compatibility mode as follows:
- Open the Windows 11/10 file manager by pressing the File Explorer button along the taskbar.
-
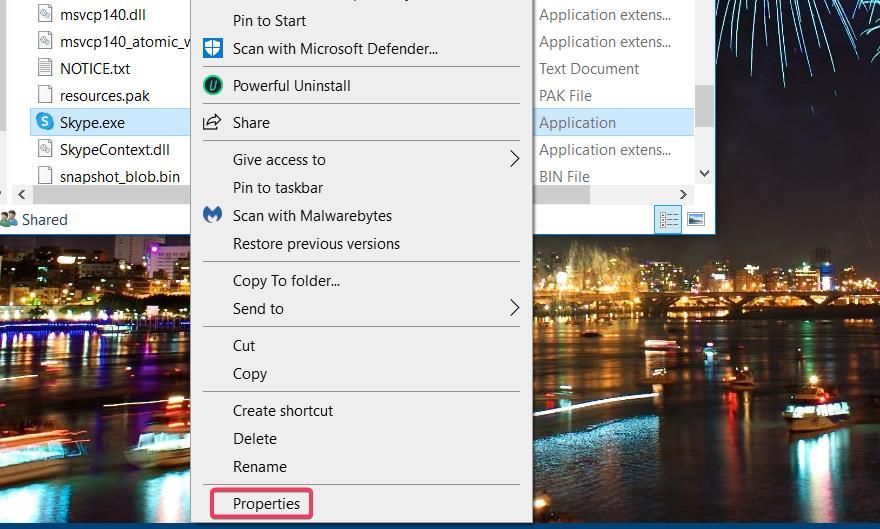
Open whatever folder that houses your Skype app. The following is the default directory for the UWP Skype app in Windows 10:
C:\Program Files\WindowsApps\Microsoft.SkypeApp_15.92.3204.0_x86__kzf8qxf38zg5c\Skype -
Right-click the Skype app and select Properties.
- Select Compatibility to view that tab's settings.
-
Then select the Run this program in compatibility mode checkbox, and click Windows 8 on the dropdown menu.
- Select Apply to save compatibility settings.


The WindowsApps directory that includes the Skype UWP app is a restricted folder in Windows 10. You'll need to take ownership of that folder to access it. Check out our guide about taking ownership of folders in Windows 10 and 11 for detailed instructions.
3. Select the Repair and Reset Skype Options
The Repair and Reset troubleshooting options in Windows help users fix apps that aren't working right. So, it's worth trying those options for fixing a Skype app that doesn't launch. This is how you can select Skype's Reset and Repair options:
- Open Apps & features to view a list of installed Windows apps.
- Scroll down to Skype, and click that app's three-dot menu button. In Windows 10, select that app to view its options.
-
Click Advanced options to bring up the troubleshooting buttons.

-
Select Repair to apply a potential fix that won't affect Skype's data.
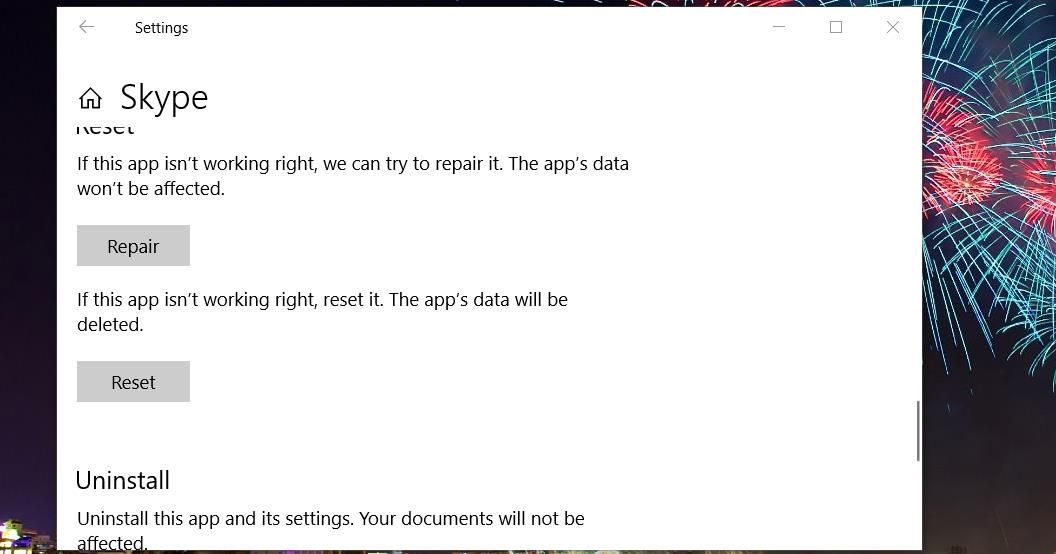
- If the Repair button doesn't work, click on Reset to clear Skype's data.


4. Scan System Files
App startup issues can also arise because of corrupted system files. So, it's likely a system file Skype needs may be corrupted on your PC.
You can check for and repair corrupted system files with a command-line SFC tool by following the steps below:
- Press the Windows + S keys and input cmd inside the search bar.
- Select Run as administrator for Command Prompt inside the search utility.
-
Run the Deployment Image Servicing tool before an SFC scan by executing this command:
DISM.exe /Online /Cleanup-image /Restorehealth -
To initiate the SFC scanning, type in this command and press Enter:
sfc /scannow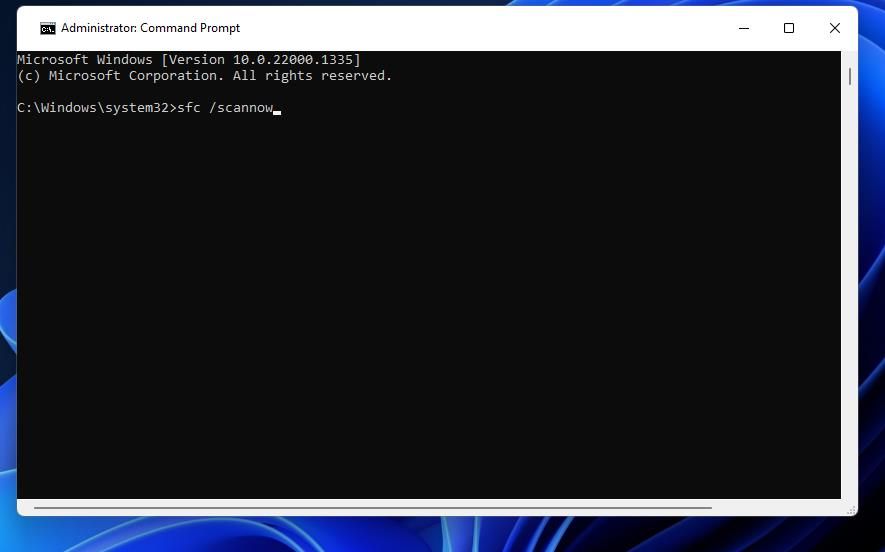
- Now, wait for the System File Checker to do its stuff and show an outcome inside the Command Prompt window.

5. Rename the Skype Data Folder
Renaming a Skype data folder is a resolution that has worked for some users who needed to fix Skype not opening. Doing so will generate a fresh new Skype data folder the next time you launch the app. This is how you can rename that data folder in File Explorer:
- First, start Windows in safe mode (select Safe Mode with Networking).
- Press Windows + R keys to bring up the Run dialog box.
- Type %appdata% inside the Open field.
- Click OK to view a Roaming folder.
-
Right-click the Skype data folder and select Rename from the context menu.
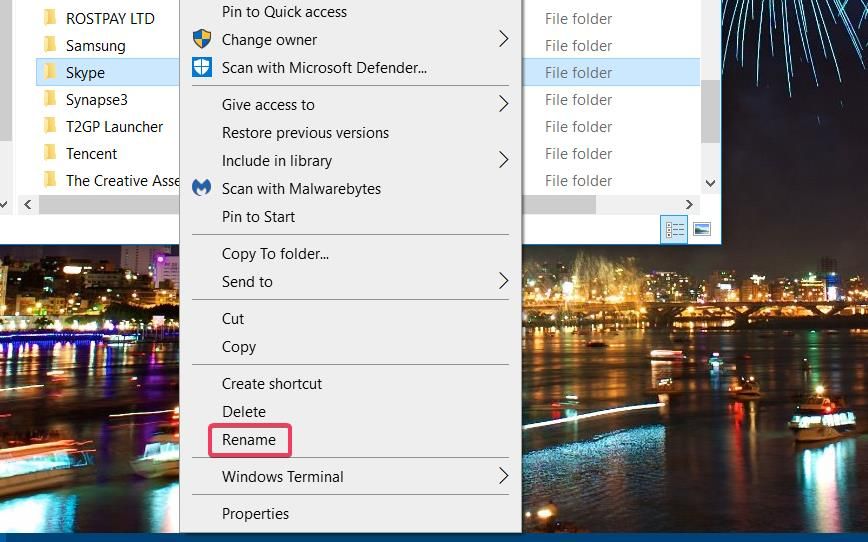
- Input Skype_2 inside the text box for the folder.
- Then exit Explorer, and try starting Skype again.

6. Temporarily Turn Off Windows Defender Firewall
Skype is an app for which internet connectivity is essential. So, make sure Windows Defender Firewall isn't blocking that app. Try temporarily disabling that firewall using the following steps to see if that makes a difference:
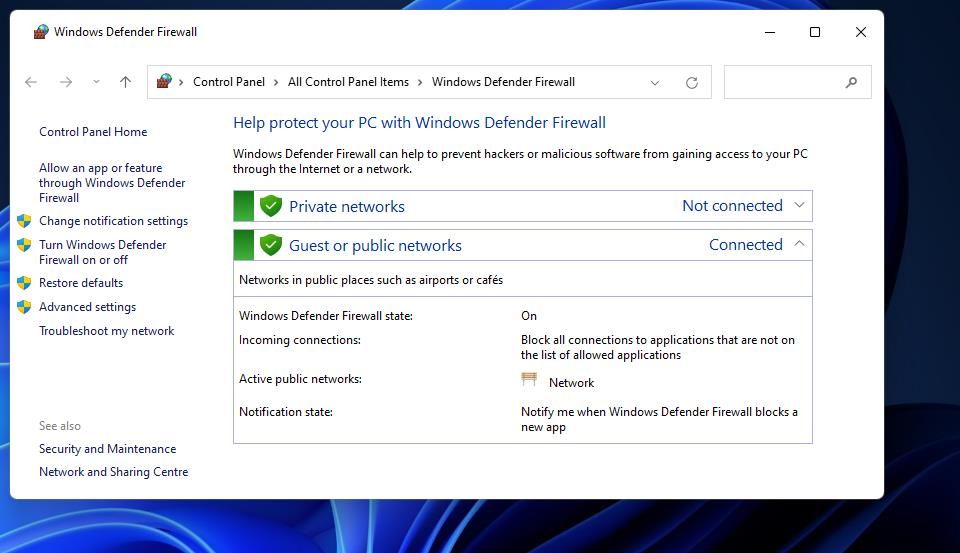
- Launch Windows Search (Windows + S) and enter the keyword Windows Defender Firewall inside the text box.
- Select the search result for the Windows Defender Firewall Control Panel applet.
-
Click on the Turn Windows Defender Firewall on or off option on the left to access options for disabling WDF.
-
Check the Turn off Windows Defender Firewall option for Private and Public network settings in the Customize Settings menu.
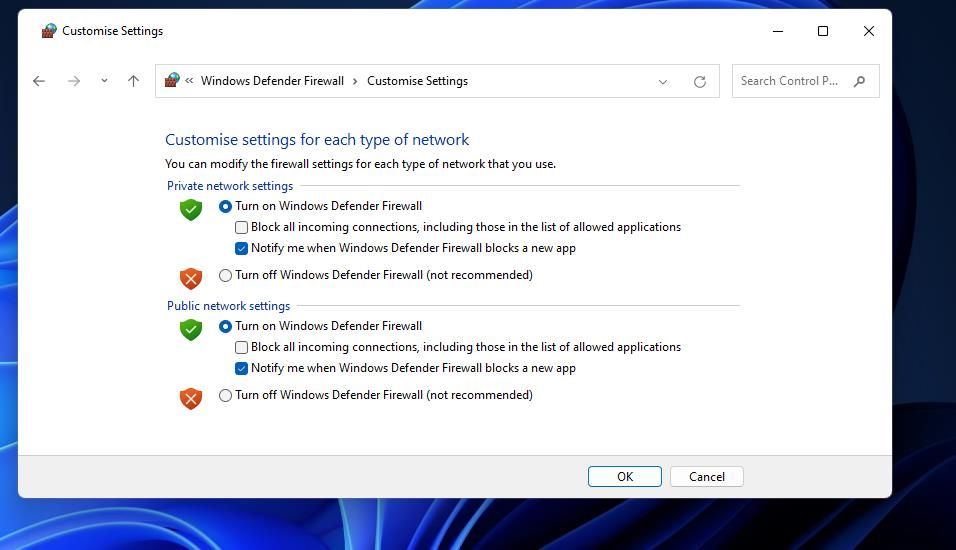
- Click OK to save and close the firewall settings.
- Now, try launching Skype after disabling the firewall.


If your Skype app starts, chances are the firewall was blocking it. Turn the firewall back on, and then check its app permissions for Skype. Consider checking out our guide on allowing apps through Windows Defender Firewall for details about enabling Skype through WDF.
7. Reinstall Skype
Reinstalling Skype will replace all the app's files. That solution will likely address issues caused by corrupted or missing app files. These are the steps for reinstalling Skype in Windows:
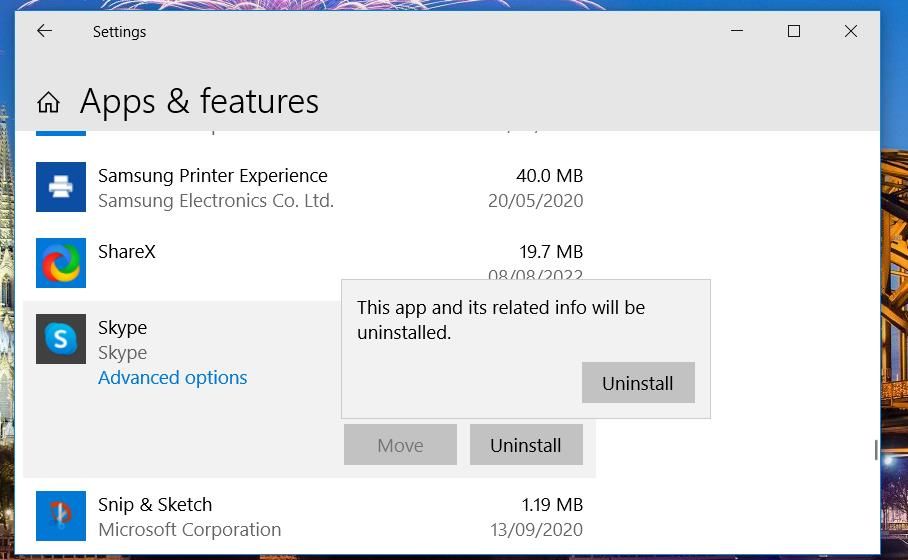
- Go to Apps & features in Settings. If you're on Windows 11, go to Apps instead from the left pane.
- Click Skype's menu button or select that app in Apps & Features.
-
Select Skype's Uninstall option. Click Uninstall again to confirm the selected option.
- Then head over to the Skype download page.
-
Click on the Get Skype for Windows 10 & 11 option to reinstall the UWP app.

- Click Open Microsoft Store to bring up Skype's MS Store page.
- Press Skype's Get button to reinstall.


Alternatively, you can reinstall a Skype desktop version, which can be more reliable. To do so, access the dropdown and click Get Skype for Windows option on the download page. Then, open the downloaded setup wizard for Skype to install the desktop software.
8. Reset Your Network
Skype also fails to launch because of network-related issues. Resetting your PC's network configuration in Windows can resolve such issues. If you're unsure where to start, we've covered a dedicated guide on resetting network settings in Windows 11.

Use Skype on Your Windows PC Without Issues
At least one of the troubleshooting steps we discussed here will do the job and fix the launch issues you were facing with Skype on your Windows 11/10 PC.
Note that these are fixes that have kick-started Skype for many users. However, you can utilize the Skype browser app as an alternative if they're not enough.