If all the sound has suddenly gone away on your Windows 11 PC, it can be tricky to find the cause. Fortunately, there are some common culprits that you can investigate, such as an incorrect audio output device configuration, missing sound device drivers, and incorrect audio enhancement.
As such, let's walk through the process of troubleshooting a Windows 11 PC with no audio.
1. Check if You've Muted Your Audio

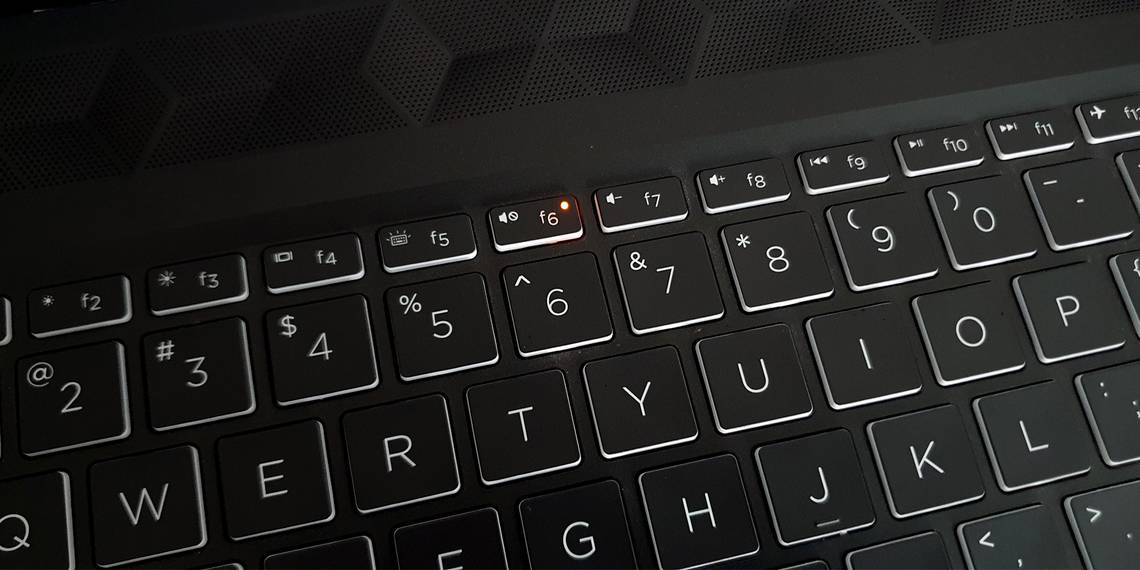
Some Windows laptops have a dedicated mute button. You may sometimes mute your device accidentally, or it may happen automatically due to a glitch. Often the mute button comes with an indicator to show if the device is in mute mode.
If you have a multi-function mute button, use the Fn key + Mute key to unmute your device. You can also unmute the device by toggling the volume slider in Action Center.
2. Check if the Right Audio Output Device Is Selected

Windows 11, by default, uses the system audio as the output device. If you have multiple audio devices connected to your computer, ensure the right audio device is selected.
To change the default audio output device in Window 11:
- Press Win + I to open the Settings app.
- In the System tab, click on Sound.
- Under the Output section, select your default audio device.
Alternatively, you can also quickly change the default audio output device from the Action Center.
To change sound output device from Action Center:

- Click on the Speaker icon in the taskbar.
- In the Action Center, click on Manage Audio Devices (arrow icon) beside the volume slider. It will show all the audio equipment connected to your system.
- Select the audio output device you want to set as default.
3. Run the Windows Audio Troubleshooter

Windows 11 comes with a built-in audio troubleshooter. Lately, Microsoft's built-in troubleshooters have been quite effective in finding and fixing common problems.
To run the Windows audio troubleshooter:
- Click Start and select Settings.
- In the System tab, click on the Sound option.
- Scroll down to the Advanced section under Audio.
- For Troubleshoot common sound problems, click Output device.
- Windows will scan for available sound output devices. Select the device you want to troubleshoot and click Next.
- The troubleshooter will scan for driver-related issues and incorrect device configuration and recommend some fixes. Then, apply the fixes and check for any improvements.
4. Disable Audio Enhancements

When enabled, the audio enhancement feature in Windows 11 automatically improves sound quality. This is disabled by default to prevent sound issues with incompatible devices.
If you have recently changed your audio device properties, check and disable audio enhancement to undo any changes.
To disable audio enhancement in Windows 11:
- Press Win + I to open Settings.
- In the System tab, click on Sound.
- Next, click on your audio device from the list to open properties.
- In the Properties screen, scroll down to the Enhance audio section.
- Toggle the switch to turn off audio enhancement for your device.
- Next, click on the Advanced link and check the Disable all enhancements box.
- Click OK and Apply to save the changes.
5. Uninstall and Reinstall the Audio Device Driver

Corrupt or outdated device drivers can often malfunction and cause sound-related issues in Windows 11. You can reinstall the audio device drivers to restore the driver to its working state.
To uninstall the audio device driver:
- Press the Win + X to open the WinX menu.
- In the WinX Menu, select Device Manager.
- In the Device Manager window, expand the Audio inputs and outputs section.
- Locate and right-click on the audio device that you want to troubleshoot.
- Select Properties from the context menu.
- In the Properties window that opens, open the Driver tab.
- Click on Uninstall Device. Next, click Uninstall again to confirm the action.
- Once uninstalled, restart your PC. Windows will automatically reinstall the device during the restart.
After the restart, check if the audio device is working and listed among the other audio devices. If not, open Device Manager, then click Action, and select Scan for hardware changes.
Windows will now look for connected but undetected devices and reinstall the necessary drivers.
6. Update the Audio Device Driver

If your existing audio output device driver is buggy, updating it to the latest available version can help. Driver updates for hardware devices often include bug fixes and enhancements to get your devices working perfectly again. You can update device drivers manually using the Device Manager or by using a third-party driver updater for Windows. Here’s how to do the former:
- Press Win, then search for and open Device Manager.
- In the Device Manager window, expand the Audio inputs and outputs section.
- Right-click on your audio device and select Update Driver.
- Select Search automatically for drivers. Windows will download and install the latest available version (if available).
- Once installed, restart your PC and check for any improvements.
7. Install the Latest Windows 11 Updates
If it is a widespread issue, Microsoft will likely release a hotfix to address the problem. At times, regular Windows updates also contain bug fixes to plug known audio problems on your PC.
Go to Start > Settings > Windows Updates. Click on the Check for updates button, and scan for pending updates. If available, download and install any or all the updates available for your system.
8. Restart the Windows 11 Audio Services

The audio troubleshooter above during scan checks if the essential audio services are running. However, you can also manually restart them to verify their working status. Here’s how to do it.
- Type service in the Windows search bar and open the Services app.
-
In the Services window, locate the following services:
        Windows Audio

Windows Audio Endpoint Builder

Remote Procedure Call (RPC) - Right-click on each service one by one, choose Restart. Repeat the steps for all three listed services.
9. Check Your Audio Device for Hardware Issues
Try connecting your external speaker or Bluetooth headset to another device that it can play from. By doing so, you can determine if the problem is with your PC or the audio device.
If you are using wired headphones, try using a USB Audio adapter to bypass a faulty audio jack problem. If you have USB-powered speakers, try changing the port.
If you only use your system’s speakers, try connecting Bluetooth or wired headphones. This will allow you to determine if your laptop’s integrated speakers are faulty.
10. Perform a Factory Reset Using Reset This PC

As a last resort, try resetting your PC to factory default with the Reset This PC option. It allows you to reset Windows 11 to factory default by keeping or removing your personal files. However, the reset process will remove all third-party apps installed on your PC.
To reset Windows 11 to factory default:
- Open the Settings app by pressing Win + I.
- In the left pane, open the Windows update tab.
- Under More options, click on Advanced options.
- On the Advanced options page, scroll down to Additional options.
- Next, click on Recovery.
- Click on the Reset PC button for Reset this PC.
- In the Choose an option window, click on Keep my files.
- Next, select Local Reinstall or Cloud Download.
- Read the description under Additional settings and then click Next. Follow on-screen instructions and wait for your Windows 11 to reset successfully.
Fixing Audio Issues in Windows 11
Sound output related issues are not exclusive to Windows 11. However, the solution is usually the same across editions. By changing the audio drivers, running the Windows audio troubleshooters, and double-checking that you haven't accidentally muted your device, you should be able to get your audio back to normal in no time.
That said, if you think there are one too many bugs in your version of Windows 11, you can always downgrade to tried and tested Windows 10.