Network discovery allows you to discover other devices connected to the same network, just as long as they also have the feature enabled. Usually, it is used for sharing files or other devices such as printers. While it saves you from attaching files to emails or looking for old USB flash drives, sometimes it malfunctions without any warning.
If your network discovery isn't working in Windows 10, let's cover some ways you can try to get it working once again.
1. Restart Your Computer
Any time you're trying to troubleshoot an issue on your Windows computer, restarting it should always be the first step. There are certain benefits that come with rebooting, such as flushing the memory, stopping memory leaks, or correcting software glitches.
It can also help with network-related issues, so be sure to give your computer a quick restart and see if that fixes the issue. However, if it doesn't work or the issue keeps returning, it could be a sign of a more serious problem.
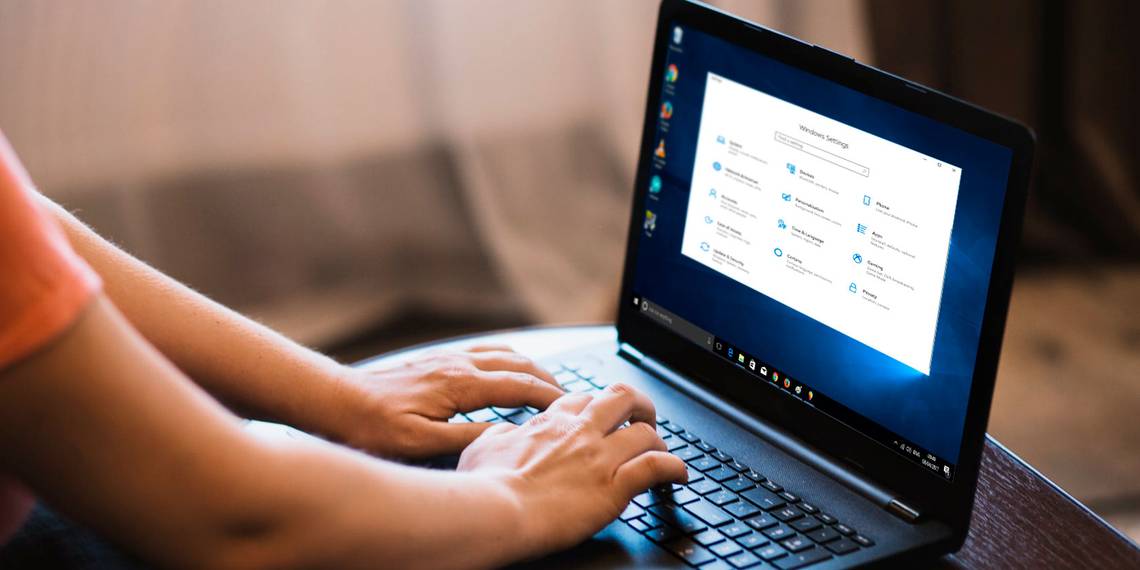
2. Run the Windows Troubleshooter
If you restarted your computer and it didn’t fix the issue, you can try using the Windows 10 built-in troubleshooter. Here is how you can do it:
- Click Start, then head to Settings > Update & Security. You can access the Settings menu via the cog icon on the left of the Start menu.
- From the left-hand menu, select Troubleshoot.
- Click Additional troubleshooters.
- From the Find and fix other problems section, select Network adapter.
- Click Run the troubleshooter and follow the displayed instruction to fix the issue.

To fix this issue, you should also run the Shared Folders troubleshooter. Follow the 1-3 steps one more time and at step 4 select Shared Folders.
3. Update the Network Adapter Driver
Your network malfunctions could be caused by an outdated or corrupt network adapter. While drivers usually update automatically, you can follow these steps to make sure you are not running an older version:
- Press Win + X > Device Manager.
- Click View > Show hidden devices to make sure all drivers are visible.
- Extend the Network adapters list.
- Right-click the network adapter and select Update driver.
- In the pop-up window, click Automatically and follow the instructions to complete the process.

4. Check Network Profile
Windows 10 has two network profiles that you can choose from: Private and Public. If you have set your profile to Public, your computer can’t be discovered by other devices or share files with them. Setting your profile to Public is a good idea when you connect to networks in coffee shops or airports so you don’t leave your data vulnerable.
On a Private profile, Windows 10 allows your computer to share files. Basically, Windows 10 thinks it can trust private networks such as your home or work network. Follow these steps to make sure your profile is set to Private:
- Click Start > Settings. Also, you can use Win + I keyboard shortcut.
- Select Network & Internet > Status.
- Open the Properties menu and from Network Profile, select Private.

5. Check Sharing Options
If you have set your profile to Private and still have Network discovery issues, you should take a look at the sharing options. Here is how you can do it:
- Click Start > Settings > Network & Internet.
- From the Advanced network settings, select Network and Sharing Center > Change advanced sharing settings.
- Expand the Private (current profile) menu.
- From Network discovery, select the Turn on network discovery and Turn on automatic setup of network connected devices options.
- From File and printer sharing, select the Turn on file and printer sharing option.
- Click Save changes and check if the problem is now solved.

In the Advanced sharing settings window, you should expand the Guest or Public menu and select Turn off network discovery from the Network discovery section. Also, below File and printer sharing select Turn off file and printer sharing. This way, your computer will not become vulnerable when you connect it to a public network.
6. How to Enable Network Discovery Using Command Prompt
If you don’t like navigating through the Settings menu to turn on Network discovery, you can use a command line. Follow these steps to enable network discovery using Command Prompt:
- In the Start menu search bar, search for command prompt and select Run as administrator.
- Type netsh advfirewall firewall set rule group=”Network Discovery” new enable=Yes.
- Press Enter. This will enable network discovery.

To turn it off, type netsh advfirewall firewall set rule group=”Network Discovery” new enable=No and press Enter.
7. Use Network Reset
If everything seems to be alright with your network settings, you can try resetting it to fix the Network discovery problem. This will not remove any data from your PC but it will reinstall all network adapters and revert network settings to their original settings. Follow these steps to reset your network settings in Windows 10:
- Press Win + I to open Settings.
- Click Network & Internet > Status.
- Head to Advanced network settings and click Network reset > Reset now.
- Restart your computer.

If you are using a VPN client software or any virtual switches, you will have to reinstall them after resetting your network.
8. Check Services Settings
In Windows 10, Services contains programs running in the background that takes care of system features, such as remote access, printing, networking, and more. Usually, your system has no problem controlling background services; however, you sometimes need to intervene and fix a feature or an app that stopped working. Follow these steps to change Services settings and get network discovery working again:
- In the Start menu search bar, search for services and select Run as administrator.
- Locate DNS Client and open it.
- Select the General tab and check if the status is Running. If not, click Start.
- Check if Startup type is set to Automatic.

Repeat the same steps for Function Discovery Resource Publication, Function Discovery Provider Host, UPnP Device Host, and SSDP Discovery.
9. Check Windows Firewall Settings
Network discovery might’ve stopped working because Windows Firewall is blocking it. Follow these steps to check Windows Firewall settings:
- Open Control Panel.
- From the View by menu, select Large icons or Small icons.
- Click Windows Defender Firewall.
- Select Allow an app or feature through Windows Defender Firewall.
- In the Allowed apps window, click the Change Settings button. Then, scroll down to Network Discovery and select Private.
- Click OK to save the changes.

Now You Can Solve Your Network Discovery Issues
If you are experiencing network problems, it might interfere with your productivity if your work involves sharing files with other computers within your network. Hopefully, the solutions that we included in our guide helped you sort it out.