We've all been there. You're spending a night out with your friends and capturing as many memories as you can, only to find the next day that all the images have that ugly grainy look to them due to being shot in low-light. Unless you've got a dedicated tool, there isn't much you can do about it—consider those photos ruined.
Topaz DeNoise is regarded by many to be the industry leader in noise reduction software, and this is exactly the tool you need to revive your precious shots. In this tutorial, we're going to show you how to use Topaz DeNoise to fix your grainy images.
What Does Topaz DeNoise Actually Do?
Topaz DeNoise uses AI-learning technology to remove grain and noise from images. It accomplishes this by referencing a database of millions of images to build various AI models, which will ultimately remove the grain.
The user can decide which model to use to remove the grain. There are automated settings, as well as customizable manual override settings for even better results.
Getting Started
Before we show you how to use this handy tool, go ahead and get yourself a copy of Topaz DeNoise. It can be used as a standalone program, or as a plugin for programs like Photoshop and Lightroom.
Download: Topaz DeNoise for Windows and Mac ($79.99, free trial available)
The View Modes
Let's go over the basics first. Topaz DeNoise has four ways of viewing images, namely Single View, Split View, Side-by-Side View, and Comparison View.
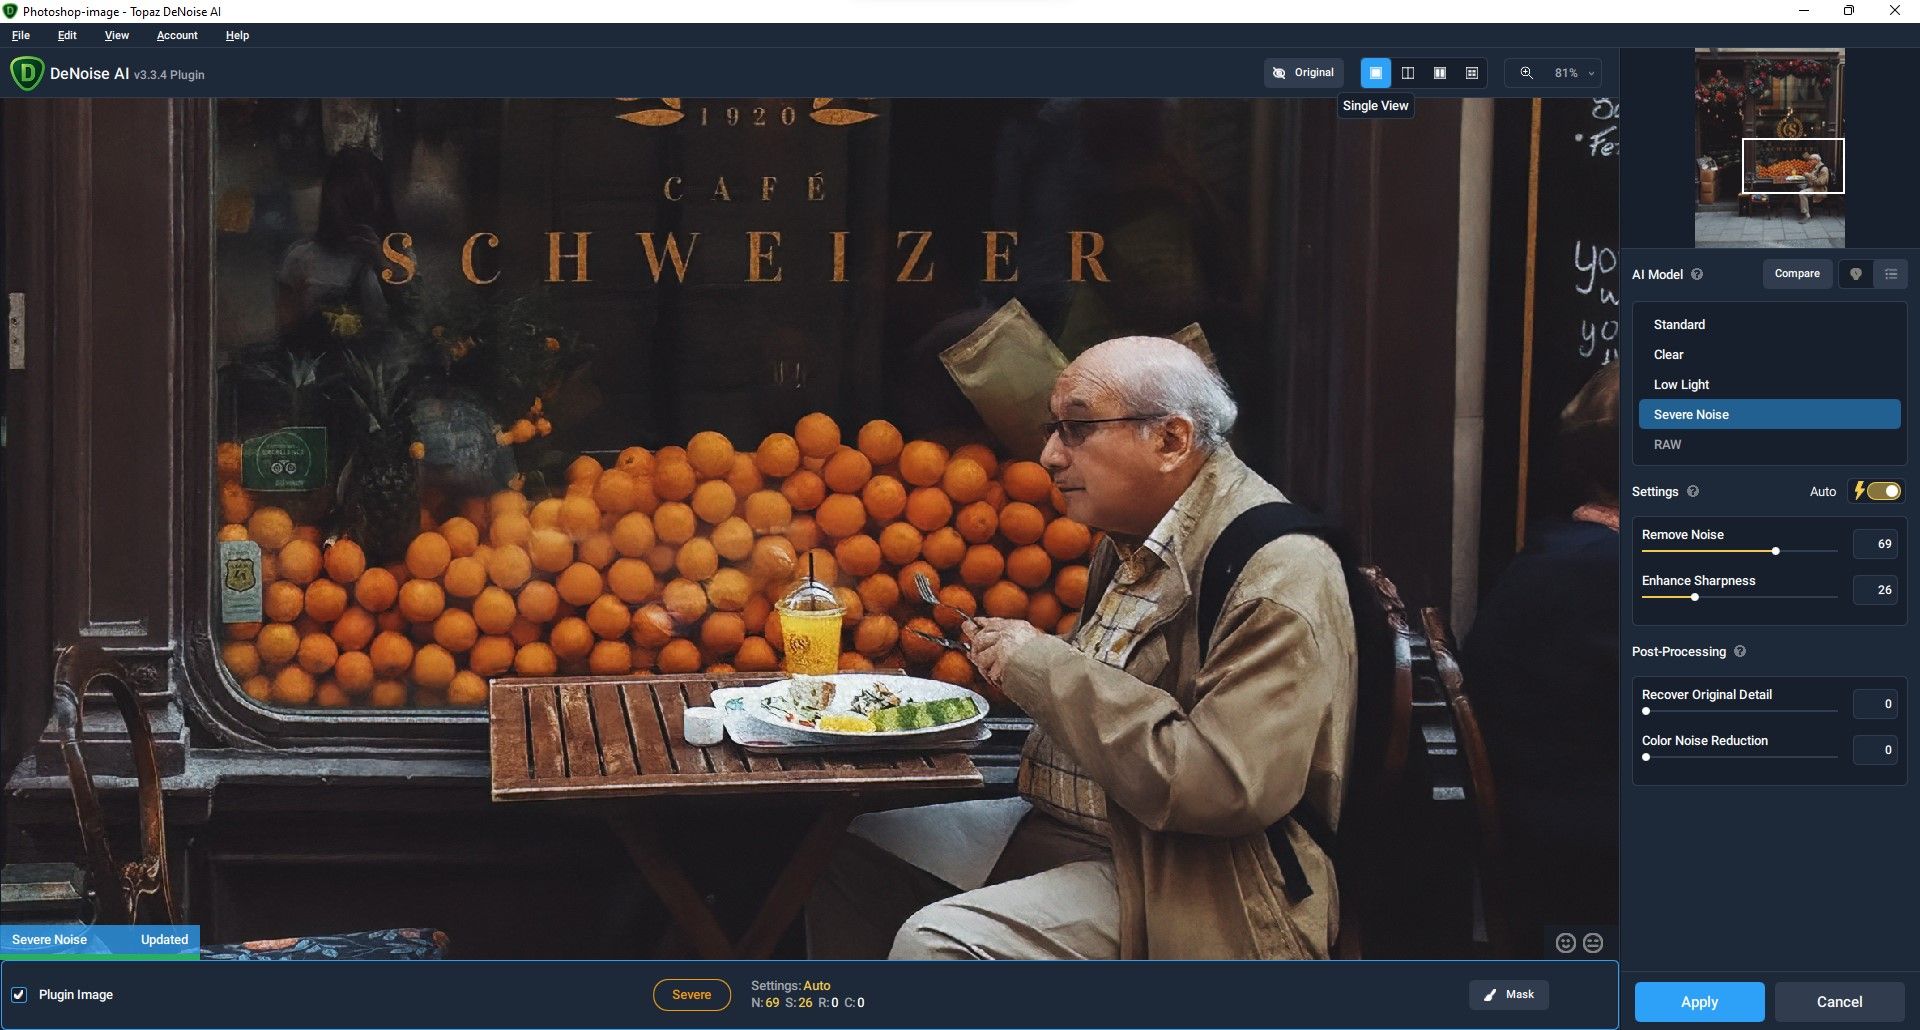
Single View

In Single View, only one image will be displayed at a time with one AI model applied. You can switch between the AI models in the right-hand menu as well as adjust other settings, which we'll cover later on.
Split View

Split View is the classic side-by-side comparison mode where you can move the slider back and forth to see the before and after results on one single image. Like in all of the viewing modes, the parameters can be changed in the main menu on the right.
Side-by-Side View

In Side-by-Side View, two full images are compared next to one another.
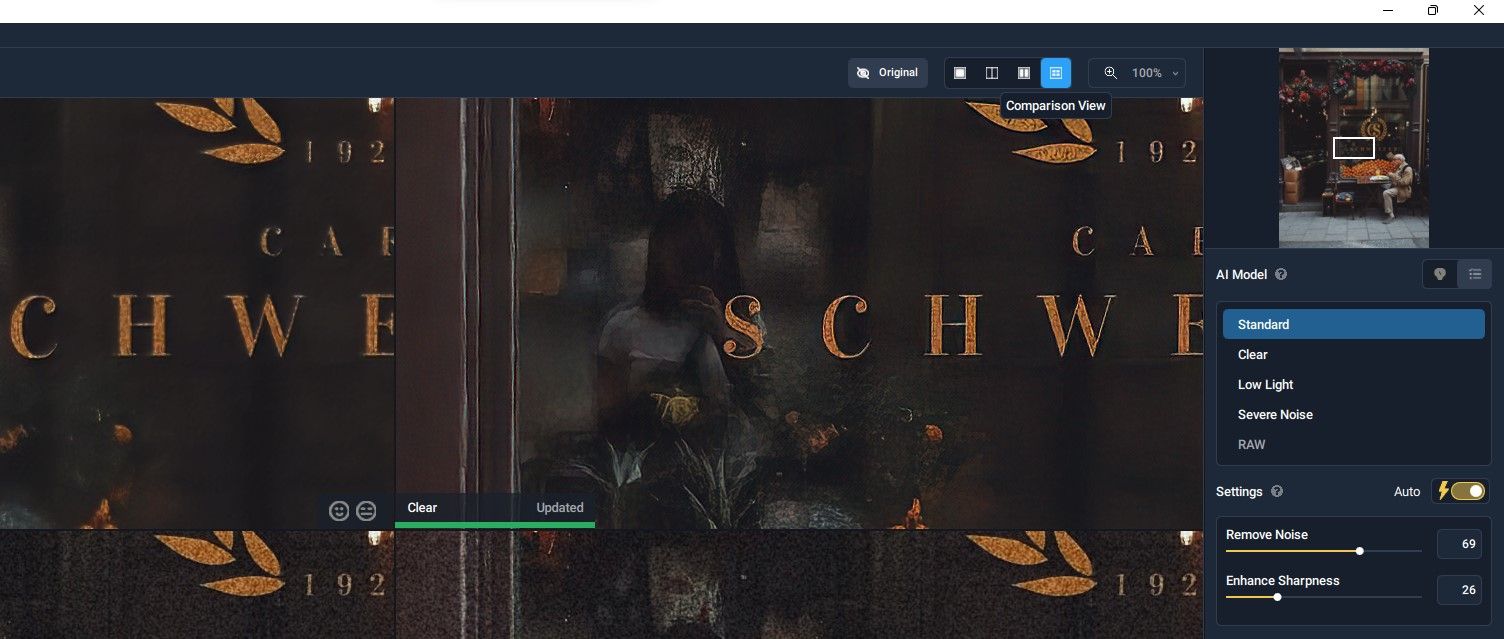
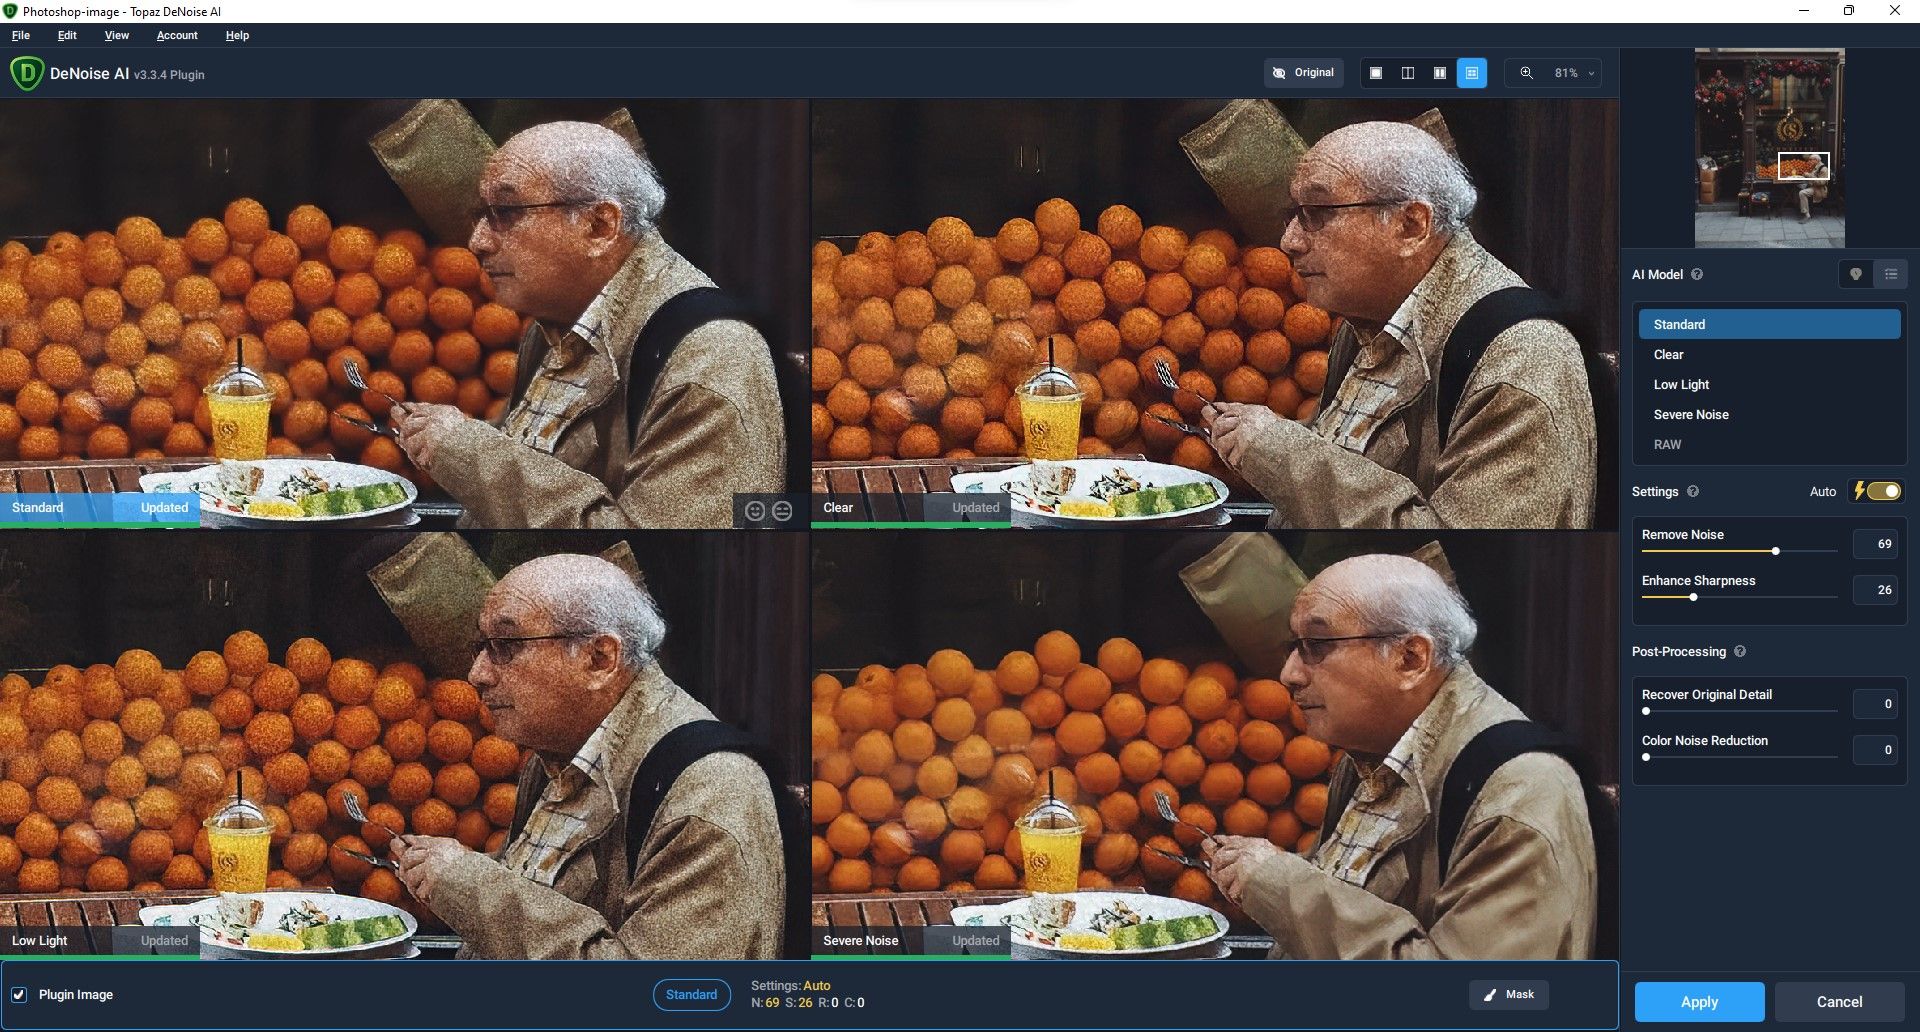
Comparison View

Comparison View allows you to view four of the AI models out of a total of six. You can easily toggle which AI model is included by choosing from the AI model menu. Additionally, the original image can be viewed by clicking on the Original icon at the top.
You can also customize where each AI model is positioned in each of the four spaces. Simply click on one of the four boxes; the view name box will turn blue. Then click the AI model from the menu.
The AI Models
There are five AI models from which to choose, four if you're not using a RAW file, in which case the RAW option will be grayed out. The five AI models are Standard, Clear, Low Light, Severe Noise, and RAW.
Standard

Standard is a basic denoise model that produces subtle results. You'd likely use this for images that don't have a lot of noise.
Clear

Clear produces a stronger effect than Standard, resulting in a sharper image.
Low Light

Low Light will render a brighter image, which is especially useful for underexposed images.
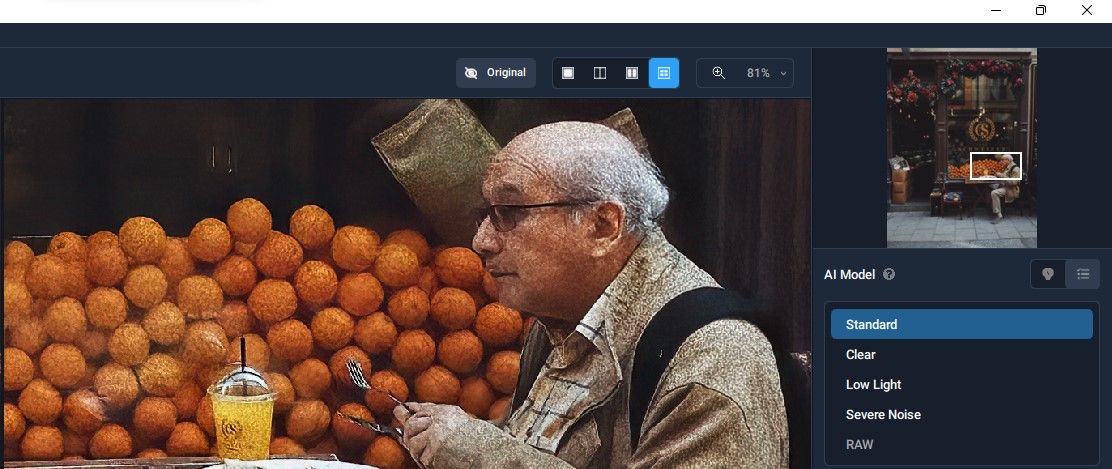
Severe Noise

Severe Noise is the most powerful AI model. It will come in handy for extremely grainy images—at the expense of some detail lost, however.
RAW
RAW will make use of all the data contained in a standard RAW file to render top-quality results. When using RAW files exclusively, you'll probably use this option more often than not.
How to Fix Grainy Images With Topaz DeNoise
We're going to explore the rest of the menu features as we run Topaz DeNoise on an image in Photoshop. Most of these steps will be the same if you're using it as a standalone program.
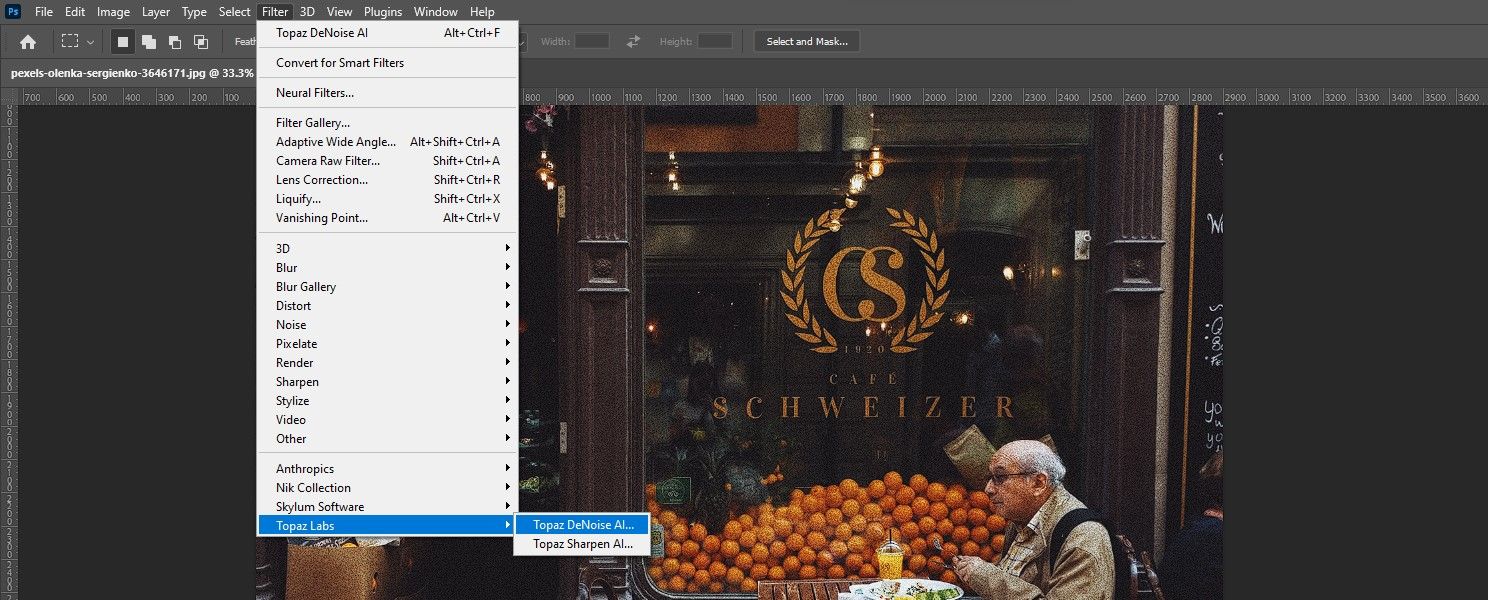
For this tutorial, we'll use a very grainy image of a street scene. This is a common scenario; the photographer may have been using a smartphone or taking pictures in less-than-ideal lighting. If you'd like to follow along, you can download this image from Pexels for free. Let's get started...
-
In Photoshop, go to Filter > Topaz Labs > Topaz DeNoise AI.
-
Choose Comparison View from the top menu bar.
-
Use the mouse to move the rectangle over the man in the navigation box.
-
Wait for the green status bar to show Updated for each AI model.
-
It looks like Severe Noise does the best job removing all the grain. Left-click on the Severe Noise window. Then choose Single View from the top menu.
-
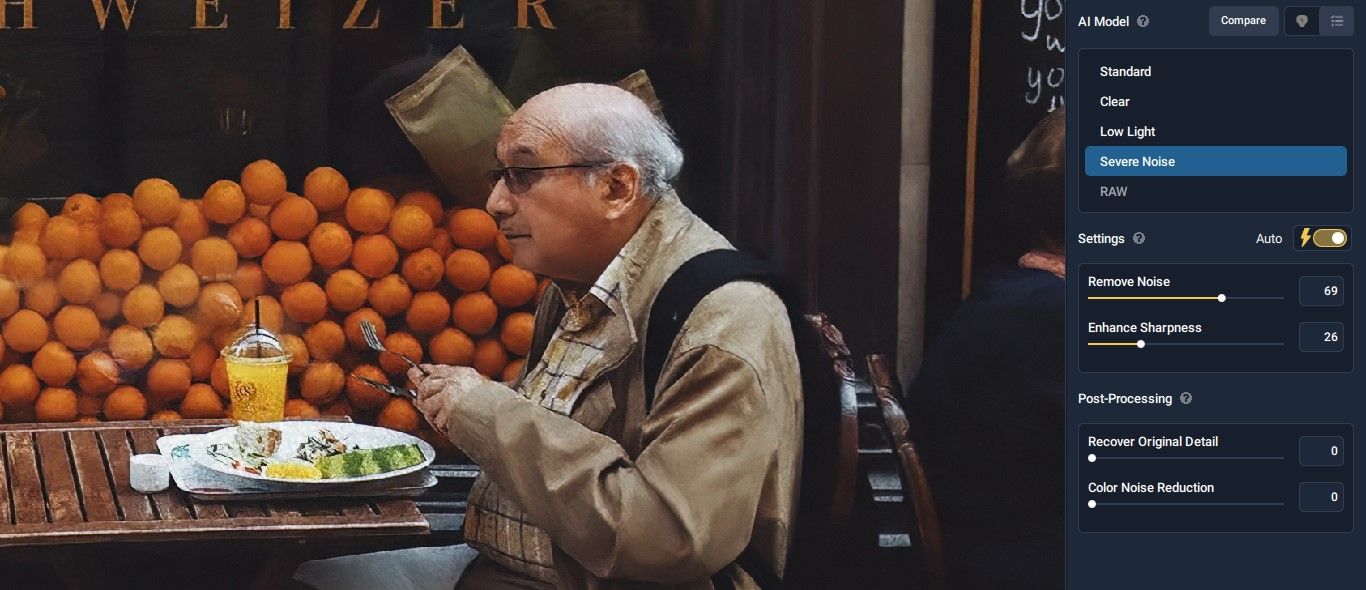
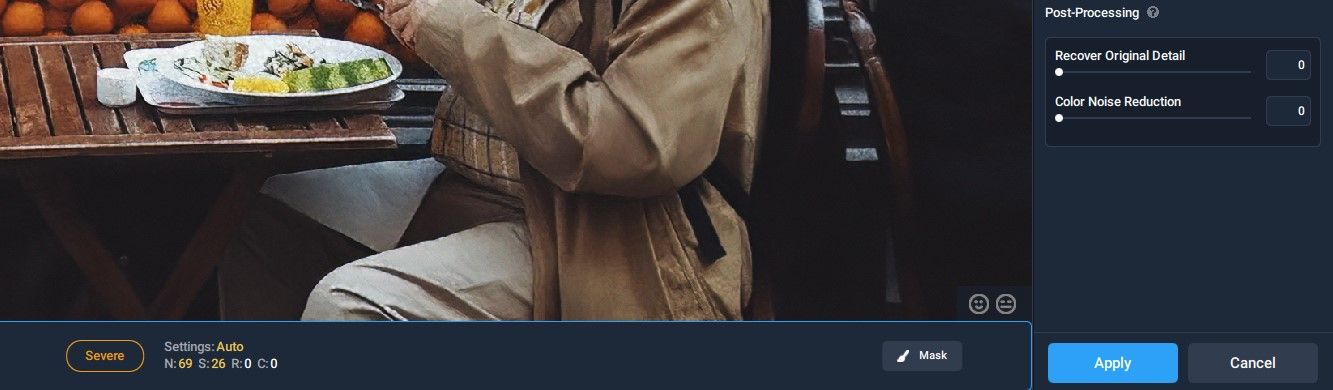
If not already selected, choose Auto in Settings. Note that Auto is always a good place to start. Then the image can be fine-tuned with the Settings and Post-Processing sliders.
-
Once satisfied with all your manual adjustments, click on Apply to save the image in Photoshop.


For most images, all you need are these seven basic steps. If you're using it as a standalone program, then locating and saving files will be slightly different.
Check the Preferences for Fine-Tuning
If your computer isn't very fast, you may want to check Preferences to make some quick adjustments. To access this menu, go to File > Preferences.

You can change the AI Processor and Allowed Memory Consumption options as needed.

We also recommended checking out how to fix the "scratch disks full" error in Photoshop. Deleting temporary Photoshop files, increasing Photoshop RAM usage, and purging Photoshop cache can speed up functions in Topaz DeNoise.
Auto Update Preview
The best option for slower machines running Topaz DeNoise is turning off the Auto Update Preview slider in Preferences.
This feature is by far the most time-consuming because every time you move a slider, adjust the view, or change AI models, you're going to have to wait for the preview to update. This can add several minutes to the process on slower machines!

A good rule of thumb: if a preview takes more than 20 seconds to update and you have many images to edit, turn off Auto Update Preview.
Say Goodbye to Grain
Topaz DeNoise not only benefits DSLR and mirrorless camera users but also smartphone users. Due to smartphone cameras' small sensor sizes, they're more likely to produce grainy images when snapping pictures in low-light.
And look, we know grainy images can be a cool aesthetic, but if you simply want a clean-looking image, it doesn't hurt to have a tool like Topaz DeNoise at your disposal.