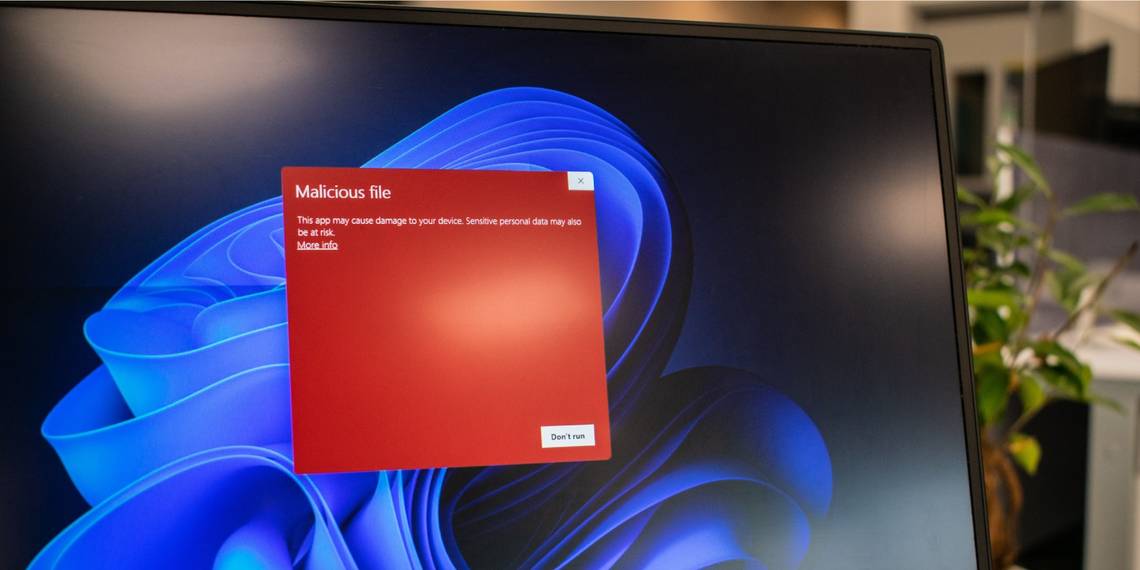
You may encounter the AutoIt Line 0 Error when you boot your computer. The error usually goes away when you close it, but more often than not, it's persistent and will annoy you.
This error occurs due to several reasons—a common reason is malware infection. Other reasons include an autorun task scheduled by a program that no longer exists and third-party app conflicts.
Fortunately, you can fix the AutoIt Error Line 0 by removing the troublesome services and performing a malware scan. Here we show you how.
1. Remove the AutoIt Program

An easy way to fix this error is to remove the AutoIt program from your computer. If you haven’t installed any such app, check the installed apps or the Programs section in Control Panel to find any traces of the app.
To uninstall AutoIt:
- Press Win + R to open Run.
- Type control and click OK to open Control Panel.
- Next, click on Programs and then on Programs and Features.
- Search and look for the AutoIt app. If it exists, select the program and click on Uninstall.
- Click Yes to confirm the action and follow any on-screen instructions necessary to remove the program.
Once you've completed all the steps, restart your computer and check if the error is resolved.
2. Perform a Malware Scan
The AutoIt error often results from a malware-infected file that triggers autorun and tries to modify some Windows services. To be on the safer side, perform a full malware scan to find any adware or other malicious tools on your computer.
If you have a third-party antivirus solution, ensure the virus definition is up-to-date. If not, use Windows Security to perform a full scan and identify any malicious files.
To run a full scan using Windows Security:
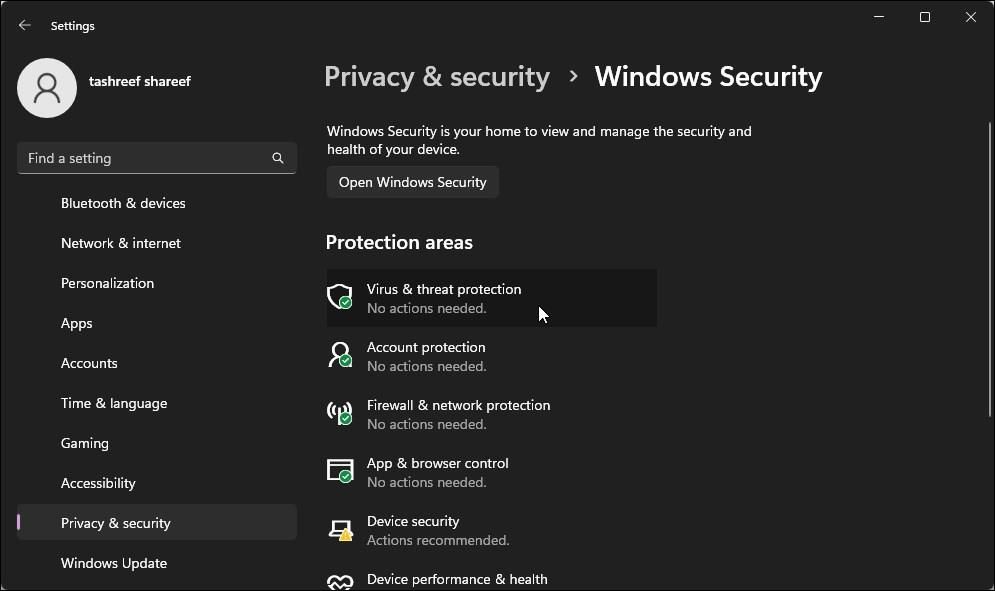
- Press Win + I to open Settings.
-
Open the Privacy & security tab in the left pane.
-
Next, click on Virus & threat protection to open Windows Security in a new window.
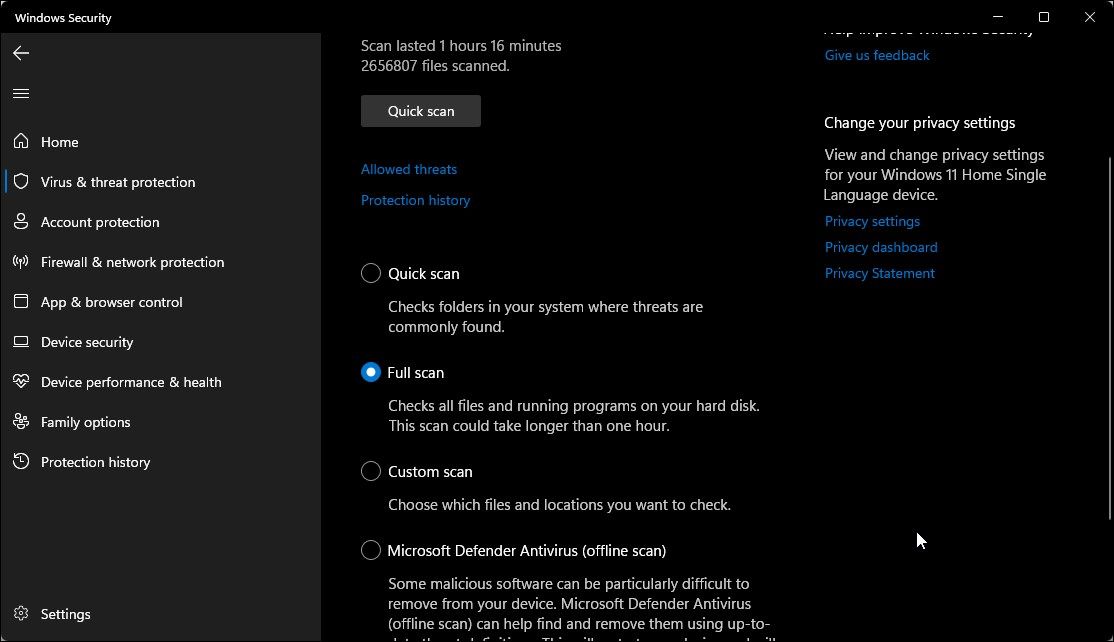
- Click on Scan options.
- Select Full scan and click on Scan now.
- Windows Security will initialize the scan. Depending on your file size, this may take more than an hour to complete. If a threat is found, take the suggested action.


If Windows Security or your third-party antivirus found no issues, run Microsoft Safety Scanner in Safe Mode. Microsoft Safety Scanner is a virus removal tool to scan and delete malware from Windows computers.
You can use Microsoft Safety Scanner in Safe Mode and normal mode. In Safe Mode, however, you can use the tool without third-party apps conflict. So, boot into Safe Mode with Networking. When you get to the Startup settings, press F5 or 5 on your keyboard to restart Windows in Safe Mode with Networking.
Once in Safe Mode, open Microsoft Edge and download Microsoft Safety Scanner. Run the tool and agree to the terms. In the Scan Type screen, select Full Scan and click Next to begin scanning.

The scanning process may take some time and provide a report of any potentially unwanted software that is detected. Since you have opted for a full scan, it may take over an hour to complete.

If Microsoft Safety Scanner also fails to detect any issues, run a full scan with Malwarebytes. It offers a free trial and often detects threats undetected by other antivirus solutions. It is also featured in our list of top malware removal tools to clean up Windows PC.
3. Remove the Remaining Autorun Keys Using Windows Autoruns
Since AutoIt is a startup error, and the malware scan did not find any threats, the next step is to detect any residual autorun keys that trigger the error. This often happens due to leftover autorun keys created by a program that no longer exists on your system.
You can use the Windows Autoruns utility to find the autorunning apps or services on your computer. It helps you find the programs configured to run during system bootup.
But how do you identify the problematic app or service? The answer is usually in the error message you receive. Often the error dialog contains the file path to a service triggering the error.
For example, if the full error on your computer reads "AutoIt Error Line 0 (file C:\Users\65875\AppData\Roaming\ServiceGet\vapihas.dat)", the file path C:\Users\65875\AppData\Roaming\ServiceGet\vapihas.dat is where the problem exists. In this instance, to fix the error, you must remove the vapihas.dat file.
Follow these steps to remove autorun keys using Windows Autoruns:
- Go to the Autoruns for Windows page and download the latest version available.
-
Next, extract the zip file to a new folder.
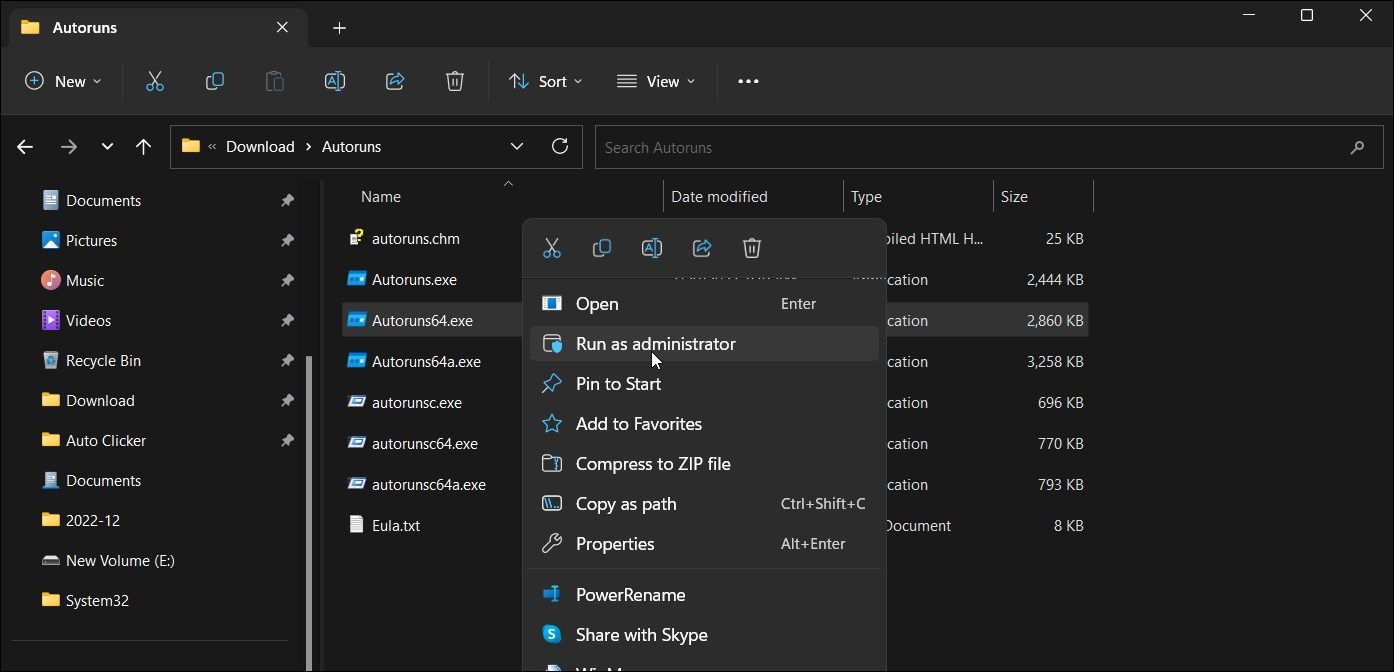
- Open the extracted folder, right-click on Autoruns64.exe, and select Run as administrator. The app will scan and populate the screen with all the autorun tasks detected on the system.
-
In the Autoruns window, type vapihas.dat in the Quick Filter field to find the associated services. Make sure to replace vapihas.dat with the last name in the file path you noted earlier in the error dialog.
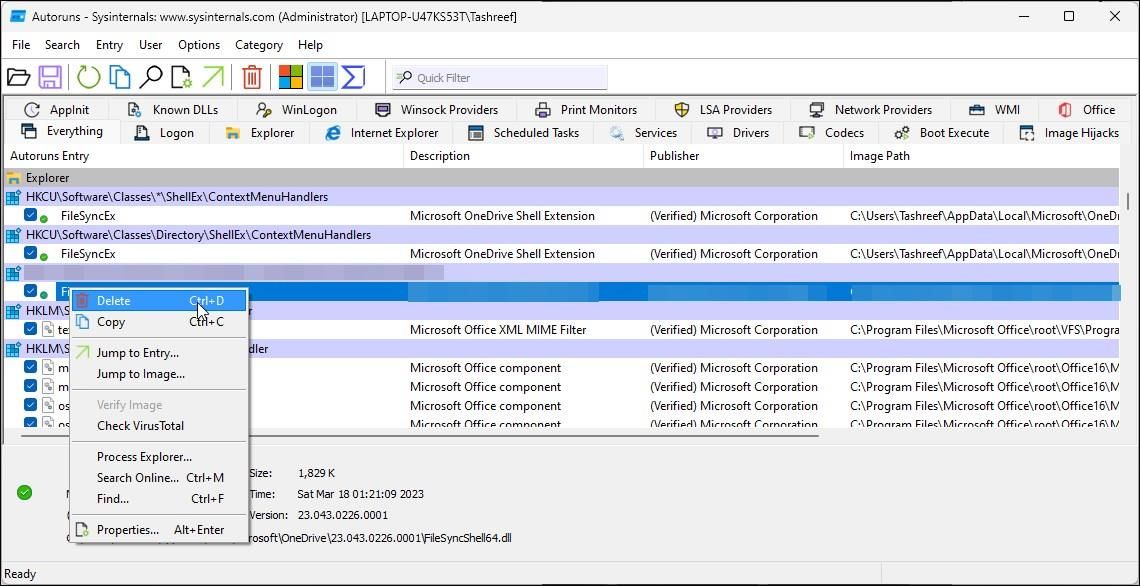
- Next, right-click on the vapihas.dat task and select Delete.
-
Next, press Win + E to open File Explorer and navigate to the following location:
C:\Users\65875\AppData\Roaming\ - Within the Roaming folder, select and delete the ServiceGet folder.
- Close File Explorer and restart your PC and check for any improvements.


As discussed earlier, note down the error to identify the service causing the error. Then you can delete the service using Windows Autoruns.
4. Perform a Clean Boot to Identify Third-Party App Conflicts

In the clean boot mode, Windows starts with only Microsoft services enabled. You can start Windows in clean boot mode to identify third-party app conflicts causing the AutoIt error line 0.
Start by performing a clean boot on Windows 11. These steps should also work on a Windows 10 system. Once in the clean boot state, check if the error occurs after the startup. If not, you can safely assume a third-party startup service or app is triggering the AutoIt error.
To resolve the issue, launch Task Manager and open the Startup Apps tab. Next, locate the app or service that is shown in the error message and disable it from running on startup.
Some startup apps are only configurable using the option within the app. Here is how you can disable startup programs on Windows 11 using the app’s settings and other methods.
Once done, you’ll need to re-enable the disabled service in System Configuration. To do this, open the System Configuration app, go to the General tab, and select Normal startup. Click Apply and OK to save the changes.
5. Run System File Checker and DISM to Repair Windows

If the issue persists, you can perform a system repair using the System File Checker (SFC) and Deployment Image Service and Management (DISM) tools. A system repair should work if a malware infection has damaged your Windows image or other system files.
To repair a corrupted Windows installation, run the following commands one by one in an elevated Command Prompt:
        DISM /online /cleanup-image /RestoreHealth
sfc /scannow
Fix the AutoIt Error Line 0 on Windows
The AutoIt error is often a case of malware infection that has added an autorun service to your computer. You can fix the error by performing a full system scan. If the issue persists, use Windows Autoruns to find and remove the autorun service manually.
But if you determine that some systems files were corrupted due to a malware infection, then a Windows installation repair might be necessary to fix the issue.