The microphone is an input device, so it should only capture sound vibrations in the air and translate them into electronic signals that are then recorded to your recording medium. Since the microphone is an input device, it should not produce any sound. There are times, however, when it finds the courage to speak up.
Is all or some of the sound from your PC coming through your microphone? Reality contradicts it. So, we'll investigate what causes this phenomenon and list the solutions to fix it.
What Causes Sound to Play Through Your Microphone, and How Can You Fix It?

The primary reason you may hear sound through your mic is if you don't have an audio output device connected to your device. Other potential causes include an incorrectly selected playback device, outdated drivers, and problems with the app or operating system. The question is: how would you fix this problem?
To stop sound coming from your microphone, ensure your speakers or headphones are correctly plugged in, choose the correct playback device, update the sound drivers, and rule out any issues with your operating system, audio software, or app.
Let's discuss how each factor might contribute to this problem, along with possible fixes.
1. Make Sure It Isn't a Hardware Issue
You can save yourself an hour of labor with a little hardware check. Before proceeding with software fixes, make sure your hardware is working correctly. A straightforward way to confirm that is to connect the same microphone to another PC.
- If all sound from the other PC comes out of the mic, it suggests something is wrong with the hardware. So, take it to a nearby repair shop for an inspection. If it turns out defective, it may be time to replace it with the best USB microphone.
- If connecting the same microphone to a different device makes the problem disappear, the problem is likely with your primary device. So, start applying the remaining fixes.
2. Apply Some Preliminary Checks
Follow these preliminary checks before moving on to the main part of troubleshooting:
- Ensure that your microphone is not plugged into the audio output jacks.
- Test your audio jacks with a different device to ensure they aren't faulty.
- If your microphone is connected to the backside jacks of your PC, consider moving it to the front jacks.
- Use our guide on Windows 11 troubleshooters to run the Playing Audio troubleshooter and help it identify and fix the problem.
- Does your microphone play sound when you use a particular app, but otherwise, it does not? If so, some settings in the app have been misconfigured. Find out how to reset that app's sound or audio settings, and you're good to go.
-
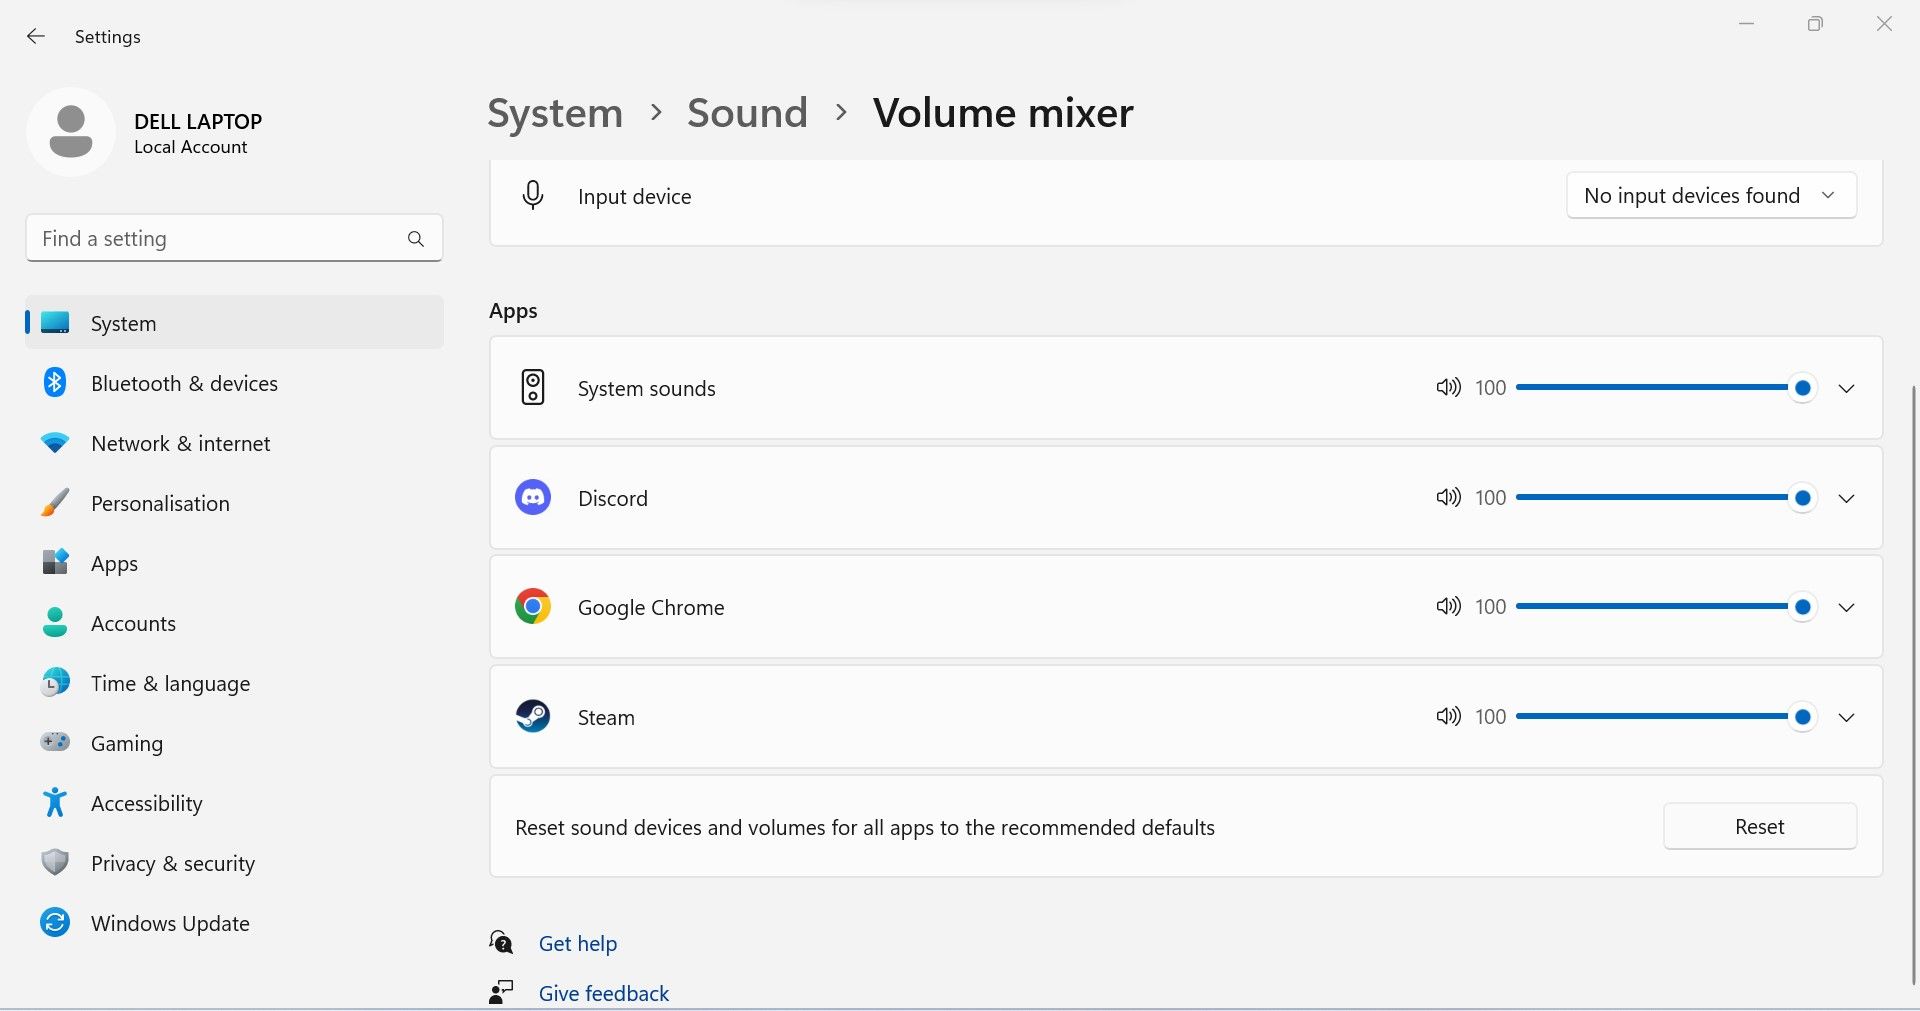
Go to the Windows Settings app. Then, navigate to System > Sound > Volume Mixer and click the Reset button next to Reset sound devices and volumes for all apps to the recommended defaults.

3. Connect Your Audio Output Device Correctly
For your computer to route all sound to your ears, it needs an audio output device. When your device doesn't find any, it'll look for hardware with a diaphragm that allows sound to pass through. Microphones have diaphragms, making them ideal to be used as an audio output device when a speaker or headphone is unavailable.
So, ensure your speakers or headphones are correctly connected to your computer. To confirm:
- Make sure your headphones or speakers are correctly plugged in.
- Make sure they are connected to the correct audio jacks.
-
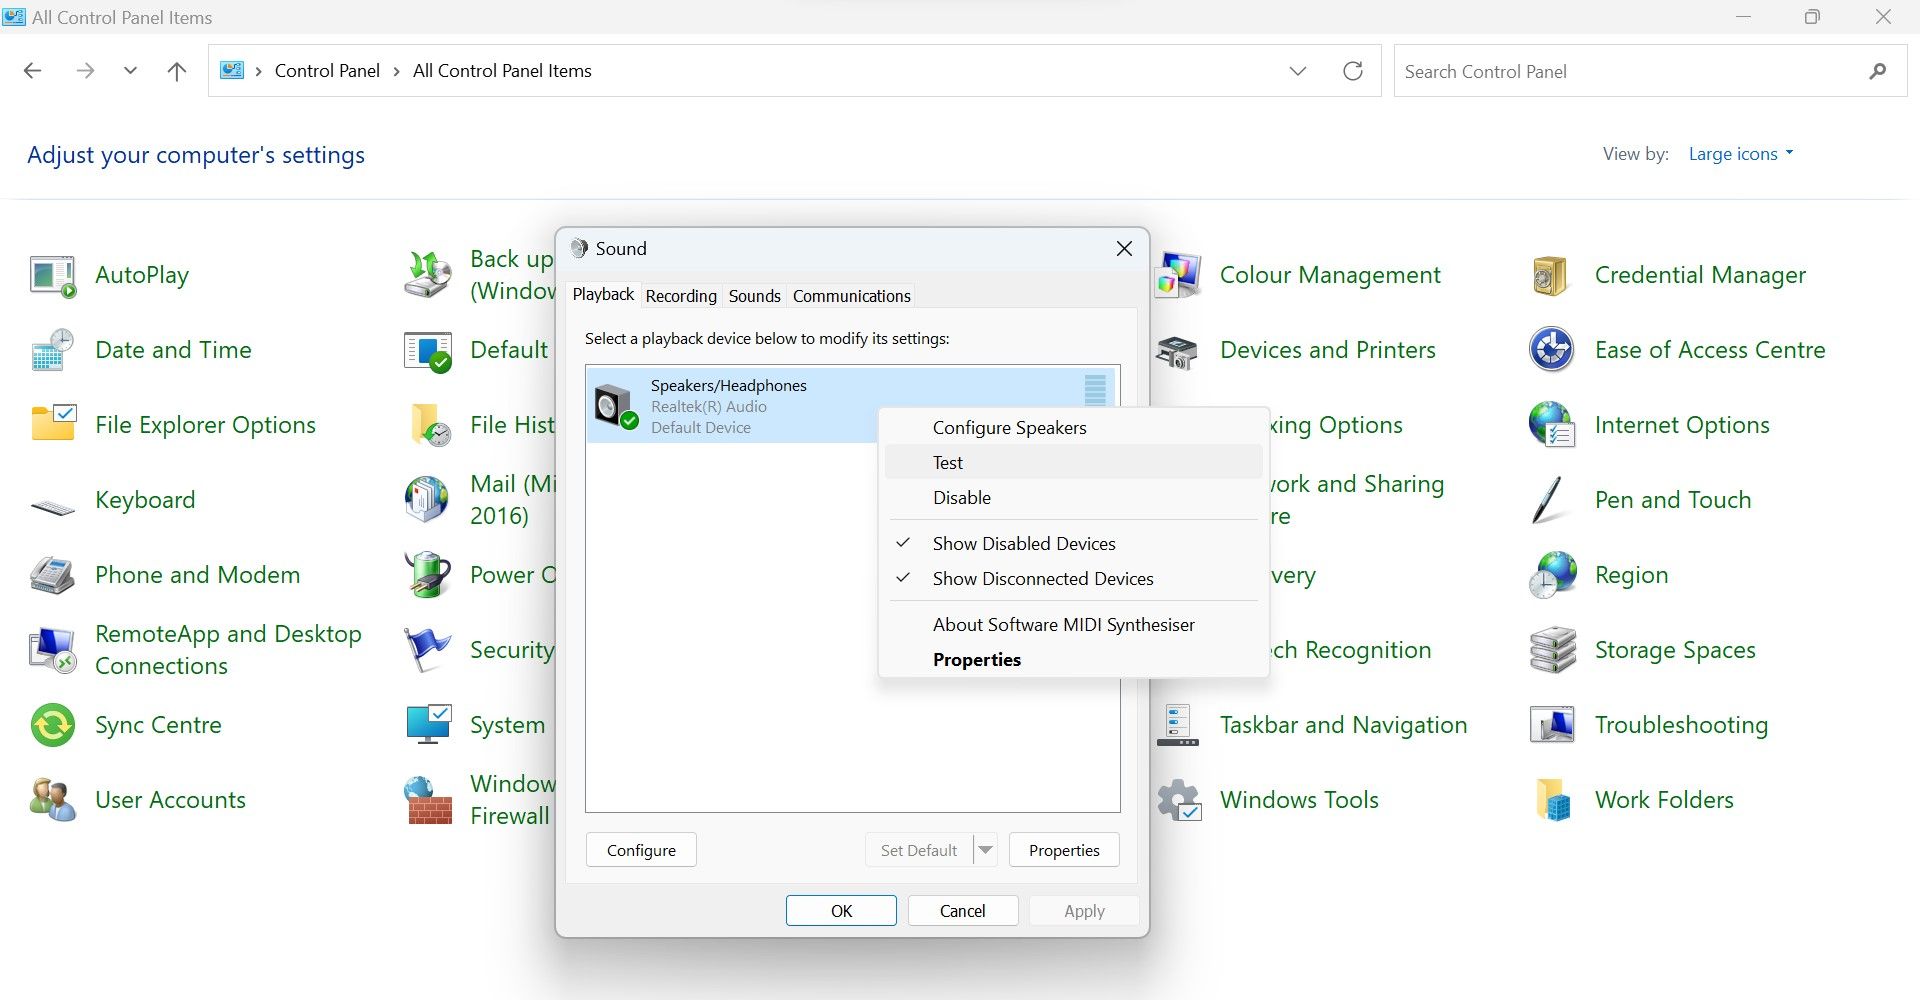
Open the Control Panel by typing "Control Panel" in the Windows Search box. Go to Sound, then to the Playback tab. Right-click the speaker or headphones and select Test.
Have you heard anything? If you have, the device is connected. Otherwise, not.

4. Ensure the Correct Device Is Selected as the Sound Playback Device
It may not be possible to hear anything from speakers if a different device is selected as the default output device. Thus, it is imperative to configure speakers as a primary output device. Here are the steps you need to follow:
- To open the Control Panel app, type "Control Panel" in the Windows Search box.
- Go to Sound, then to the Playback tab.
-
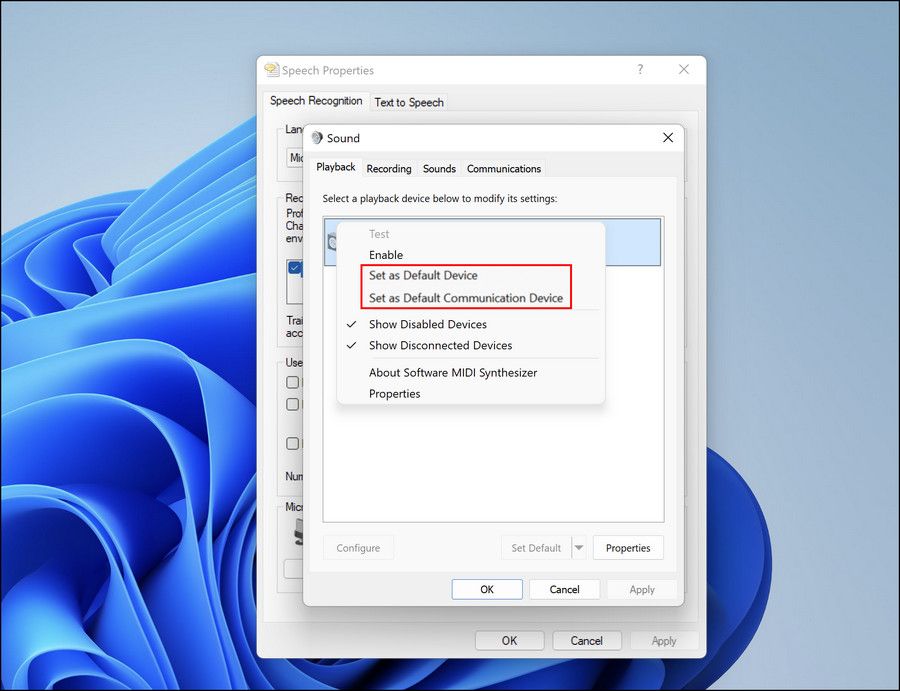
You're good to go if the desired device is selected as default. Otherwise, right-click the speaker or headphones and choose Set as Default Device.

5. Update Sound Drivers
In the absence of updated drivers, unforeseen issues are likely to occur. A microphone that plays all sounds could be one of them. It is, therefore, imperative to keep your sound drivers up-to-date. To confirm that, follow these steps:
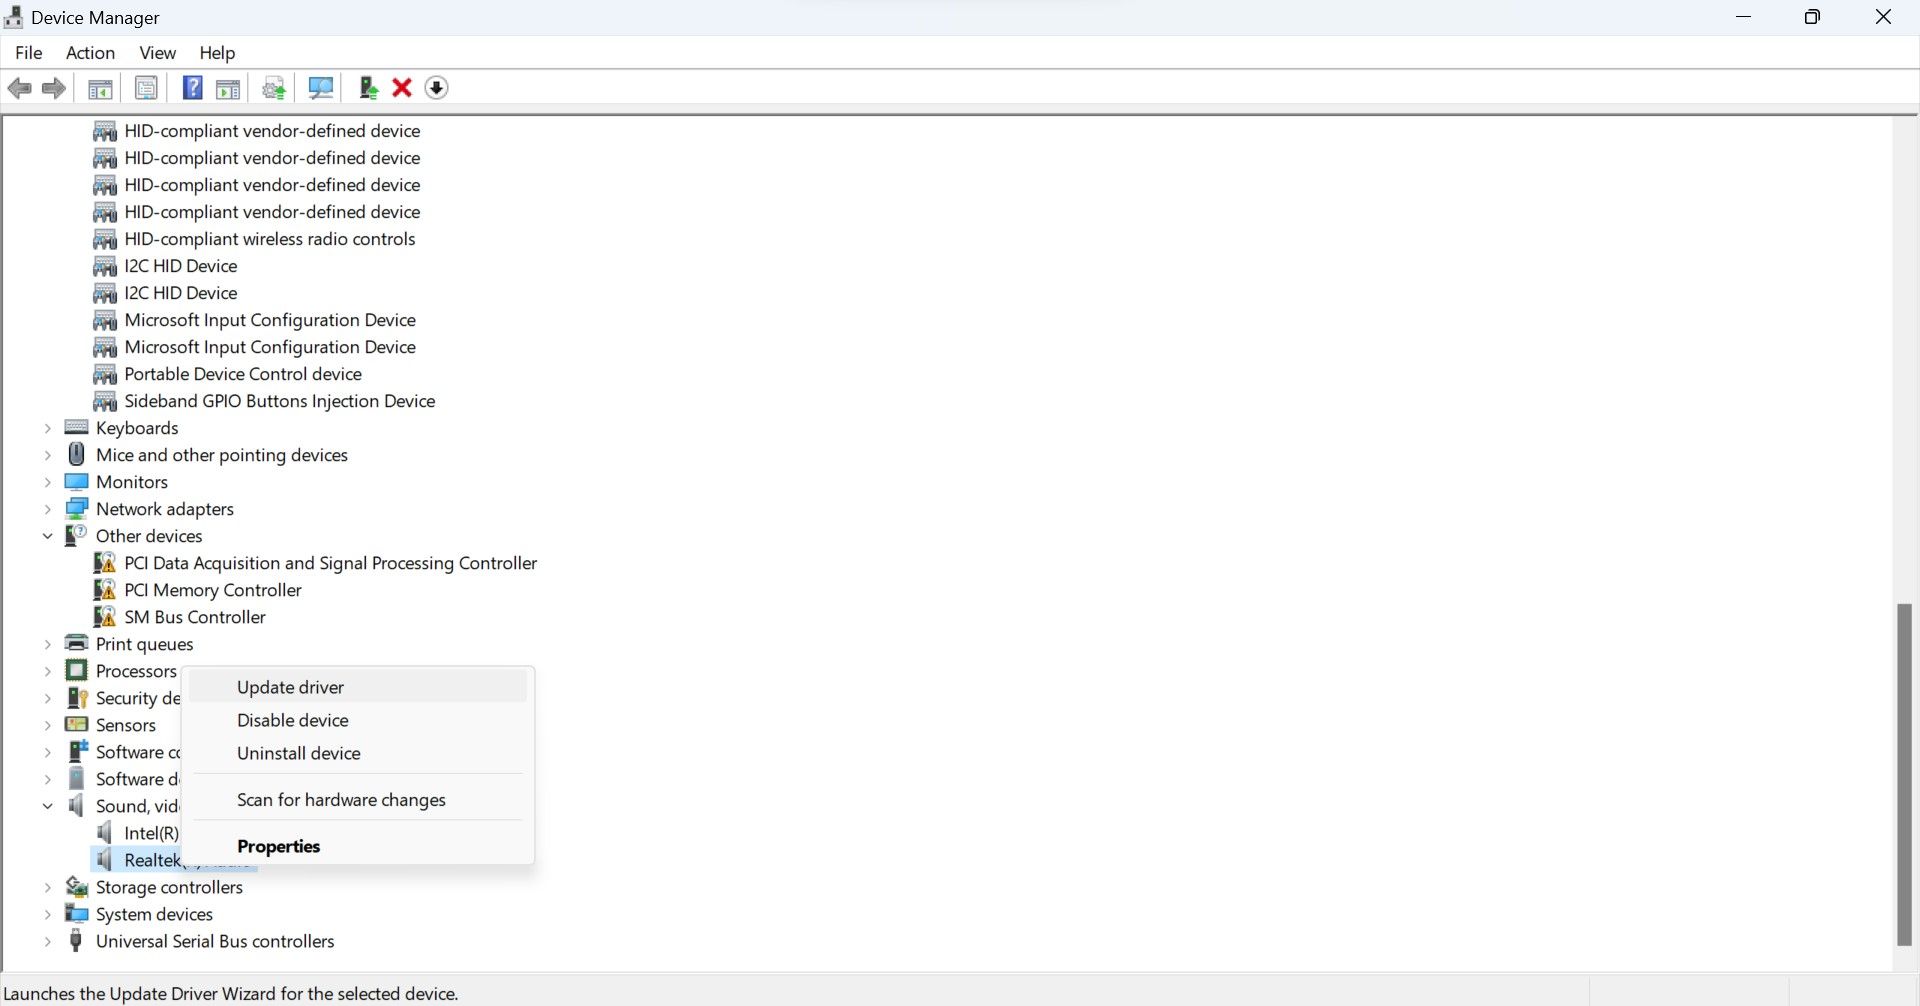
- Right-click on the Windows Start button and click Device Manager.
- Expand the category for Sound, video, and game controllers.
-
Right-click on the relevant audio driver and click Update driver.

If updating drivers doesn't fix the issue, you should install the 2.82 Realtek Driver from FileHippo, as many users on this Tech Powerup thread have found this driver to resolve the issue. Give it a shot!
6. Disable a Few Sound Settings
Misconfigured sound settings can also help your mic to speak. Apply the changes listed below to turn off these settings, and hopefully, the issue will be resolved:
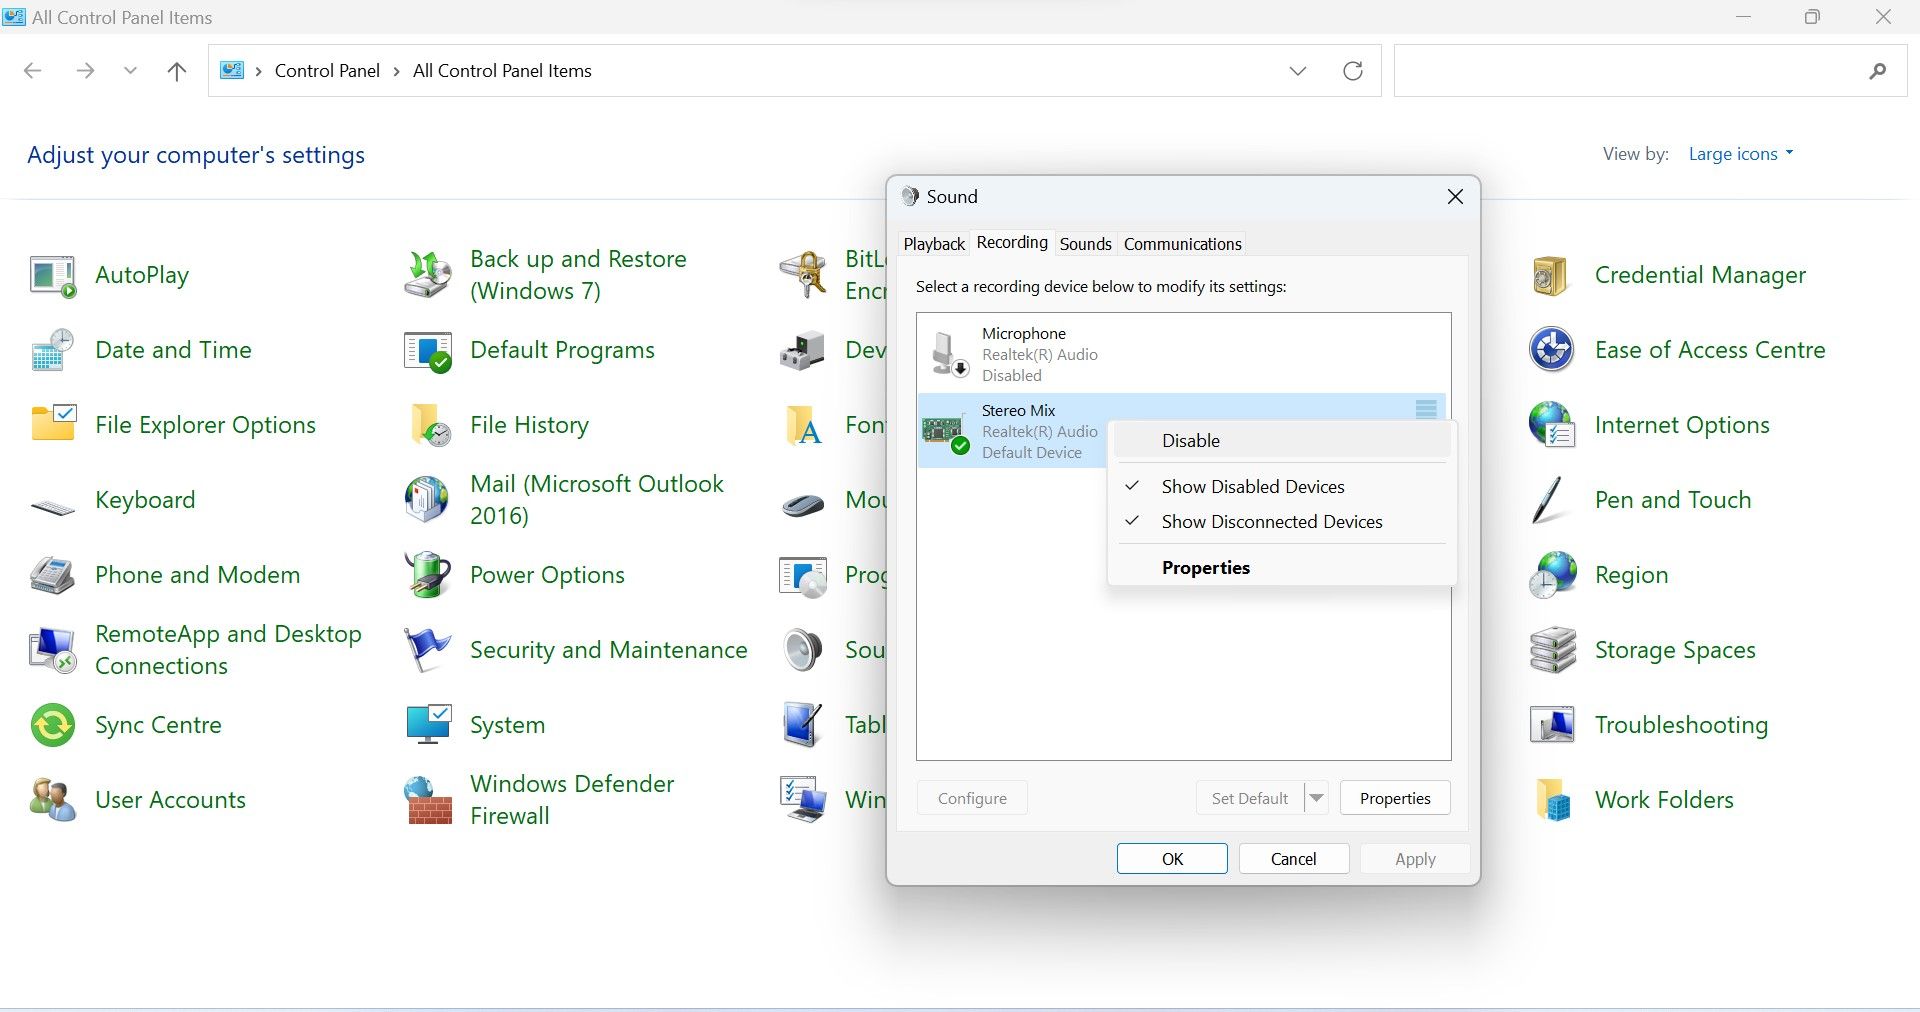
-
Disable the stereo mix. Open the Control Panel and select Sound. Go to the Recording tab, right-click Stereo Mix, and select Disable. Putting this feature on mute has also fixed this issue for some users who kept it enabled. So, take a shot at it.
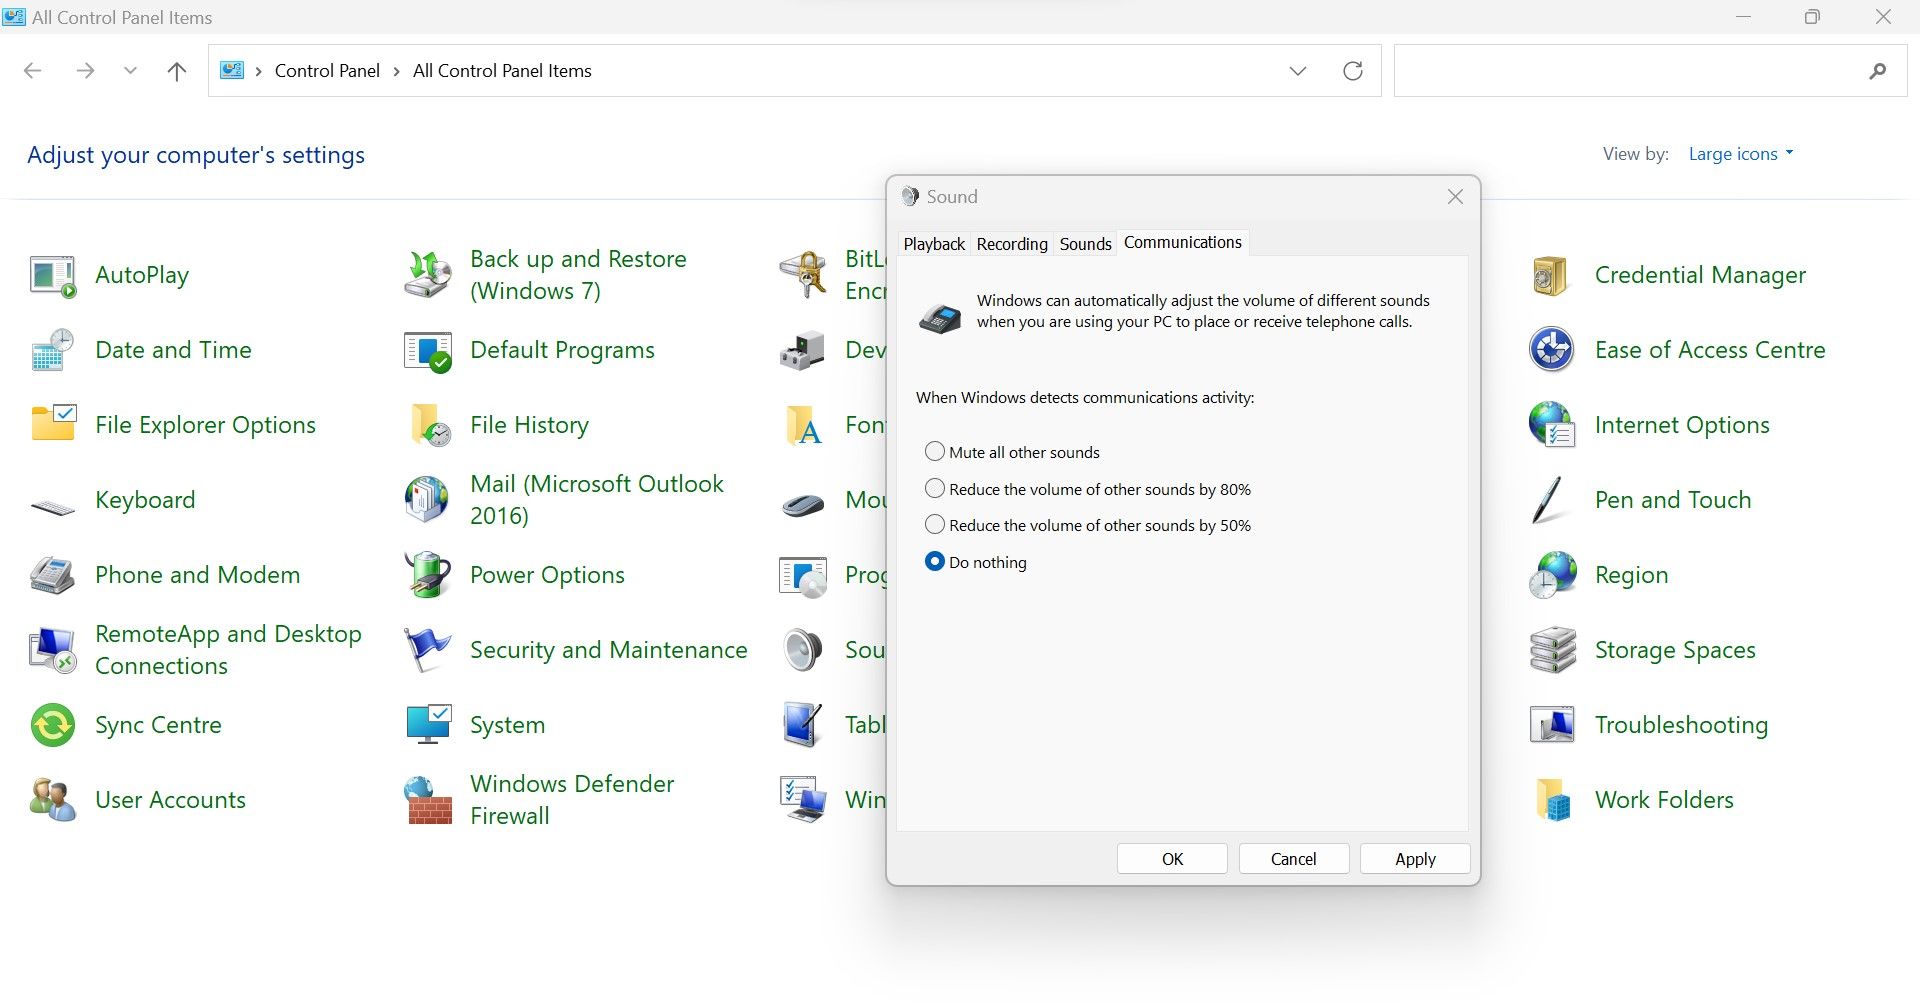
-
Go to the Communications tab in the same window. Then, check the last circle, Do nothing.
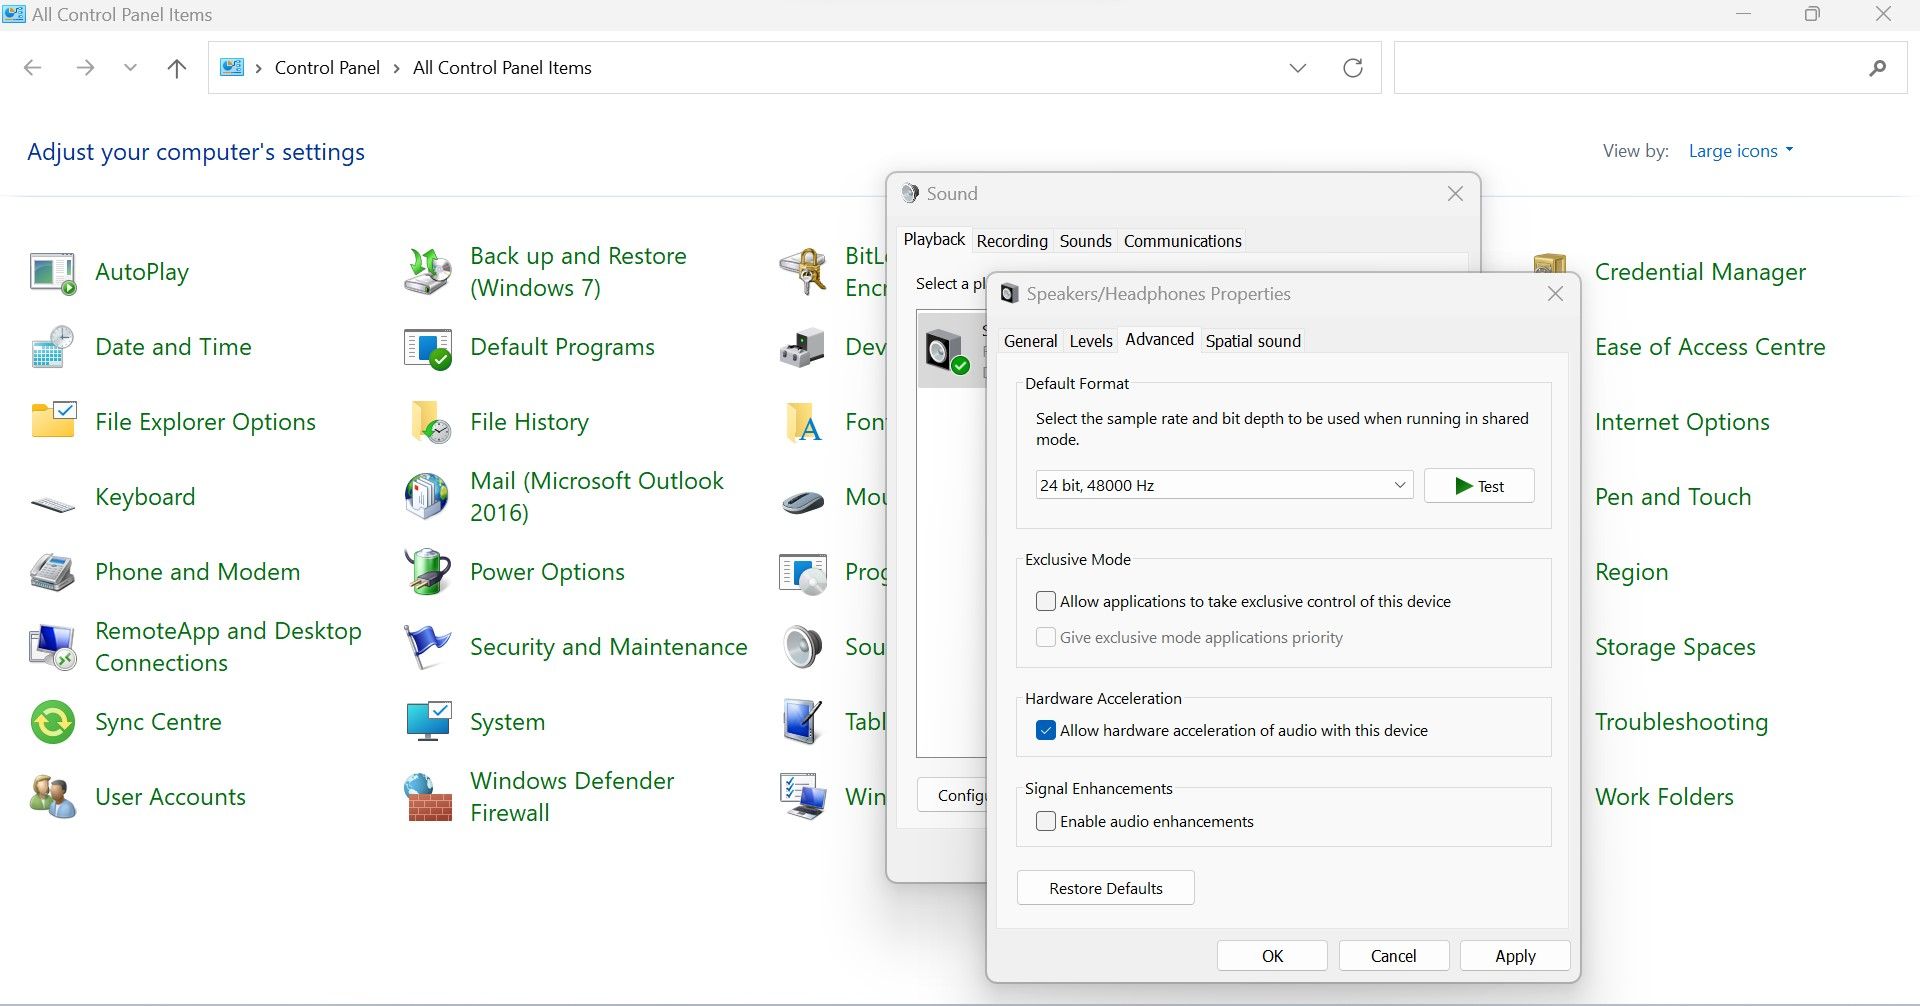
-
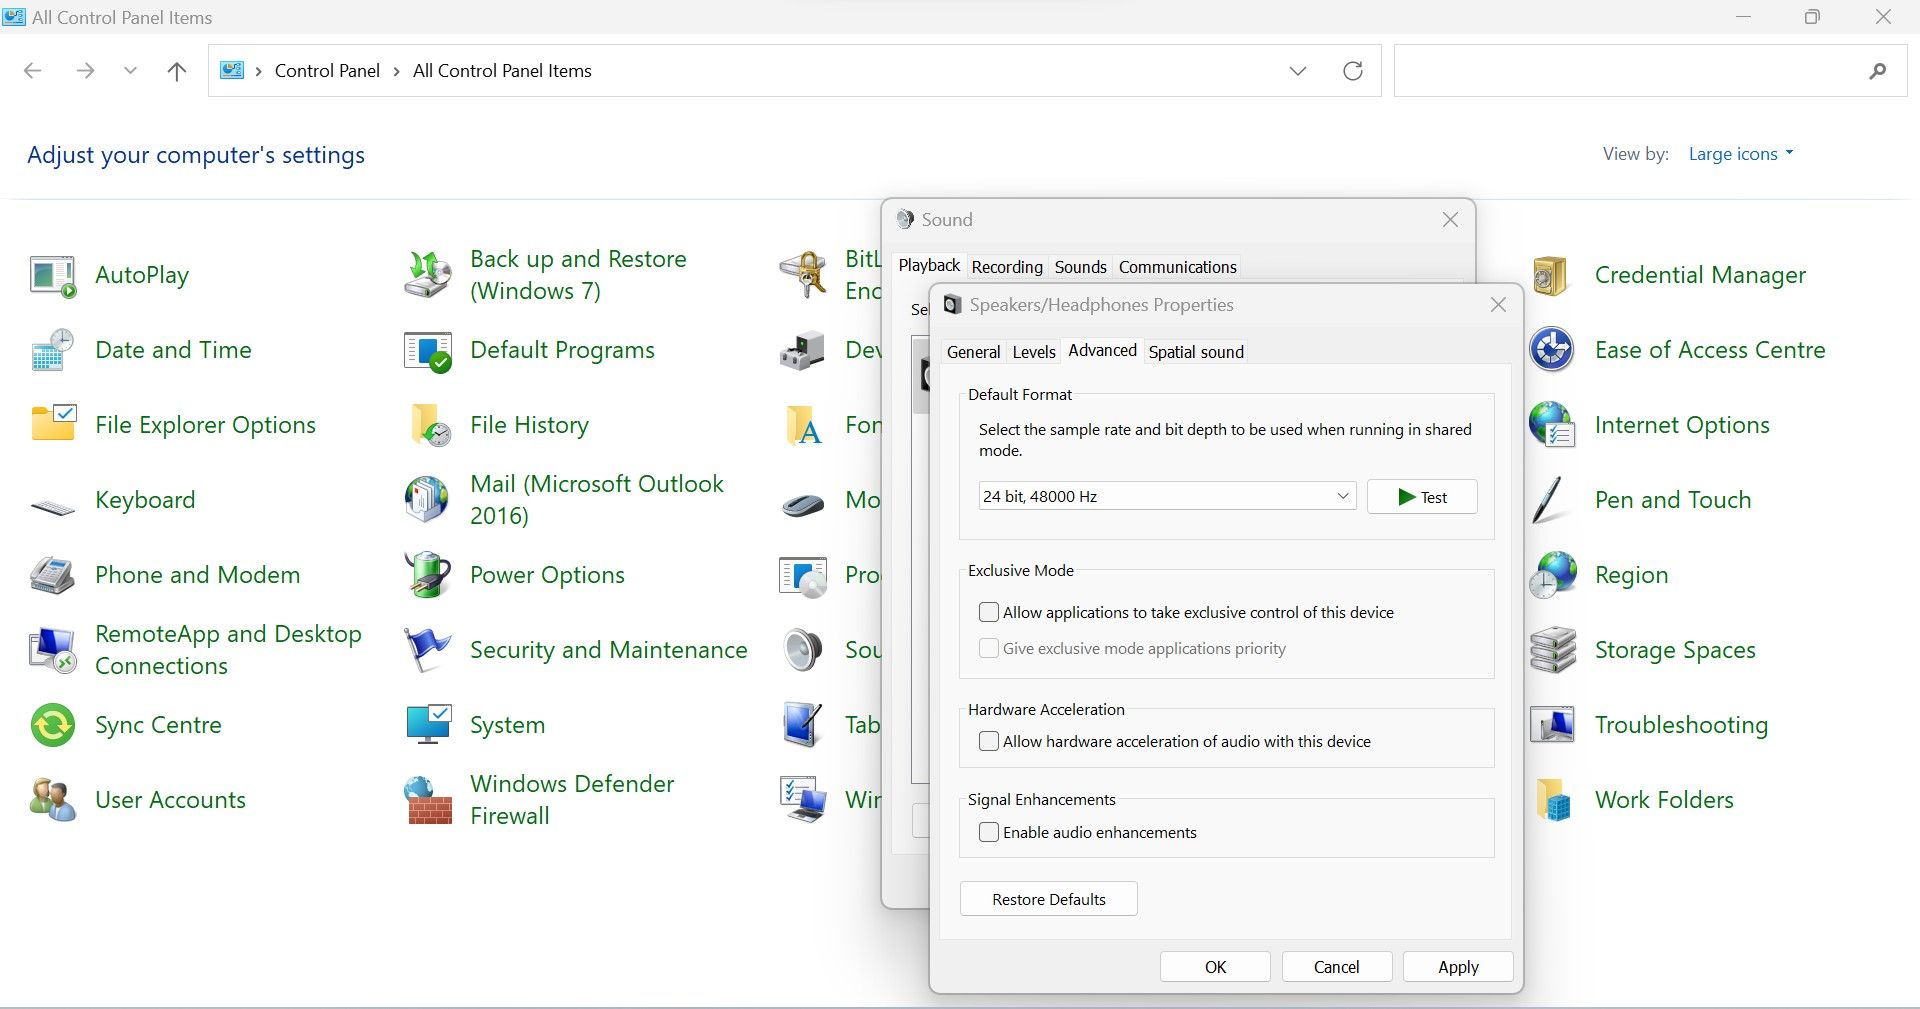
Right-click your microphone and choose Properties. In the Properties window, go to the Advanced tab and uncheck these options:
- Allow applications to take exclusive control of this device.
- Give exclusive mode applications priority.
-
Enable audio enhancements.
-
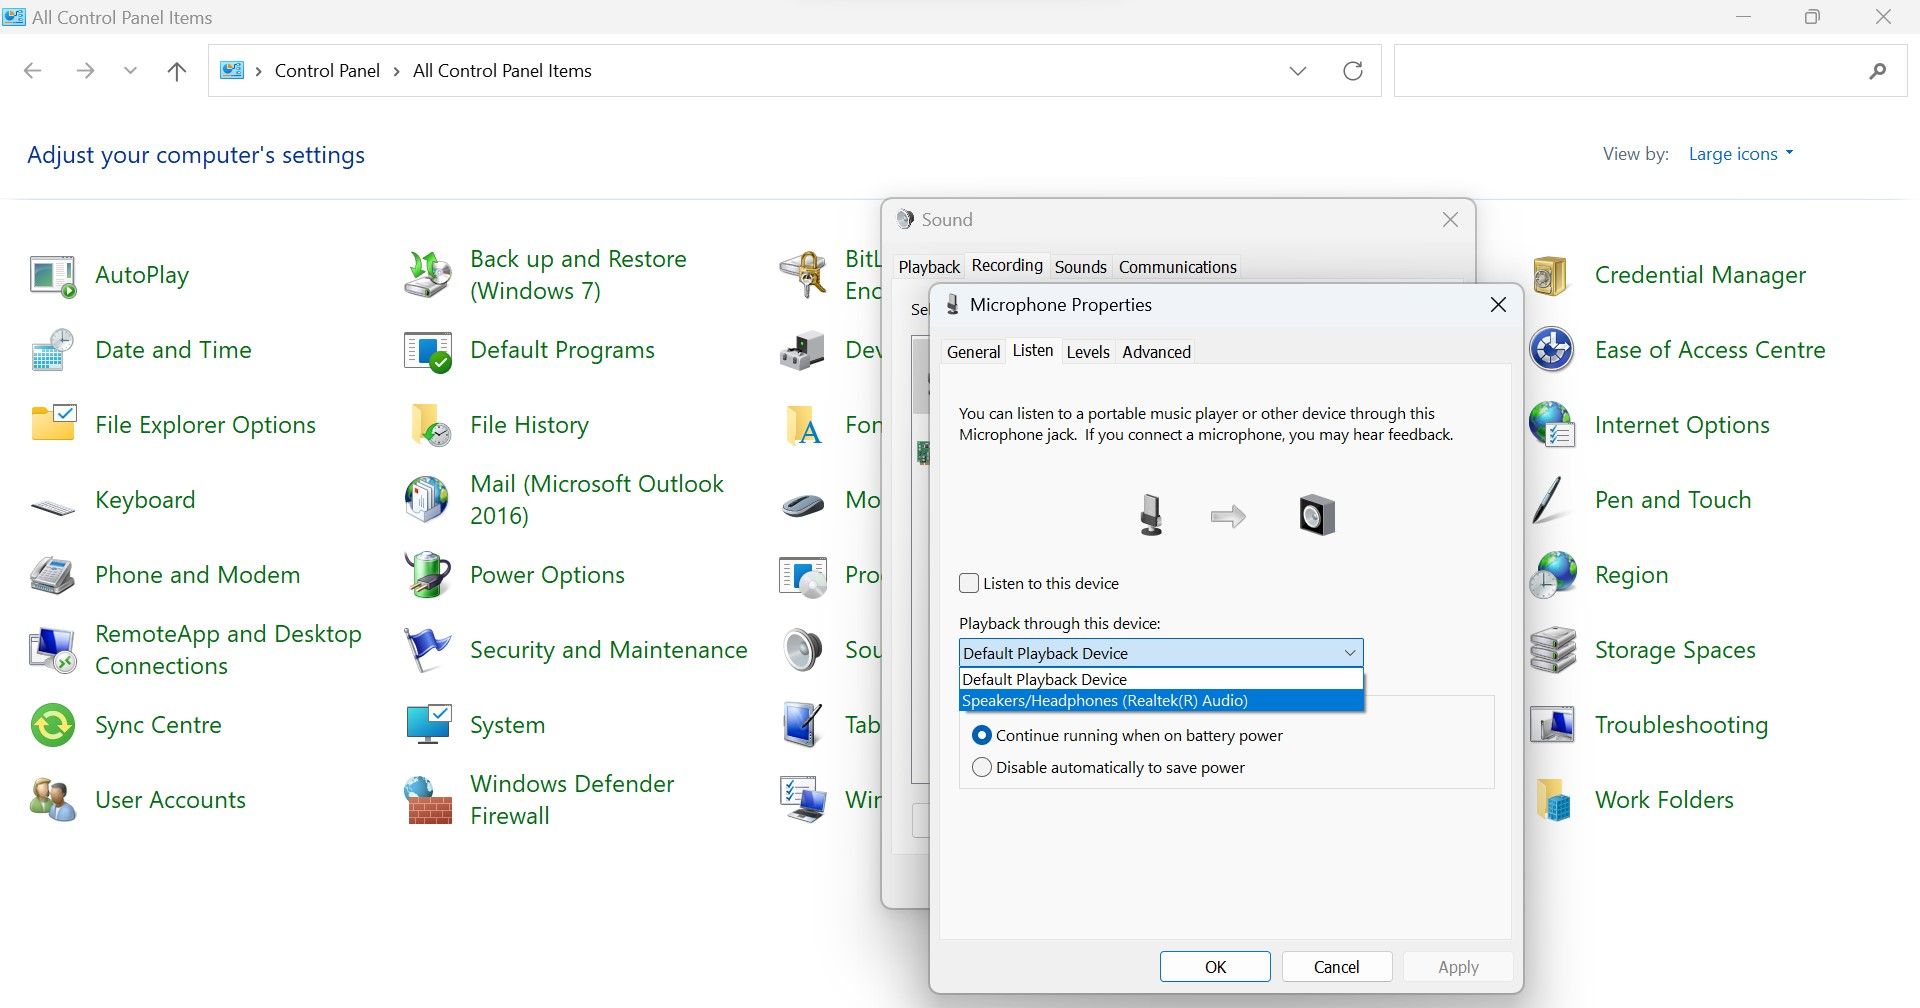
In the microphone properties window, go to the Listen tab and uncheck the "Listen to this device" box. Select Speakers from the Playback through this device dropdown.
-
Then, right-click on your primary output device, speakers, or headphones, and select Properties. Go to the Advanced tab and uncheck all boxes.
-
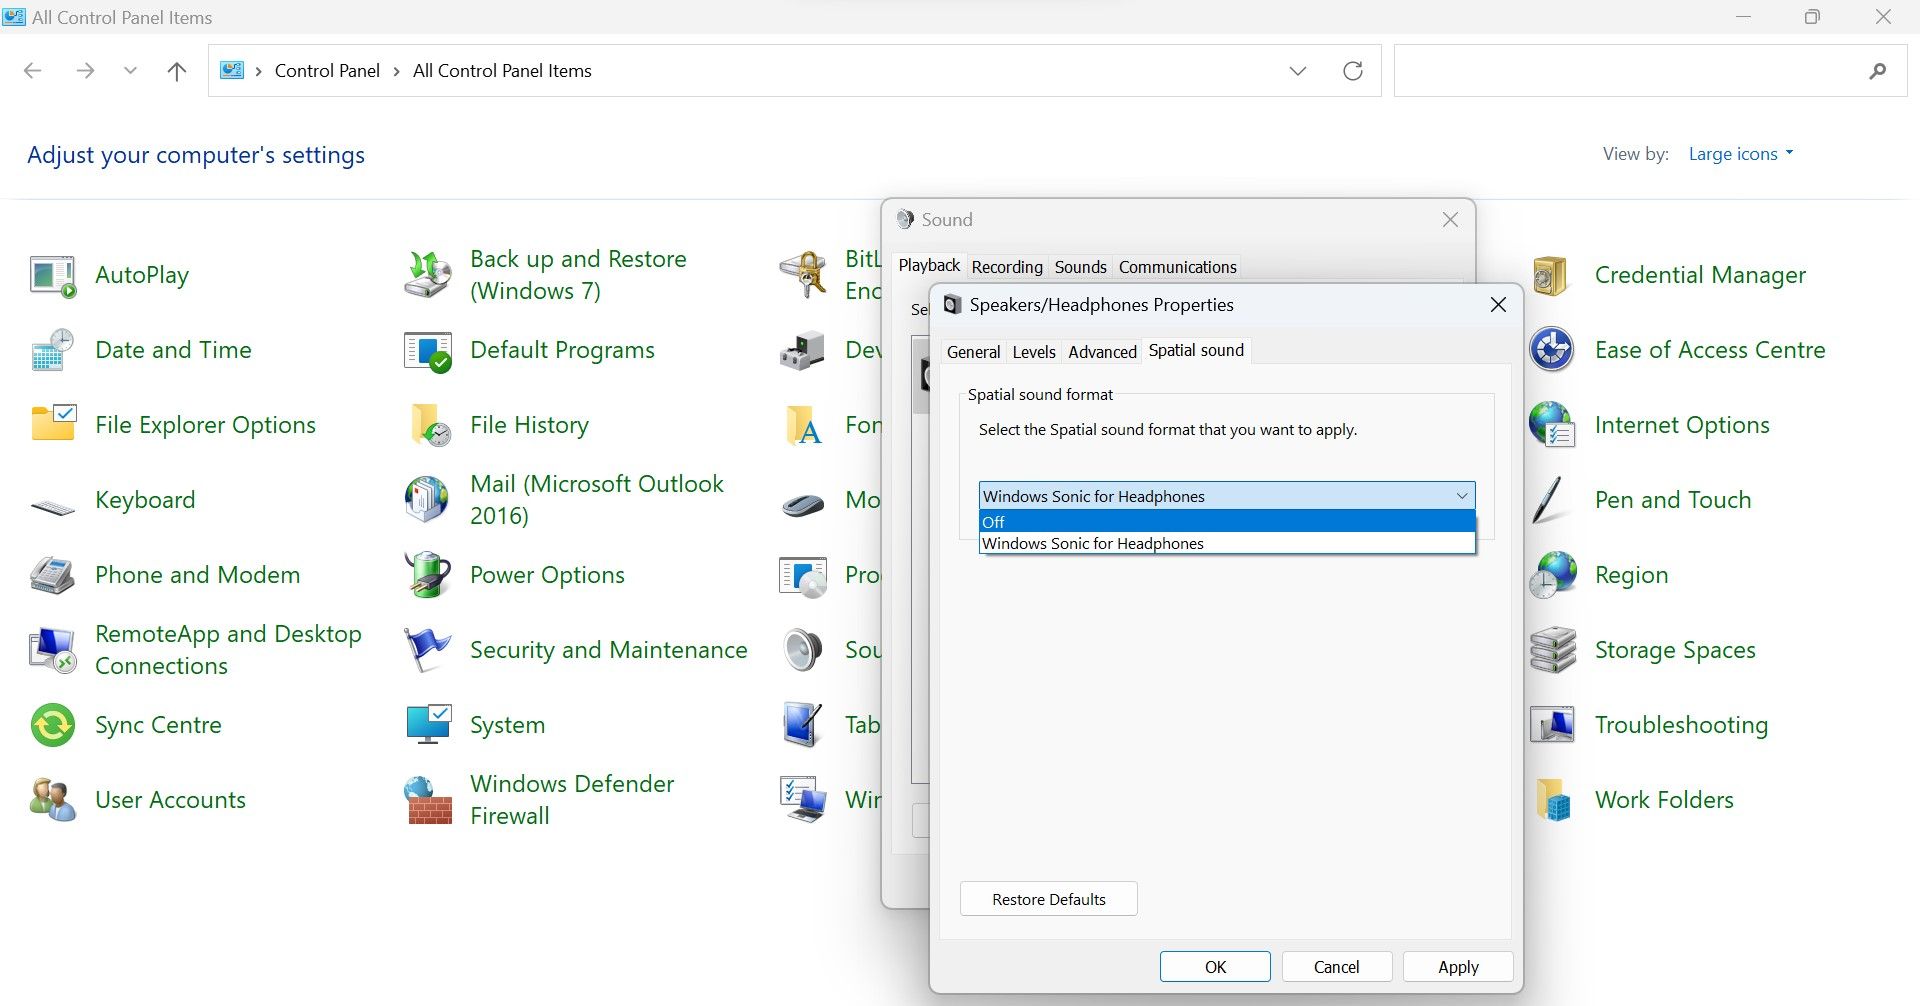
In the speaker's properties window, check the box for Disable all enhancements under the Enhancements tab. Also, go to the Spatial Sound tab and switch it Off.


Do Not Let Your Microphone Become a Speaker
Microphones getting a tongue and speaking out can be very frustrating. Applying the fixes covered in the article will stop it from talking and force it to stay quiet. If none of the fixes work, ensure your microphone isn't faulty. If it is, then maybe it's time to buy a new one.