Microsoft frequently releases new updates for Windows 10, and not all systems make the transition smoothly.
While many things can go wrong while updating, the most common one is a stuck Windows 10 Update Assistant. The Windows 10 Update Assistant automatically downloads and installs updates on your device, but it doesn't always work properly.
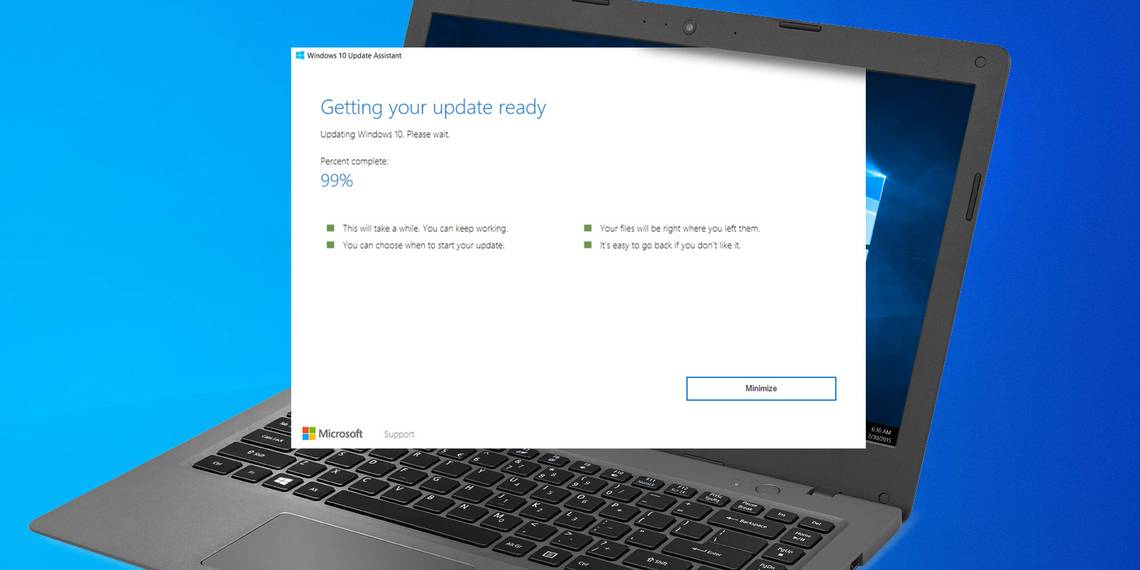
Though it's common for the update to be stuck for a while at several points, sometimes it just remains there. Microsoft recommends waiting 6-7 hours before attempting to fix the problem.
Here are some steps you can take to fix a stuck Windows Update Assistant.
1. Copy the Media Folder From C:\$GetCurrent\
This is the official Microsoft recommended method, and it usually fixes the error. Here is how you can perform this operation:
- Launch File Explorer and type C:\$GetCurrent in the address bar. Press Enter.
- From the directory, copy and paste the Media folder to the desktop. Please that the Hidden items checkbox is ticked. It can be accessed via View.
- Restart your computer and copy the Media folder from the desktop back to C:\$GetCurrent.
- Open the Media folder and double-click on Setup.
- Follow the on-screen instructions until you reach the Get important updates screen. Here select Not right now and then click on Next.
- After the setup is complete, you have to install the updates. To do so, type Windows Update and click on Windows Update Settings from the search results.
- Then click on Check for updates.

2. Restart the Windows Update Service
Another effective way to combat a stuck Windows Update Assistant is to restart the Windows update service altogether. Alternatively, if your PC is feeling sluggish after an update, you can fix it easily.
To do so, follow these steps:
- In the Start menu search bar, type "services" and click on Services from the results. Alternatively, you can press Windows Key + R to open the Run command. Type services.msc and press Enter to launch the Services application.
- In the Services list, scroll down until you find Windows Update service.
- Double-click on it, and under the General tab, click on Stop.
- Exit and re-launch the Services app.
- Scroll down and find Windows Update
- Double-click on it, and this time click on Start.
- Exit and reboot your computer.
- Try installing the updates again.

3. Use the Windows Update Troubleshooter
The in-built Windows troubleshooter can also be used to diagnose common problems with Windows Update. Although it is not always the most competent, it does manage to detect a wide array of errors.

To use Windows Update Troubleshooter, do the following:
- In the Start menu search bar, type "control panel" and click on the Control Panel app.
- In the Control Panel search bar, type "update."
- From the results, click on Find and fix windows update problems under the Troubleshooting section.
- In the troubleshooting wizard, click on Next and wait for the troubleshooting process to complete.
4. Disable Third-Party Antivirus and Windows Defender Temporarily
Antivirus software is known to interfere with Windows updates as well as other system processes.
How to Disable Third-Party Antivirus Software
While the process may differ across offerings, third-party antivirus software can generally be disabled from the system tray itself. Go to the system tray, right-click on your antivirus software and select Disable protection. Also, please be sure to check out the best antivirus software you can install for maximum protection.
How to Disable Windows Defender
To disable Windows Defender temporarily, follow these steps:
- In the Start menu search bar, type "windows security" and select Windows Security from the search results. It will have a blue shield icon next to it.
- On the dashboard, click on Virus & threat protection.
- Click on Manage Settings under Virus & threat protection settings.
- Switch Real-time protection to Off.

After this, go to Windows Update to download and reinstall the updates. After the updates have finished downloading, you can enable Windows Defender by flipping Real-time protection to On.
5. Clear the Update Cache
Another way to resolve the stuck Windows Update Assistant problem is to clear the Windows Update cache. Users are advised to do this after booting into safe mode.
How to Boot Into Safe Mode
- Press Windows Key + R to open the Run window. Type msconfig and press Enter.
- In the System Configuration window, click on the Boot tab.
- Under the Boot tab, look for Boot Options and tick the Safe Mode checkbox.
- Save changes and restart your computer. The computer will boot into Safe Mode.

How to Clear Windows Update Cache
Before clearing out the cache, users have to disable the Windows Update service. This can either be done using steps 1, 2, and 3, as mentioned in the "Restart the Windows Update Service" fix located towards the beginning of the article, or via the Command Prompt.
To disable Windows update via the Command Prompt, follow these steps:
- In the Start menu search bar, type cmd and right-click on Command Prompt, then Run as administrator.
- Type in the following commands: net stop wuauserv and net stop bits, pressing Enter after each entry.

Now it's time to clear the cache. To do so, follow these steps:
- Navigate to C:\Windows \SoftwareDistribution and delete the folder contents. You can press CTRL + A to select all files, then Delete/DEL.
- After this, restart your update service by launching the Command Prompt as per the previous section's instructions.
- In the console, type net start wuauserv and net start bits. Press Enter after each one.
- Restart your computer and rerun Windows update.

6. Use Windows Media Creation Tool to Upgrade Your Computer
To use this method, users will have first have to download the Windows 10 Media Creation Tool from here.
After downloading the tool, follow these steps:
- Run the Media Creation Tool and on the setup screen, select Upgrade this PC now and then click on Next
- After the download is complete, remember to click on Accept, followed by Keep personal files and applications.
- Click on Install to begin the upgrade.

You've Fixed the Windows Update Assistant
For most users, the Windows Update Assistant works smoothly without any hiccups. But even at times when it looks as if it's stuck, you may just need to wait a little while longer for it to begin working again. As always, remember to create System Restore points before making any changes to your system.