Many beginners may overlook exposure compensation when they're starting out because they haven't yet learned the fundamentals of photography. But making use of exposure compensation couldn't be easier once you get the hang of it.
Here, we'll cover what exposure compensation is, how you can use it, and when you can use it to take your photography skills to the next level.
What Is Exposure Compensation?
Exposure compensation is a manual override feature found on most cameras that allows you to lower or raise the exposure value based on lighting conditions. It appears commonly as a dial on top of cameras but can also take the form of a button or on-screen control in the menu on modern DSLRs and mirrorless systems.
Exposure compensation works with the auto and semi-auto modes, like aperture priority, shutter priority, and program mode. Exposure compensation will work as long as the camera controls one or more variables. Note that this feature may not work in manual mode in many cameras unless you have an automatic ISO setting.
Measuring Light in Stops
Light in photography is measured in stops of light or exposure value (EV). So, when we talk about increasing or decreasing exposure compensation, we can express it in terms of + or - EV. For example, adjusting for - 2 EV would reduce the exposure value by two stops.
18 Percent Gray (Middle Gray)
Your camera's built-in light meter determines the exposure based on the brightest reflected light from a scene. It then converts this into grayscale. The light meter considers anything brighter than 18 percent gray as overexposed whereas anything lower than that is underexposed. A correctly exposed image would be exactly at 18 percent.
Metering Modes
Metering modes play a significant role in determining how the image is rendered. But these modes also consider the 18 percent gray factor in their calculations.
A few of the standard metering modes are Evaluative/Matrix metering, Center-weighted metering, Spot metering, and Partial metering. All these modes play a role in how much or little exposure compensation may have to be used to obtain correct exposure for the scene.
Why Exposure Compensation Matters in Photography
Exposure compensation can be beneficial to photographers in many situations. That's because the 18 percent gray method and metering modes aren't perfect. This is why camera manufacturers add an exposure compensation feature to their cameras.
Save Time Editing Your Photos
More often than not, learning how to use exposure compensation correctly (or at all!) can make the difference between getting the exposure right and spending additional time editing to fix it.
While this may not be a big deal for a photo or two, imagine having to adjust the compensation in editing for hundreds of your photos. Exposure compensation is one more tool that can save you bits of time here and there so that you can focus your attention on more important tasks.
Help Preserve Details
Naturally, proper exposure preserves all of the essential details that the photographer intends to keep. And if your image is under or overexposed, some details may not be recoverable in editing or may appear noisy. This could sometimes result in an unusable image.
Using exposure compensation can help you in scenes where the lighting is poor. It can further guide you to decide what details are important to keep in extreme situations when you have to choose between losing details in the highlights or the shadows.
You can also learn how to fix bad lighting in Photoshop if you're a beginner and have several over or underexposed images.
How to Use Exposure Compensation in Photography
Using exposure compensation is pretty easy if you have a camera with an EV dial. You'll probably see the EV settings range from -3 to +3, with 0 representing no compensation (some cameras go up to + and - 5).
To use, simply turn the dial to the + EV values (+1,+2,+3) to brighten the image and likewise to the - EV (-1,-2,-3) values to darken the image. Once you get the hang of it, you don't even have to look at the dial to use it, especially if you're using the viewfinder.
If your camera only has a button that cycles through all the values, you simply need to push it until the proper value comes up. Similarly, adjusting the exposure compensation within a camera menu requires either touching the back of the LCD screen or using buttons to select.
When to Use Exposure Compensation in Photography
There are countless situations when exposure compensation is appropriate to use. We'll cover a few everyday situations that you'll likely encounter.
Heavily Backlit Scenes
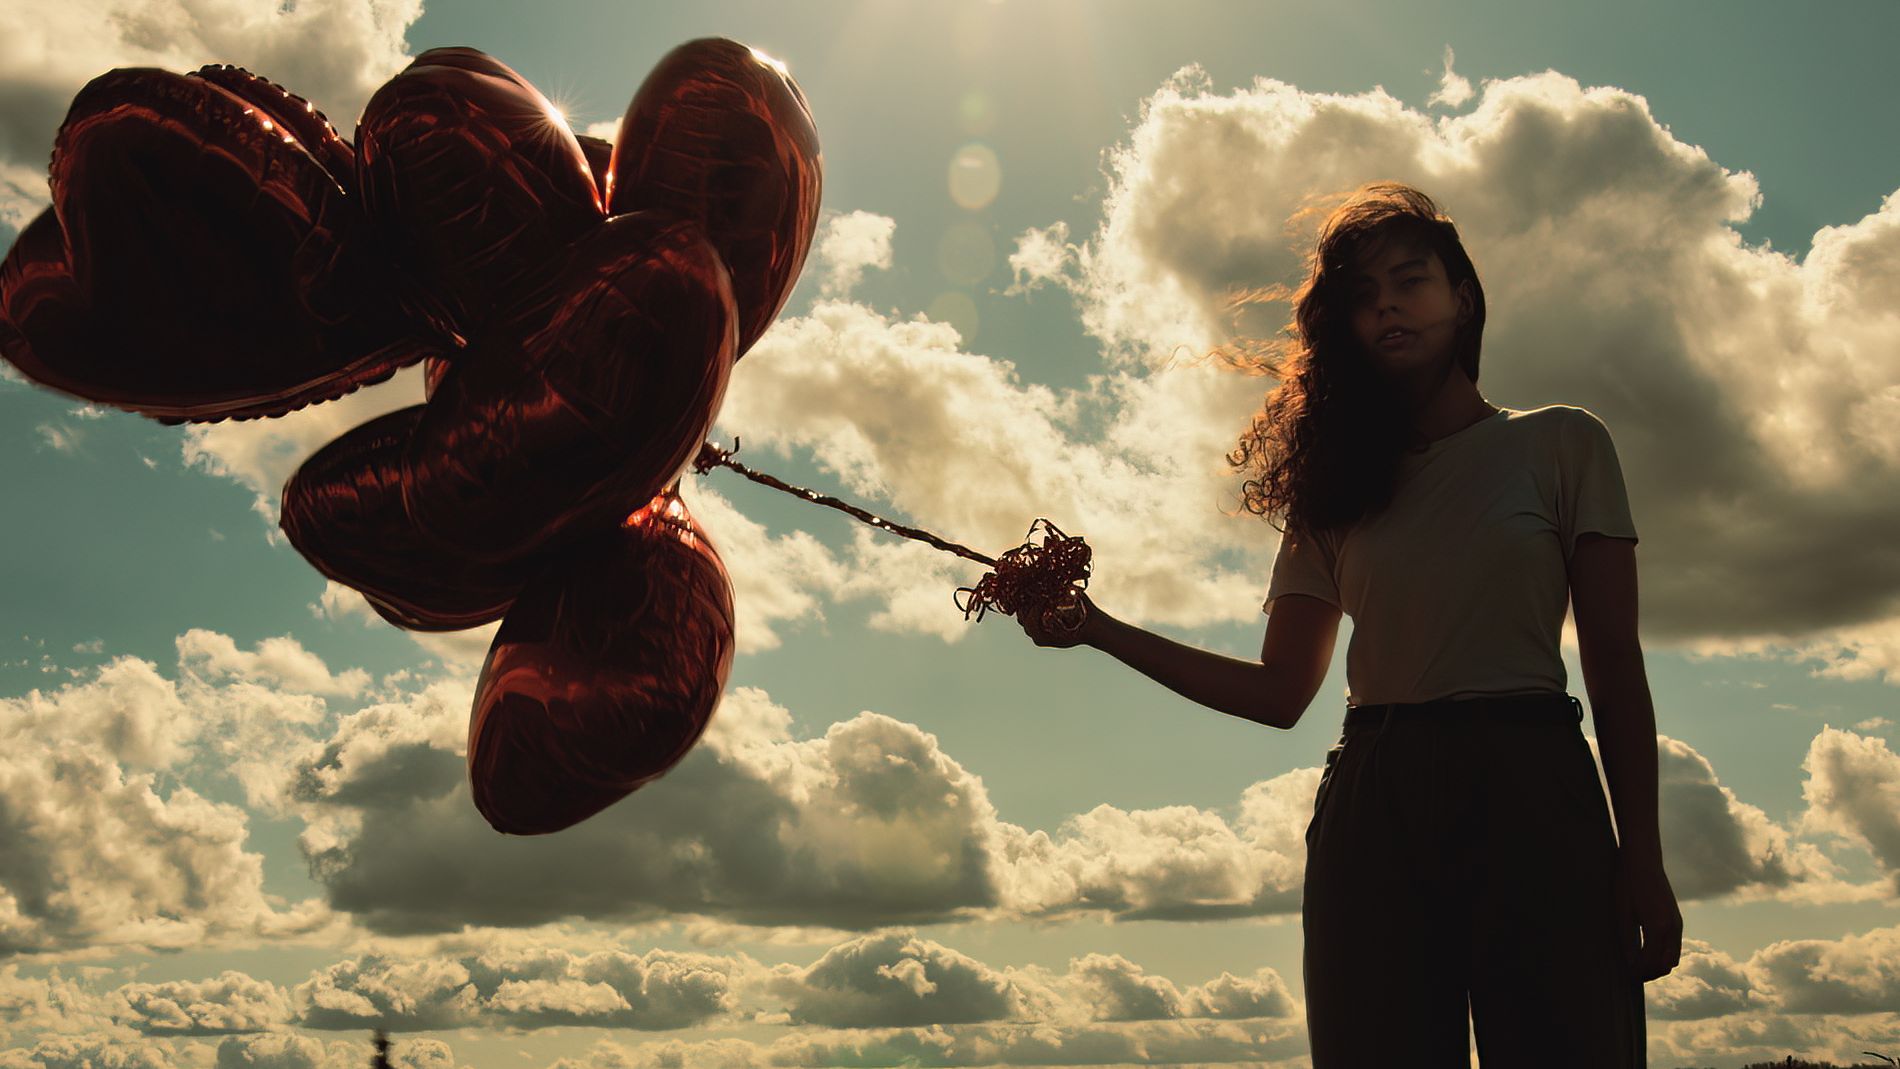
This is a very common situation whenever you photograph outside under direct sunlight. If your subject is back-lit, like in the above image, you'll want to add a stop or two of exposure compensation to bring out your subject's face and balloon color and details.
It's also possible to dodge and burn in linear light mode in Photoshop to bring back some details.
High-Key Scenes
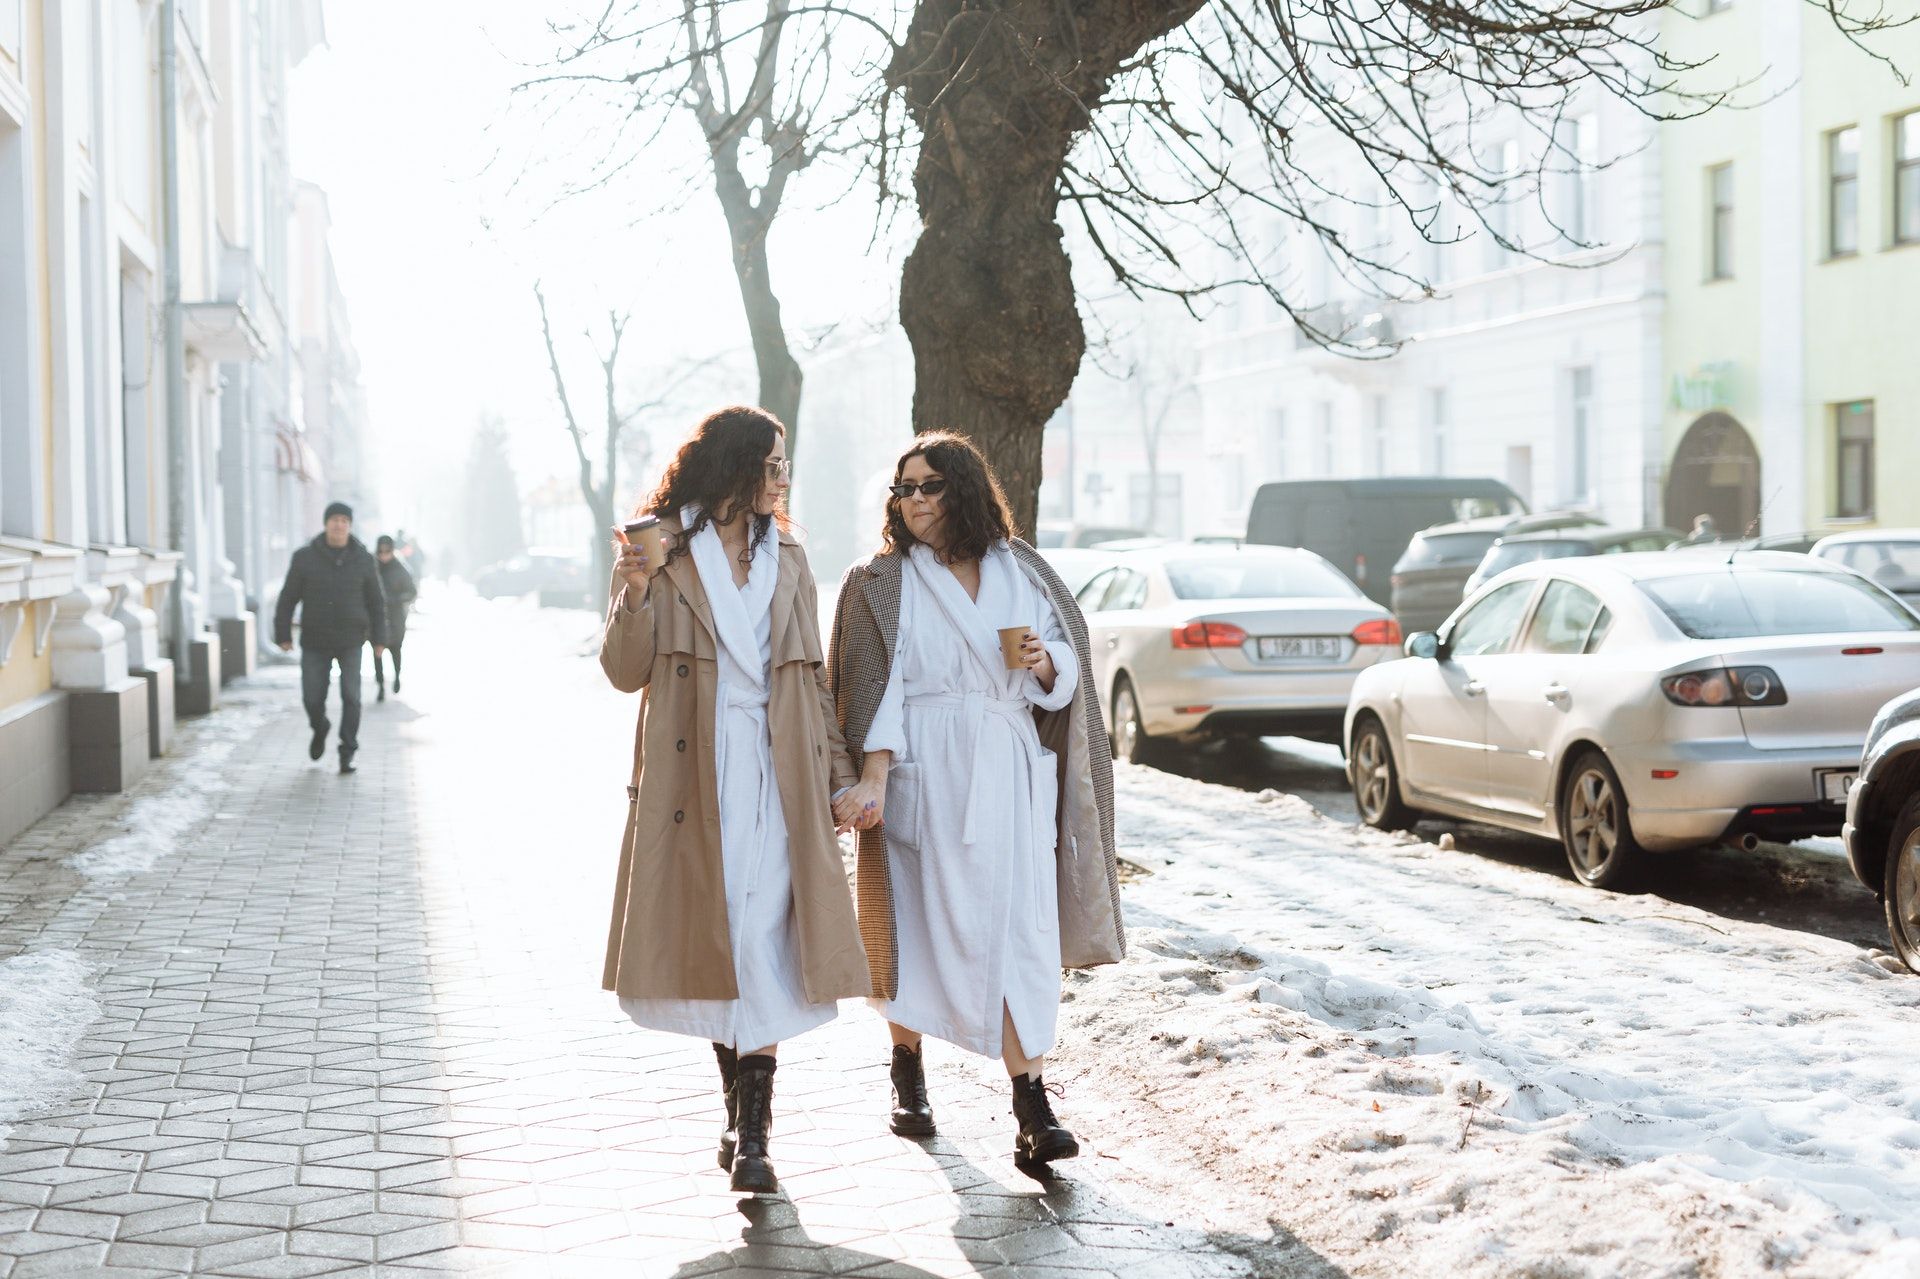
In scenes meant to be bright, your camera's metering mode may darken your subject matter to bring the exposure to an 18 percent gray. Think of a person dressed in white in a snowy and bright background. In such high-key scenes, you may have to increase your exposure compensation by one stop or so.
Low-Key Scenes
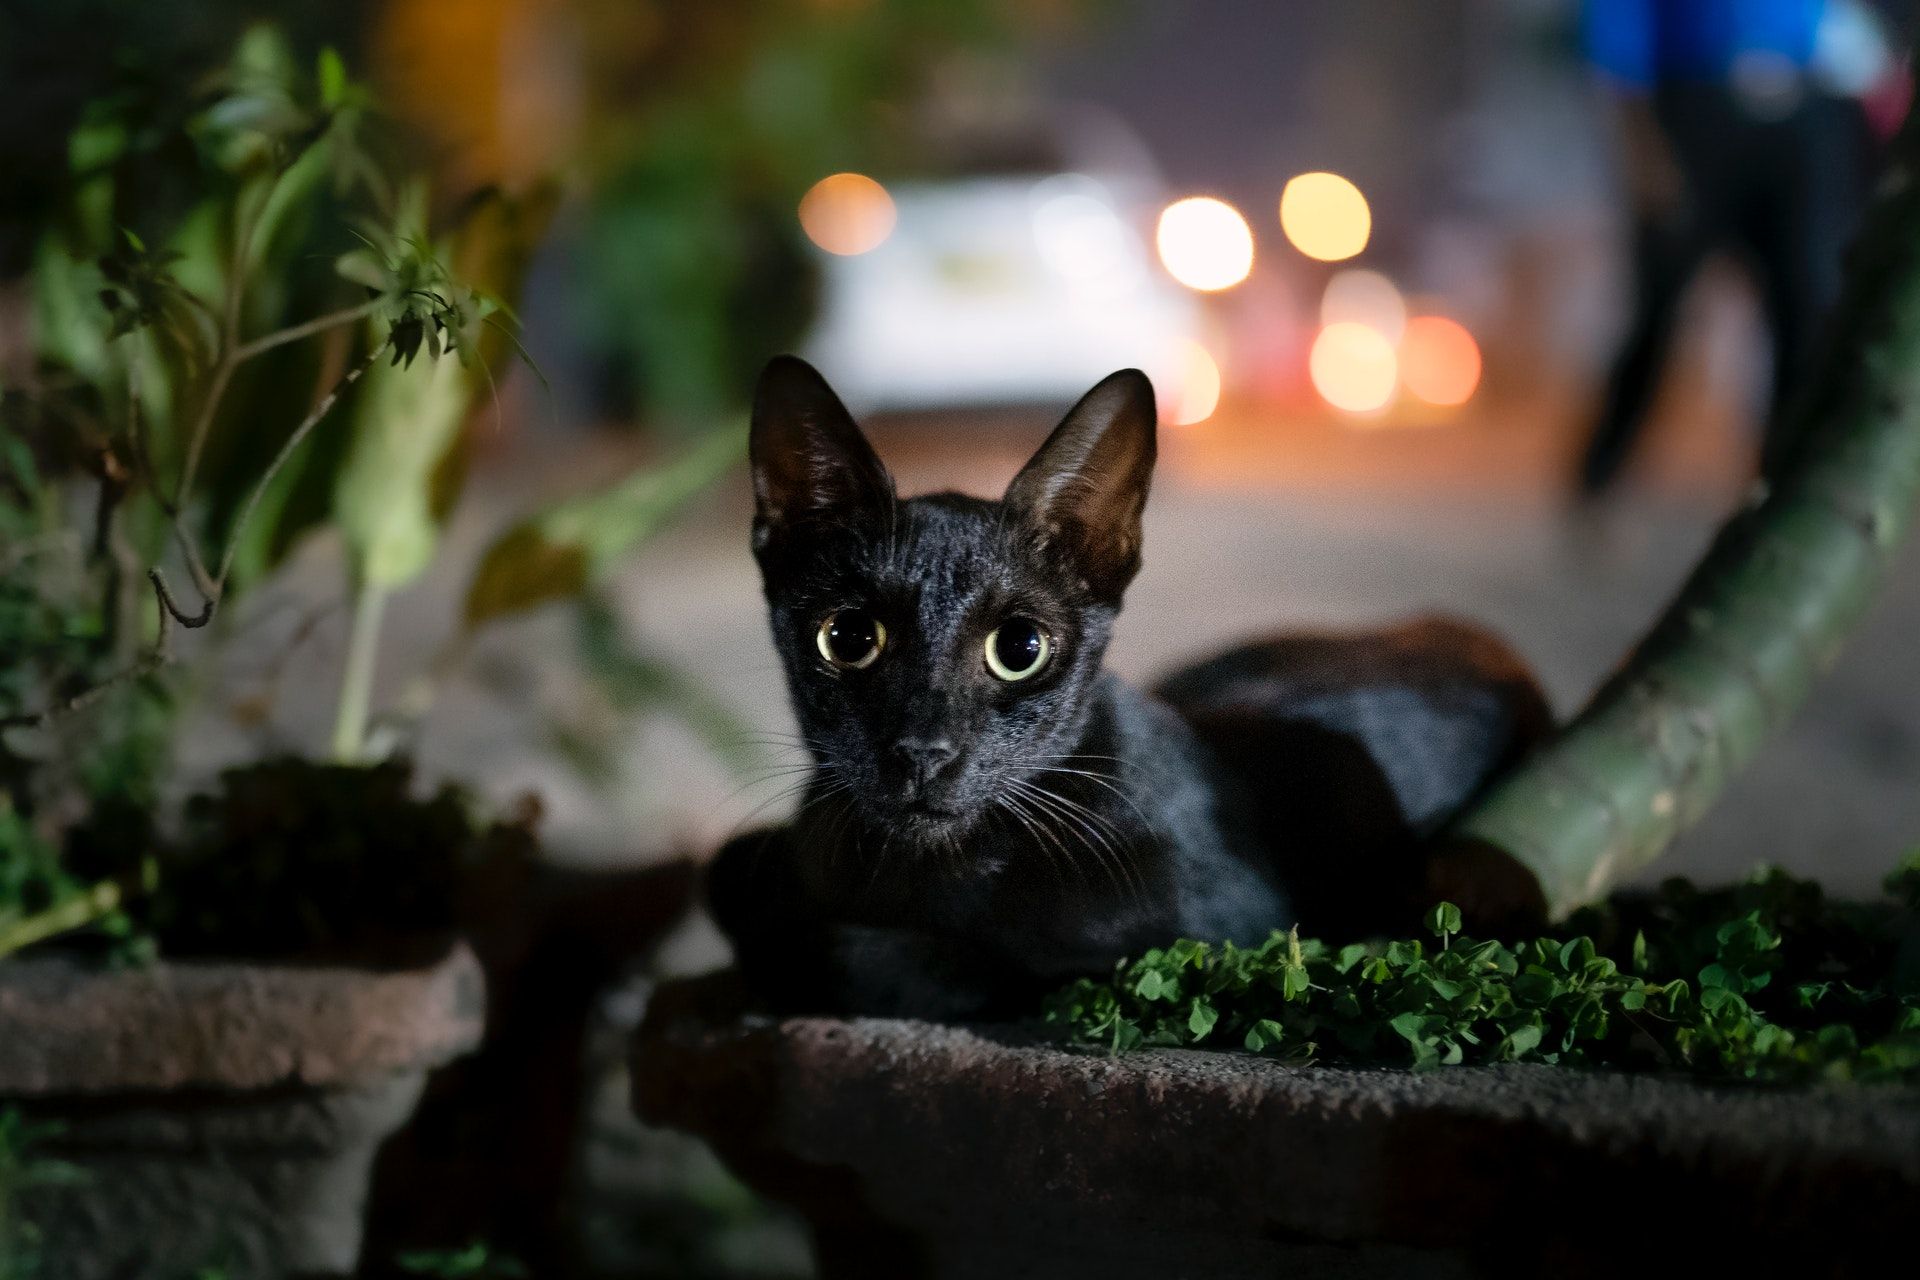
In low-light conditions where the scene is supposed to be dark, your camera's metering mode may darken your subject matter again to bring the exposure to an 18 percent gray. You may have to lower your exposure compensation by a stop or more in low-key lighting scenarios like this.
Exposure Compensation for Everyday Use
With a bit of practice, you'll learn how precious exposure compensation is in your everyday photography. The use of a simple dial found on most cameras enables you to quickly adjust the amount of light to add or subtract from the scene. Getting your exposure correct as you take the shot will decrease your editing work so that you can concentrate on the creative side of photography.

.jpg)
