The iPhone has multiple different modes in its Camera app, letting you take photos and videos of various types. There’s much to explore, and each mode has its own unique features. To change a camera mode, just tap the options at the bottom of the screen in the Camera app.
If you’re unsure where to get started using your iPhone camera, here’s an overview of all Camera modes and what you can do with them.
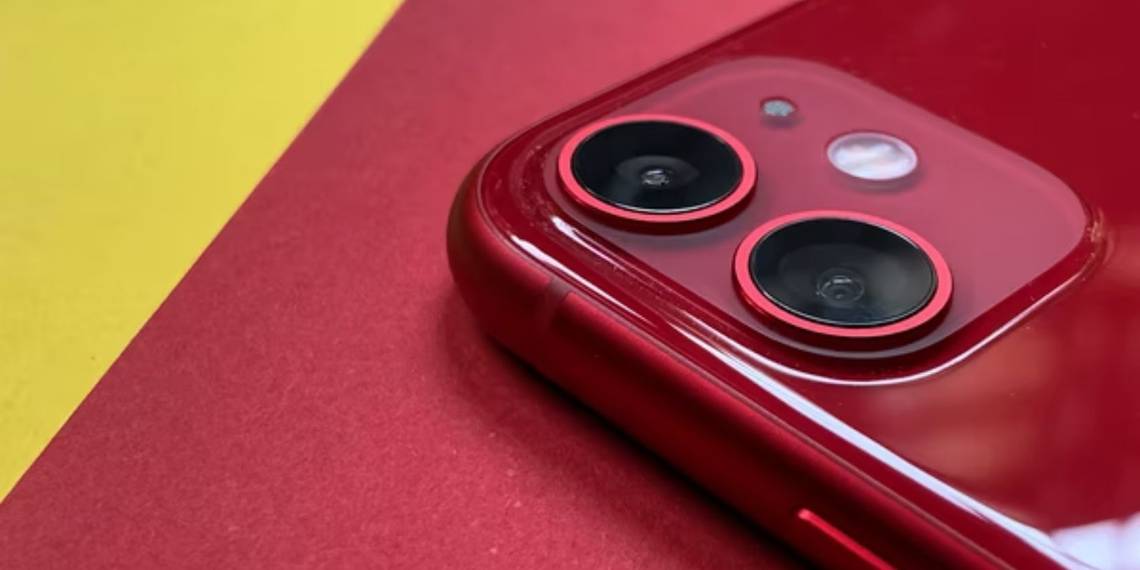
Photo
A definite staple for every user, Photo is the default mode you see every time you open the Camera app. All the regular photographs you take are in Photo mode. There are a couple of quick tips and tricks you may not know about in the iPhone’s Photo mode…
You can change the ratio of the camera before you take a photo. Follow these steps to do so:
- Tap the arrow at the top of the screen.
- Hit the icon that says 4:3, which is the default ratio.
- Choose from any of the options to tweak the aspect ratio.


The camera mode doesn’t just allow you to take regular photos. You can also take a video in the iPhone’s photo mode by tapping and holding on the shutter button. Slide your finger towards the lock to keep recording after you lift your finger.
Live Photos
Apple’s Live Photos have grown extremely popular with users. They allow you to record 1.5 seconds before and after taking a photo. Live Photos offer an effortless way to bring your photo library to life. You can edit Live Photos the same as normal ones, turn Live Photos into GIFs or still photos, and even use them as wallpaper on your iPhone.
You can turn on Live Photos with a quick tap in Photo Mode itself. Here are the steps to take a Live Photo:
- Tap on Photo to make sure your camera is in Photo Mode.
- Tap on the icon with multiple concentric circles and a diagonal slash on it. You will notice that the icon has turned yellow, and a popup saying Live appears on the top of your screen for a few seconds, indicating Live Photo mode is now on.
- Tap the shutter to take a Live Photo, just like you would a typical one.


If the concentric circles are yellow, it means Live Photos are already enabled.
Video
The normal white shutter for taking a photo turns red when you have switched to Video mode. To begin recording a video, tap on the shutter. Repeat the same action to stop recording as well.
In the same way you can record a video in Camera mode, you can also take photos in Video mode while recording. As soon as you begin shooting a video, you will see a white shutter button appear. Tap on it to take photos while you record.
You can choose what quality you want your video to be recorded and saved in with Video mode. The top-right corner of your screen will display the text HD 30 by default. Tap on HD to switch between HD and 4K, and on the number next to it to change from 30 to 60 fps. The iPhone 13 series also has Cinematic Mode to take high-quality videos that rival typical cinematography.


Portrait
To use Portrait mode, swipe right from the default Photo mode and focus your camera on the subject. You will notice that the background becomes blurred while the focus on the subject is sharpened. This is known as the depth-of-field effect.
Portrait mode only works when your subject is a certain distance from the camera. A white square will appear if the subject is not in focus, and you will be told to move closer or further away. Once you do so, a yellow square will appear, indicating you can now take your portrait photo.
This mode is available for the iPhone 7 Plus, iPhone 8 Plus, the iPhone X series, and all iPhones released after that. You can switch between Natural, Studio, and Contour Light, but these options are not available for all iPhones. However, all three will be found on the iPhone X series and later.


Pano
Pano is short for panorama, which is defined as a photo with a wide angle. The principle behind a panorama is basically taking multiple photos and merging them to make it look like a single, wide-angle image.
When you open Panorama mode, you will see a bar with a yellow line and an arrow in the middle of your screen. Tap the shutter and slowly turn to follow the line and take the perfect panorama. Your iPhone will give you instructions to slow down or move faster to help you along the way.
By default, the arrow is on the left and moves to the right. To change directions, tap on the arrow. The Panorama mode is most frequently used when traveling or sightseeing to capture as much of the scenery as possible.


Time-Lapse
This camera mode creates faster versions of the videos you record on your iPhone. Swipe to the far left to switch to Time-Lapse mode and click on the red shutter to begin recording.
Your video may be as long as 30 minutes or more, Time-Lapse mode will speed it up and create a video that is around half a minute long. Unfortunately, Apple doesn’t give you the option to increase or decrease the time of your time-lapse.


Slo-Mo
Where Time-Lapse speeds up the video, Slo-Mo does the exact opposite and slows it down. Tap on the shutter to start and stop recording your video, then play it back in your Photo Library to see the Slo-Mo version of it.
There are a couple of options for the speed of your Slo-Mo video, but they are not available for all iPhone models. To change the speed, tap in the top-right corner to change the frame rate—the higher the number, the slower your video will be.


Take Different Videos and Pictures With the iPhone’s Camera Modes
Whether you want sharp, focused pictures or wide-angled ones, the iPhone has an option to fit all your needs. You can try out each Camera Mode and edit the images and videos in multiple different ways. You can even change the video quality and frame rate of videos or the aspect ratio of the photographs you take.