
Bullet points have been a part of notetaking and presentations for a long time. So much that traditional bullet points have now become boring.
It isn't just important to show information but also to make it attractive by grabbing your audience's attention.
The SmartArt feature in PowerPoint helps with that and many more things. So let us see how this works.
What Is SmartArt?
SmartArt graphics let you easily create a visual representation of your information. If you already have text on a slide, you can convert it to SmartArt. For example, you can use a SmartArt graphic to transform traditional bullet points into an eye-catching presentation.
There are a variety of layouts available to help you communicate your ideas or messages effectively. Conveniently, Microsoft Office offers SmartArt graphics that you can format in Excel, Outlook, PowerPoint, and Word.
How to Use SmartArt on Your Bullet Points in PowerPoint
Here, we will show you how to use SmartArt on your bullet points in Microsoft PowerPoint.
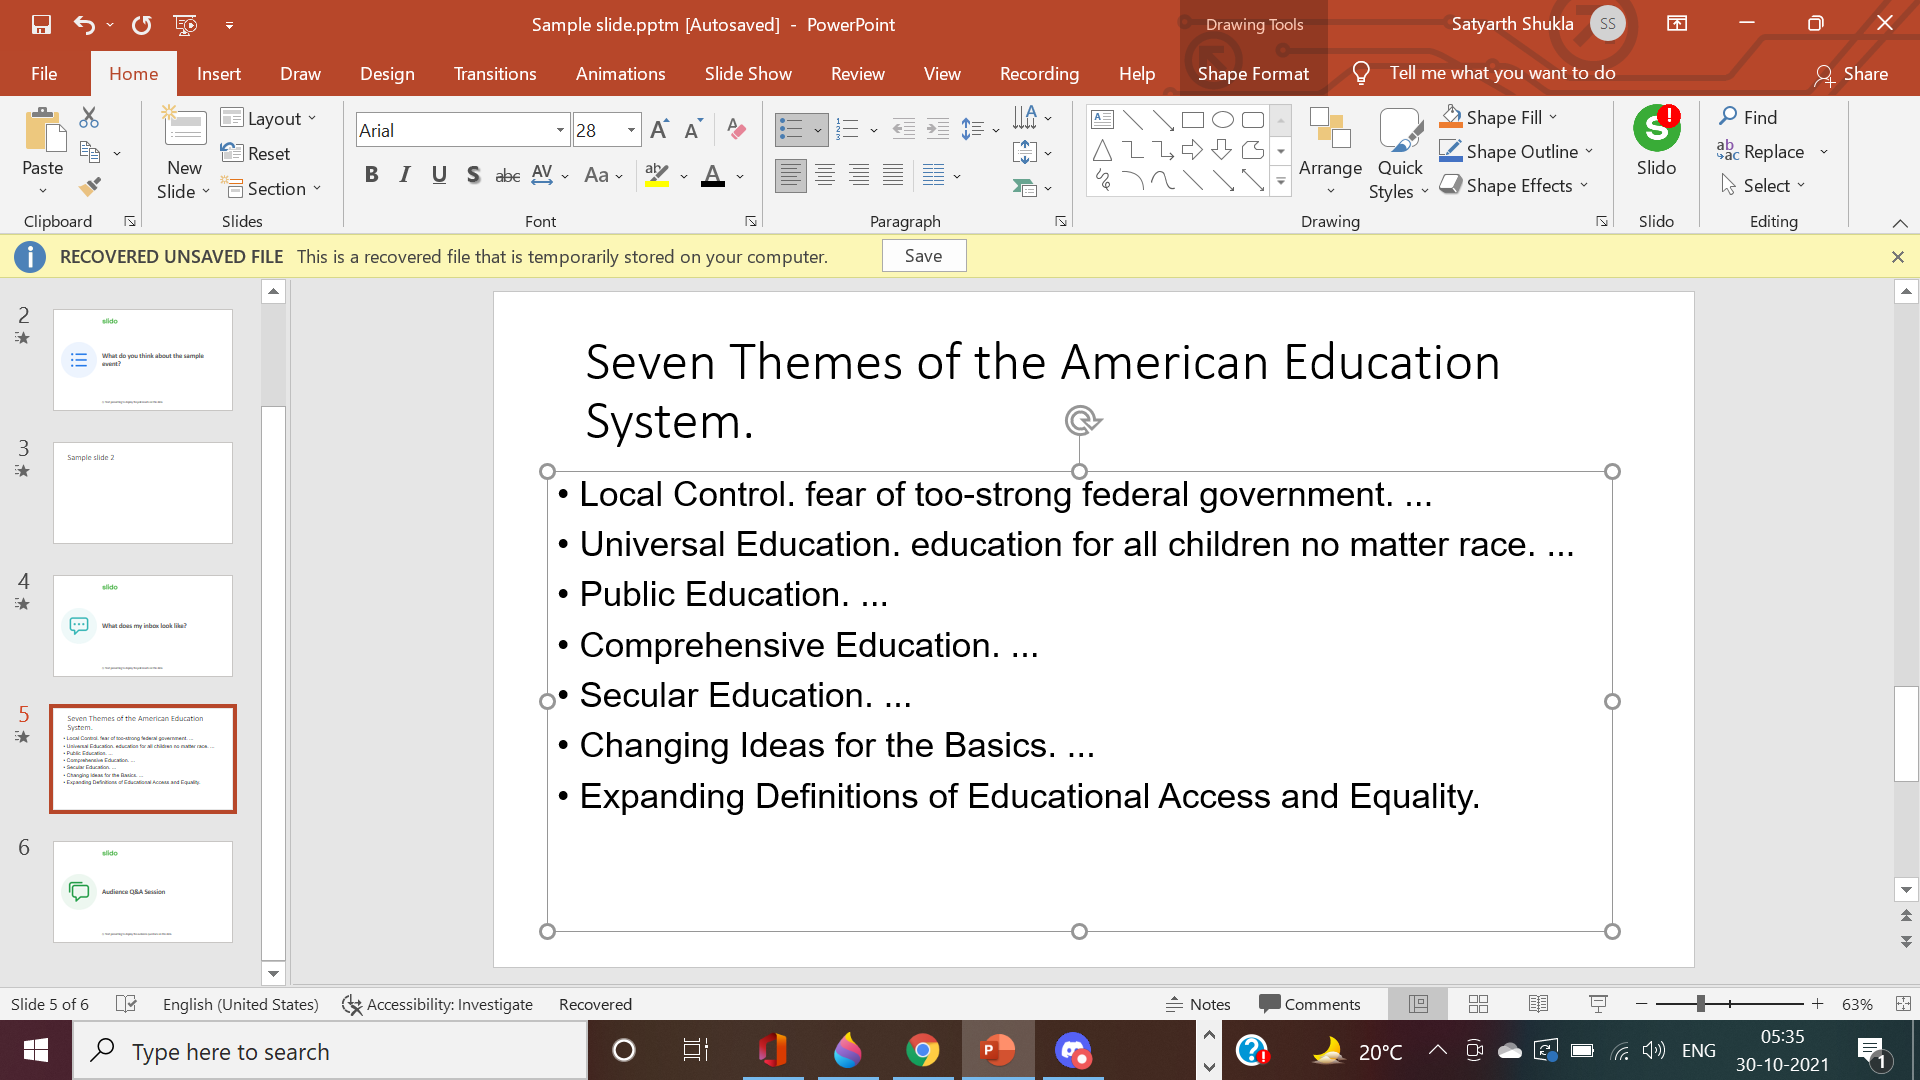
For example, let's say you have to give a presentation about the American education system, and you’ve prepared some bullet points. But, your audience might find the plain bullet points boring. Fortunately, you can fix this using SmartArt.
How to Convert Your Bullet Points Into SmartArt
Stylizing a bulleted list with SmartArt is easy with a couple of steps for even the creatively challenged.
-
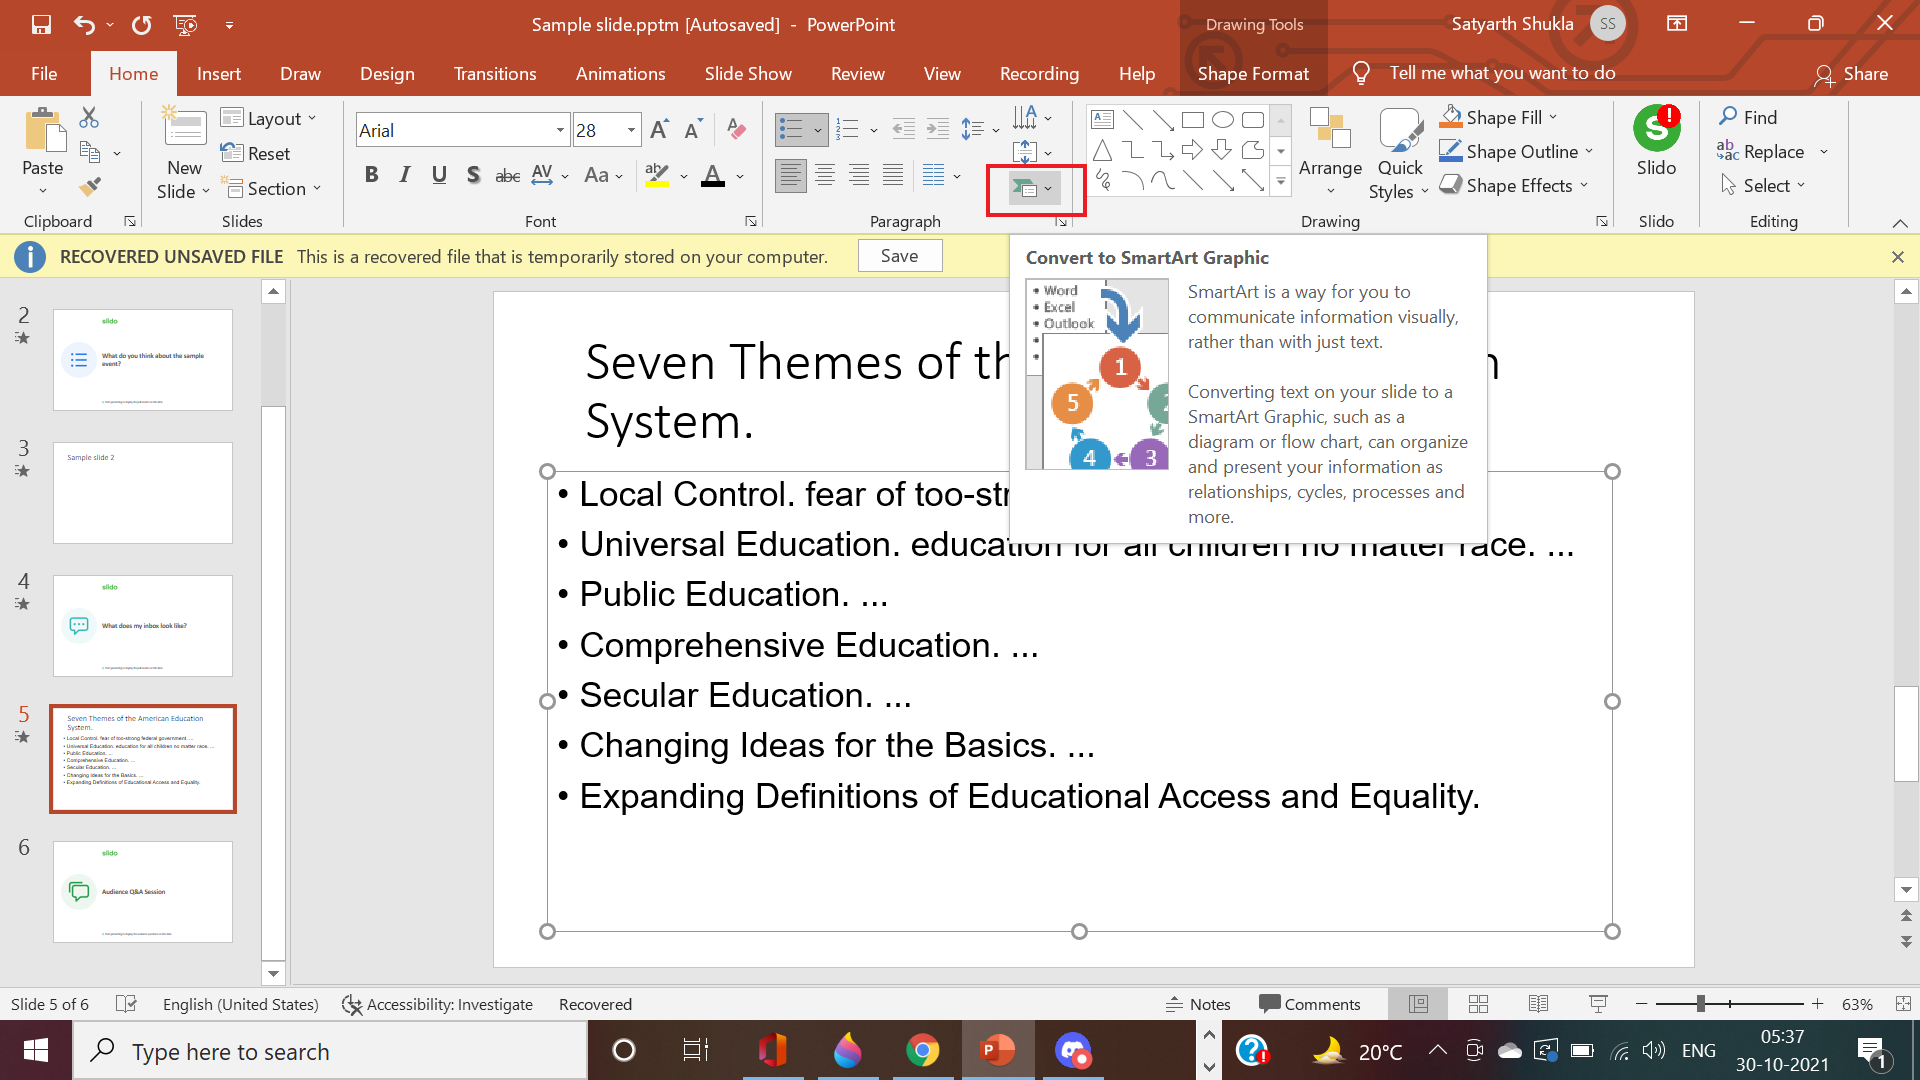
Select the bulleted list.
-
Go over to the SmartArt icon present in the Home tab.

How to Select and Format a List in SmartArt
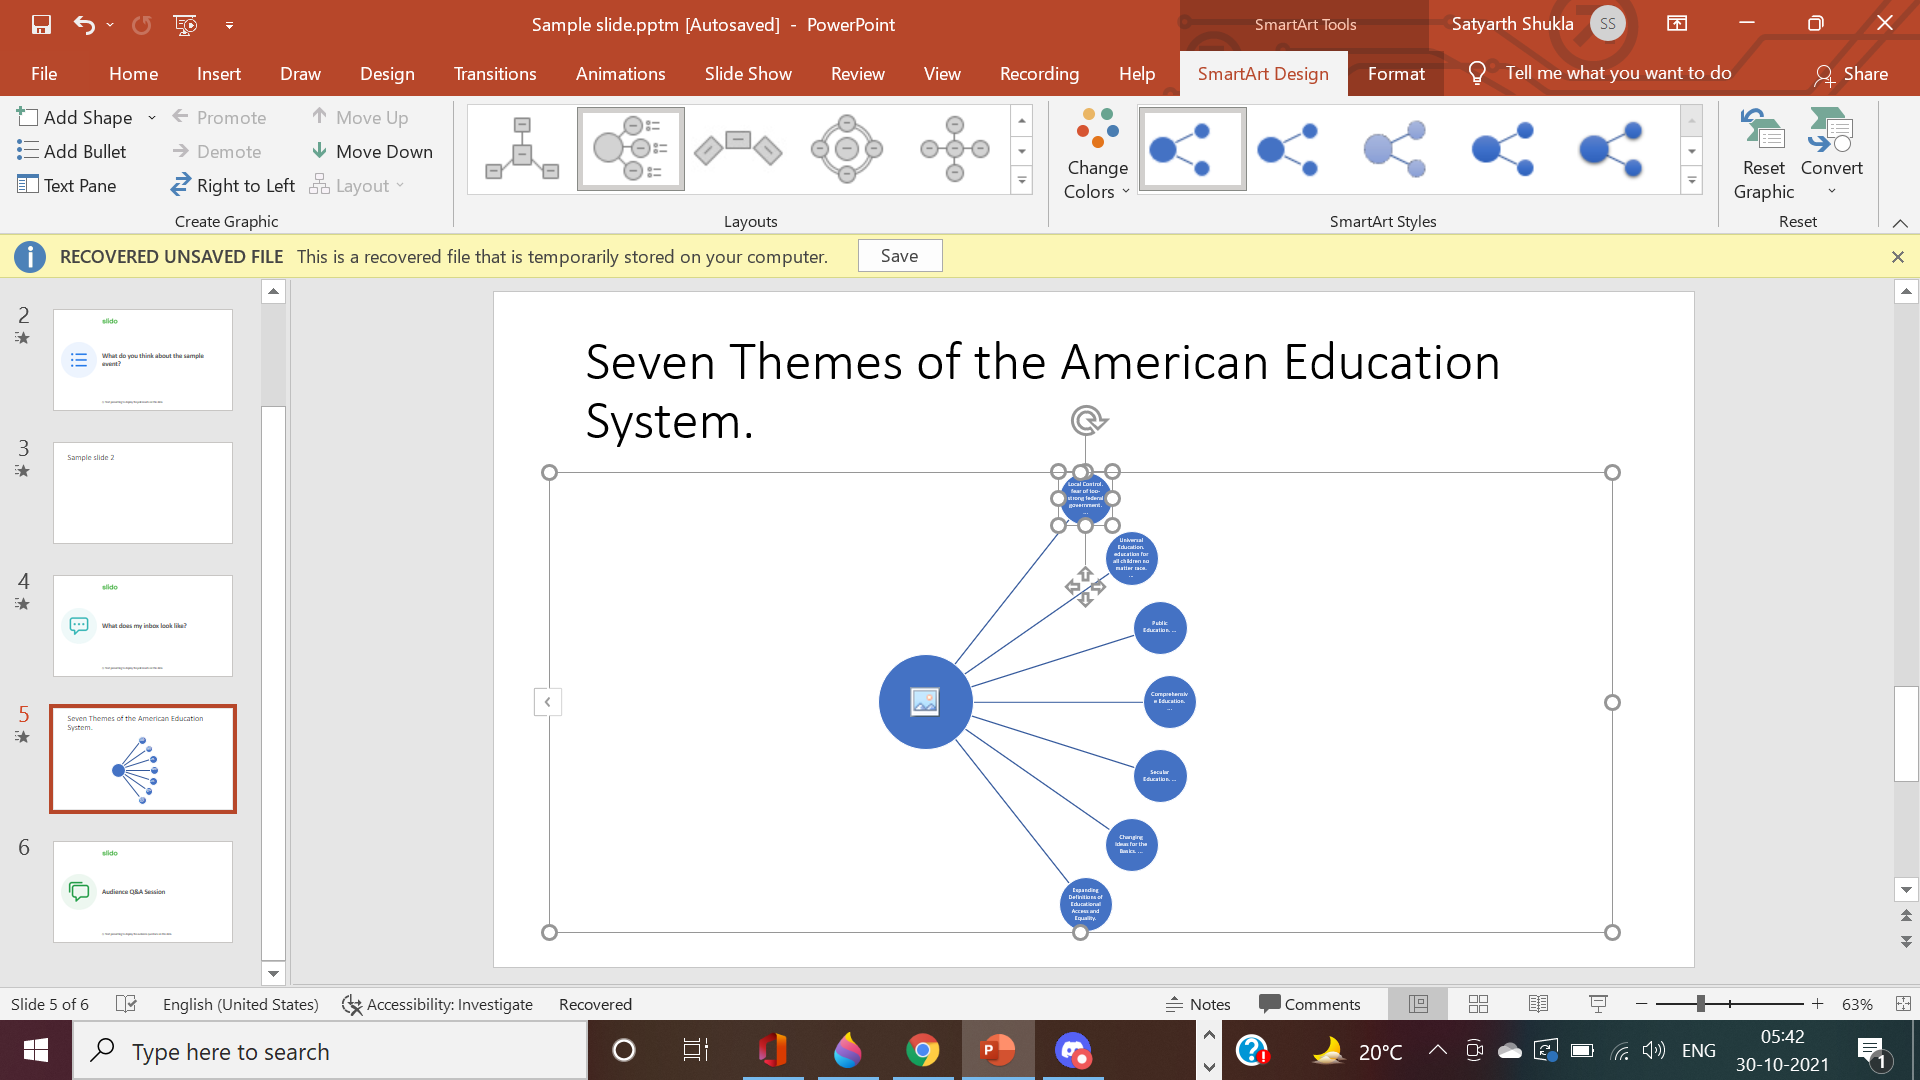
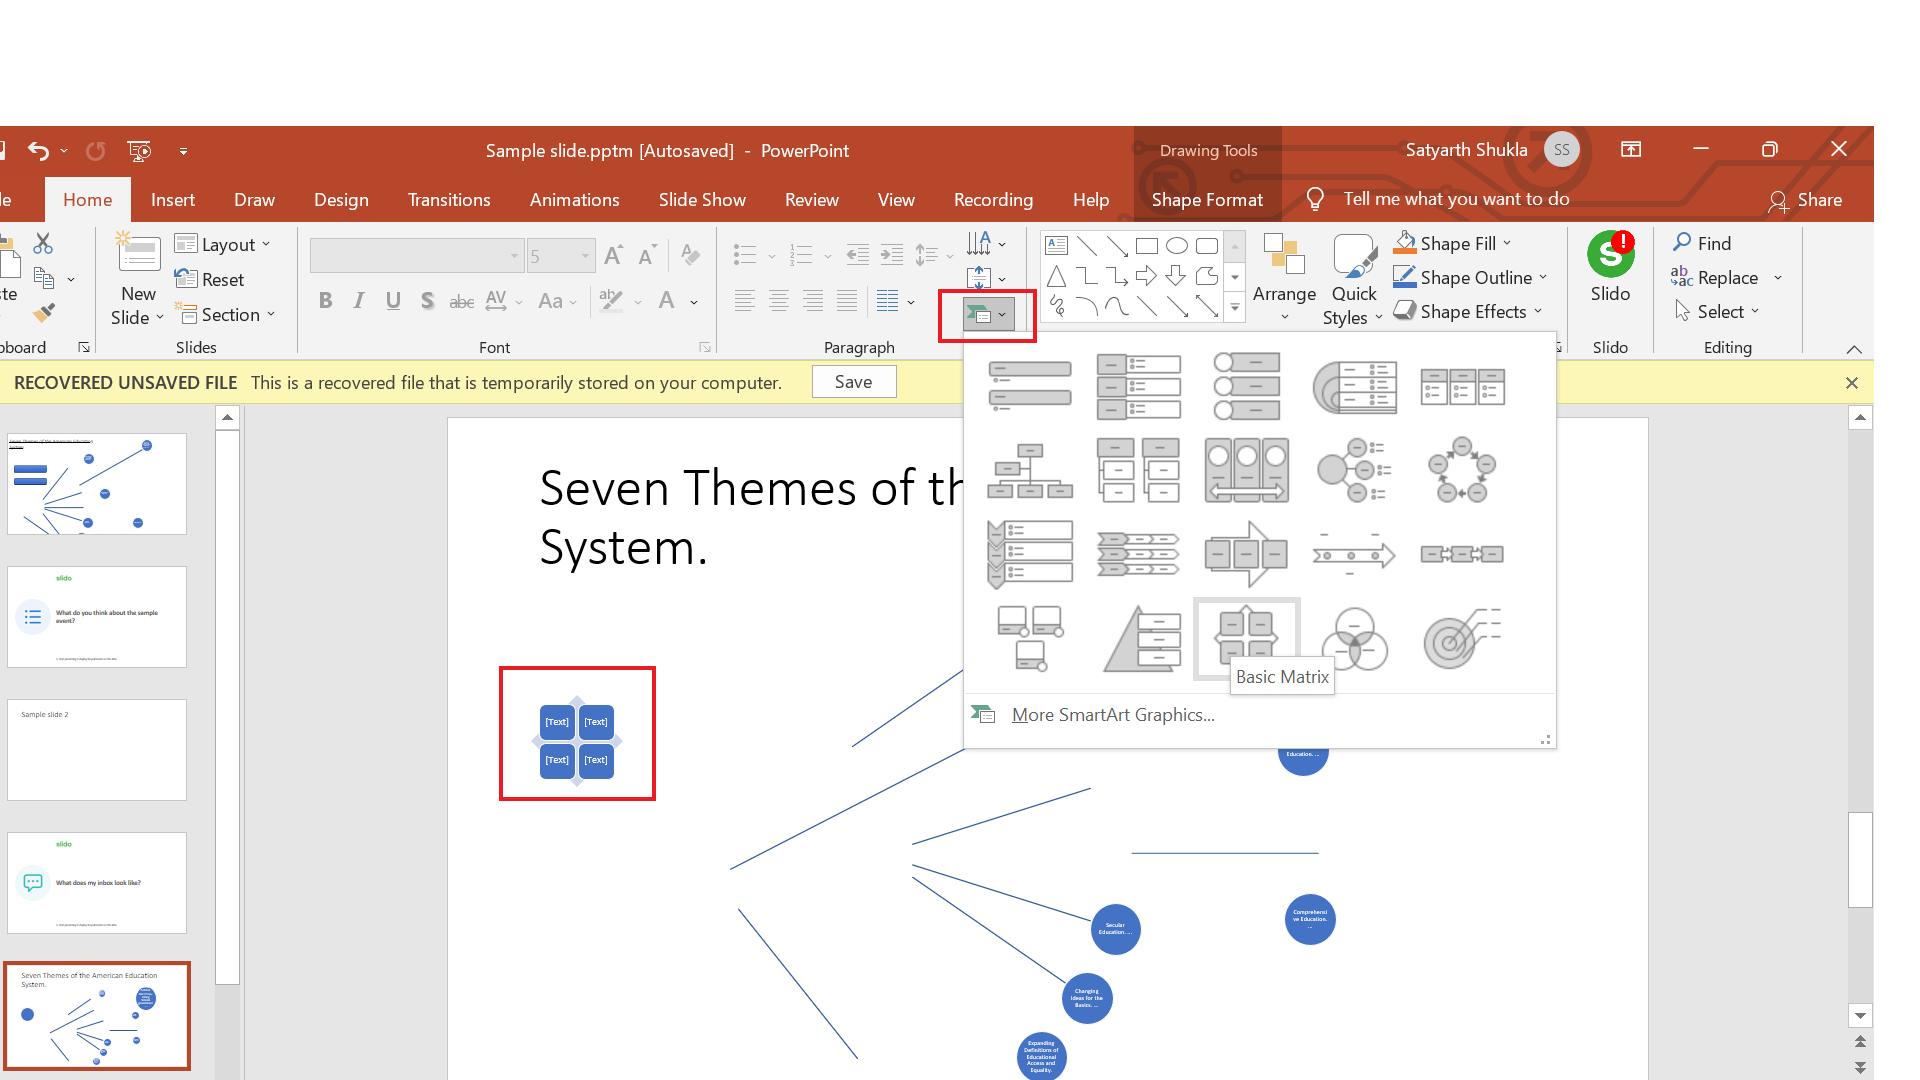
You'll notice several lists available in SmartArt, showcasing multiple different formats. Examples include flow charts, flow diagrams, horizontal, vertical, and even circular. Here, we have a simple informational list, with the option to turn it into a vertical or radial list.
If you hover over each list option, you’ll see your bullet points converting to the form of that list. This is a good, time-saving feature to see what suits you.
-
Hover over a list. See how it looks on your bullet points and click on it if it is good.

-
The radial list suits these points, so let's choose that.
-
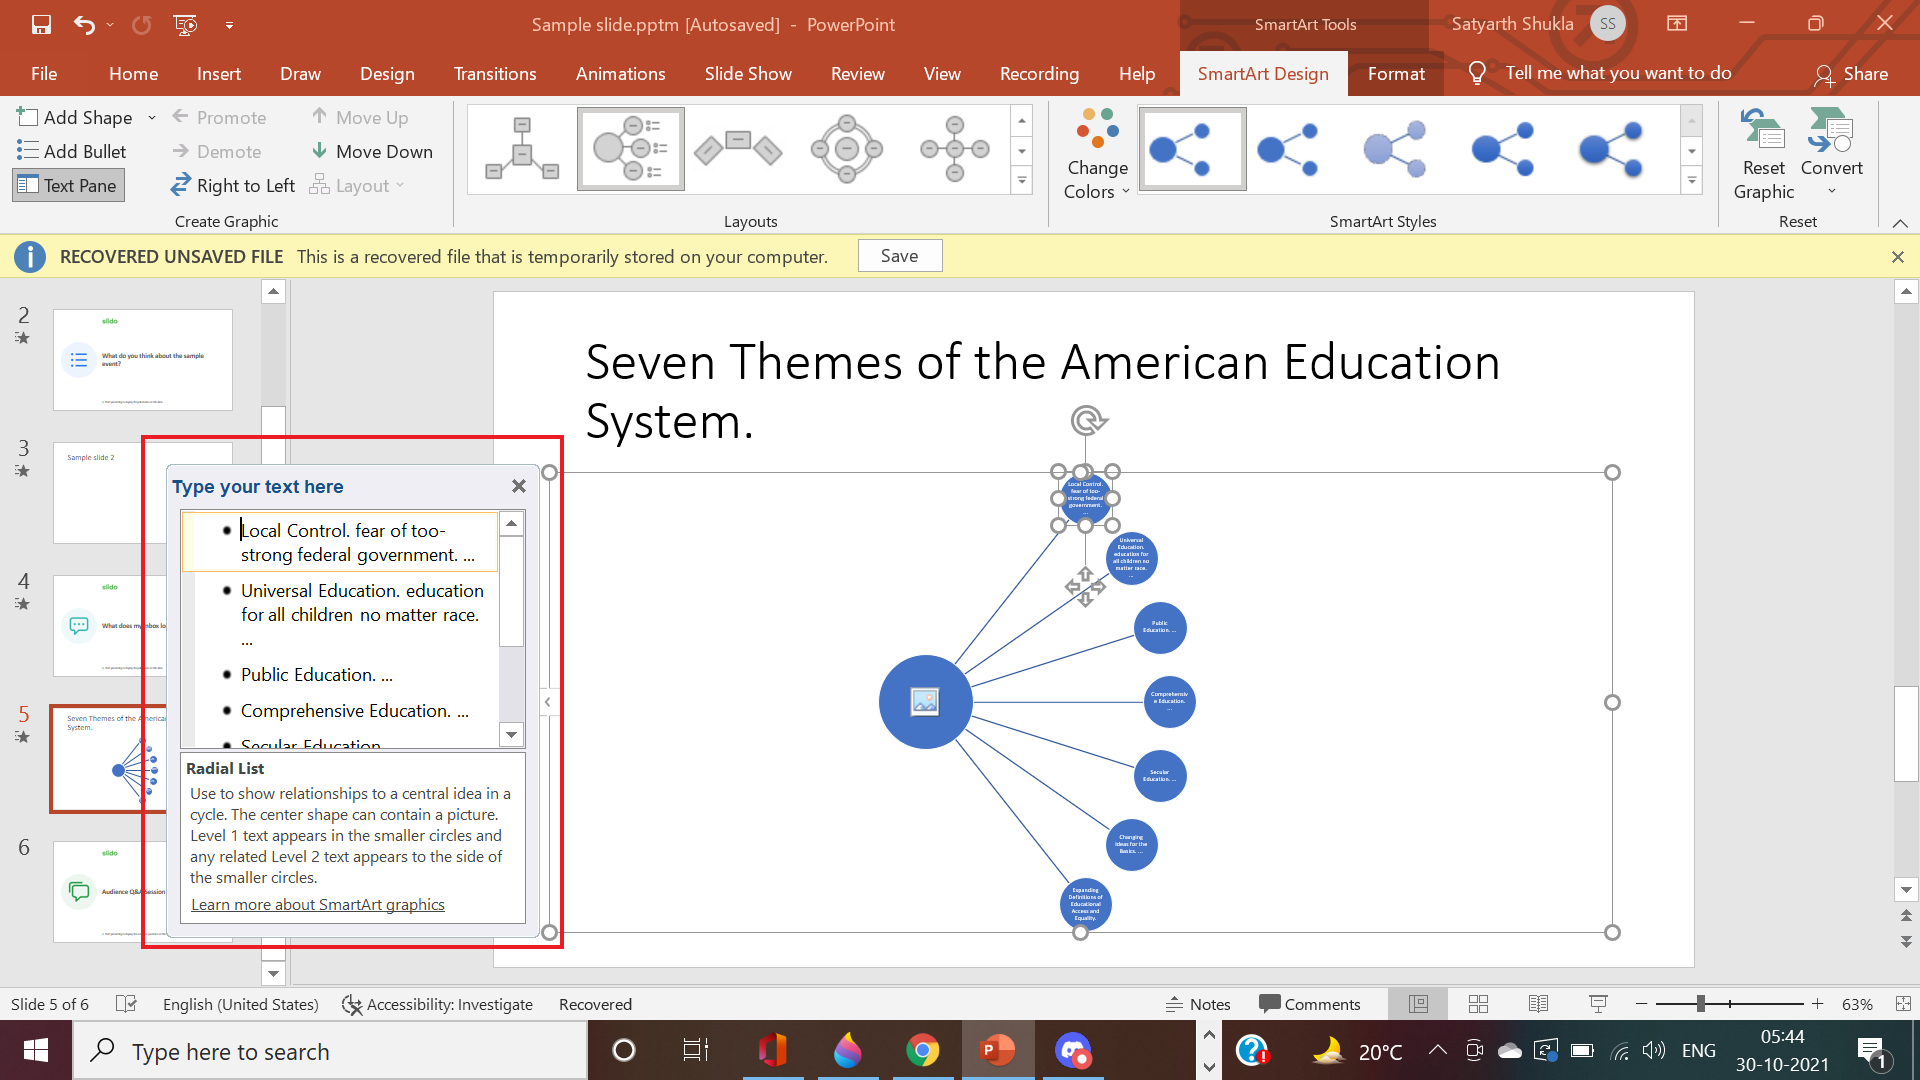
Now you’ll see the option to change or amend your list. You can write a different point or maybe adjust an existing one to suit the list.
-
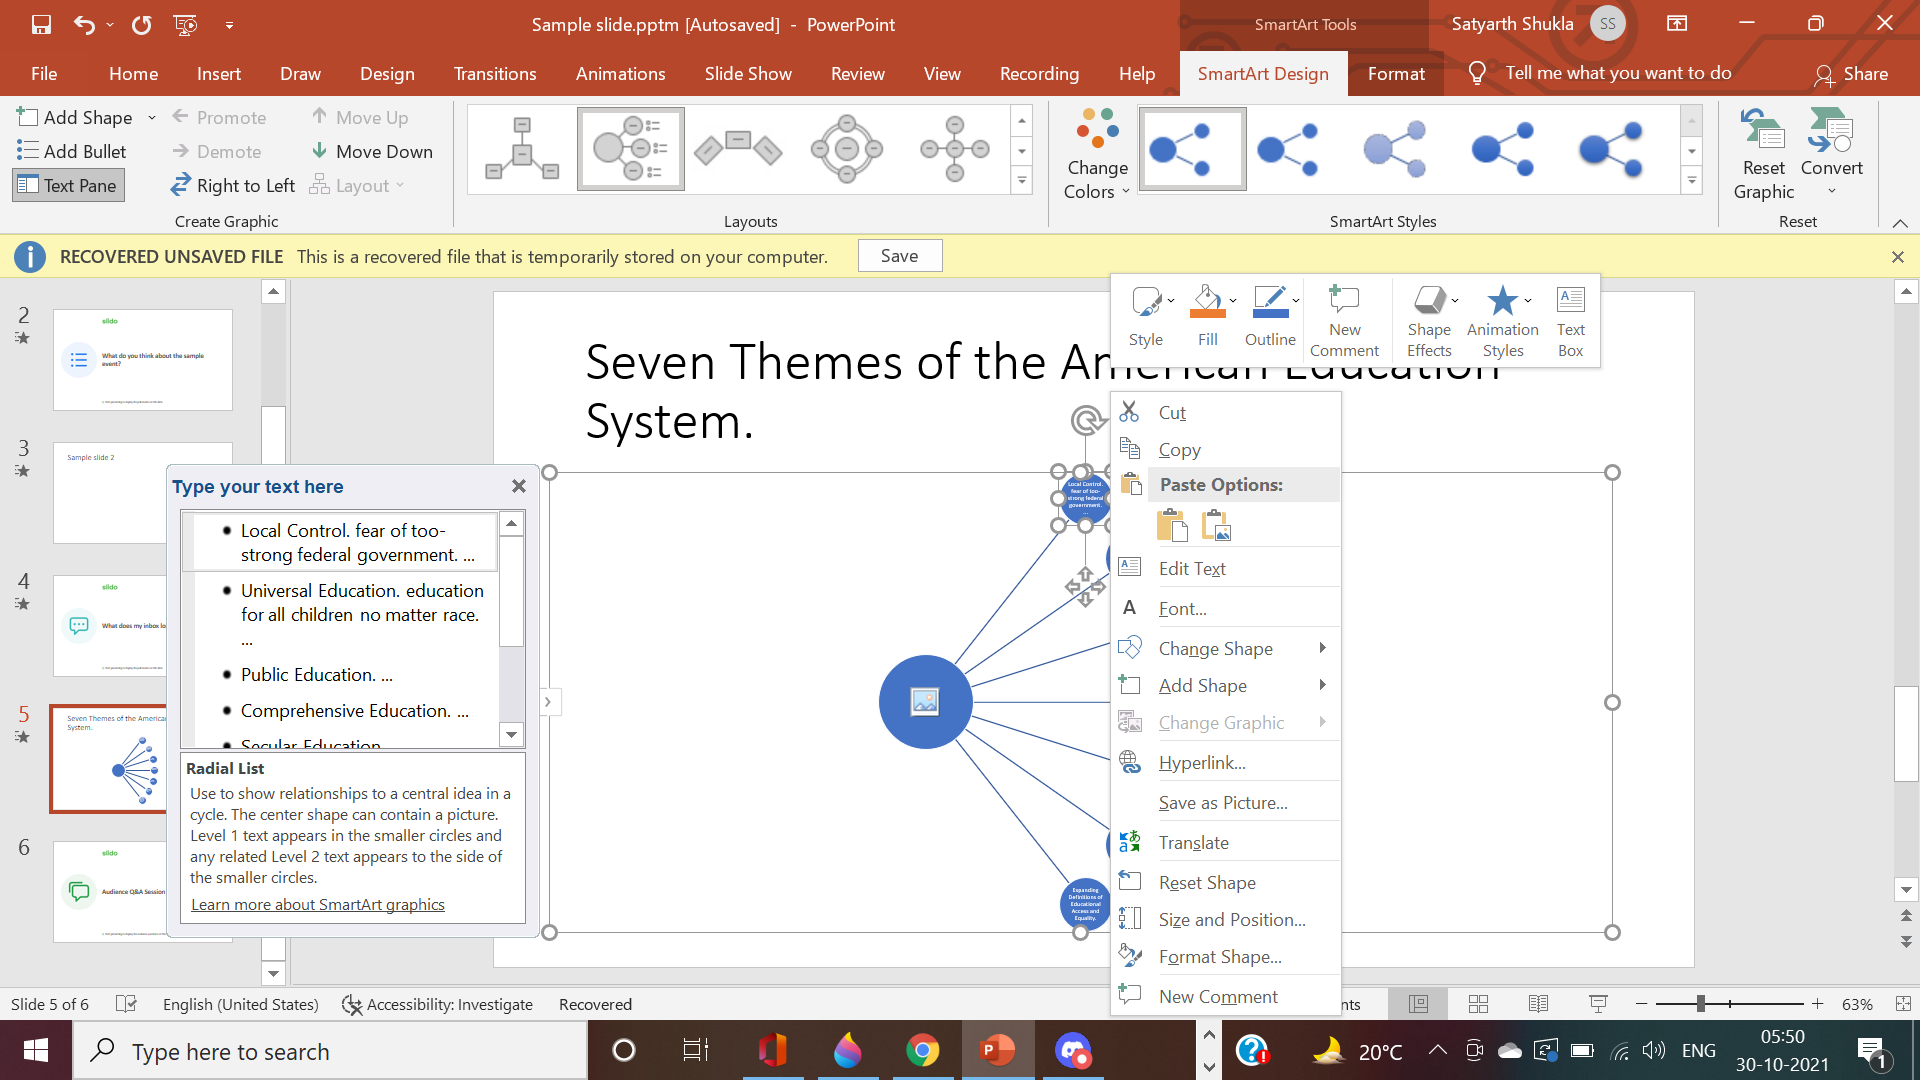
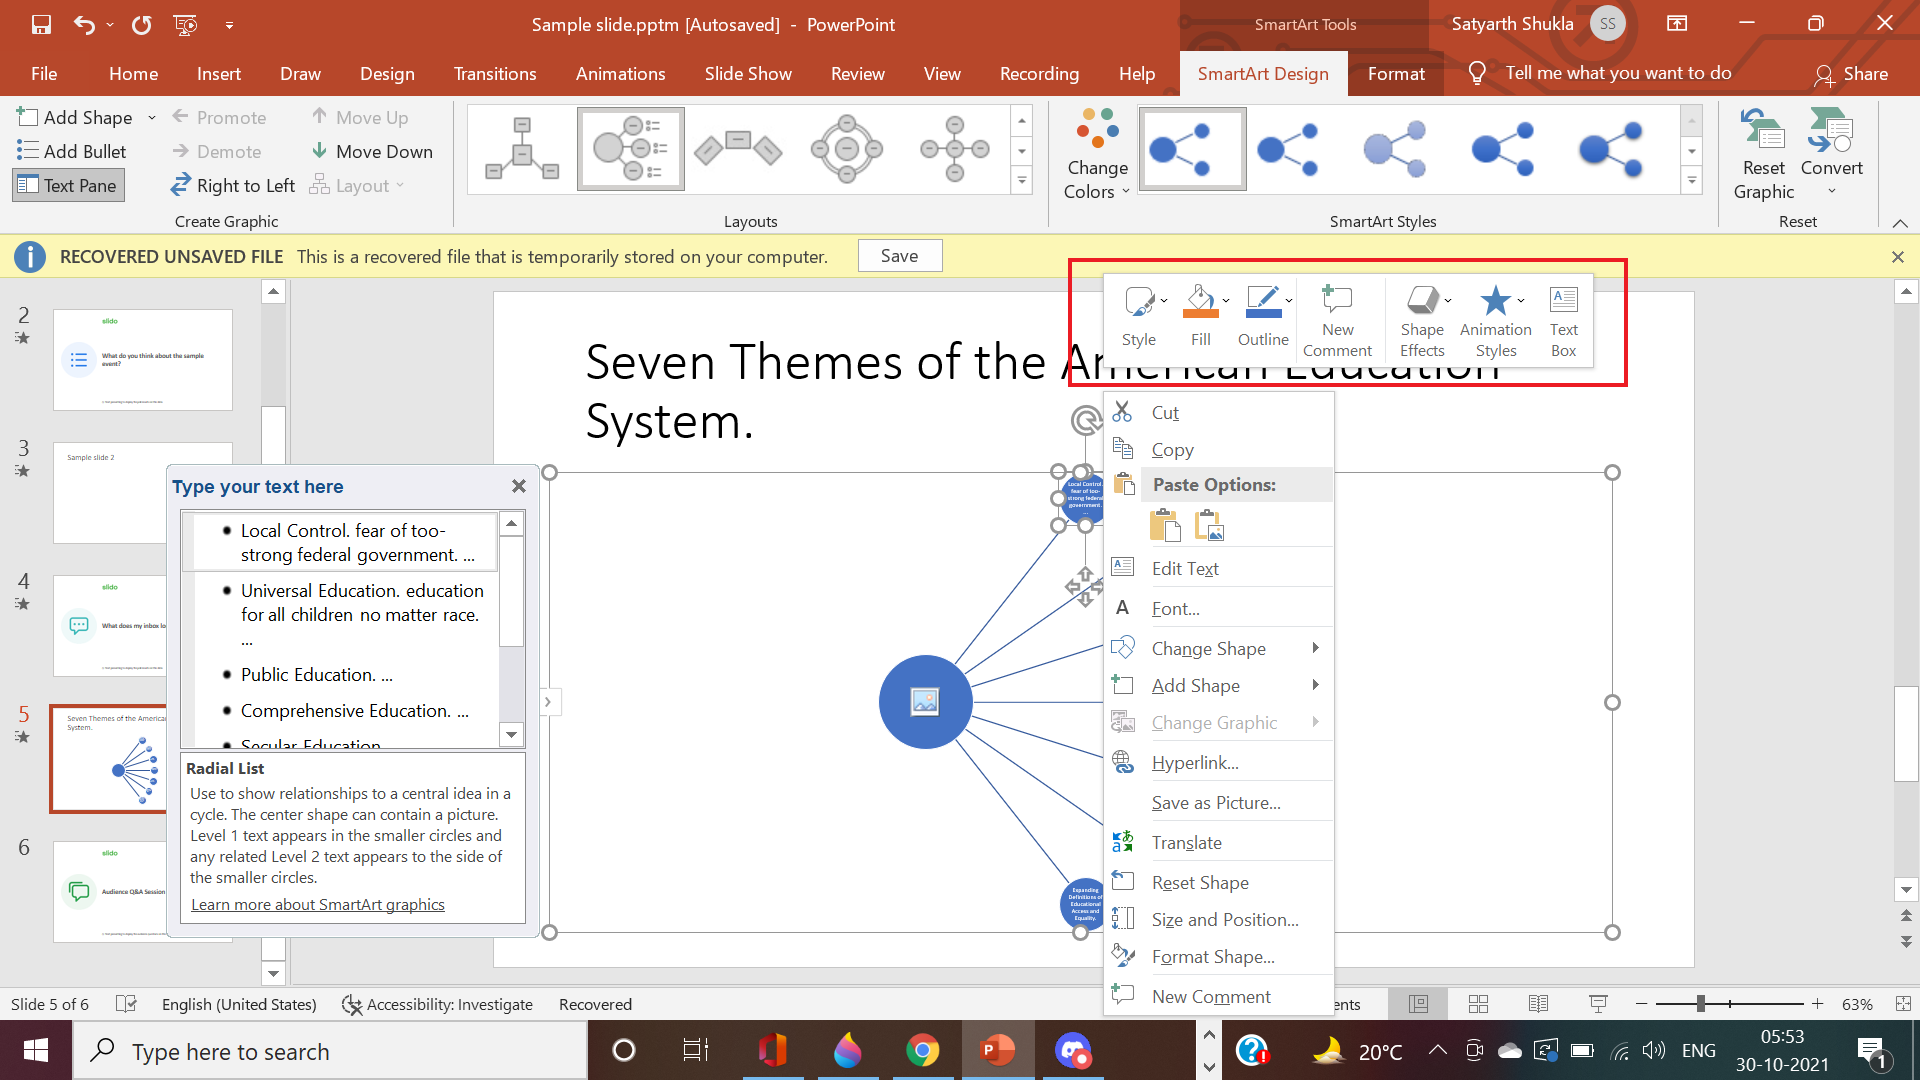
Right-click over an element, like a bubble, and you’ll see different options.
-
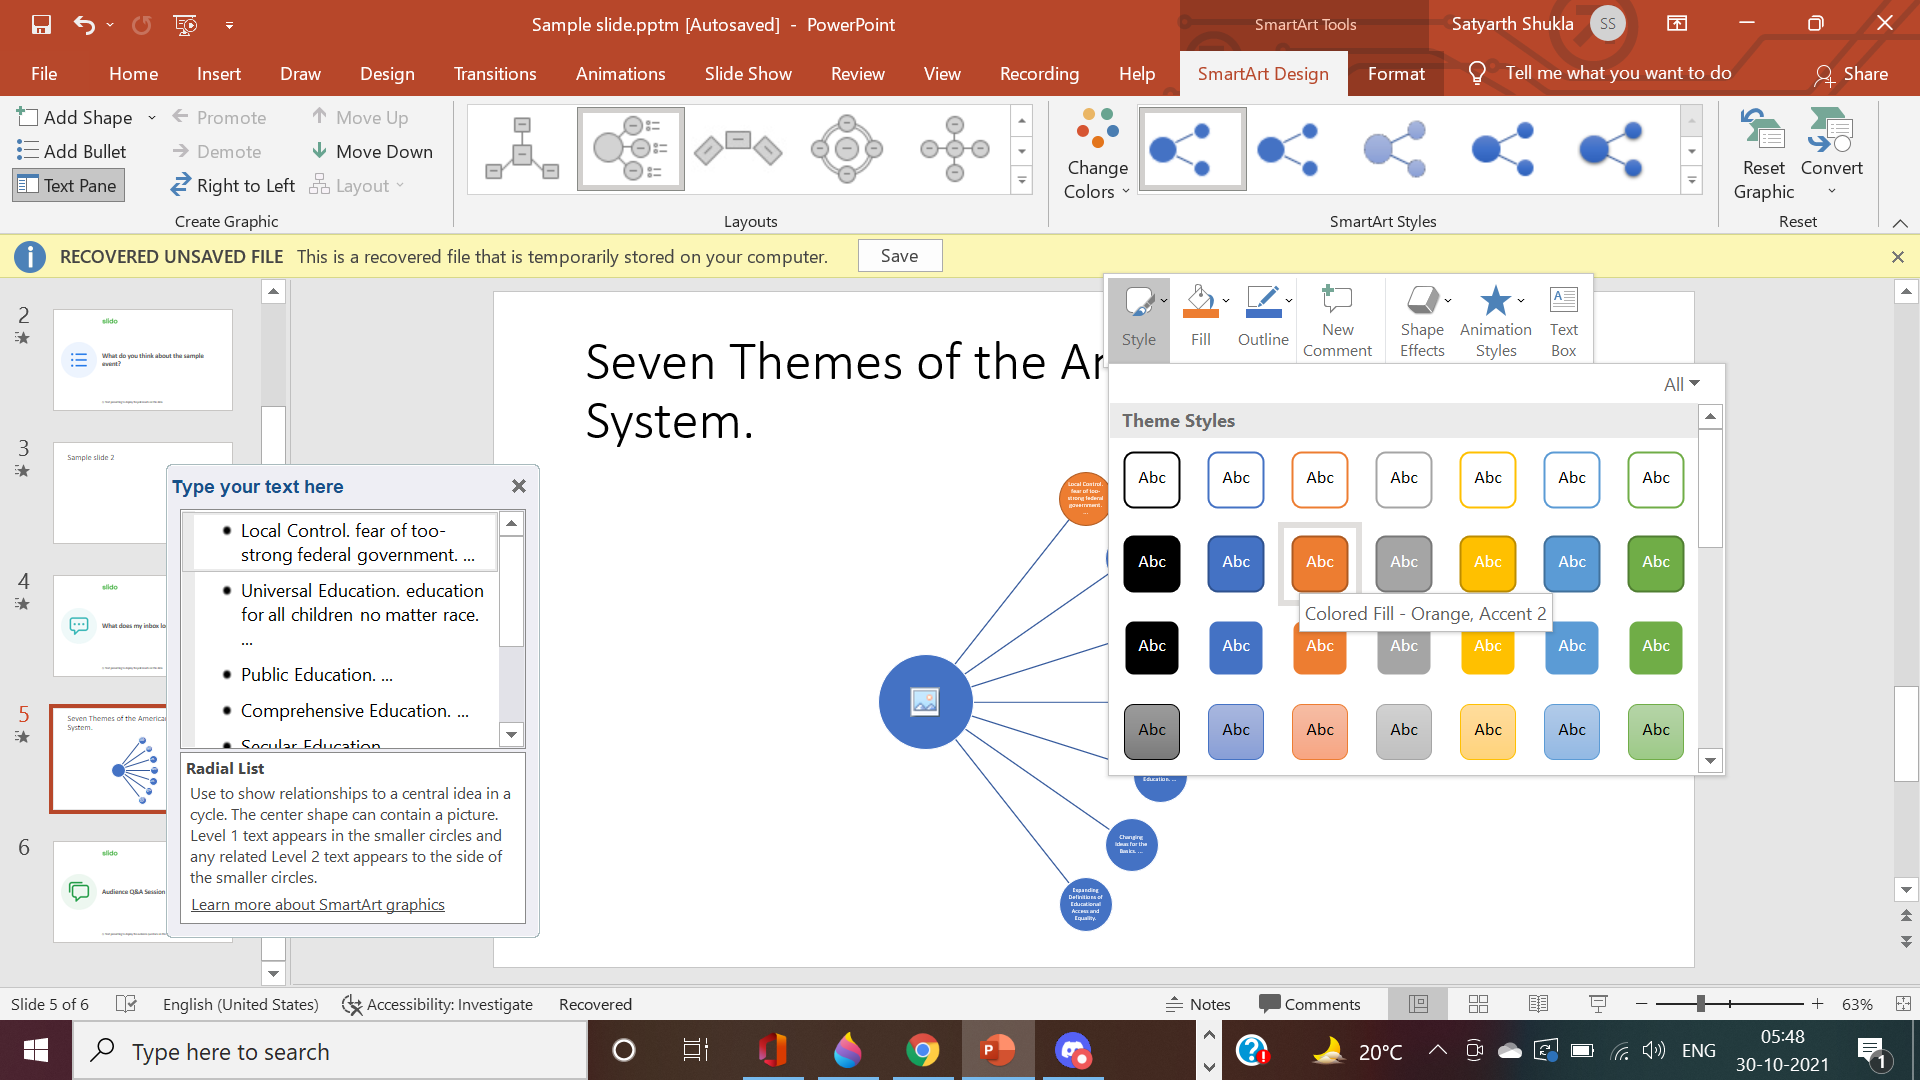
If you click on Style, you can change the overall appearance of that element (in this case, the bubble). These are default styles, and you can hover over them to see how they look.
-
If you don’t like the predefined styles and want to do something of your own, you can edit different aspects of each element. For example, you can choose the Fill option to fill the element with a different color. Similarly, you can change its outline or enhance its shape.
-
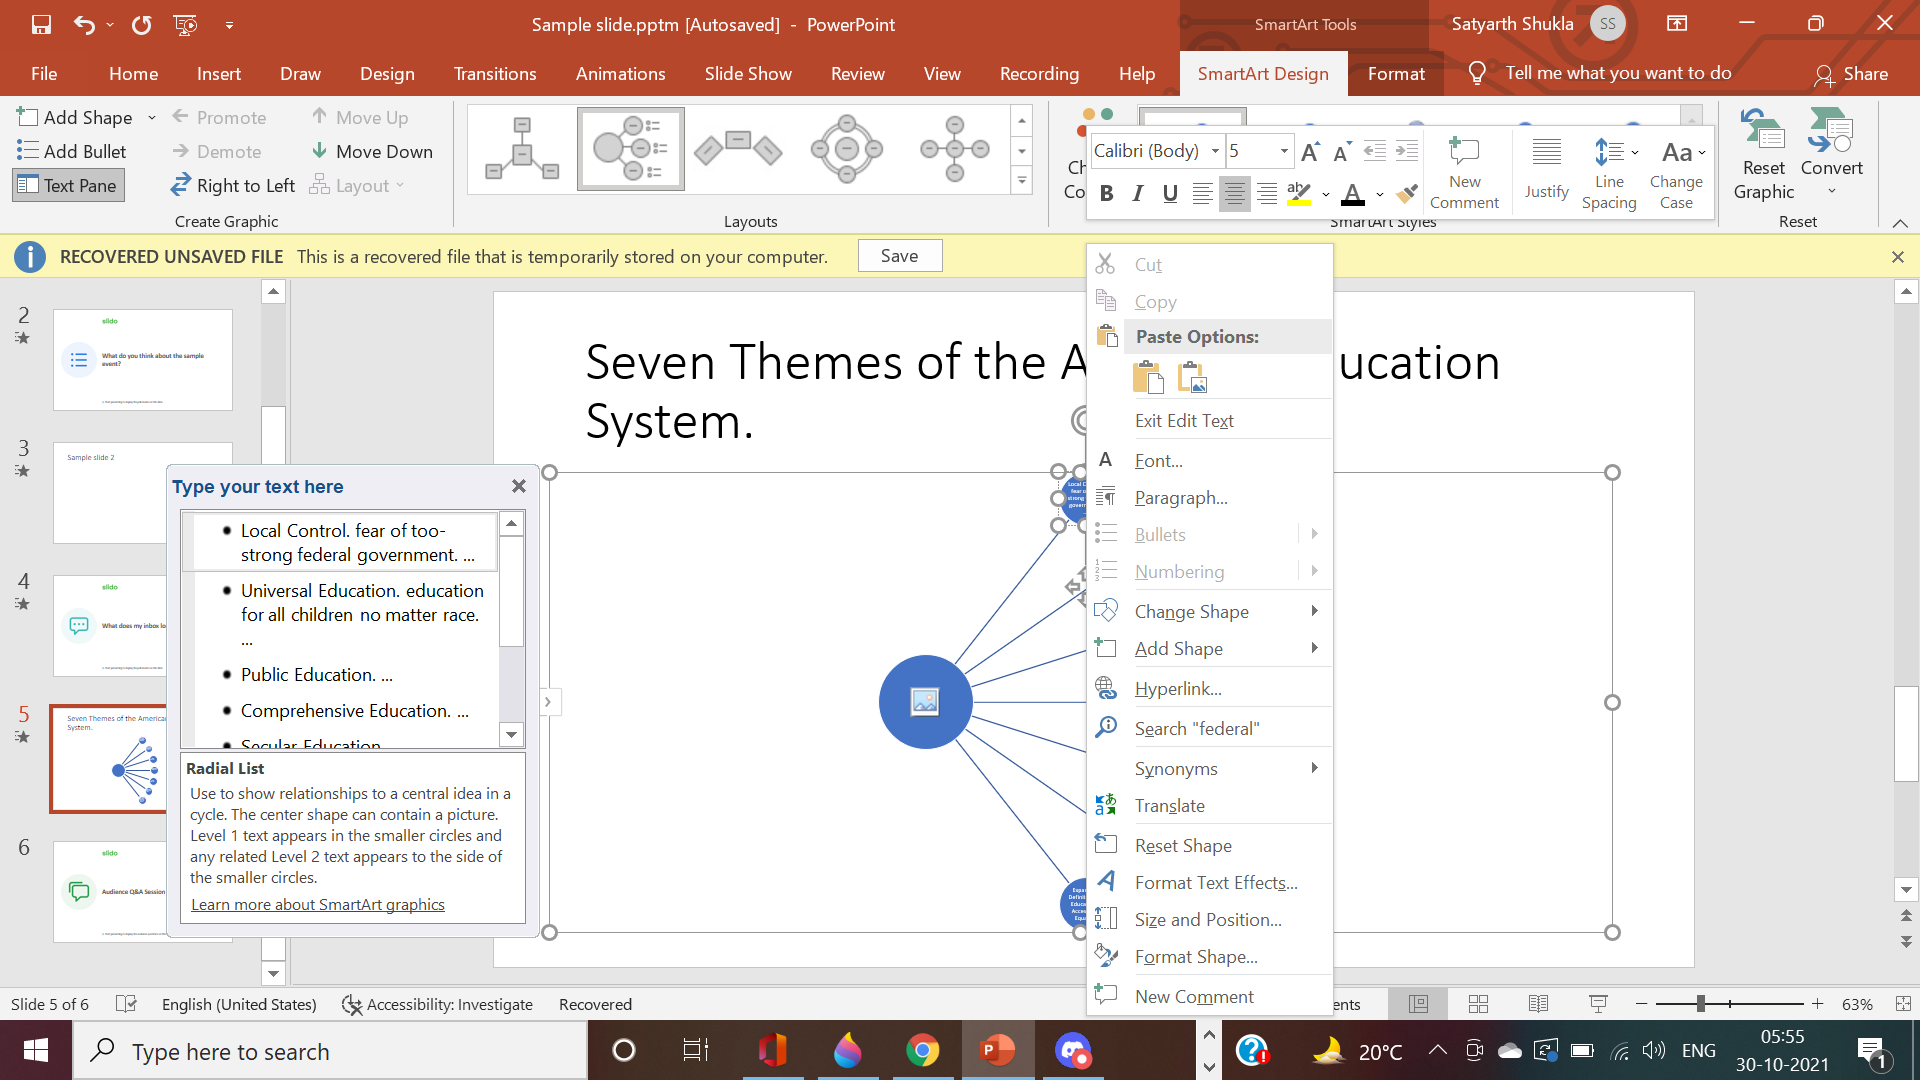
In the same way, if you right-click over the text, you can edit it. So, there’s a lot of editing and customization you can do to make your list more stylized.
-
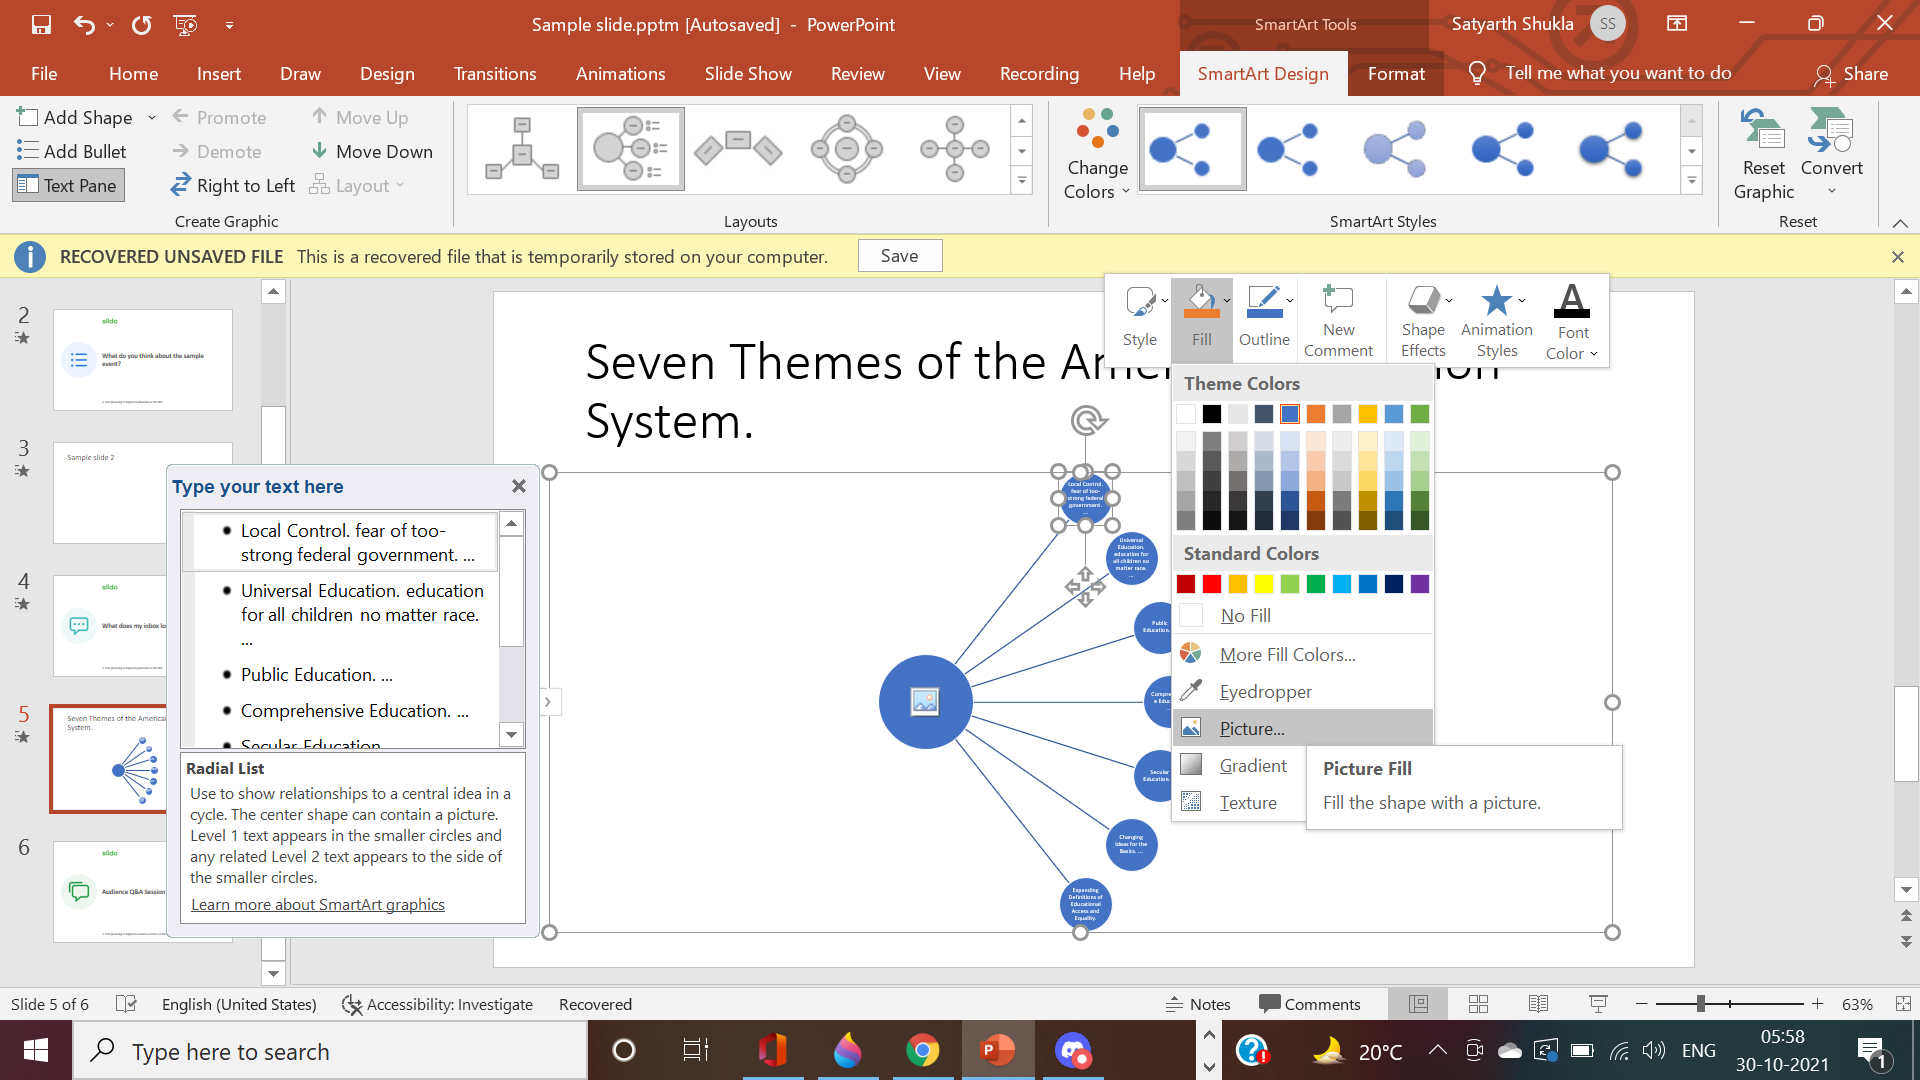
What’s interesting is that you can even add an image inside your element. Just right-click on the element and go to Fill. Here you’ll see a Picture option. Click on it, and select the picture you want to add inside the bubble.
-
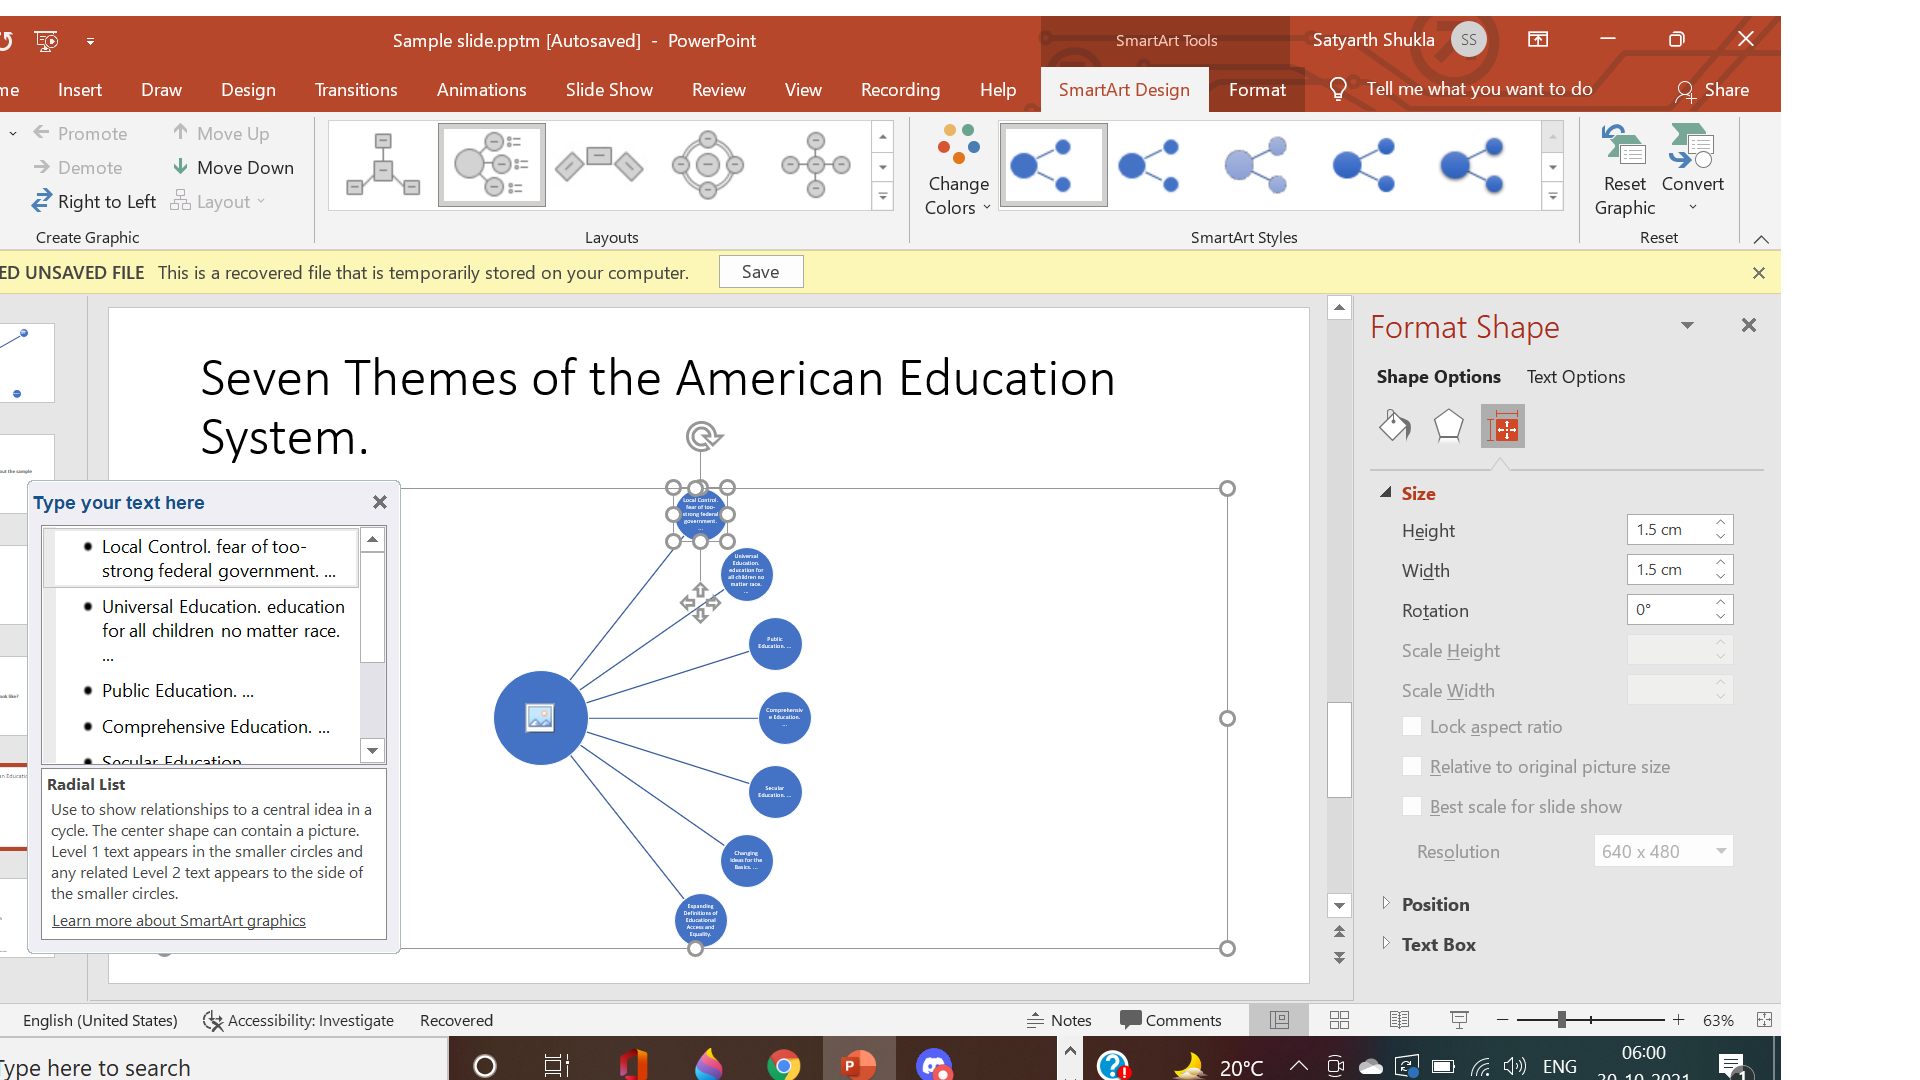
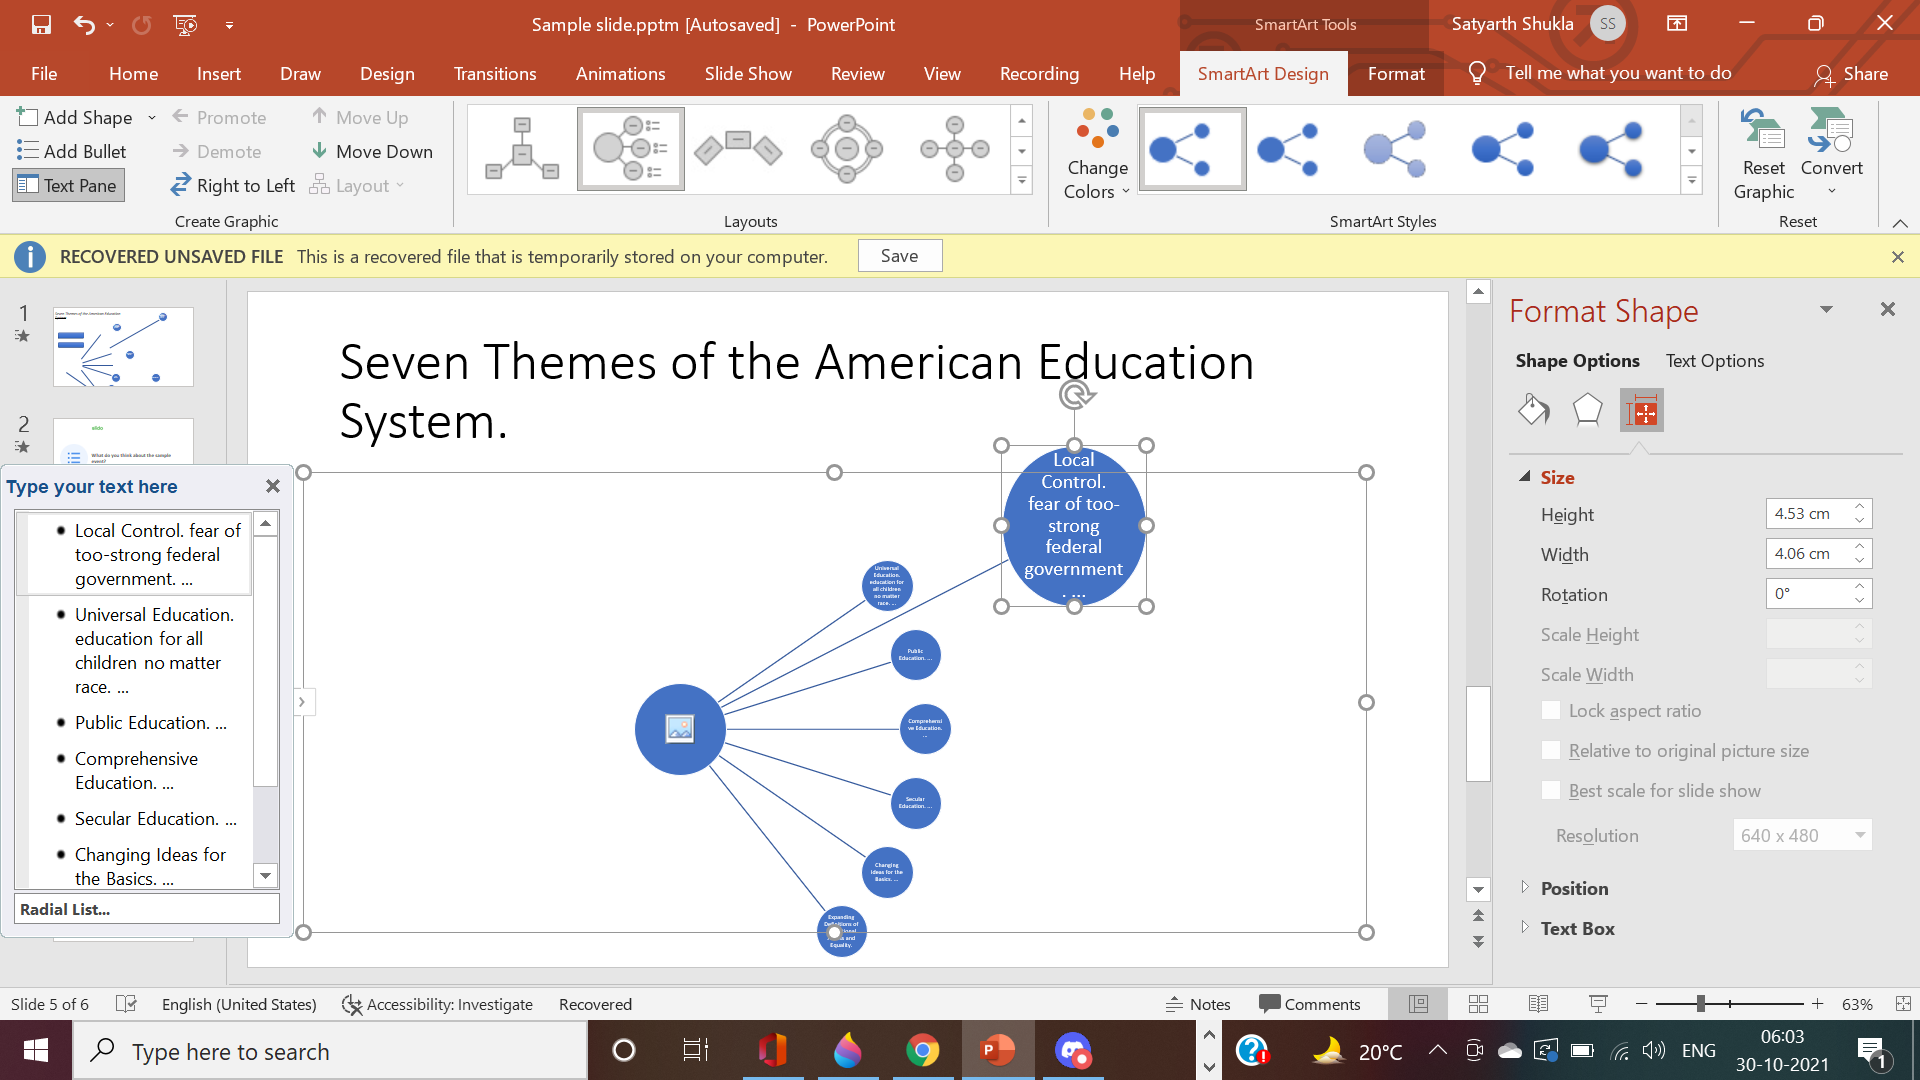
You can also change the size of your element by simply grabbing the handles. Or you can also right-click and do it systematically. Select the Size and Position option after right-clicking on the element. A Format Shape dialog box appears. Here, you can type in the size and save it.
-
You can also use drag-and-drop to change the length and alignment of your elements. Here you can drag these bubbles far away to make room when you change their sizes.
-
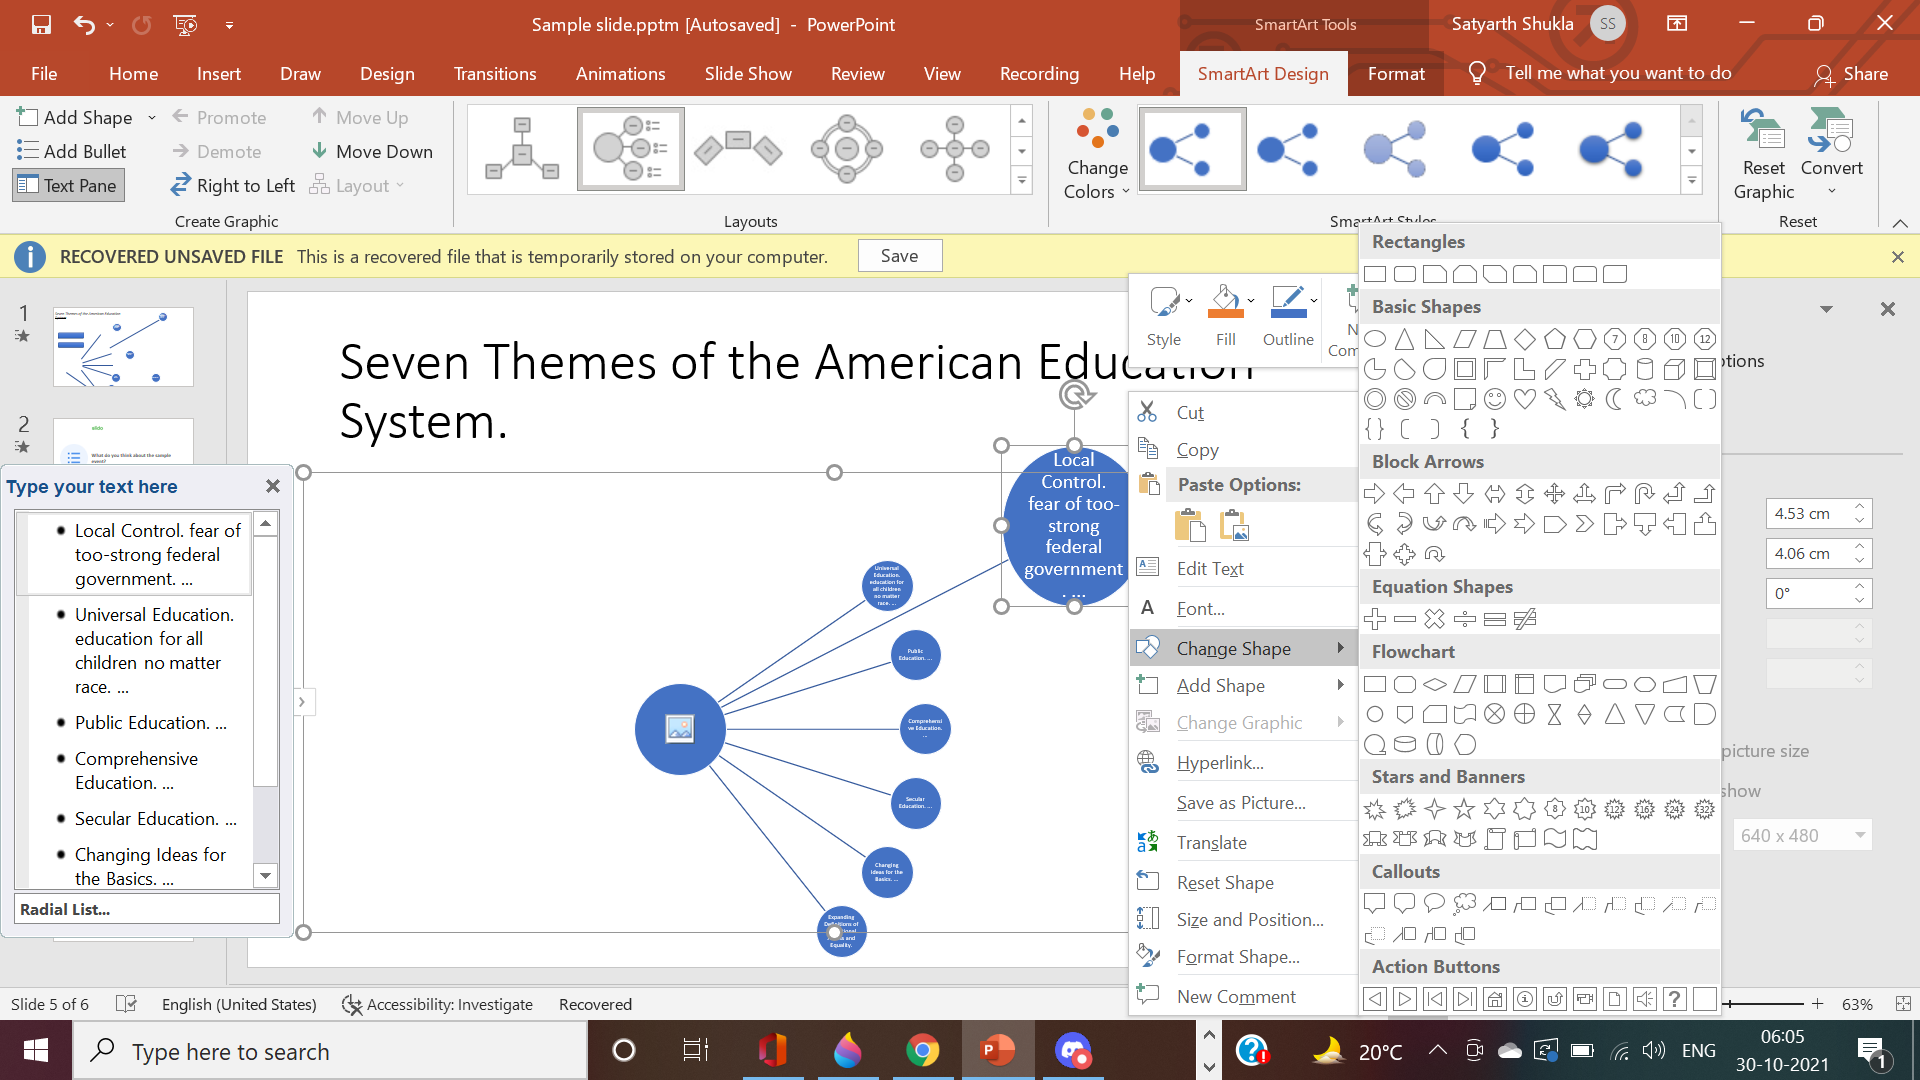
You can change the default shapes to whatever you want. To do this, right-click over the element and go to the Change Shape option. You’ll see a lot of shapes, and you can then select one of them. This helps in differentiating a particular element from the others.


How to Convert Your SmartArt to Shapes
You don’t need to stick to only SmartArt. PowerPoint allows you to convert SmartArt shapes too and vice-versa.
-
Select an element and then click on the Convert option on the upper right-hand side.
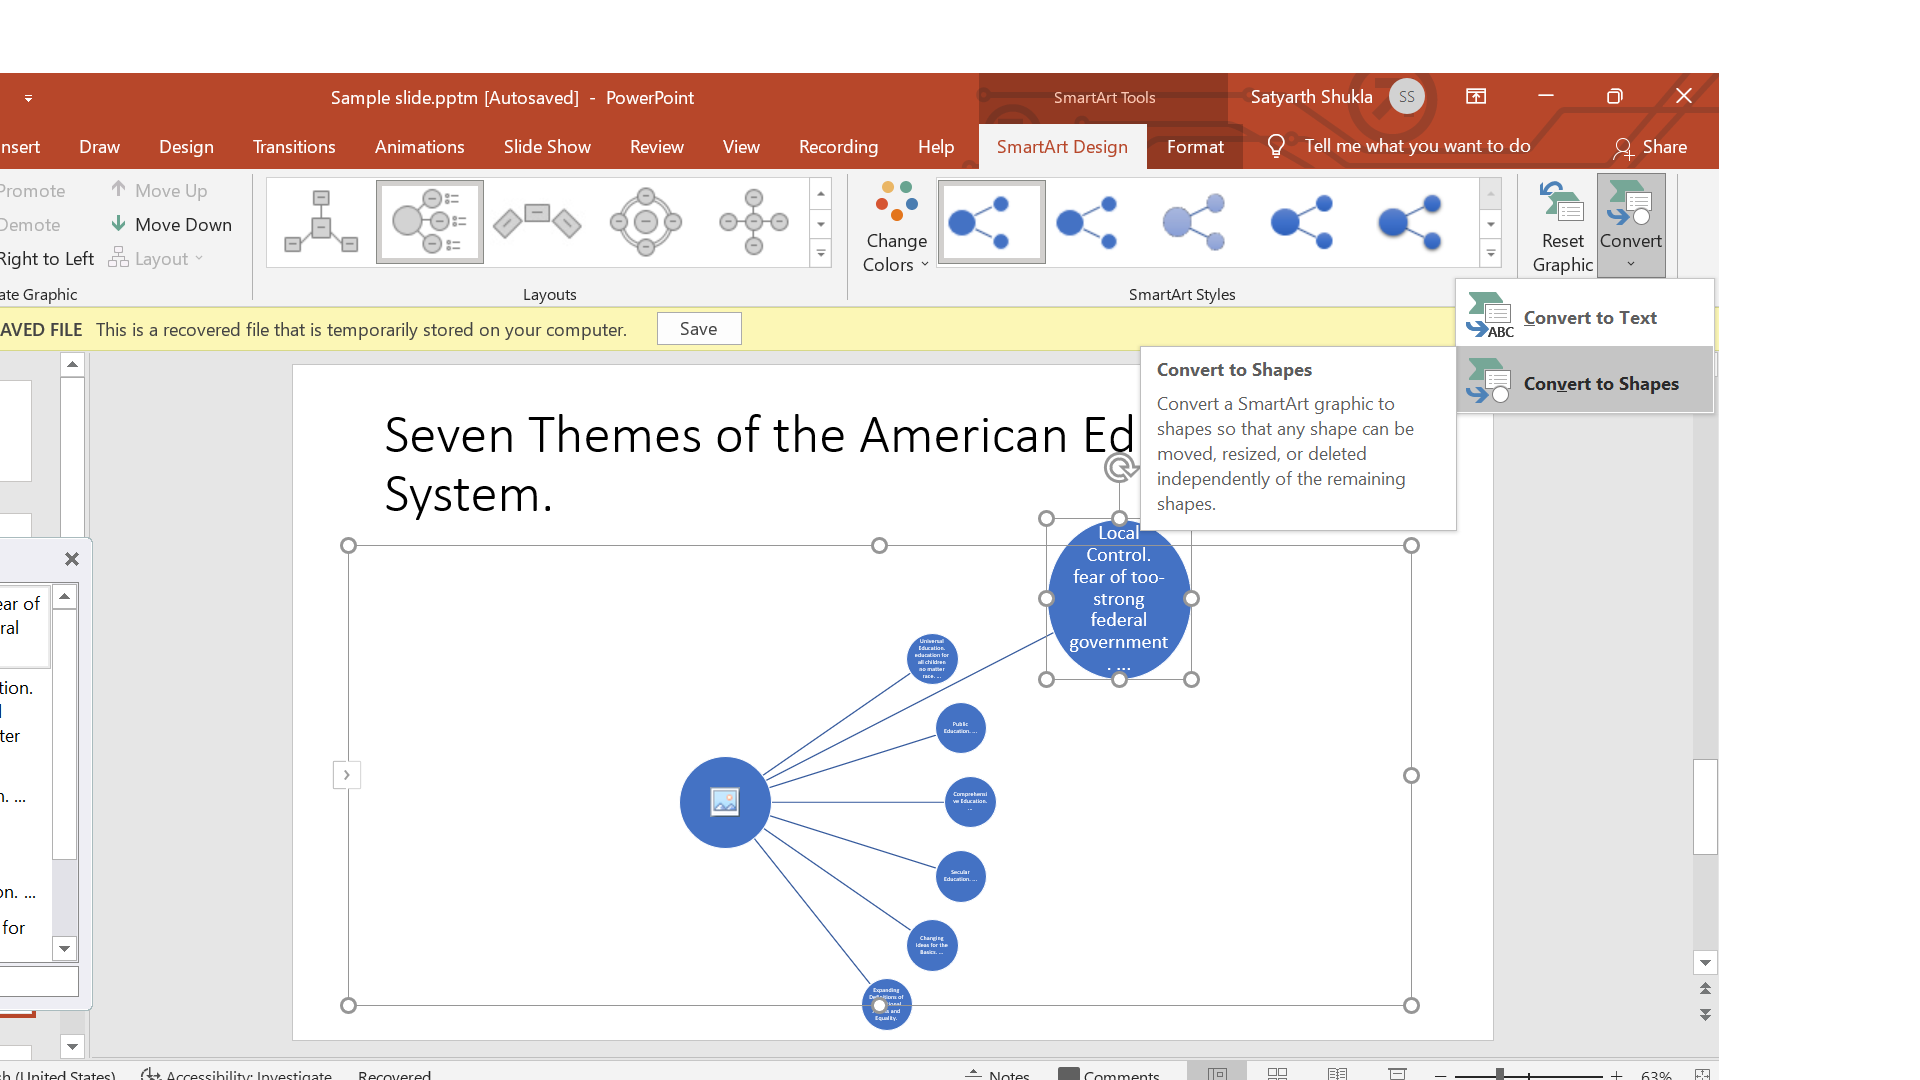
-
Click on Convert to Shapes. Now, this element has changed from a SmartArt to a shape, which you can edit. You could right-click and see that the menu isn't the same. Instead, it now focuses on editing shapes.
-
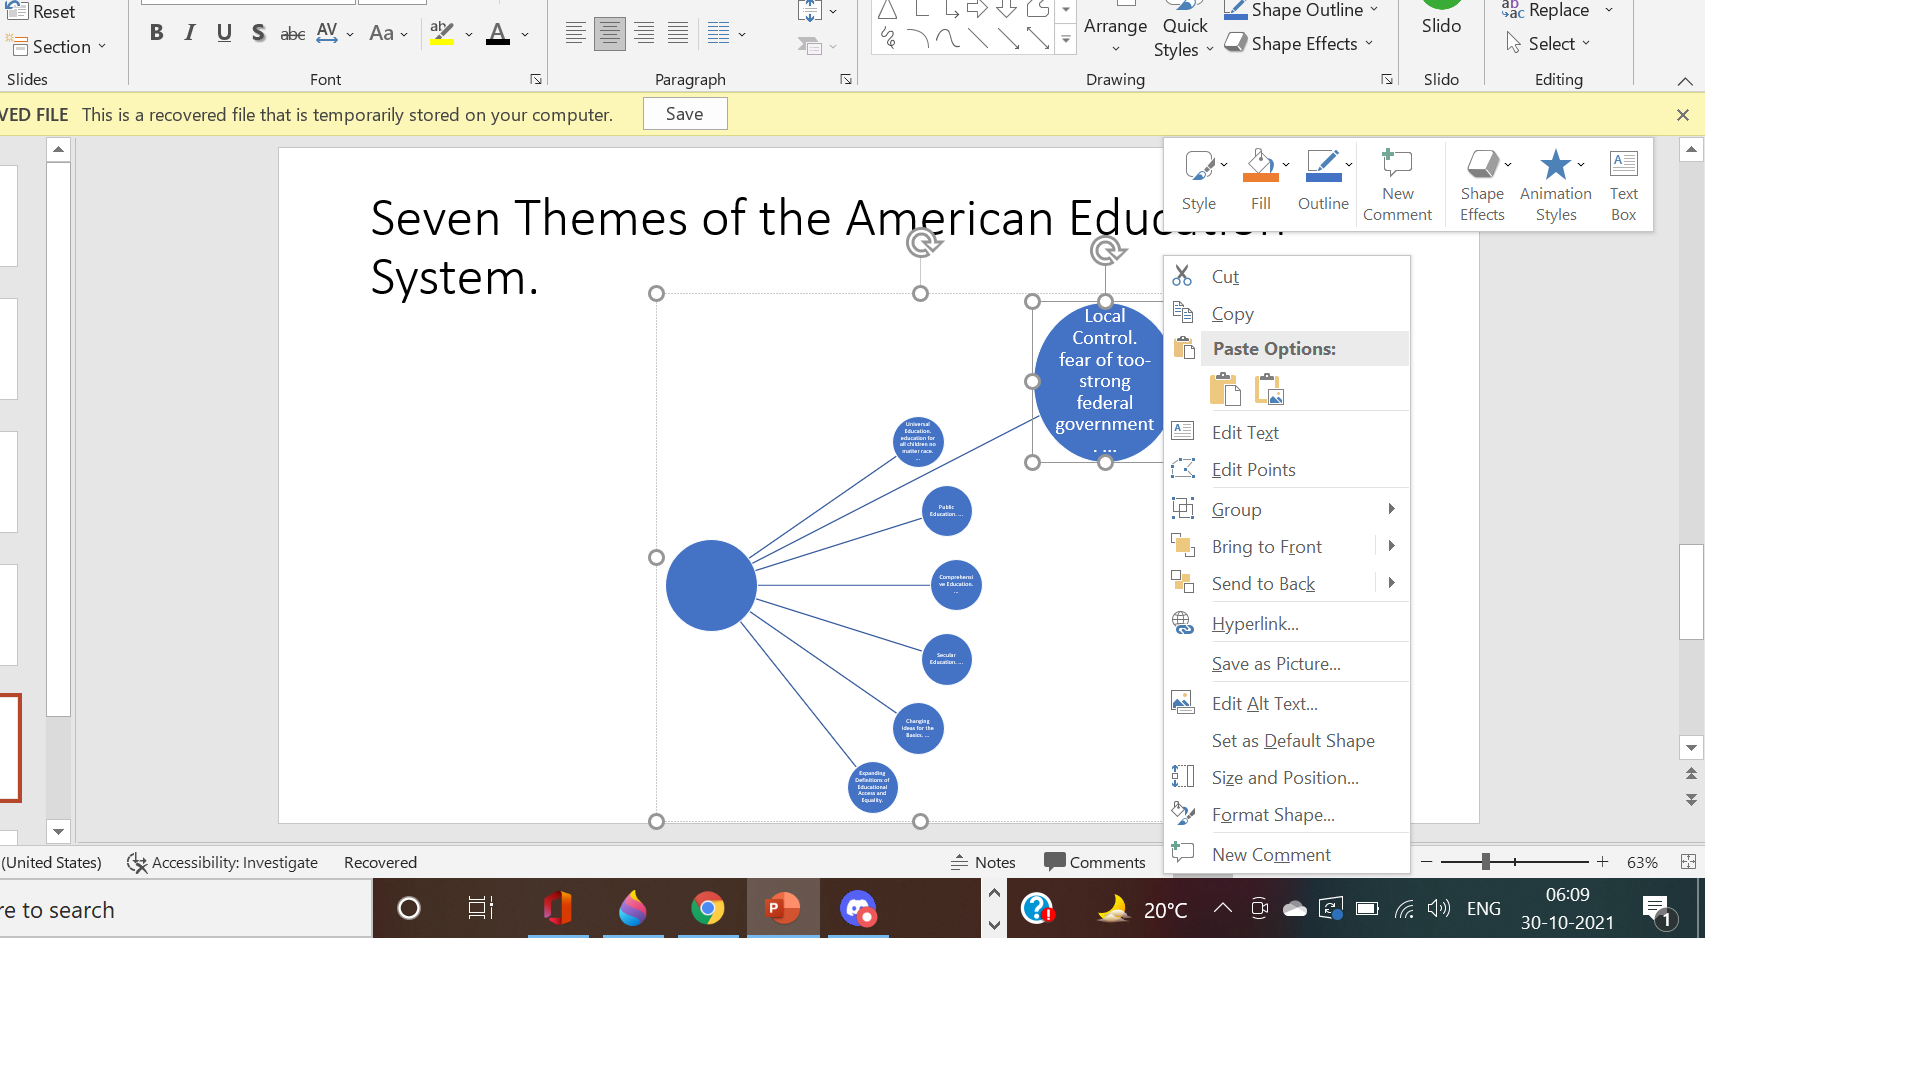
Right-click on the whole shape and select Group > Ungroup.
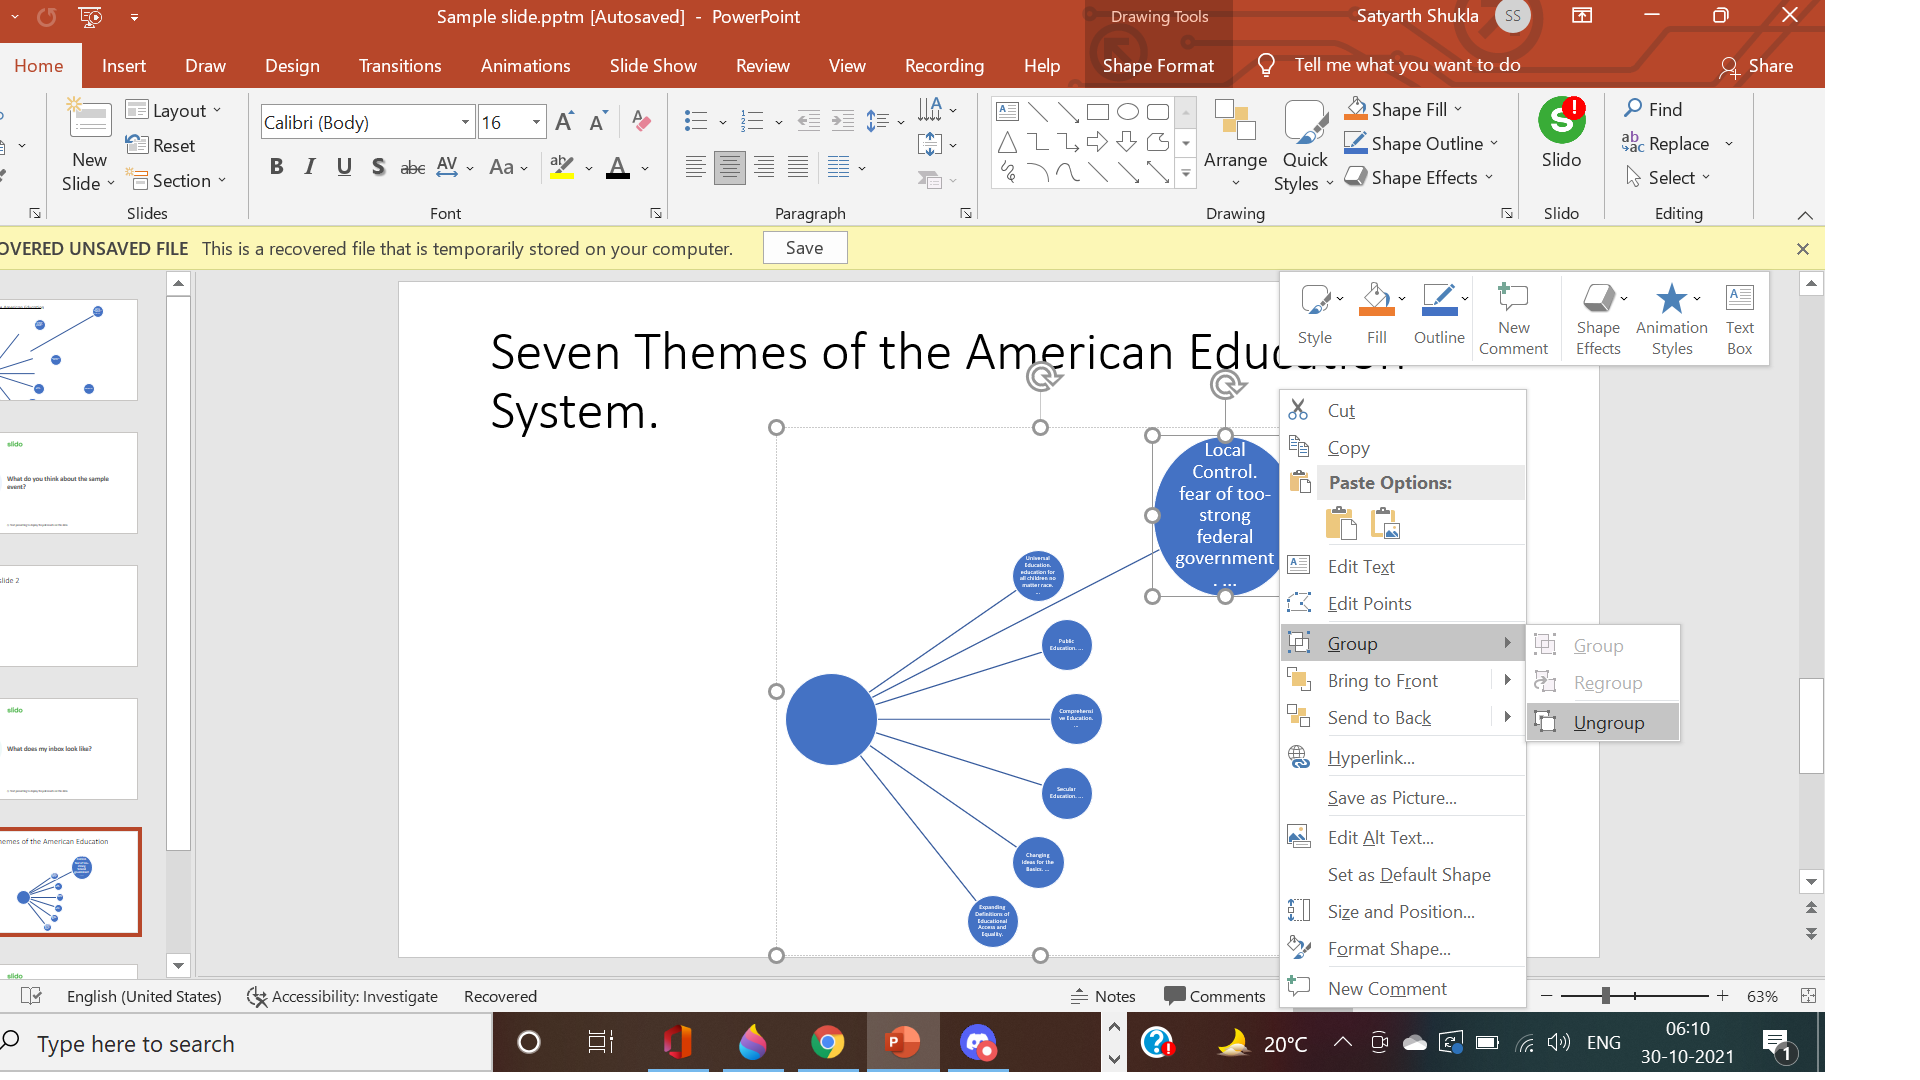
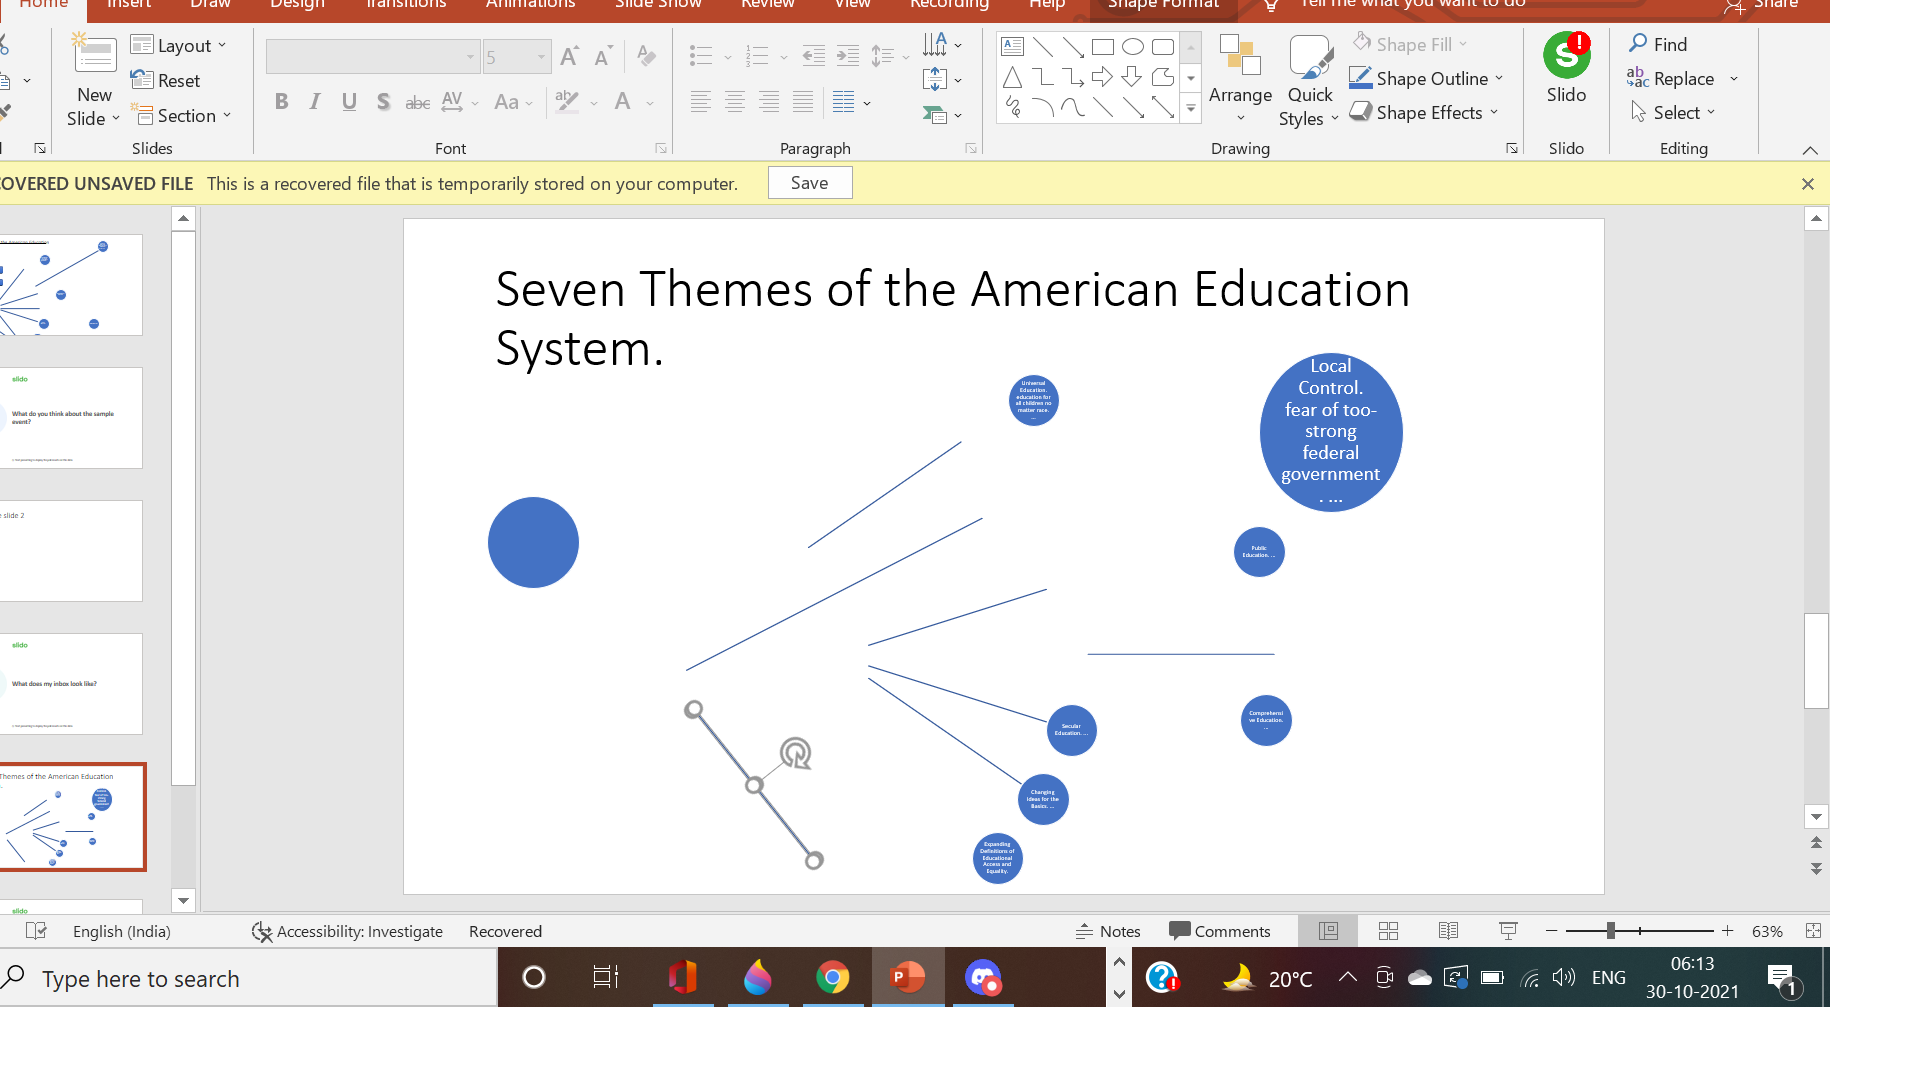
-
This ungroups all the elements in the SmartArt. So what happens is that you can now independently move any element away from the default SmartArt format.
-
You can even convert a shape to a separate SmartArt. To do this, just select the shape and then go to the SmartArt button that you used earlier.


You can also use the Group > Ungroup option to make your element work independently. For example, you can change its length and breadth, move it farther away. In short, you can change the arrangement of your SmartArt by ungrouping its elements.
How to Change Your SmartArt Layout
Changing your SmartArt layout is easy. Just select your SmartArt and go to the Layout panel. The Layout panel is present at the SmartArt Design tab, which automatically opens when selecting a SmartArt.

After formatting your SmartArt, you might think that another format would be better suitable for your data. If this is the case, you can easily change the SmartArt. Hover over the different layout options to preview the layout of the SmartArt as it changes simultaneously.
You can also use the SmartArt Styles panel to make your SmartArt more glossy or 3D. The SmartArt Styles panel is present beside the Layout panel.

SmartArt or Traditional Bullet Points?
SmartArt is a great feature to make your words and format visually appealing. The good thing is that this feature is available throughout MS Office, so you can learn it once and use it in another Office app like Word.
Of course, you might still prefer traditional bullet points over SmartArt, and that's completely fine. The main goal is to grab the attention of your audience.