
Both Windows 10 and Windows 11 allow you to enable or disable your audio output devices as needed. This is useful when multiple audio devices are connected to your system, and you don't want to go through the trouble of disconnecting and reconnecting them repeatedly.
You can enable or disable audio output devices using Windows Settings, Device Manager, Control Panel, and Registry Editor. So, let's go over each method one by one.
1. Enable or Disable a Sound Output Device From the Settings App
The Settings app in Windows makes it simple to add, remove, and manage audio devices on your computer. Here's how you can use it to disable a sound output device in Windows.
- Press Win + I to launch the Settings app.
- Navigate to System > Sound.
- Select the audio device you want to disable from the Output section.
-
Click the Don't allow button next to Audio.


Once you disable the audio device, it will no longer appear under the Output section of the Sound settings page. If you want to re-enable the audio device later, use these steps.
- Open the Settings app and navigate to System > Sound.
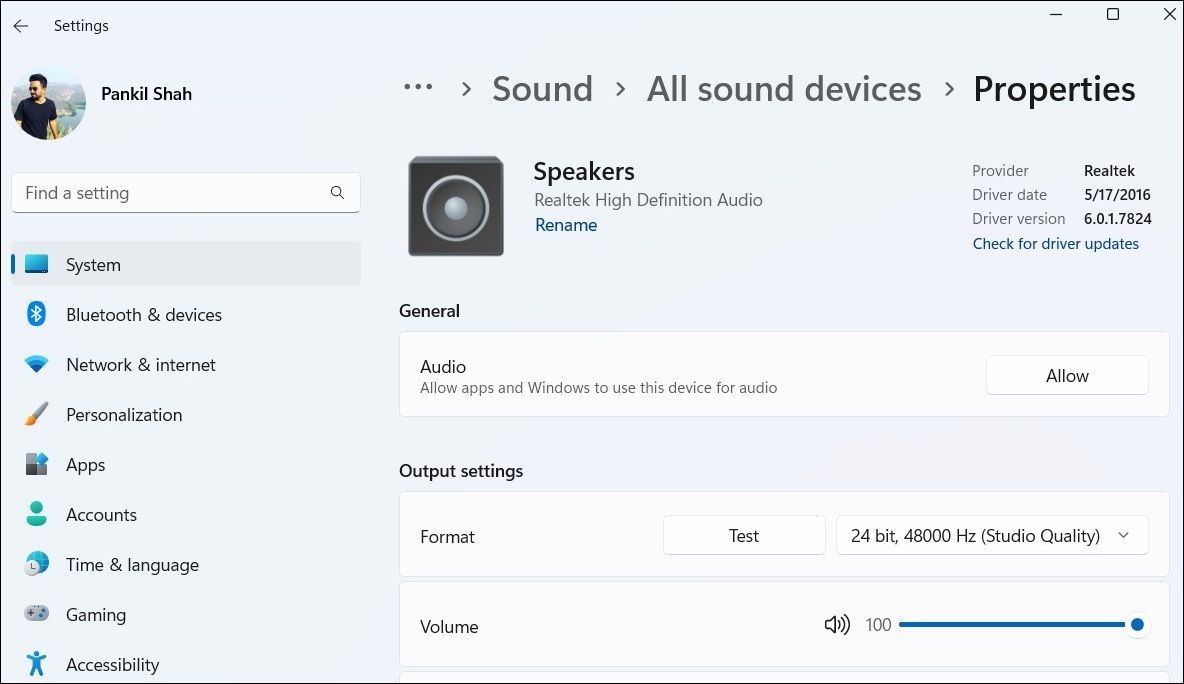
- Scroll down to the Advanced section and select All sound devices.
- Select the audio device you want to enable.
-
Click the Allow button next to Audio.

2. Enable or Disable a Sound Output Device Using Control Panel
If you're someone who prefers to use the Control Panel over the Settings app, you can use these steps to enable or disable a sound output device in Windows.
- Press Win + R to open the Run dialog box.
- Type control in the box and press Enter.
- In the Control Panel window, use the View by drop-down menu in the top right corner to select Large icons.
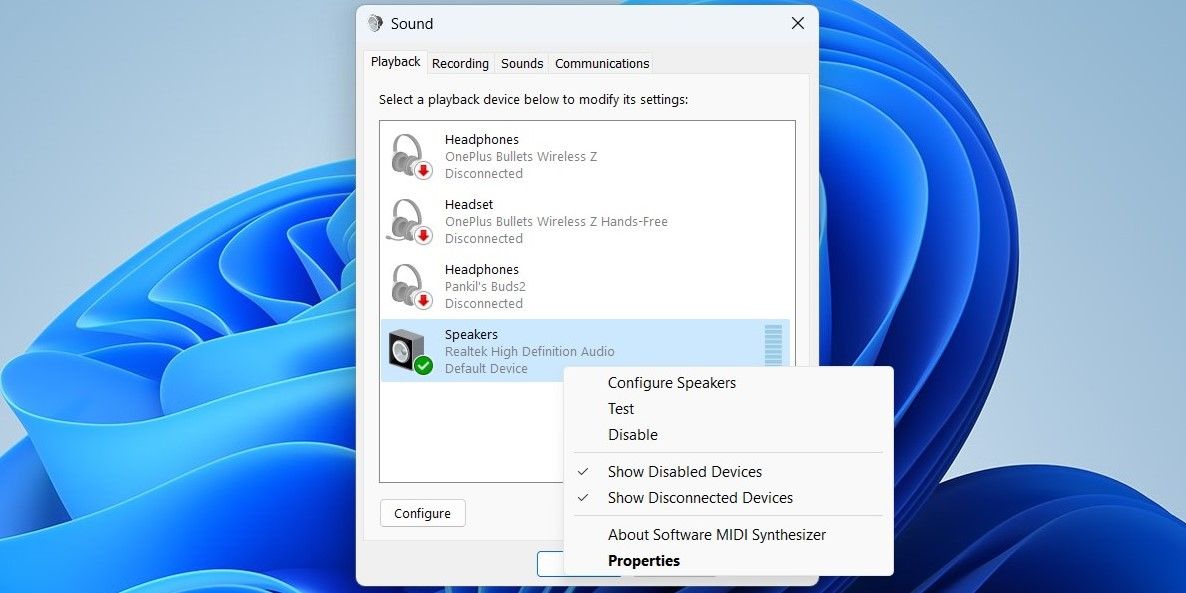
- Click Sound.
-
Under the Playback tab, right-click on your audio output device and select Enable or Disable.

3. Enable or Disable a Sound Output Device via Device Manager
Device Manager is a handy utility typically used to troubleshoot various system-level issues. But did you know you could also use it to enable or disable audio devices on Windows? Here's what you need to do:
- Press Win + X to open the Power User menu.
- Select Device Manager from the list.
- Expand the Audio inputs and outputs section.
- Right-click on the sound output device and select Disable device.
-
Hit OK to confirm.
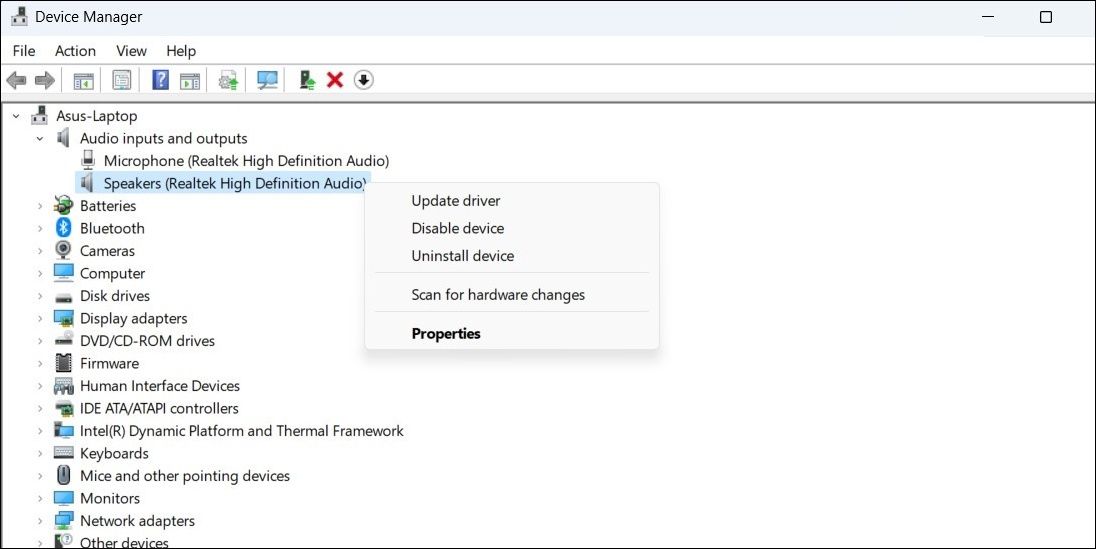

Likewise, if you want to enable an audio device, right-click on it and select Enable device from the context menu.
4. Enable or Disable a Sound Output Device With Registry Editor
Registry files on your computer contain critical settings for Windows and your devices. If you're feeling adventurous, you can also enable or disable a sound output device using the Registry Editor.
Note that modification to your registry entries involves risk. So, it's advisable to back up your registry files or create a restore point before using this method.
To enable or disable sound output devices using Registry Editor:
- Press Win + S to open the search menu.
- Type regedit in the box and select Run as administrator.
- Select Yes when the User Account Control (UAC) prompt appears.
-
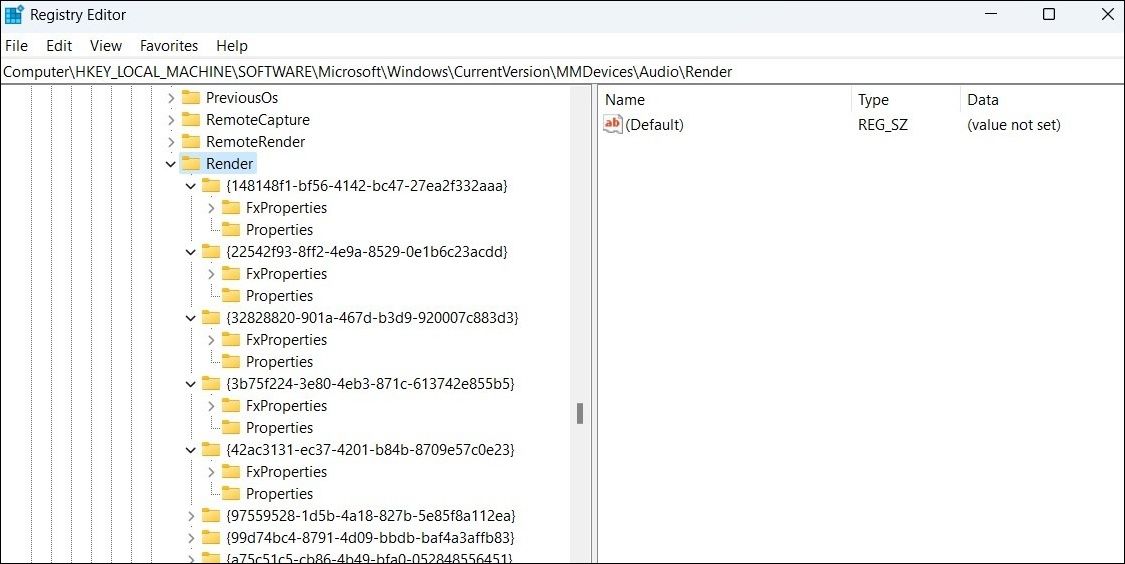
In the Registry Editor window, paste the following path in the address bar at the top and press Enter.
HKEY_LOCAL_MACHINE\SOFTWARE\Microsoft\Windows\CurrentVersion\MMDevices\Audio\Render -
Within the Render key, you'll find several GUID entries, each representing an audio device.
-
Open the Properties subkey within each GUID until you find the device you want to disable.
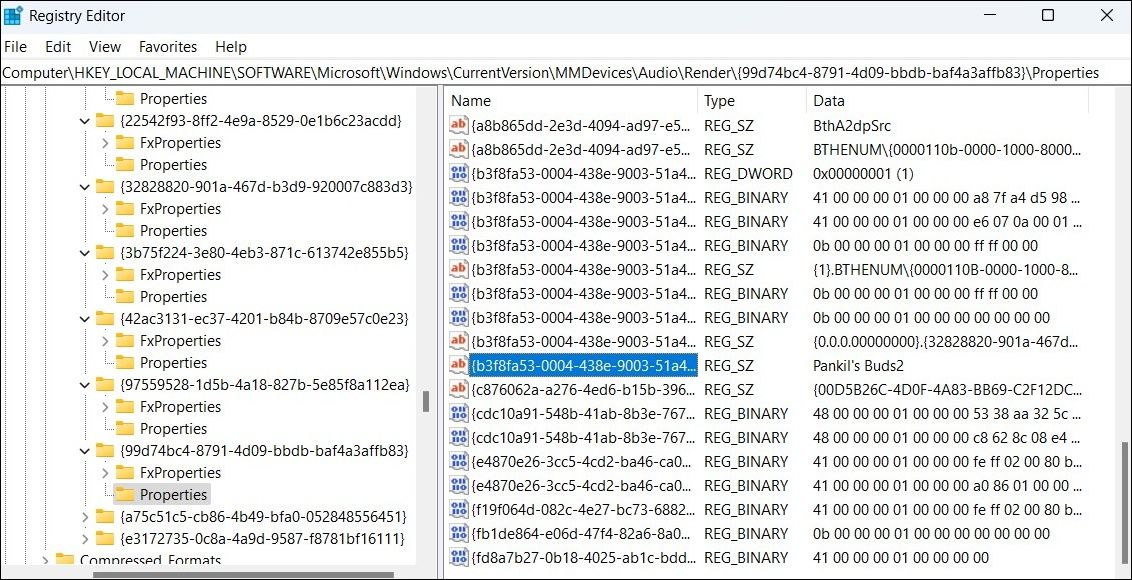
- Click the GUID key for your sound output device and double-click the DeviceState entry from the right pane.
-
In the Value data field, input 1 if you want to enable the device or 10000001 if you want to disable it.

- Click OK to save the changes.


Easily Enable or Disable Sound Output Devices in Windows
You can use any of the methods we discussed here to quickly enable or disable your speakers, headphones, and other audio devices.
But if you don't want to repeatedly enable or disable audio output devices, remember that you can switch between them using the Quick Settings panel or the Settings app.