In terms of how popular beat edits have become, they have reached peaks. We see a lot of YouTubers making videos by syncing them to a particular beat, and they do sound and look visually stunning.
These kinds of edits can appear on the entire video or sometimes on parts of a video. As good as it looks, it can bring a lot of energy to a dull, pale video.
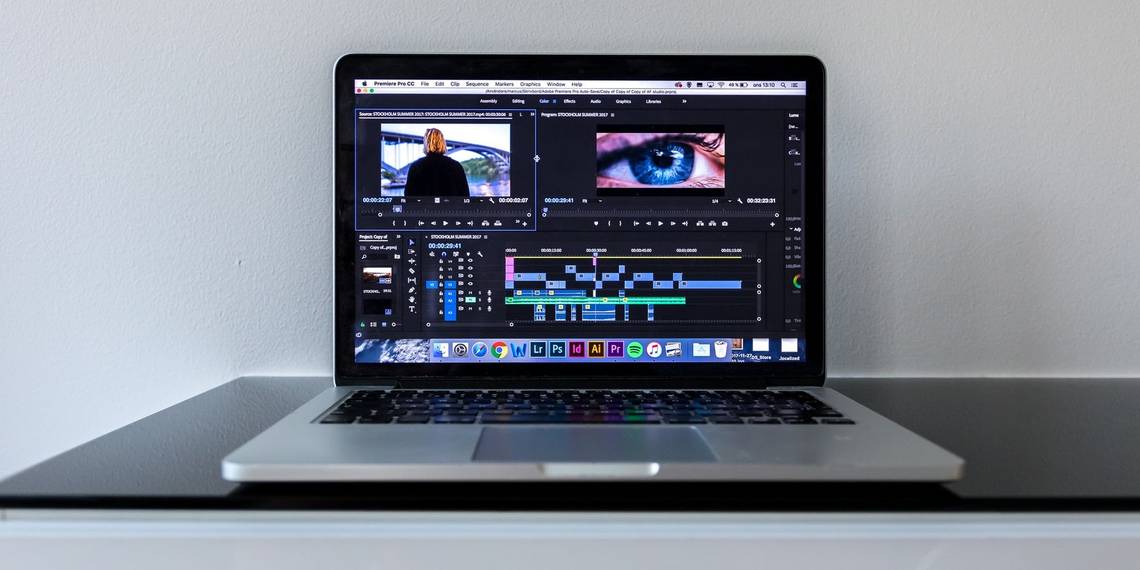
In this article, we will show you how to edit videos to the beat of any music in Premiere Pro. The process is very straightforward and shouldn't take you too long.
Things to Know First
Before you start syncing videos to the beat of the music, you need to understand a few things. This can be done in two ways, one manually and one automatically. Note that the automated way of doing this only works in Premiere Pro and not other video-editing software like Final Cut Pro, DaVinci Resolve, etc.
Let's start with the automatic method to sync video to beats in Premiere Pro. However, if you're working with other video-editing software or even Premiere Pro, you can scroll down and check out the manual method to do the same.
It might be a good idea to look at your music track and listen to it a few times to see where the beats appear. So, every time it hits a string to the beat, you can change the scene of the video following that sound.
Because of this, you'll need to examine your music track's waveform and use your arrow keys to locate the exact point where the beat changes.
How to Automatically Sync Videos to the Beat of the Music in Premiere Pro
Premiere Pro allows you to sync your video to the beat of the music using its Automate to Sequence feature. All you need is a few markers to sync the video down with the beat.
Here's how to sync your beats in Premiere Pro.
1. Import and Organize Your Media
The first step of any video editing project is organizing your media. Create a media library and arrange everything systematically to make it easier to manage.

After adding the audio to the media library, drag it to the timeline. You can place it in a way you want it to appear in the video. In addition to that, you can even set the In/Out range of the selected audio clip. This way, you won't have to edit out the excess content.
2. Add Markers
Once you've done adding media to your timeline, you can start listening to the audio track. As you listen to the music, you can start adding Markers to your video to mark where the beats appear.

The fastest way to add markers to Premiere Pro is to use the shortcut key "M" on your keyboard. Start listening to the audio, and as soon as you identify a beat, press the M key on your keyboard to add a marker to your timeline. Likewise, listen to the entire track and keep adding beats to your timeline.
The first time you listen to the soundtrack, you might think adding markers may take a long time, but it's extremely easy. However, it's important to note that while adding markers, you must select the entire segment of the audio clip, not just the individual clip.
3. Add Video to the Timeline
Once you've added markers to the audio, you can now drag the footage onto the timeline.

Select all the clips in your bin and then click on the Clip tab in the top menu bar. From there, select the Automate to Sequence button. When prompted to configure settings, choose the options—Selection Order and Placement at Unnumbered Markers.

Premier Pro will automatically add the footage to the timeline and cut the videos according to the markers you placed in the previous step. Once done, you can review the project to make sure that everything is the way it should be.
However, it's important to note that Premiere Pro does all this using algorithms, so it might not add the exact video points you want in the timeline. If you want a more precise result, you can use the manual method instead.
How to Manually Sync Videos to the Beat of the Music in Premiere Pro
While Premiere Pro allows you to automatically sync beats, the process can be complicated and the results are not always accurate,
Therefore, using the manual method can be a better alternative by itself. Plus, it can be used in any other video editors, so it isn't just limited to Premiere Pro.
1. Add Music to the Timeline and Analyze It
Open your video editor of choice, and import the audio clip to it. After that, you can drag the soundtrack onto your timeline and make the waveforms prominently visible. Waveform visibility varies with each track, so you might not see them.
Once the waveforms are prominent, and you can see the peaks easily, you're ready to go. If you examine those waveforms, you can determine where the sound peaks and whether it is a beat or not.
2. Add the Video to Timeline and Make Cuts
When you have identified the beats in the audio, drag the video to the timeline. Now make the cuts in the video clips according to the beat.
Watch the transients in waveforms, which is basically the point in the soundtrack where the beat drops. You can now make cuts according to the beat and add clips if necessary.
Sync Beats With Premiere Pro
Synchronizing beats to audio in any video editing program is relatively simple. However, Premiere Pro makes it particularly easy. You can add video clips and try to edit them to the beat.
You can also use other video editing software to do the same thing, such as DaVinci Resolve, Final Cut Pro, or others. That being said, it involves a lot more cutting and trimming than Premiere Pro.