Sick of interview guests sounding muffled? Want to produce crisp podcast material, even when your guest is on the other side of the world? One way to get high-quality audio from a remote interview is to use the double-ender recording method.
Although it involves a few more steps, you can expect far better results with double-ender recordings, allowing you to create the best possible listening experience for your audience.
What Is the Double-Ender Recording Method?
The double-ender recording method is a way to record the audio of people in different locations, making it sound like they are in a room together. Each person in the interview sets up an audio recorder to capture their voice locally. Then, the files are synced together in post-production.
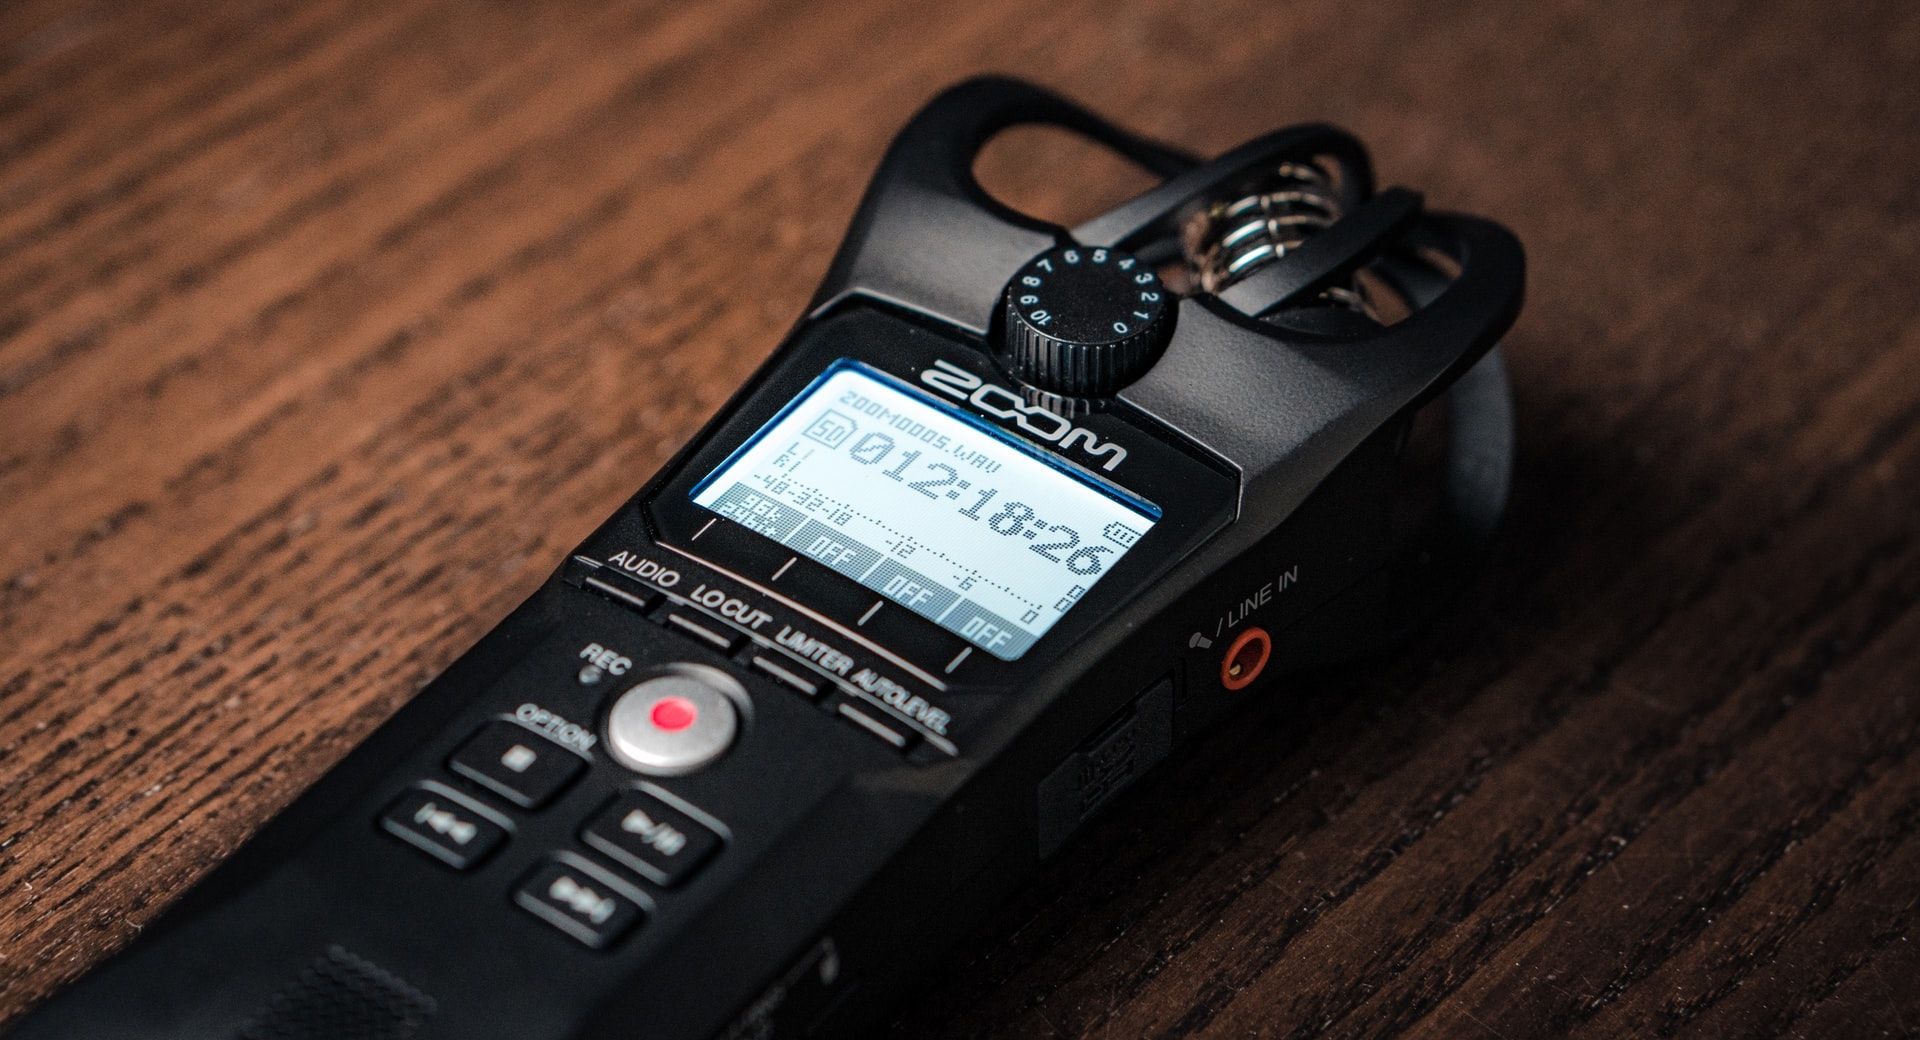
A handheld audio recorder is the most convenient because it allows you to adjust recording settings and has dedicated storage space just for the job. However, there are a few more solutions we will discuss at the end of this article if you can't afford to buy more hardware.
Equipment Required for Double-Ender Recording
In today's guide, we will walk you through the manual method for double-ender recording, and for this to work, both the host and guest will need something to record their own voice during the conversation. Keep in mind that both the host and guest will need the following equipment listed below:
- Handheld audio recorder
- External microphone (optional)
- Computer or phone
- Conferencing software
If you need to invest in some gear, Zoom audio recorders are a popular choice because they are simple to use and work without being connected to a computer. If you regularly interview guests, paying just over $100 for a portable recorder may be worth it, especially for high-quality 24-bit/48kHz WAV files.
The Benefits of Double-Ender Recording
Several more steps are involved in setting up a double-ender recording, so why go through all the trouble? Well, there are multiple good reasons, but the main point is that the audio quality will be significantly better.
The list below will give you a quick summary of the benefits of using the double-ender recording method:
- Results in high-quality, uncompressed audio recordings
- Options for 44.1kHz—96kHz sample rate and 16/24-bit depth
- Complete control over recording settings
- Sounds like you're in the studio together
- No risk of losing the audio stream if the internet drops out
Of course, the biggest downside is having to instruct a guest on how to set up an audio recorder. Furthermore, there is no guarantee that a guest will have the tech know-how to capture their own audio, but seeing as it's not complicated, it can be worth giving it a go.
How to Record Using the Double-Ender Method
Below we have listed simple step-by-step instructions for recording using the double-ender method. So, use this guide to take your first recording or share it with a guest to help them get set up.
1. Set Up the Audio Recorder
Planning ahead and setting up your workstation right will help to keep the process stress-free, so make sure you give yourself enough time to get everything ready.
- Start by finding a good location for recording a conversation; you want it to be someplace you won't be interrupted and doesn't have a lot of background noise.
- Get into a comfortable position at a table or desk, and place the audio recorder where it can easily pick up your voice. A great way to do this is with a tripod or microphone stand, but placing the recorder on a stack of books, or similar, will also do the trick.
- If you're using Zoom or Skype for the interview, make sure that your laptop or phone is set up within reach but not in the path between the recorder and your voice.
2. Prepare the Video Conferencing Software
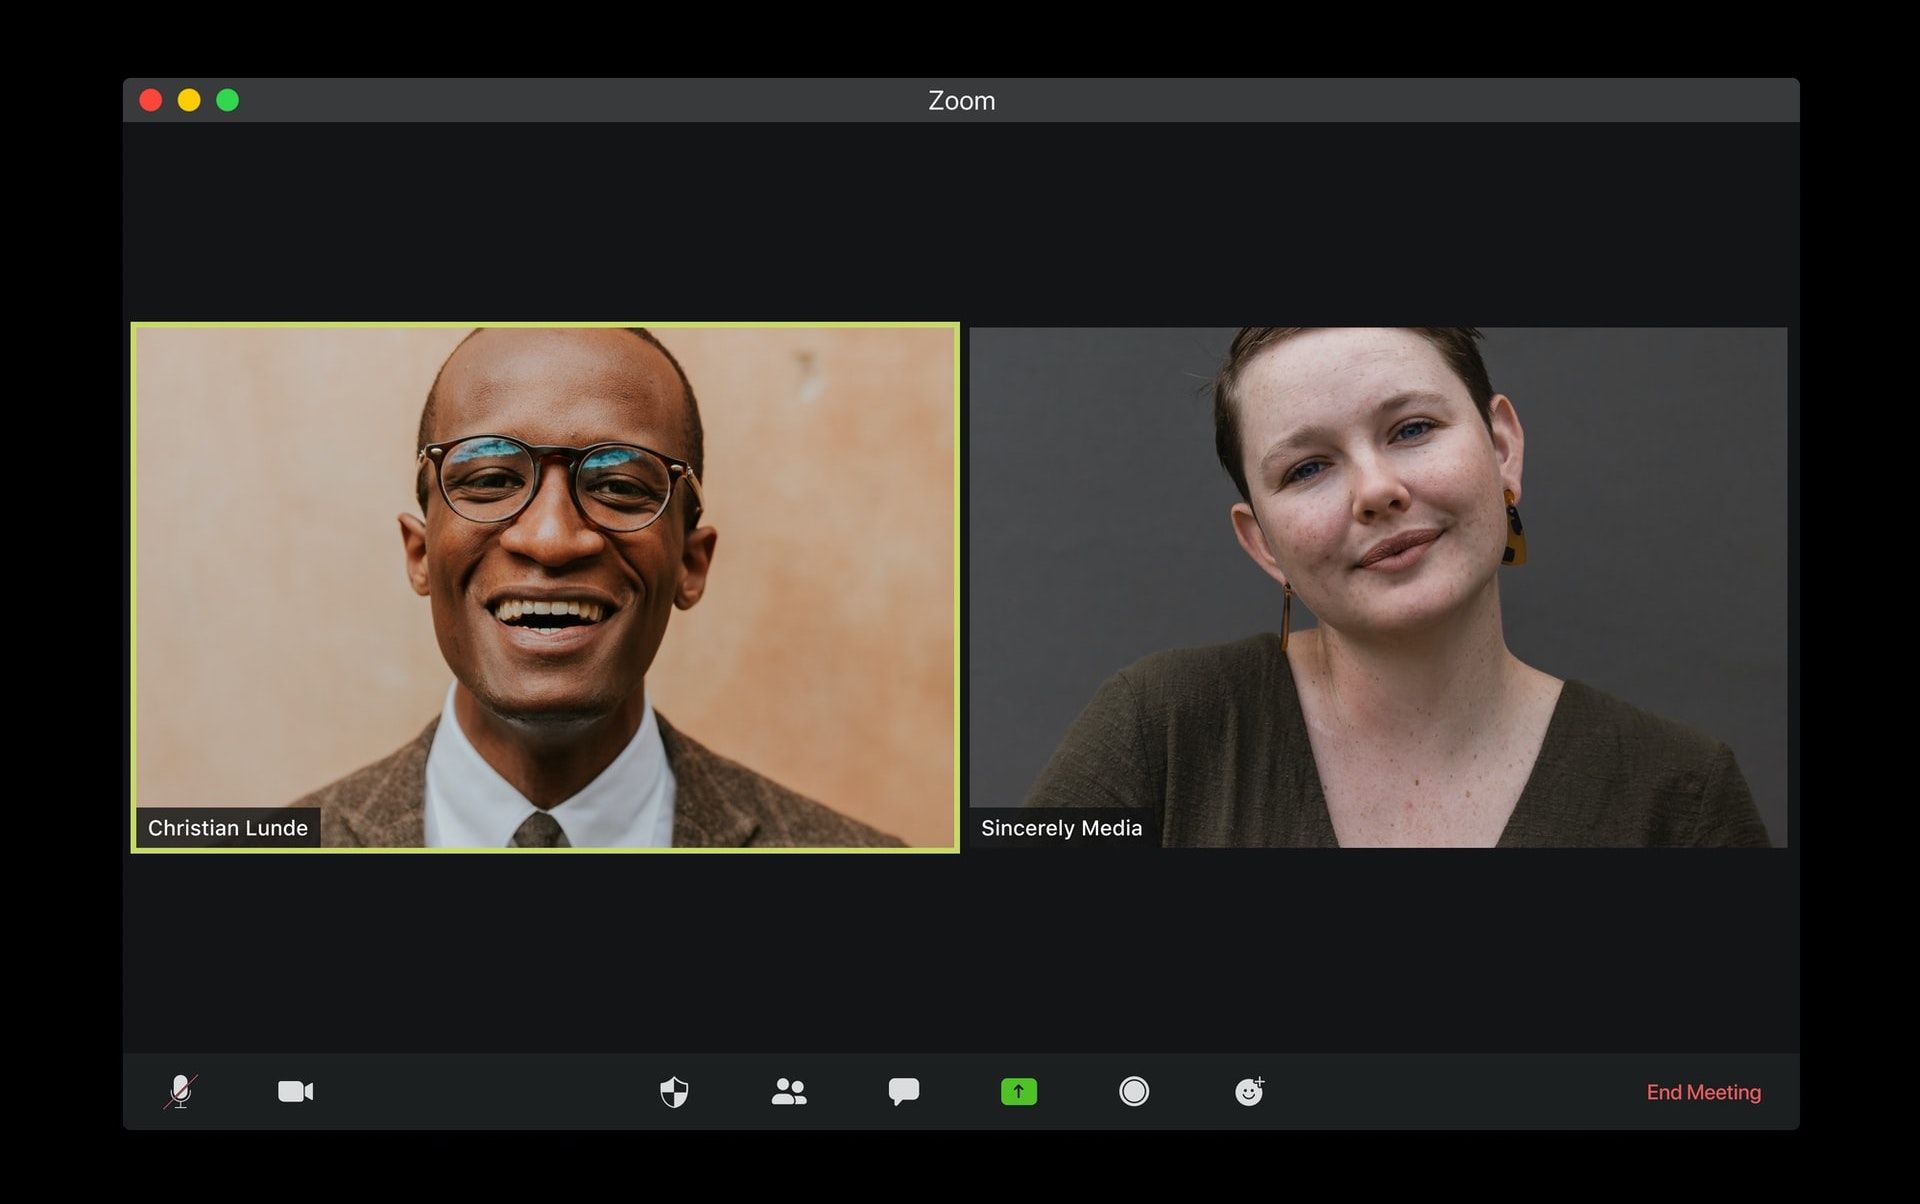
Next, prepare the conferencing software you are using for the call.
While we will be recording the audio separately, there's no reason why you can't also record the audio and video on Zoom or similar software. In the worst-case scenario, a guest might simply forget to hit record on their end, so it will give you a handy backup in an emergency.
3. Test Audio Levels
With your laptop and audio recorder set up, the next step will be one of the most important: test that everything works. Once the audio starts recording, you won't be able to make any changes to the settings or position of the recorder, so don't skip this step!
- Begin by doing a sound check on your audio recorder; if it shows the input levels in decibels, then you want your voice to reach between -18dB and -6dB. Averaging around -12dB is a good target and will leave you plenty of headroom if you need to turn the volume up in post-production.
- Next, do a sound check in Zoom or the preferred software you're using, and make sure that the laptop microphone can pick up a good level. Detailed information on the input level won't always be available, but there are a few tricks you can do to get the best audio quality on Zoom.
There's nothing worse than running out of recording space, or battery, in the middle of an interview. So take this moment to connect a power cable to your laptop and make sure the batteries are charged in your recorder. At the same time, check that the SD card and computer have plenty of storage space.
4. Produce a Marker for Syncing
Now everything should be good to go! After confirming that the audio is being recorded on both ends, all that's left to do is create a marker for syncing.
It's really simple to do; just let your guest know that on the count of three, you will both clap simultaneously. That will create a loud spike in the audio recording that you can use to perfectly align the two recordings in post-production, ensuring that the conversation is in sync.
5. Finishing Up
Once you've finished the interview or podcast, let everyone know they can safely stop the audio recording. Before concluding the meeting, remind the guest to send the audio files to you for editing.
- Ask the guest to send you the audio files they recorded after the call is finished.
- Gather all the audio files from the call and import them into an audio editor like Audacity or the preferred DAW you want to use for editing the files together.
- Once the audio streams are visible in the audio editor, look for the clap at the beginning of the recording and move the audio files until the sound lines up precisely.
- Finish editing the interview or podcast as you would normally.
Alternative Solutions
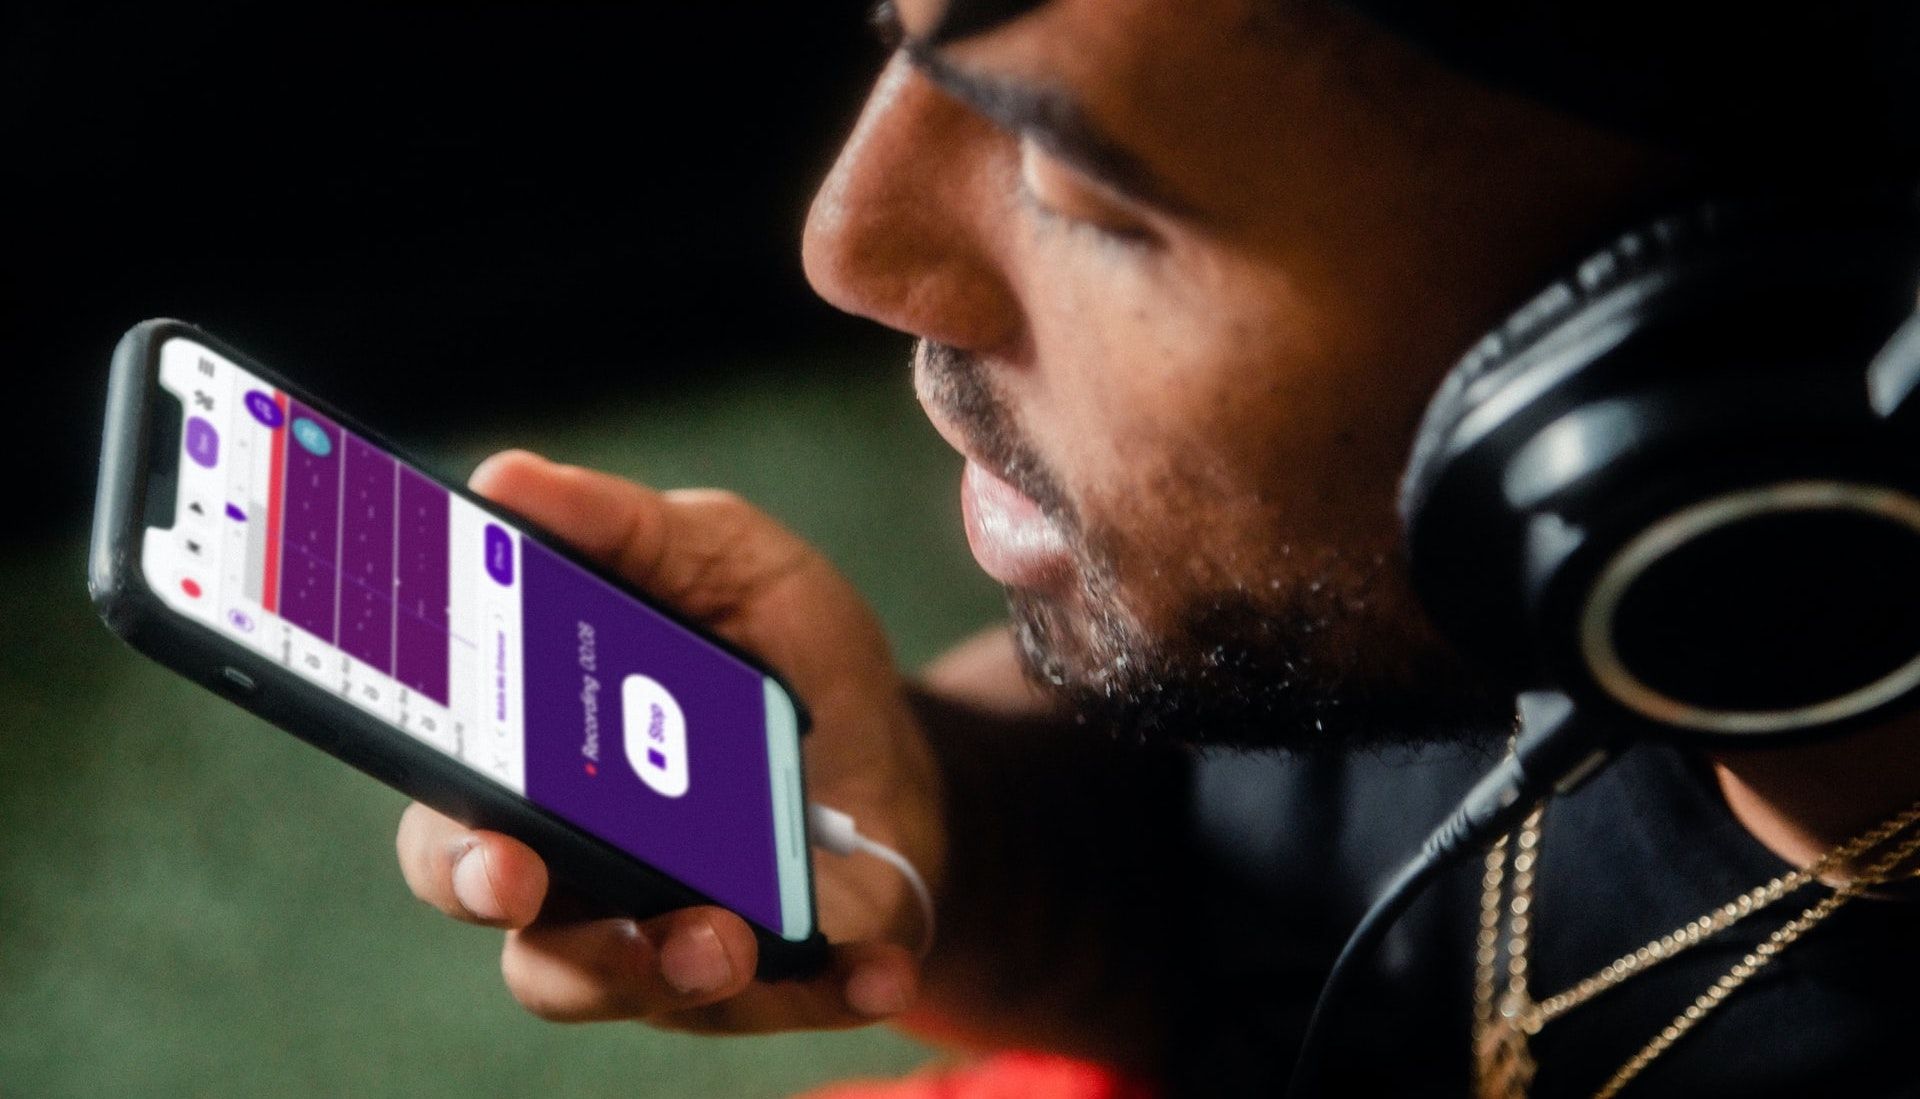
If you don't have a handheld recorder, you can use a smartphone with an audio recording app. You can find several great Android apps for recording podcasts on the Play Store, and adding a plug-in smartphone microphone will help you get even better results.
Our tip for using a smartphone is to make sure you have several gigabytes worth of free space available and keep it connected to a charging cable to be sure the phone will make it through an hour-long interview.
Another option for people who already own a podcasting microphone is to record audio using an audio editing program like Audacity, or one of the many alternatives to Audacity for audio recording and editing. Also, some online apps now offer a software solution under freemium plans, so if you're looking for a streamlined option, try Zencastr or Riverside.
Keep in mind that having the conferencing app running at the same time as recording audio will put more strain on your computer's memory and processing, which can lead to the signal dropping out.
Studio Quality Audio With Double-Ender Recording
The Double-Ender recording method is undoubtedly one of the best ways to capture high-quality remote audio. Try it out yourself by following this simplified guide, or send this article to a guest when you need to explain how to set up a double-ender recording. Alternatively, a smartphone or free audio editing software can do the trick just as well too!


