Django is one of the most popular web frameworks for software development. Django is a Python framework you can use to develop server-side web applications. It mainly competes with backend frameworks such as Express.
Django also supports frontend development, but it’s often used on the backend alongside a frontend framework such as React.
Like other frameworks, Django supplies packages, modules, and libraries to simplify web development. It’s a free, open-source framework, and three of its main selling points are that it’s fast, secure, and scalable.
In this article, you’ll learn all you need to know to start using Django.
What Can You Do With Django?
Django allows developers to create small to large websites and web applications.
Its creators built the framework because of a specific need. In 2005, two developers had a reason to develop a web framework that was efficient and scalable. They needed a publishing system that could keep up with the dynamic news environment in which they worked. Fast forward almost two decades and many top companies see the value of using Django for their development projects. These companies include:
- Dropbox
- Udemy
- Spotify
- National Geographic
Creating a New Django Project
Django provides three installations options, which are available on the official Django website. After you’ve installed Django, you’ll need to generate a new Django project by typing the following command in your terminal:
django-admin startproject mysite
This command will create a new Django project in the current directory. You can use a different name instead of mysite, which is just an example.
Your newly generated Django project will have the following file structure:
        mysite/
    mysite/
        _init_.py
        asgi.py
        settings.py
        urls.py
        wsgi.py
    db.sqlite3
    manage.py
The main project folder has an inner folder with the same name (mysite), an SQLite file, and a Python file. Django generates an empty SQLite file to use as its default database. You can tell it to use a different database (SQL or NoSQL) if you want.
The manage.py python file is a Django command-line utility that allows you to perform administrative tasks. Chief among these tasks is Django’s project execution. To execute your Django project, you’ll need to navigate into the project directory and type the following command into your terminal:
python manage.py runserver
Executing the command above will produce the following output (or similar) in your terminal:
        Performing system checks...

System check identified no issues (0 silenced).

You have 18 unapplied migration(s). Your project may not work properly until you apply the migrations for app(s): admin, auth, contenttypes, sessions.

Run 'python manage.py migrate' to apply them.

November 06, 2021 - 11:20:27

Django version 3.2.9, using settings 'mysite.settings'

Starting development server at http://127.0.0.1:8000/

Quit the server with CTRL-BREAK.
Don’t worry about the "unapplied migration" warning; it will disappear as soon as you set up your database. More important information is on the line that begins "Starting development server". This provides you with the server’s URL; in the example above, it’s http://127.0.0.1:8000/.
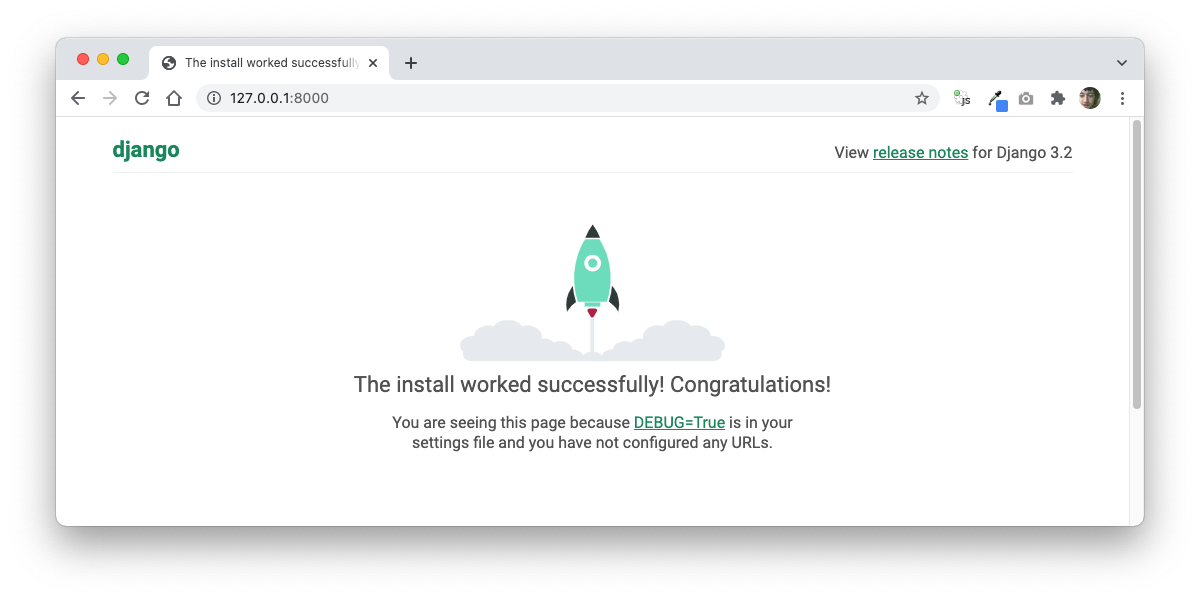
To confirm that the Django project is running, open that URL in a browser. If all is well, you’ll see something like the following:
Exploring Django’s Python Package
The python package is inside the inner project folder of the Django project. In the filesystem above, it’s the internal mysite directory. There are several files within this package, namely settings.py, asgi.py, _init_.py, and urls.py.
You’re introduced to the settings file during the first project execution. A line in the terminal output states: “Django version 3.2.9, using settings 'mysite.settings'”. This means that the settings.py file contains all the core configurations for your Django project.
Creating a New Application in Your Django Project
A Django project is the backbone of your website or application. It contains all the configuration and apps that you’ll use to create a complete website or application. To start the development process you’ll need to create an application within your Django project.
A Django application is a small component that’s dedicated to a specific section (or function) of your website. So, if you wanted to develop a large e-commerce website using Django, you’d have several different apps within a single project. For example, you can create an app to manage customers, one to manage items for sale, and another to manage sellers.
Django’s ability to create multiple applications within a single project is vital for scalability. This makes it an ideal choice for enterprise-level development. However, many Django projects contain only a single small-scale application.
To create a new application in Django you’ll need to open a new terminal. The first terminal should still be running your Django server, started with the “python manage.py runserver” command. In the second terminal you’ll need to navigate into the project directory and enter the following command:
python manage.py startapp sellers
Where “sellers” is the name of the app that you want to create. Executing this command will create a new directory in your Django project. You should end up with the following file system, or similar:
        mysite/
    mysite/
        _pycache_
        _init_.py
       asgi.py
       settings.py
       urls.py
       wsgi.py
    sellers/
       migration
       _init_.py
       admin.py
       apps.py
       models.py
       test.py
       views.py
    db.sqlite3
    manage.py
Your Django project now has a new application. The only problem is that the website doesn’t know that this application exists or even how to access it. But there’s a way that you can connect the two.
Connecting Your Django Applications to Your Django Project
The urls.py file connects the Django project to the different apps that a developer creates within a Django website or application. Creating a new Django project generates the following urls.py file within the Python package:
        from django.contrib import admin
from django.urls import path

urlpatterns = [
   path('admin/', admin.site.urls),
]
The file above has a single URL: admin/. To connect the seller application to the e-commerce site you’ll need to include a URL for the sellers application in the file above. But before you do that, you’ll need to develop the sellers application, and you can do so by creating a simple view in the sellers views.py file.
The Sellers view.py File
        from django.shortcuts import render
from django.http import HttpResponse

def index(request):
   return HttpResponse("Hello sellers")
The file above contains a simple function that renders “Hello sellers”. To connect the sellers app to the e-commerce website you’ll need to create a new urls.py file within the sellers application.
The Sellers urls.py File
        from django.urls import path
from . import views

urlpatterns = [
   path('', views.index, name='index'),
]
The file above creates a URL that imports and uses the views.py file, and this allows the developer to access the views.py file from the Django website.
Updated Website urls.py File
        from django.contrib import admin
from django.urls import include, path

urlpatterns = [
   path('sellers/', include('sellers.urls')),
   path('admin/', admin.site.urls),
]
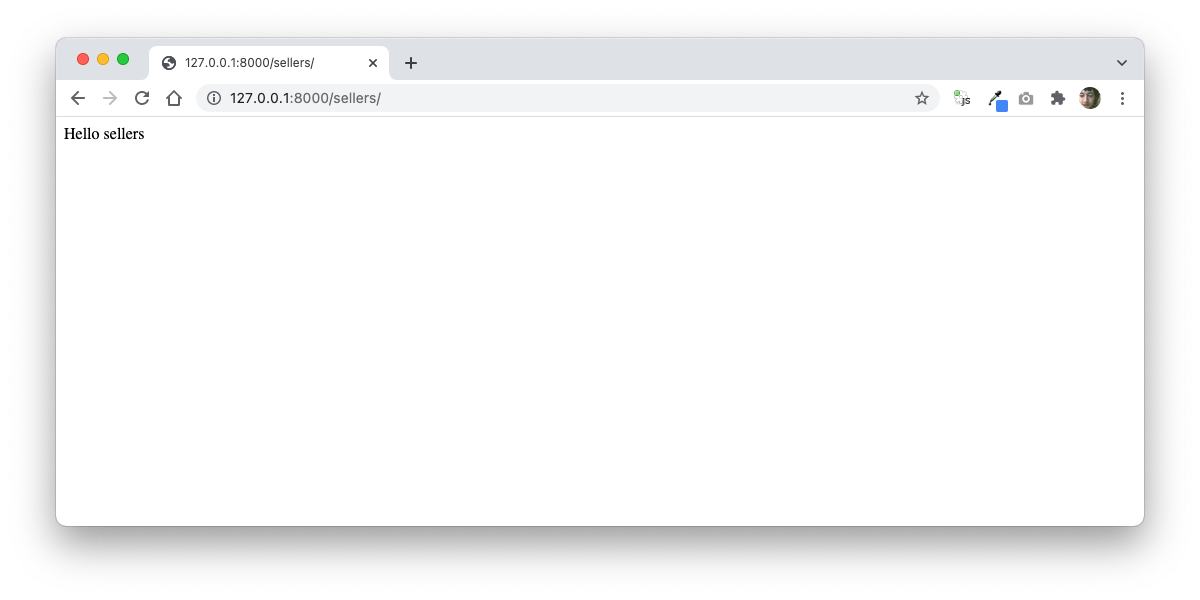
As you can see the website’s urls.py file is different. It imports the include() function, then uses it to gain access to the sellers urls.py file. Now you can view your sellers application by visiting the following URL in your browser:
<a href="http://127.0.0.1:8000/sellers/">http://127.0.0.1:8000/sellers/</a>
Where you’ll see this output:
What’s Next?
You should now have a clear understanding of Django and what you can use it for. You also know:
- How to create a Django project
- How to create a Django app
- How to connect a project to different apps
But this is only the beginning. There’s much more for you to learn about Django and the Python programming language itself. Fortunately, there are some great courses to help out.


