OpenAI's Whisper is a new AI-powered solution that can turn your voice into text. Best of all, it comes at zero cost.
However, there's a catch: it's more challenging to install and use than your average Windows utility. Especially if you want to use your Nvidia GPU's Tensor Cores to give it a nice boost.
Don't fret, though. That's why we're here! Read on to find out how to install and use it, but also, if you own one, to have Whisper take advantage of your Nvidia GPU.
What Is OpenAI's Whisper?
ChatGPT is all the rage nowadays, and we already saw how you can use ChatGPT by OpenAI. And yet, it's not the only interesting project by OpenAI.
Powered by deep learning and neural networks, Whisper is a natural language processing system that can "understand" speech and transcribe it into text. But it's also its own thing, sitting at a spot right among all similar solutions:
- Whisper is an AI solution "trained" on natural language. So, it's better at understanding "normal" human speech than older solutions.
- Whisper doesn't come with an interface, nor can it record audio. It can only take existing audio files and output text files.
- Since it's good at "making sense of language", Whisper also has the superpower of automatic translation in a single step.
- Whisper is not an online service and can work entirely offline.
- If you have a relatively modern Nvidia GPU (GTX970 or newer), Whisper can run in "hardware accelerated mode" to boost its speed.
- There's no requirement to register, purchase a license, or buy a subscription.
Why Are AMD GPUs Not Supported?
For GPUs to be useful for more than graphics, they'd have to act as fully programmable processors. That's why Nvidia created CUDA, officially deemed "a parallel computing platform and programming model". To learn more about CUDA and related hardware ("CUDA cores"), read our article on what are CUDA cores and how they improve PC gaming.
CUDA is proprietary Nvidia technology, only compatible with Nvidia GPUs. The closest alternatives for AMD's hardware are OpenCL and Radeon Compute Platform. To learn more about how each company's solutions compare, check our article on AMD Compute Units vs. Nvidia CUDA Cores.
Compared to the alternatives, CUDA is considered more mature, performant, and easier to use. Thus, most developers only target CUDA, which, in turn, means that their software only takes advantage of the hardware features on Nvidia GPUs. And that includes Whisper.
How to Download and Install Whisper
Unfortunately, Whisper is not a standalone app you can download, install, and run. It relies on other software, which must also be installed.
For Windows, to keep this guide simple, we'll use Chocolatey extensively for installing most of the necessary software parts. Check our guide on the quickest way to install Windows software for more info on Chocolatey.
For Linux and Macs, the installation process (excluding the Windows path variable, and easy-to-use batch files we'll create) should be similar.
- To install and use Whisper, you must have Python and its PIP tool installed and added to the Windows "Path" variable. For info on that, check our article on how to install Python PIP on Windows, Mac, and Linux.
-
Install FFMPEG through Chocolatey with this command:
choco install ffmpegpip3 install python-ffmpeg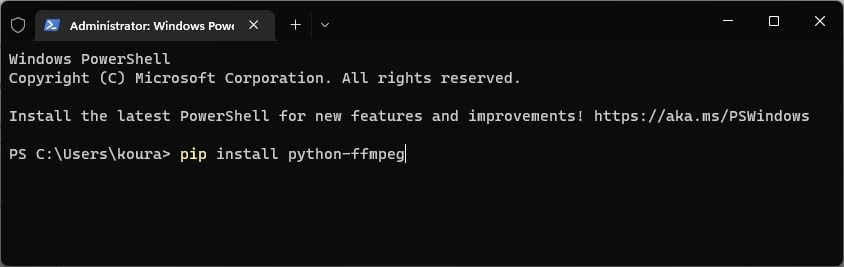
-
Finally, install Whisper from its Github page with:
pip3 install git+https://github.com/openai/whisper.git

Getting Whisper's CUDA-Enabled Version
Although Whisper doesn't use Nvidia GPUs, the torch package it relies on offers a CUDA-accelerated version. Using this instead of the "plain" version can help Whisper complete its transcriptions much faster with the help of your Nvidia GPU.
To have Whisper use the CUDA cores of your Nvidia GPU:
-
If you already have the "vanilla" version of torch installed, uninstall and purge remnants of it with:
pip3 uninstall torchpip cache purge -
Install torch's CUDA-enabled version with:
pip3 install torch torchvision torchaudio --extra-index-url https://download.pytorch.org/whl/cu117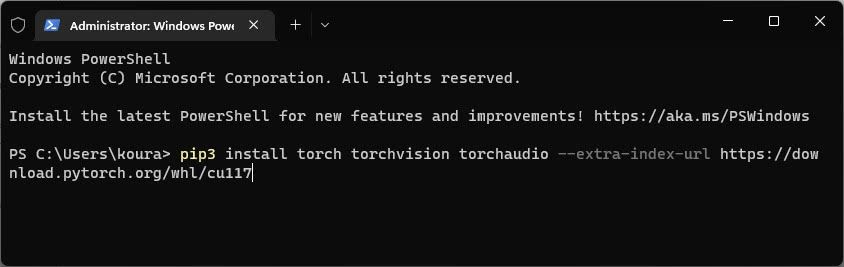
-
To check if Whisper can use your Nvidia GPU, use:
whisper --help | findstr -i pytorch

What to Do if Torch Fails to Install
If you encounter the "no version found" errorwhile installing torch, you may need to install an older version of Python parallel to your current one.
Use this command to do that:
choco install python --version OLDER_VERSION --side-by-side
Replace "OLDER_VERSION" with a version, like 3.10.

Then, use the path of the secondary version for all "generic" Whisper commands (e.g., "c:\Python310\Scripts\pip.exe" rather than just "pip").
How to Record Your Voice
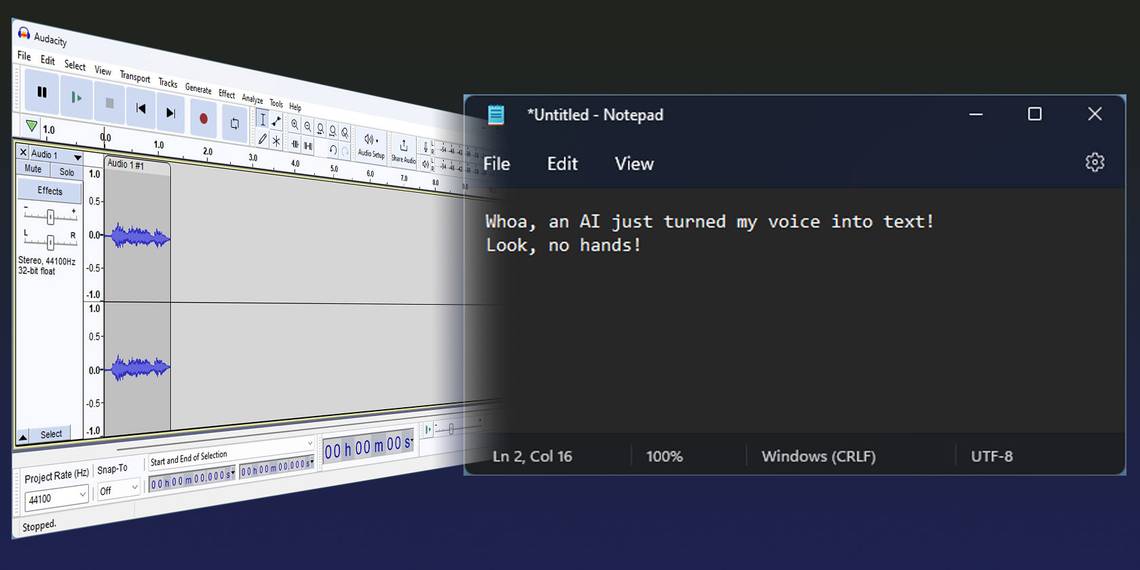
You can use any sound-recording app to turn your voice into a WAV or MP3 file. Windows includes such an app—for more info on that, see how to use the Windows 10 Voice Recorder app.
For a more full-featured option, try Audacity. Learn how to do it with our guide on how to use Audacity to record audio on Windows and Mac.

How to Start Transcribing With Whisper
Although Whisper doesn't come with a user-friendly GUI, its use is ultra-simple.
Let's say we have the file LatestNote.mp3 which contains speech in Greek, in folder c:\MyAudioFiles, and want to translate it to English and transcribe it into a text file.
- We begin by running Command Prompt or PowerShell.
-
We "change directory" where the audio file is stored with this command:
cd C:\MyAudioFiles -
We unleash Whisper on the file with:
whisper --model base --language gr --task translate LatestNote.mp3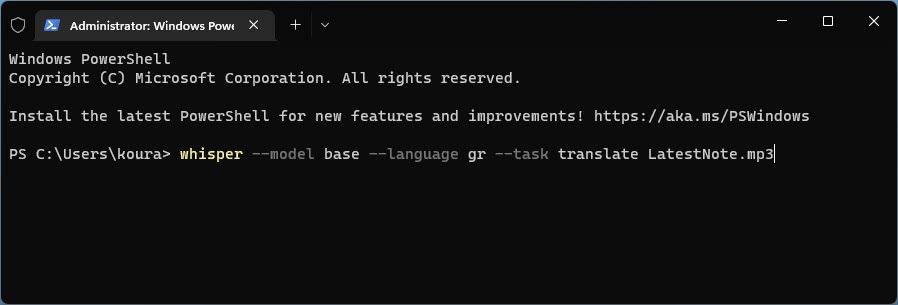

Once processed, the text file (named "LatestNote.mp3.txt") will appear in the same folder. Open it in a text editor like Notepad to view the translated text.
We used a translation example because English transcription is even more straightforward: you only have to "lose" the "--language" and "-task" flags. Thus, for plain transcription, the above command would be:
whisper --model base LatestNote.mp3
The "model" flag is required because Whisper uses one out of various options. Let's expand on them to help you choose the best for your needs.
Which Model to Choose?
Whisper offers various language models. The larger the model, the more improved its accuracy, but also the higher its hardware requirements. They are:
- Tiny.
- Base.
- Small.
- Medium.
- Large.
Most native English speakers should be fine with the tiny or base models. Non-native English speakers may see better results with larger models, like small and medium.
Note, though, that the medium and large models require over 8GBs of VRAM (that is, "your GPU's memory").

To select one of them, specify the model after the "--model" switch in the command:
whisper --model tiny/small/medium/large [file]
For example:
whisper --model small My_Voice_Note.mp3
How to Streamline Your Transcription
Having to type the whole Whisper command every time you want to transcribe some audio can quickly get boring. Let's make a globally accessible batch file to streamline the process.
- Run Windows Explorer and visit your C: drive.
- Create a folder for your scripts, and copy its path to the Clipboard.
-
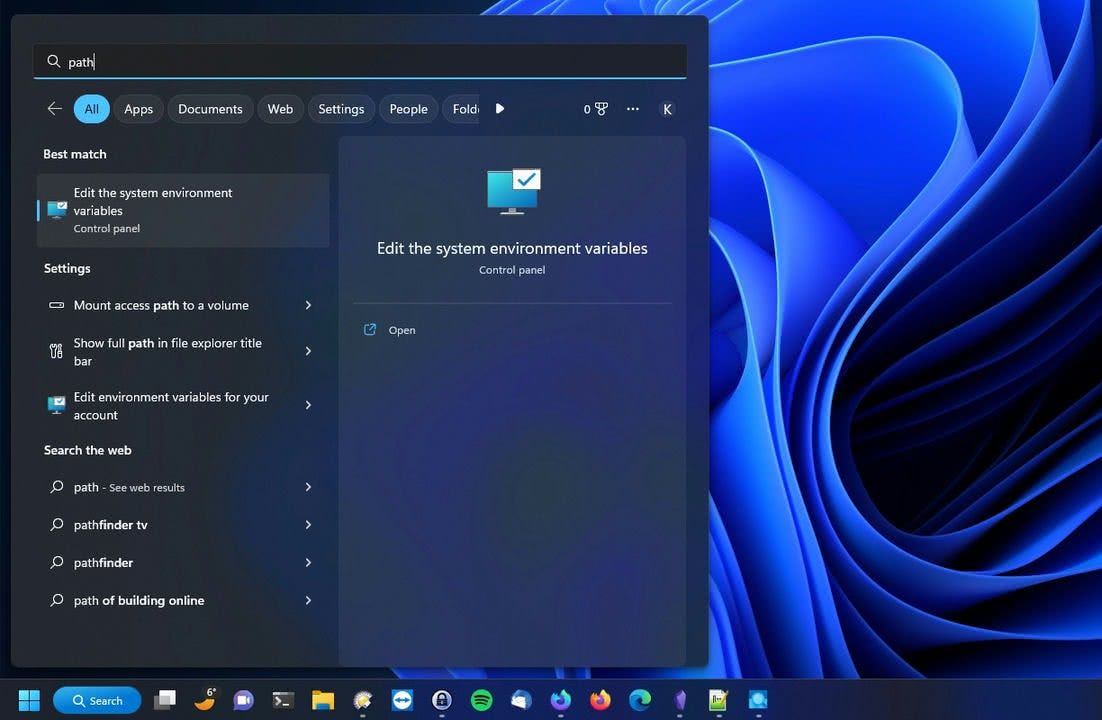
In the Windows Start menu, search for "path" and select Edit the system environment variables.
-
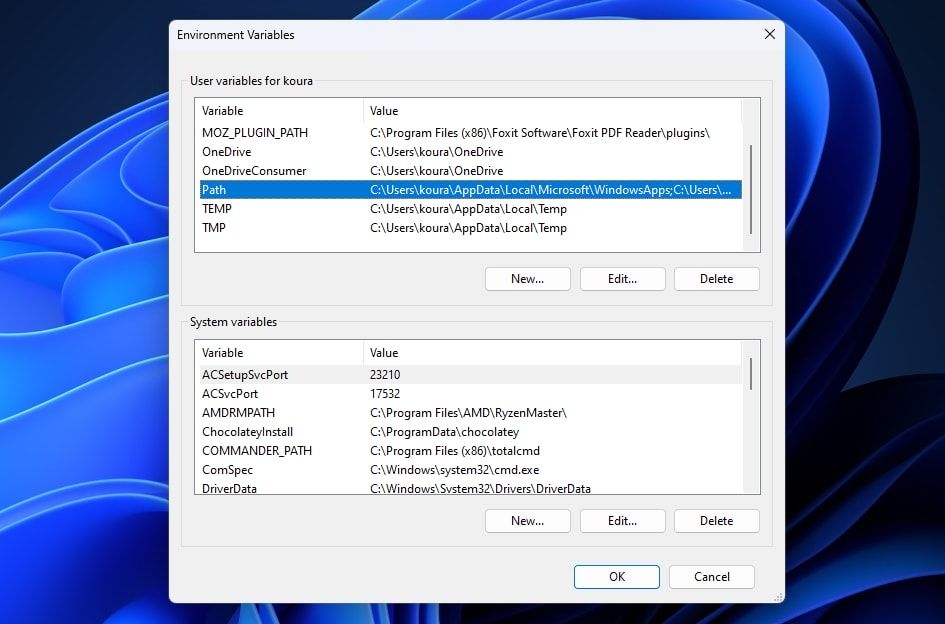
Find the Path variable under User variables for YOUR_USERNAME. Double-click on it to edit it. Click on New, and paste the path to your scripts folder. Click on OK to accept the changes.
-
Return to your scripts folder in Windows Explorer. Create a new batch file there named "wht.bat". "Inside" it, place this command:
whisper --model tiny --language en %1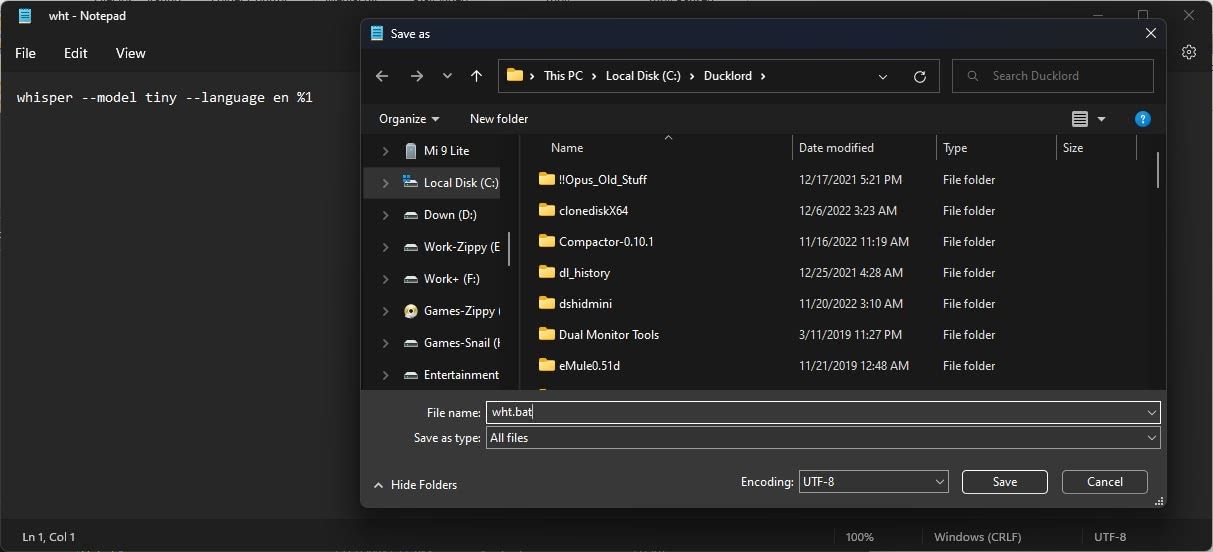
- Create two more batch files, "whs" and "whm".
-
Place this inside the first script:
whisper --model small --language en %1 -
Place this inside the second:
whisper --model medium --language en %1


Congratulations, you now have three scripts for easily using Whisper's tiny, small, and medium models with your audio files! To transcribe any audio file to text:
- Locate the file with Windows File Explorer.
- Right-click on an empty spot and choose Open in Terminal.
-
Type this command, replacing "wht" with "whs" or "whm" to use the small or medium language models:
wht YOUR_AUDIO_FILE.mp3
Typing at the Speed of Sound With Whisper
Even the quickest touch-typists can't match the speed at which we speak. However, until recently, talking instead of typing wasn't optimal for creating documents.
Most voice-to-text solutions produced mediocre results. You could find a few solutions worth trying, but they were complicated to use, or costly. Thankfully, Whisper changed all that.
After the steps above, you should be ready to transcribe or translate your voice with high accuracy, using only a single command.